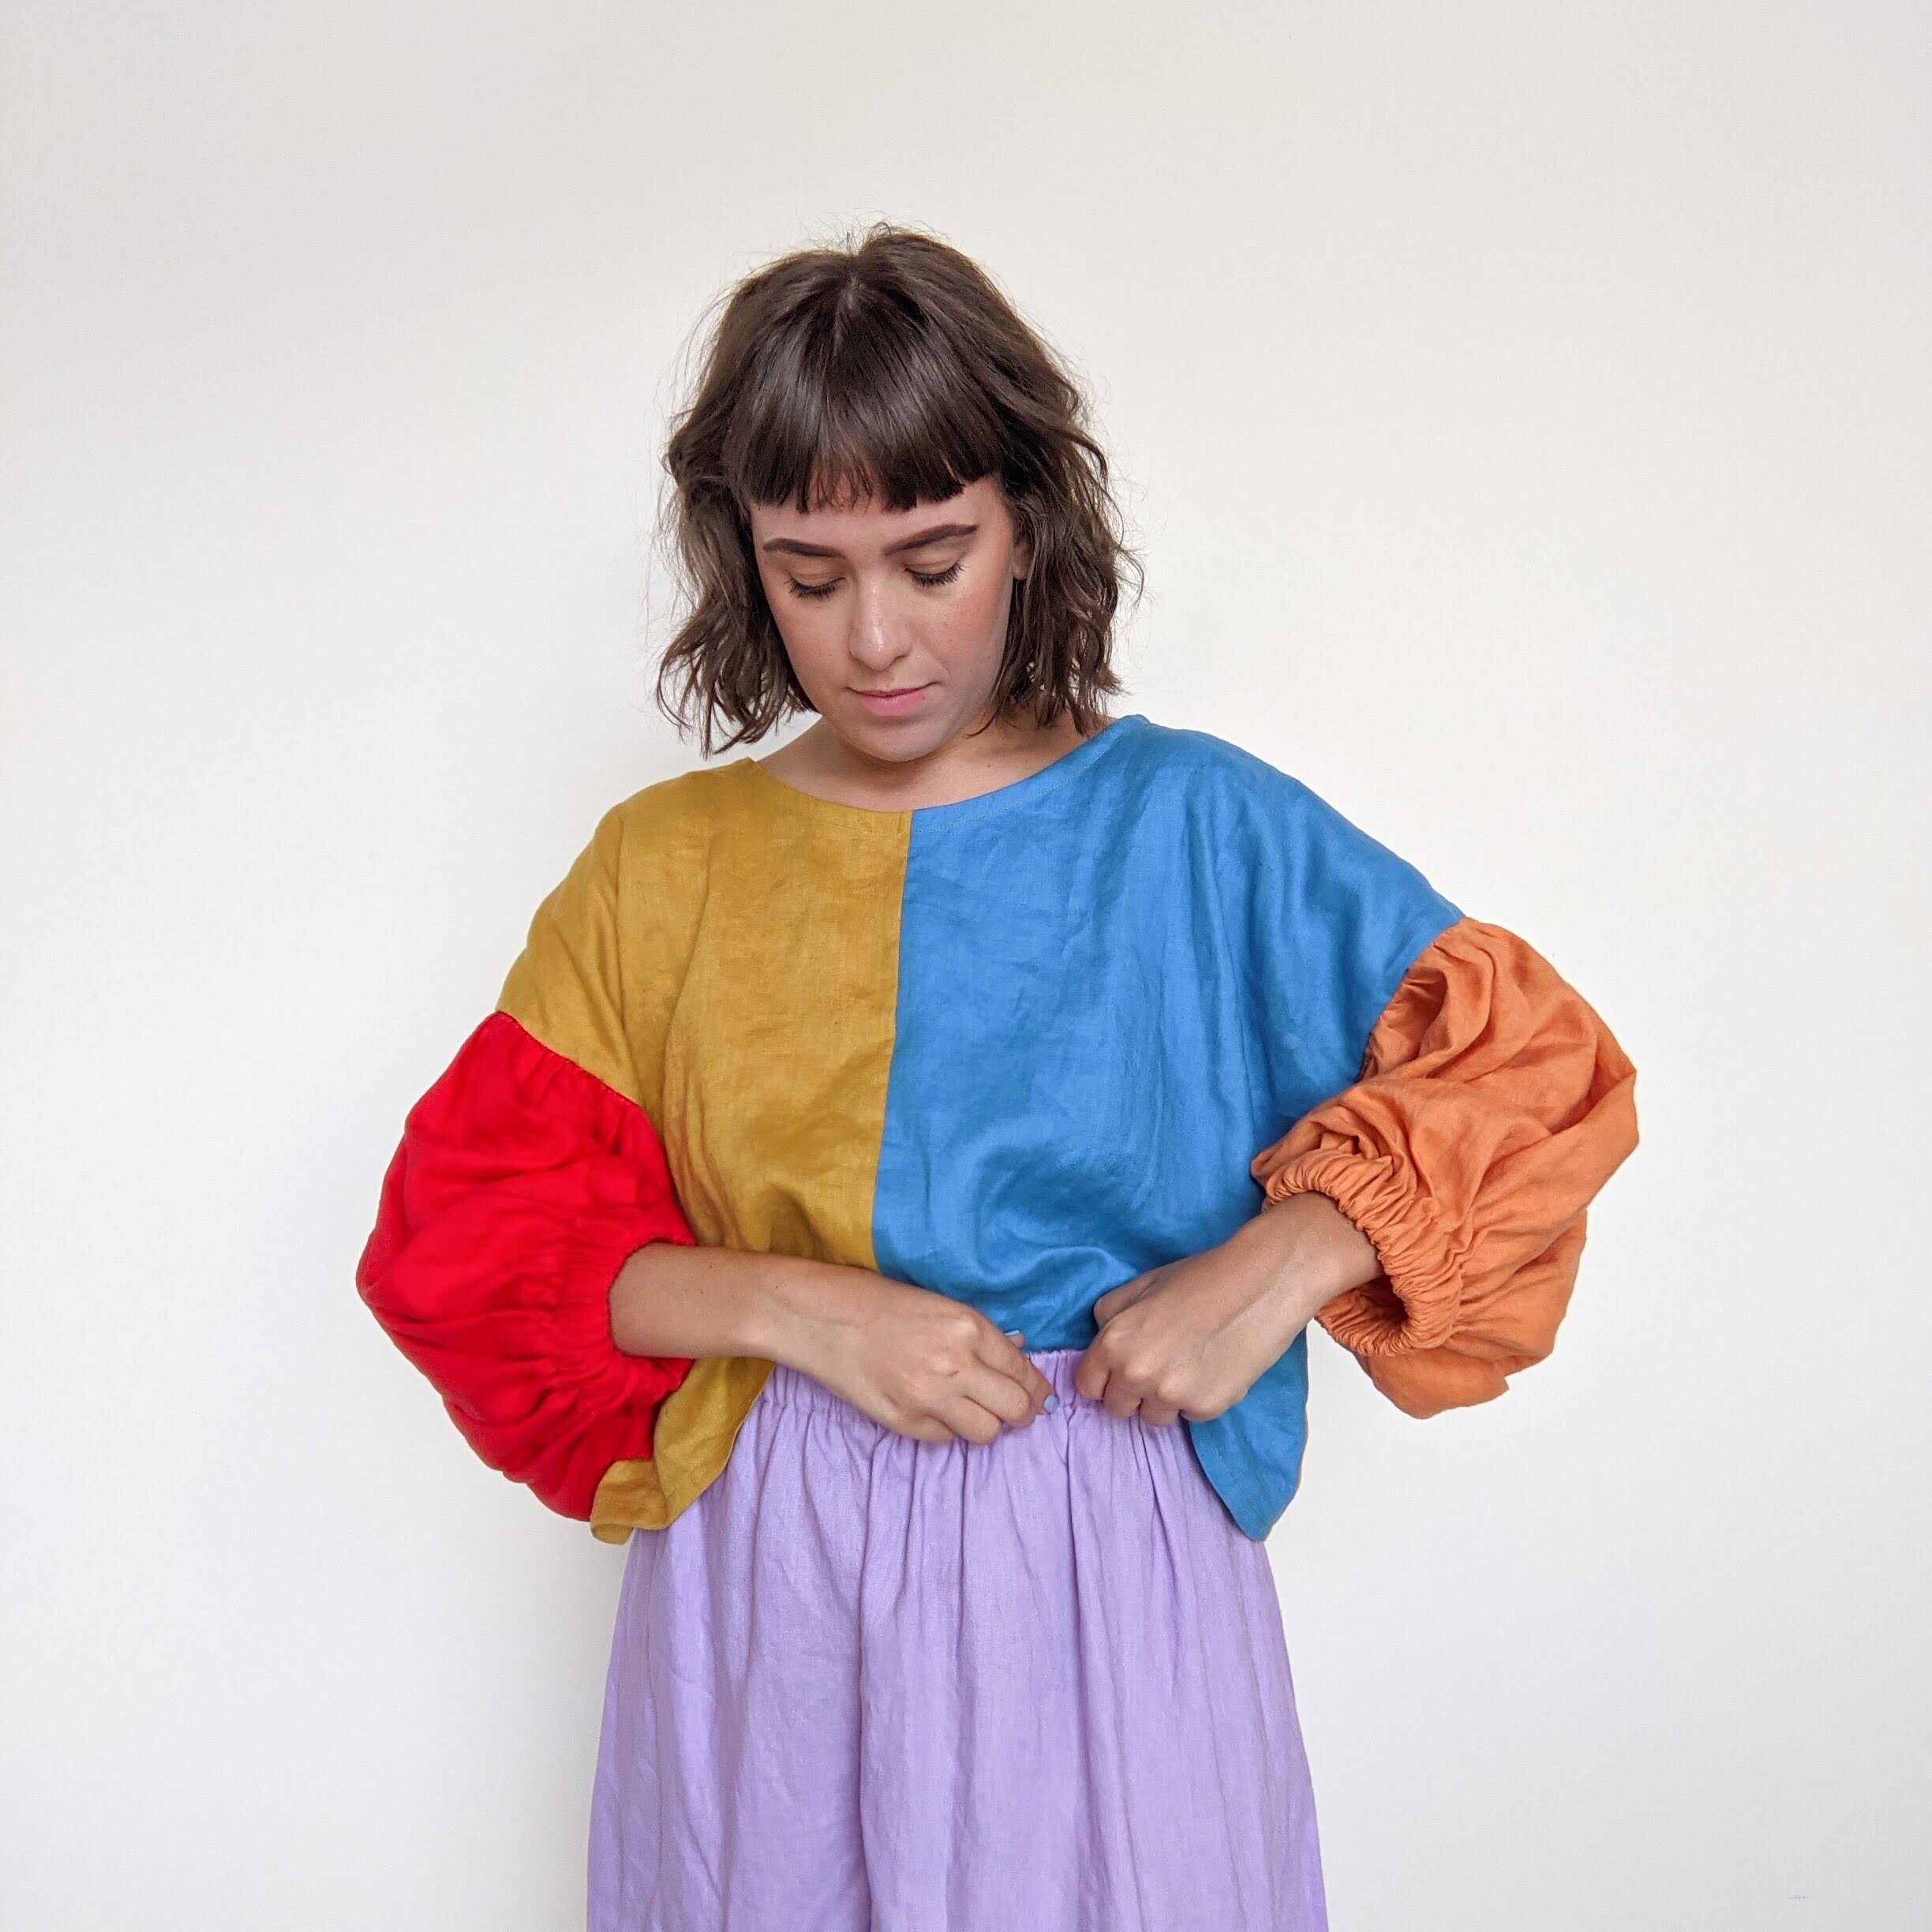
DIY Balloon Sleeve Top Tutorial

I originally shared a Balloon Sleeve Dress exactly ONE year ago and its taken me this long to turn it into a blog post. Better late than never! This is a hack of the Maya Ruffle Top with slightly longer sleeves to allow for elastic casings that turn it into a puffy balloon sleeved number. This project works so well with light flowy linens or crispy cotton lawns and should take you less than 3 hours to create. Refer to the original tutorial for finding your measurements, the only adjustments I made were in the height and width of my sleeves. Read more about this hack below!
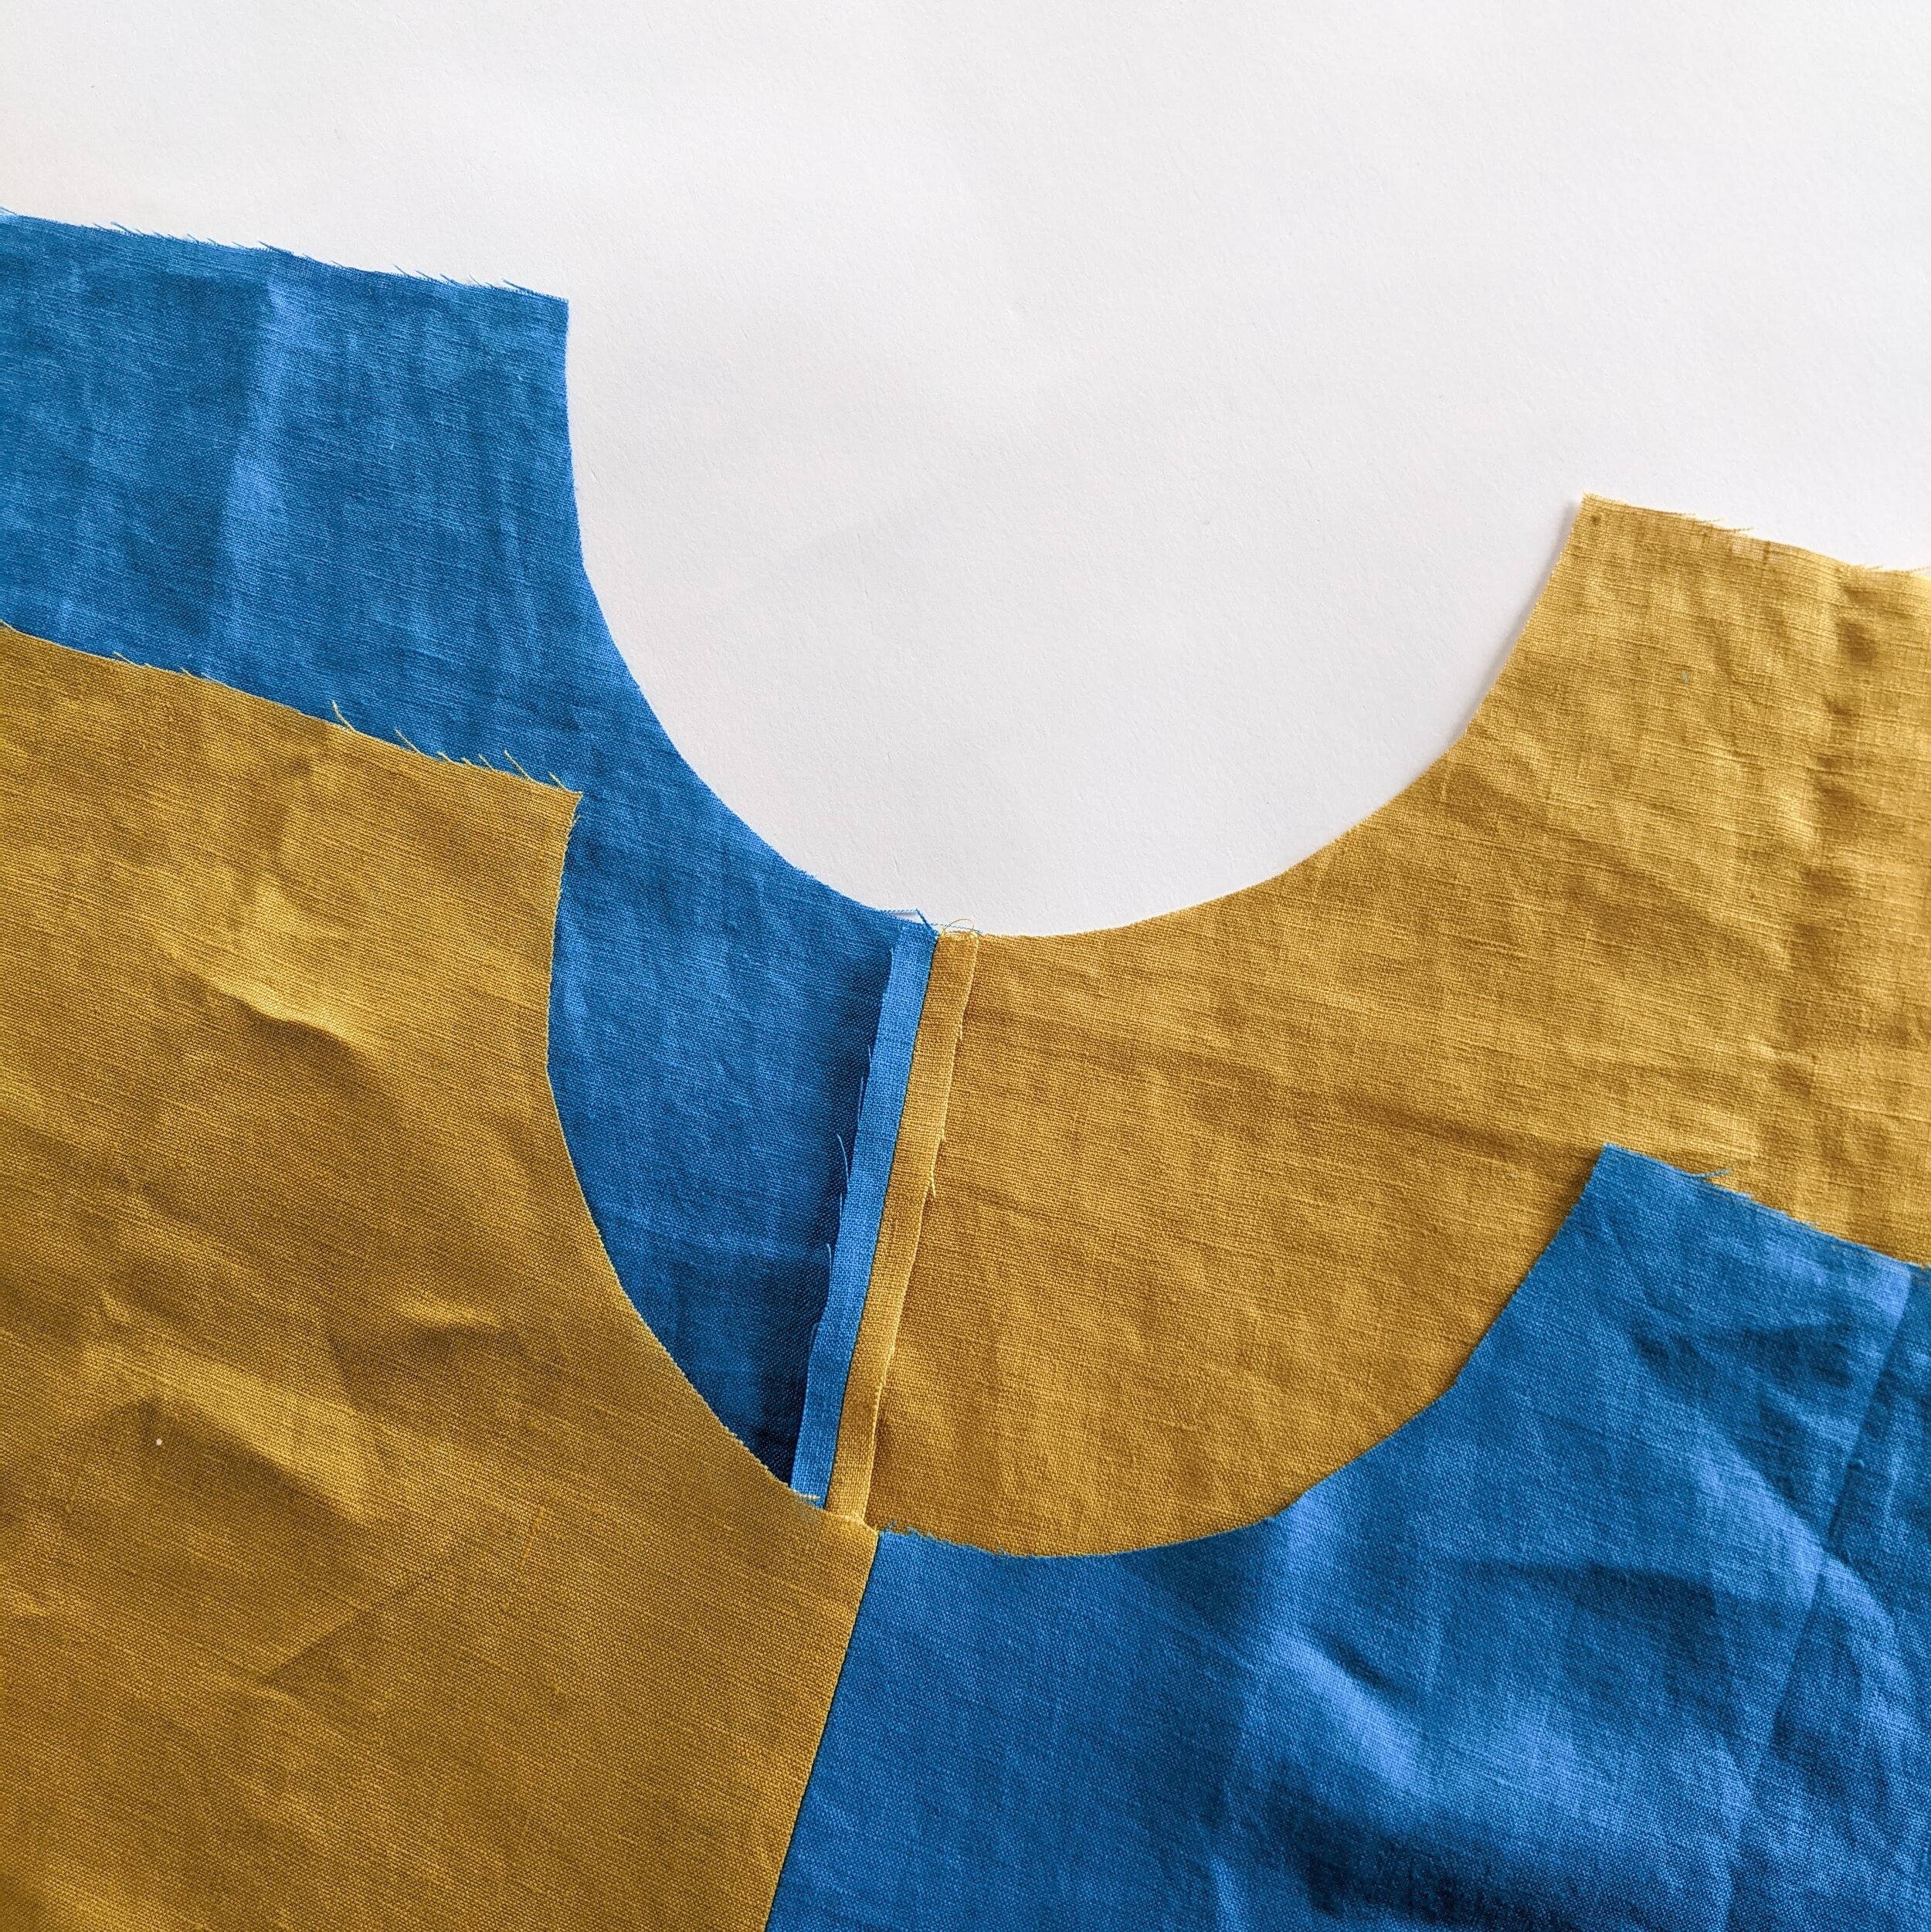
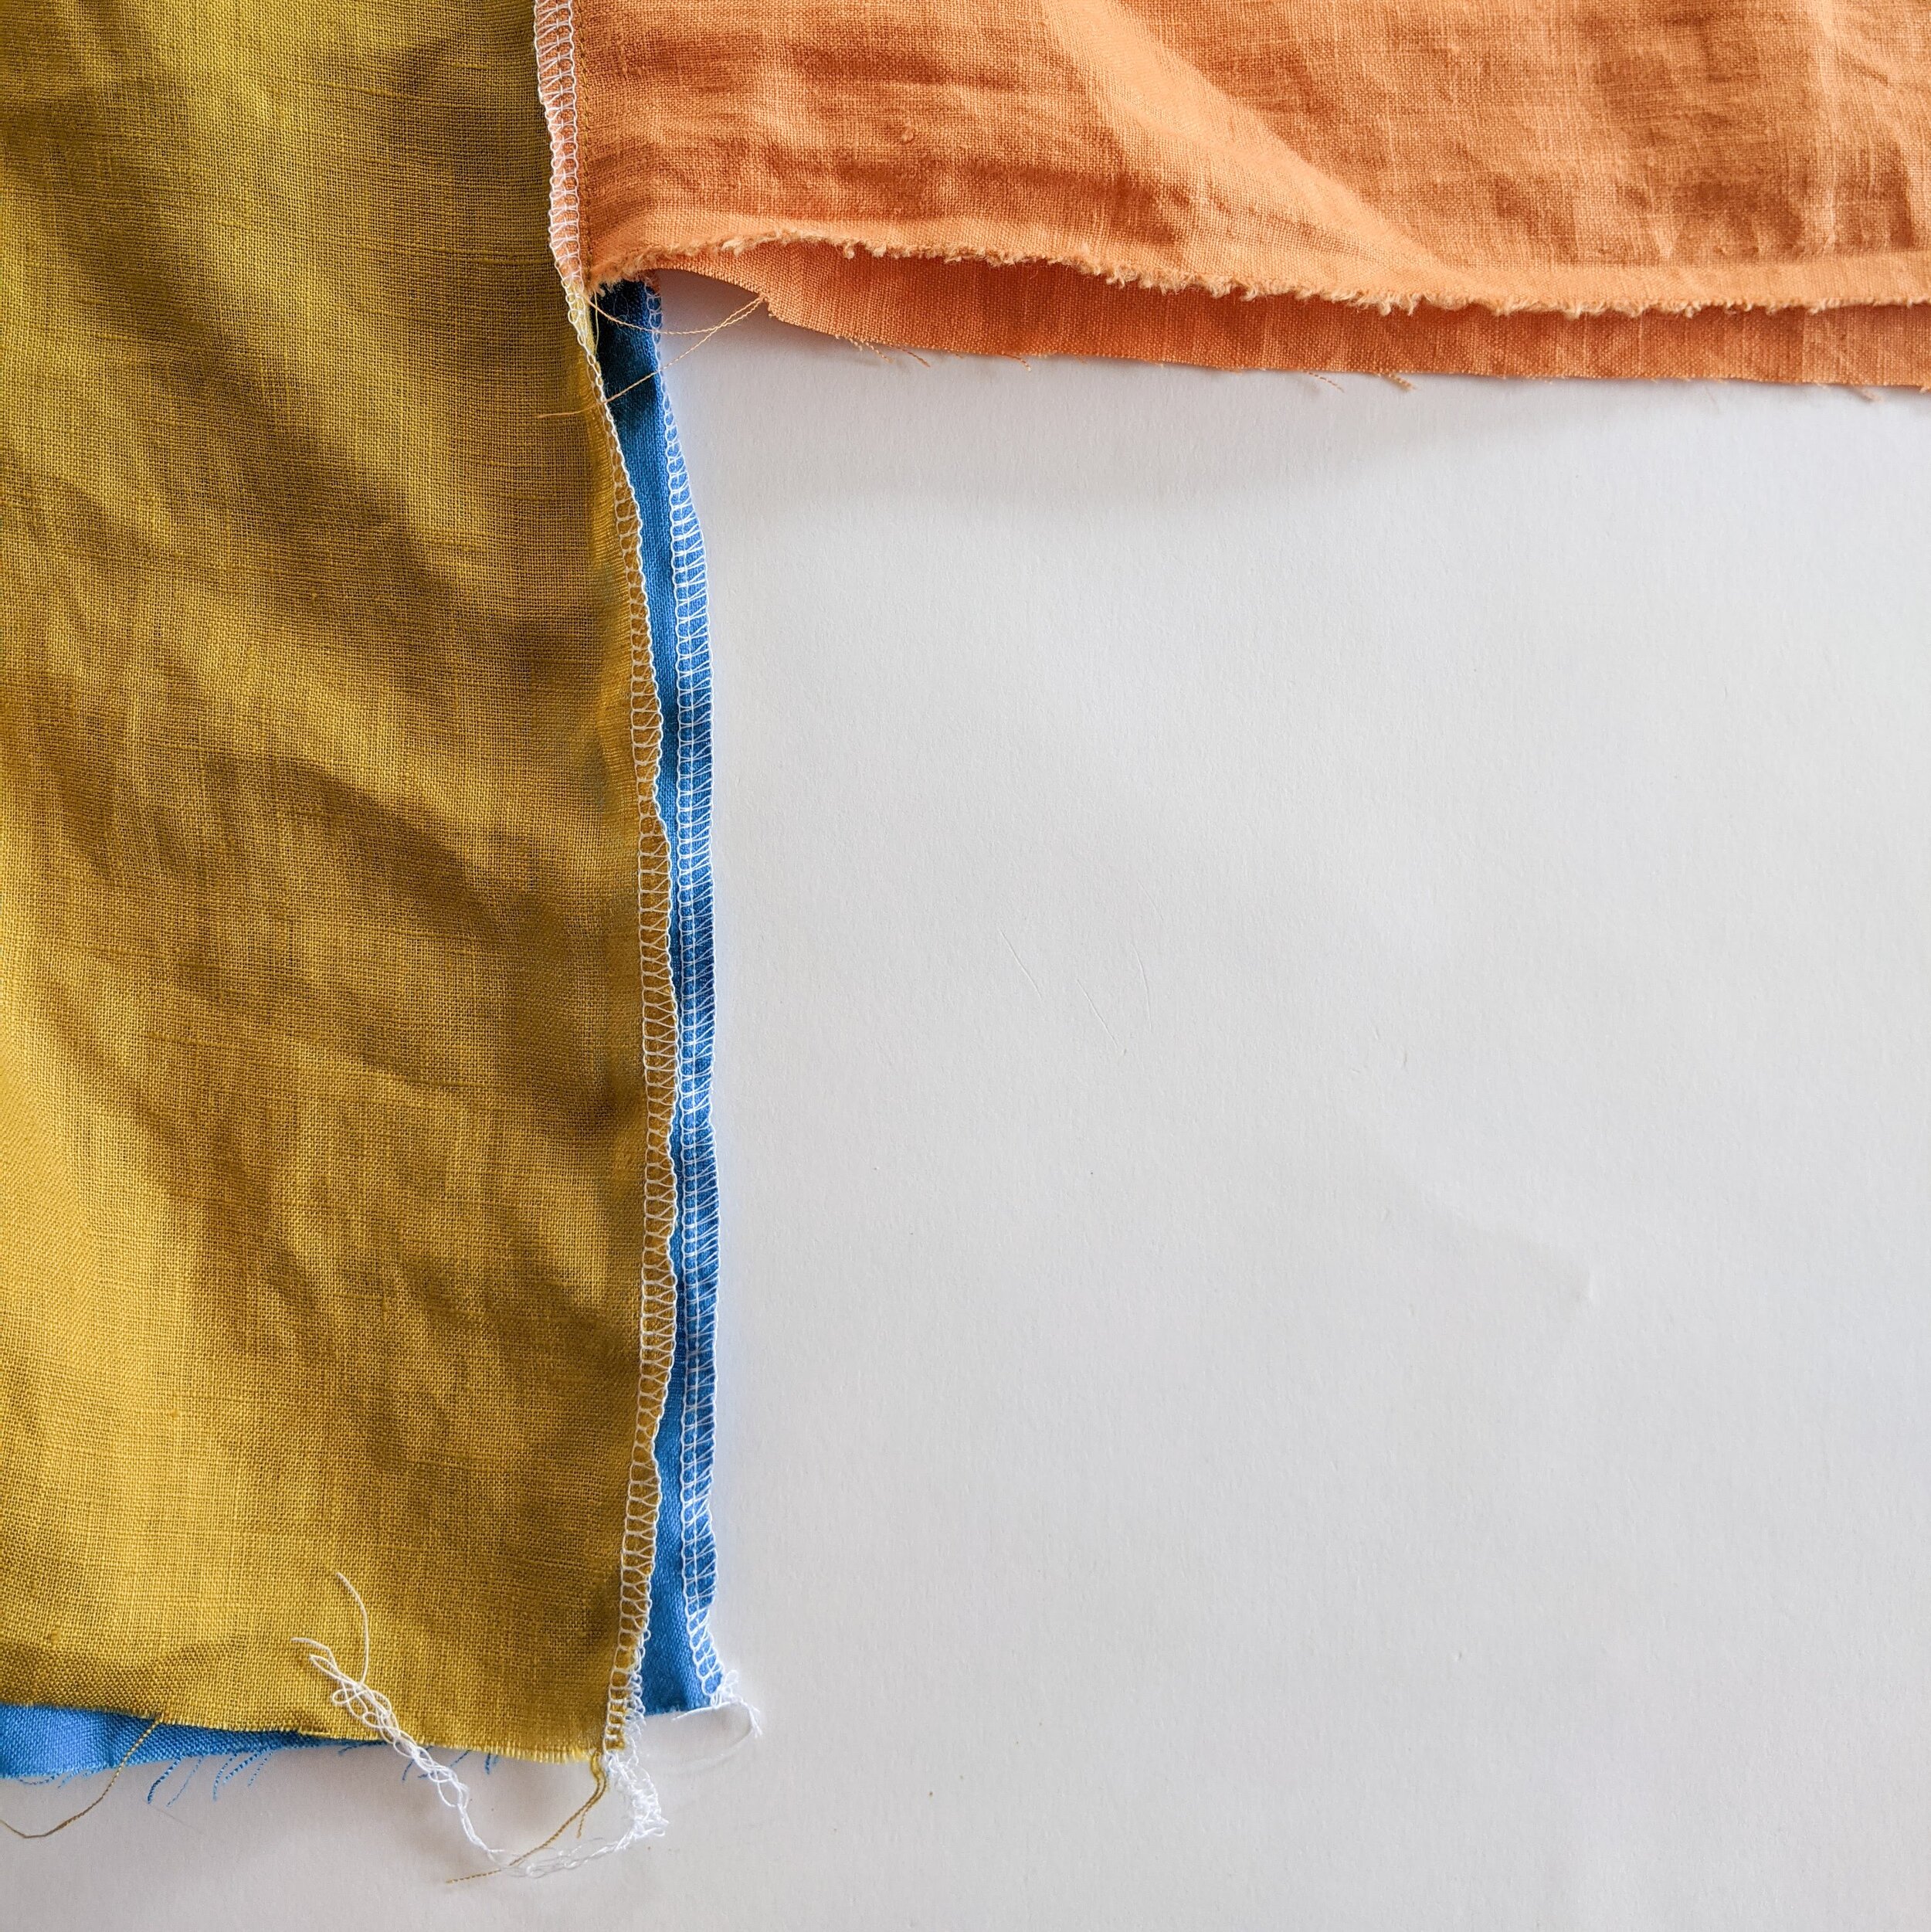
Pattern: This top is a hack of the Maya Ruffle Top with some slight adjustments. My sleeve rectangles were 100cm wide x 42cm high. Keep in mind when measuring your sleeve height that it is a drop shoulder top. I also found that using the entire width of the fabric (in this case 135cm) was way too much fabric which is why I took off 35cm from my Sleeve Rectangles. Below you can see some of the process shots. Construction is essentially the same as the Rectangle Sleeve Top & Maya Ruffle Sleeve Top.


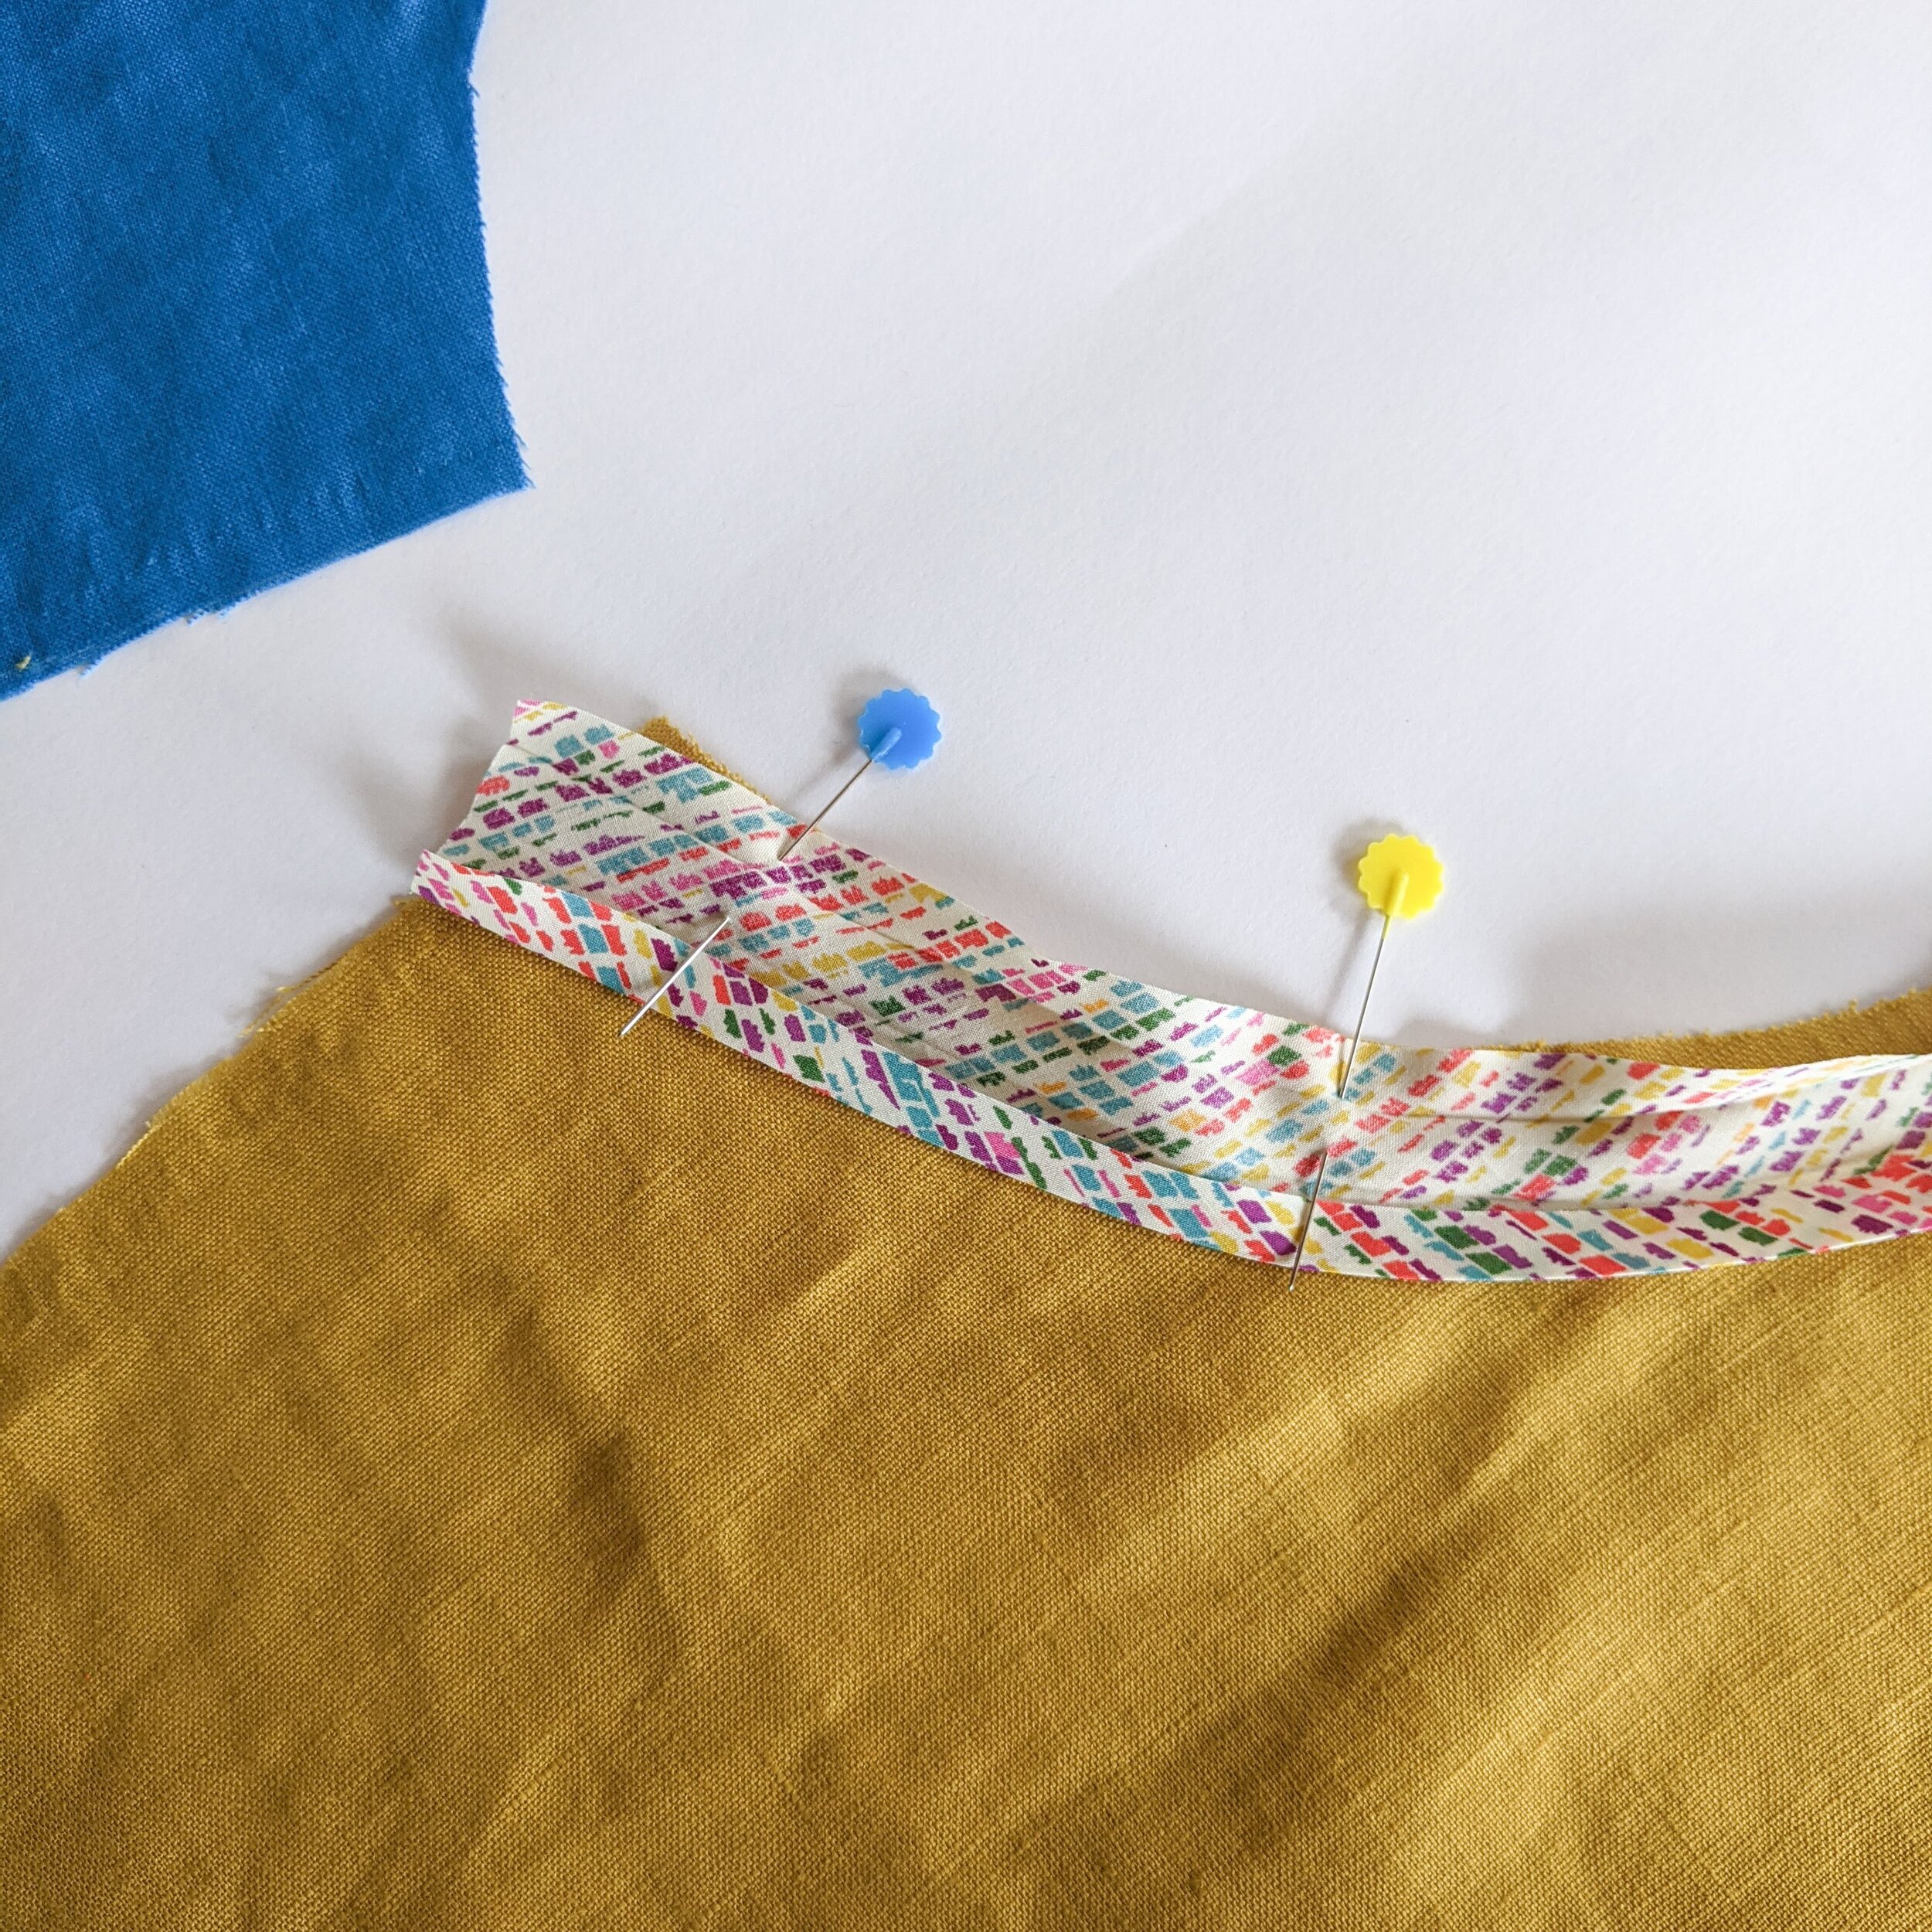
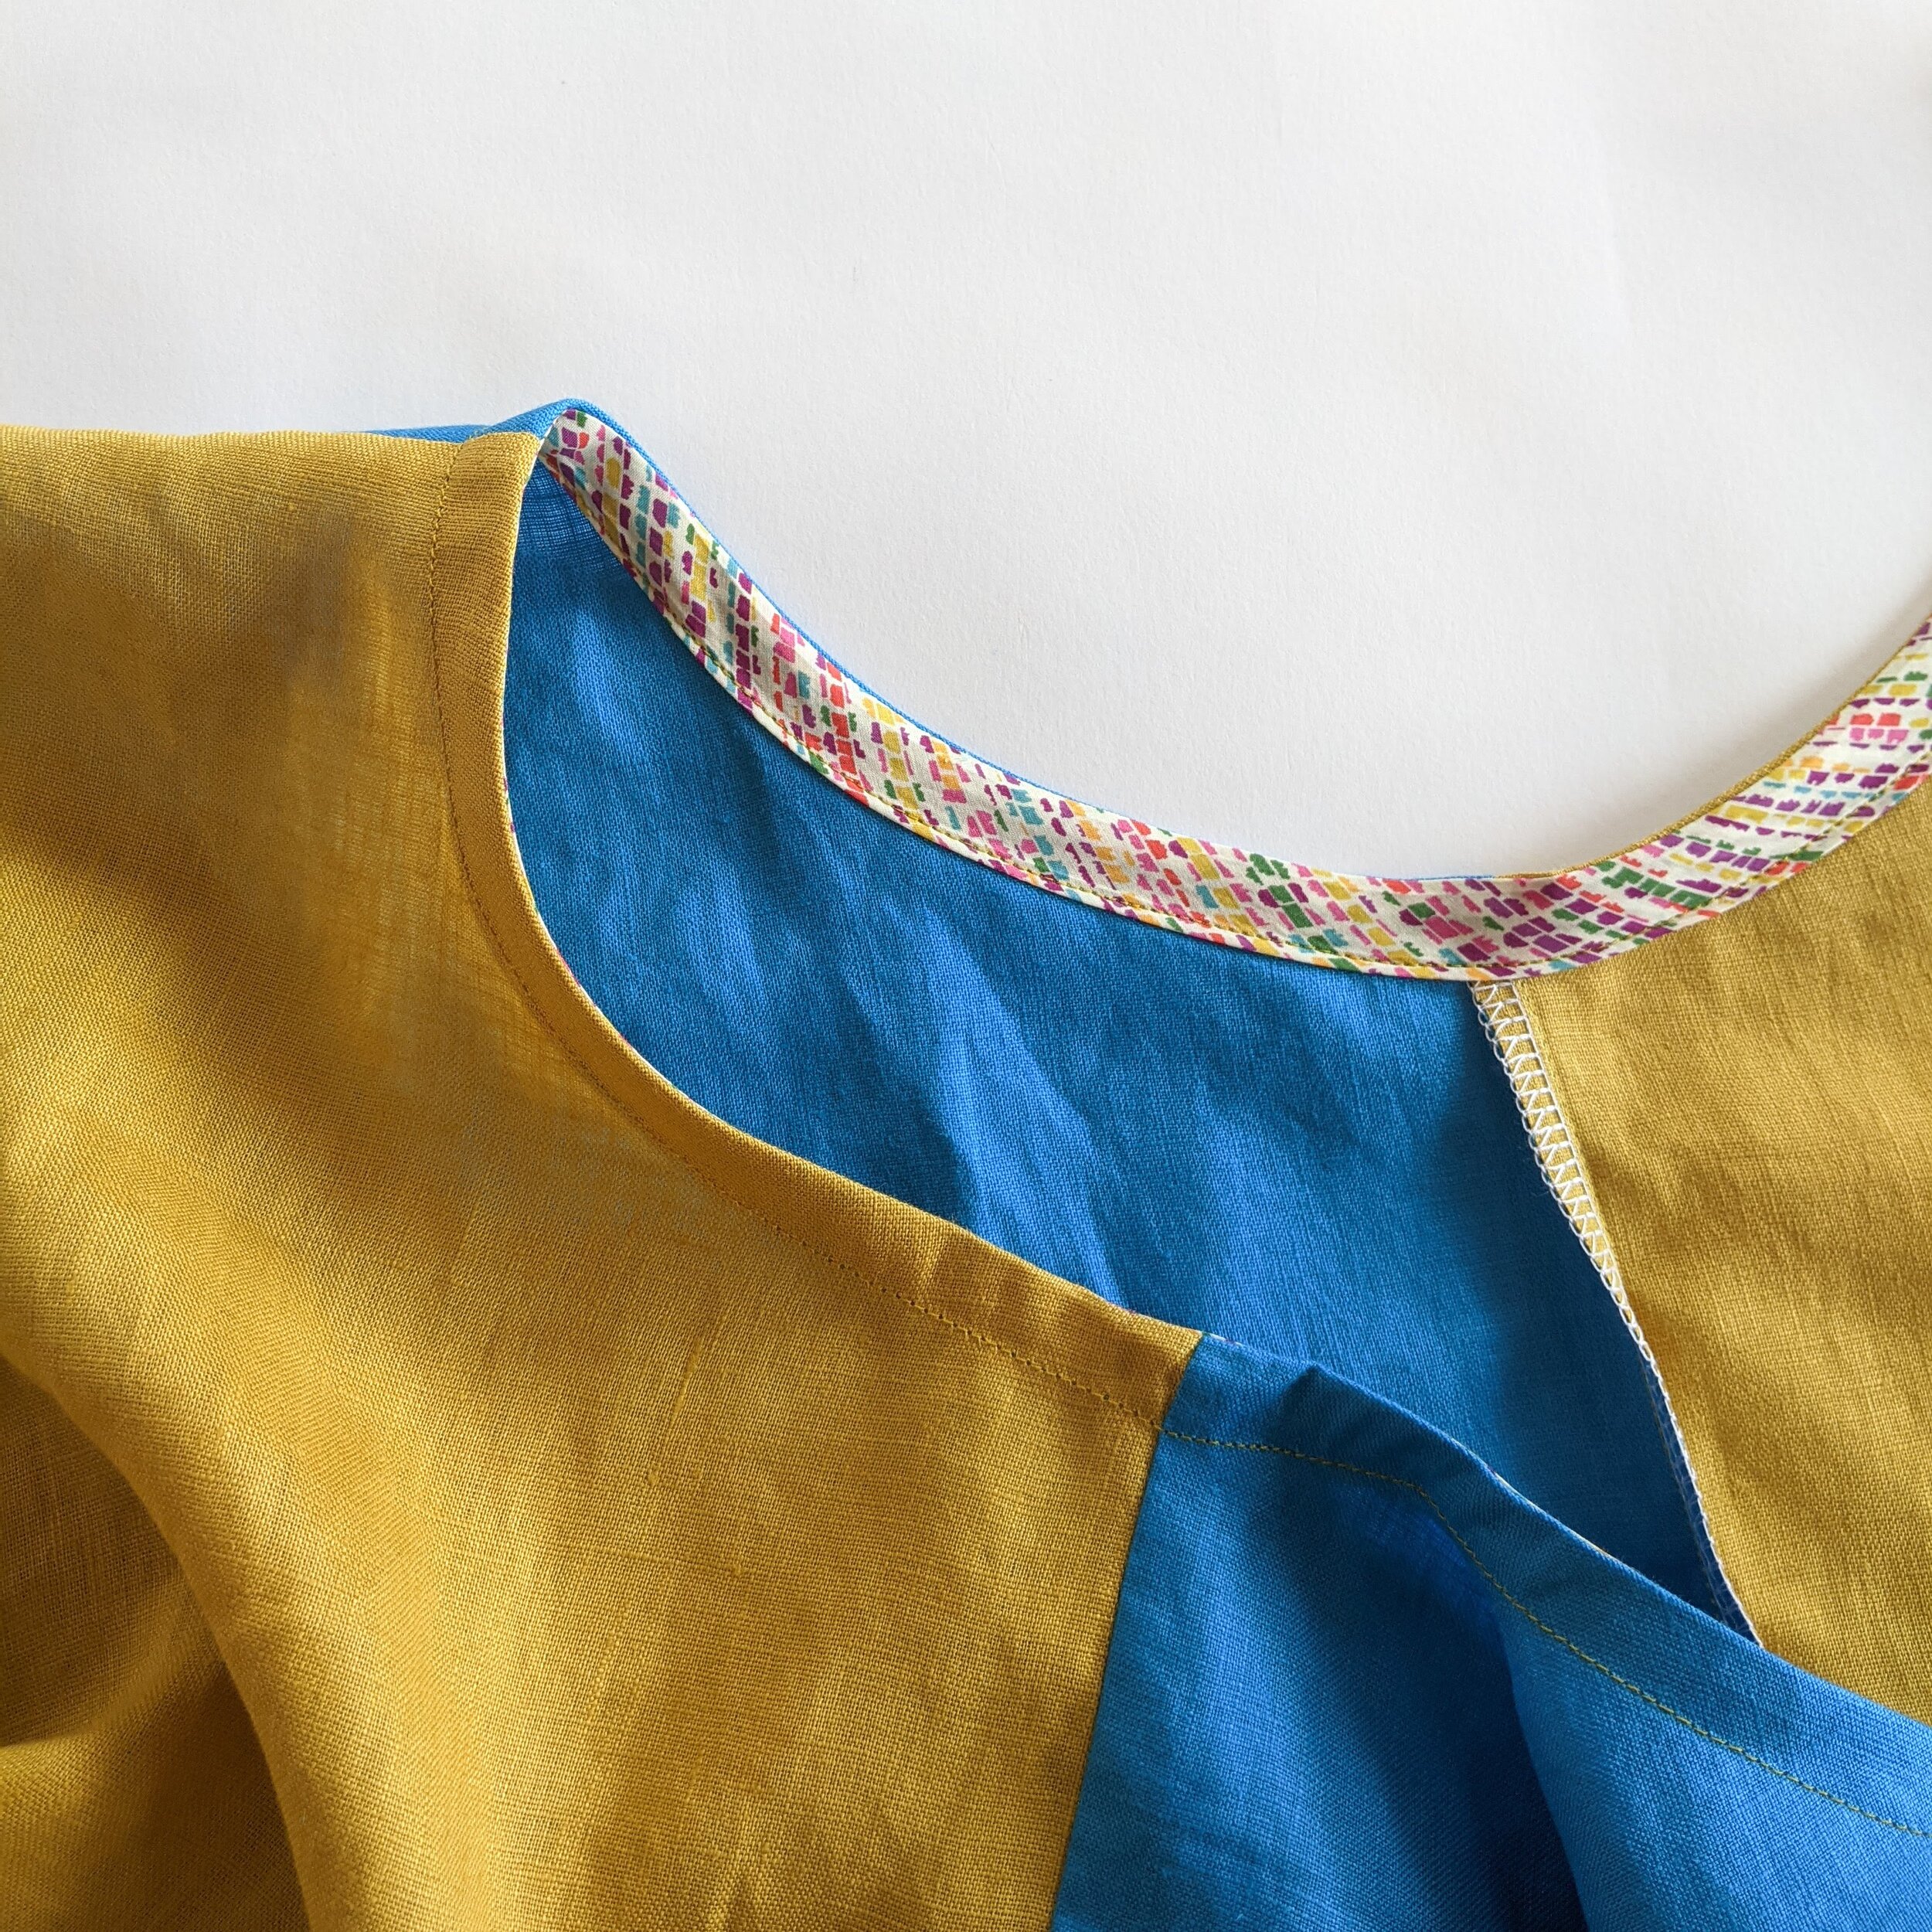
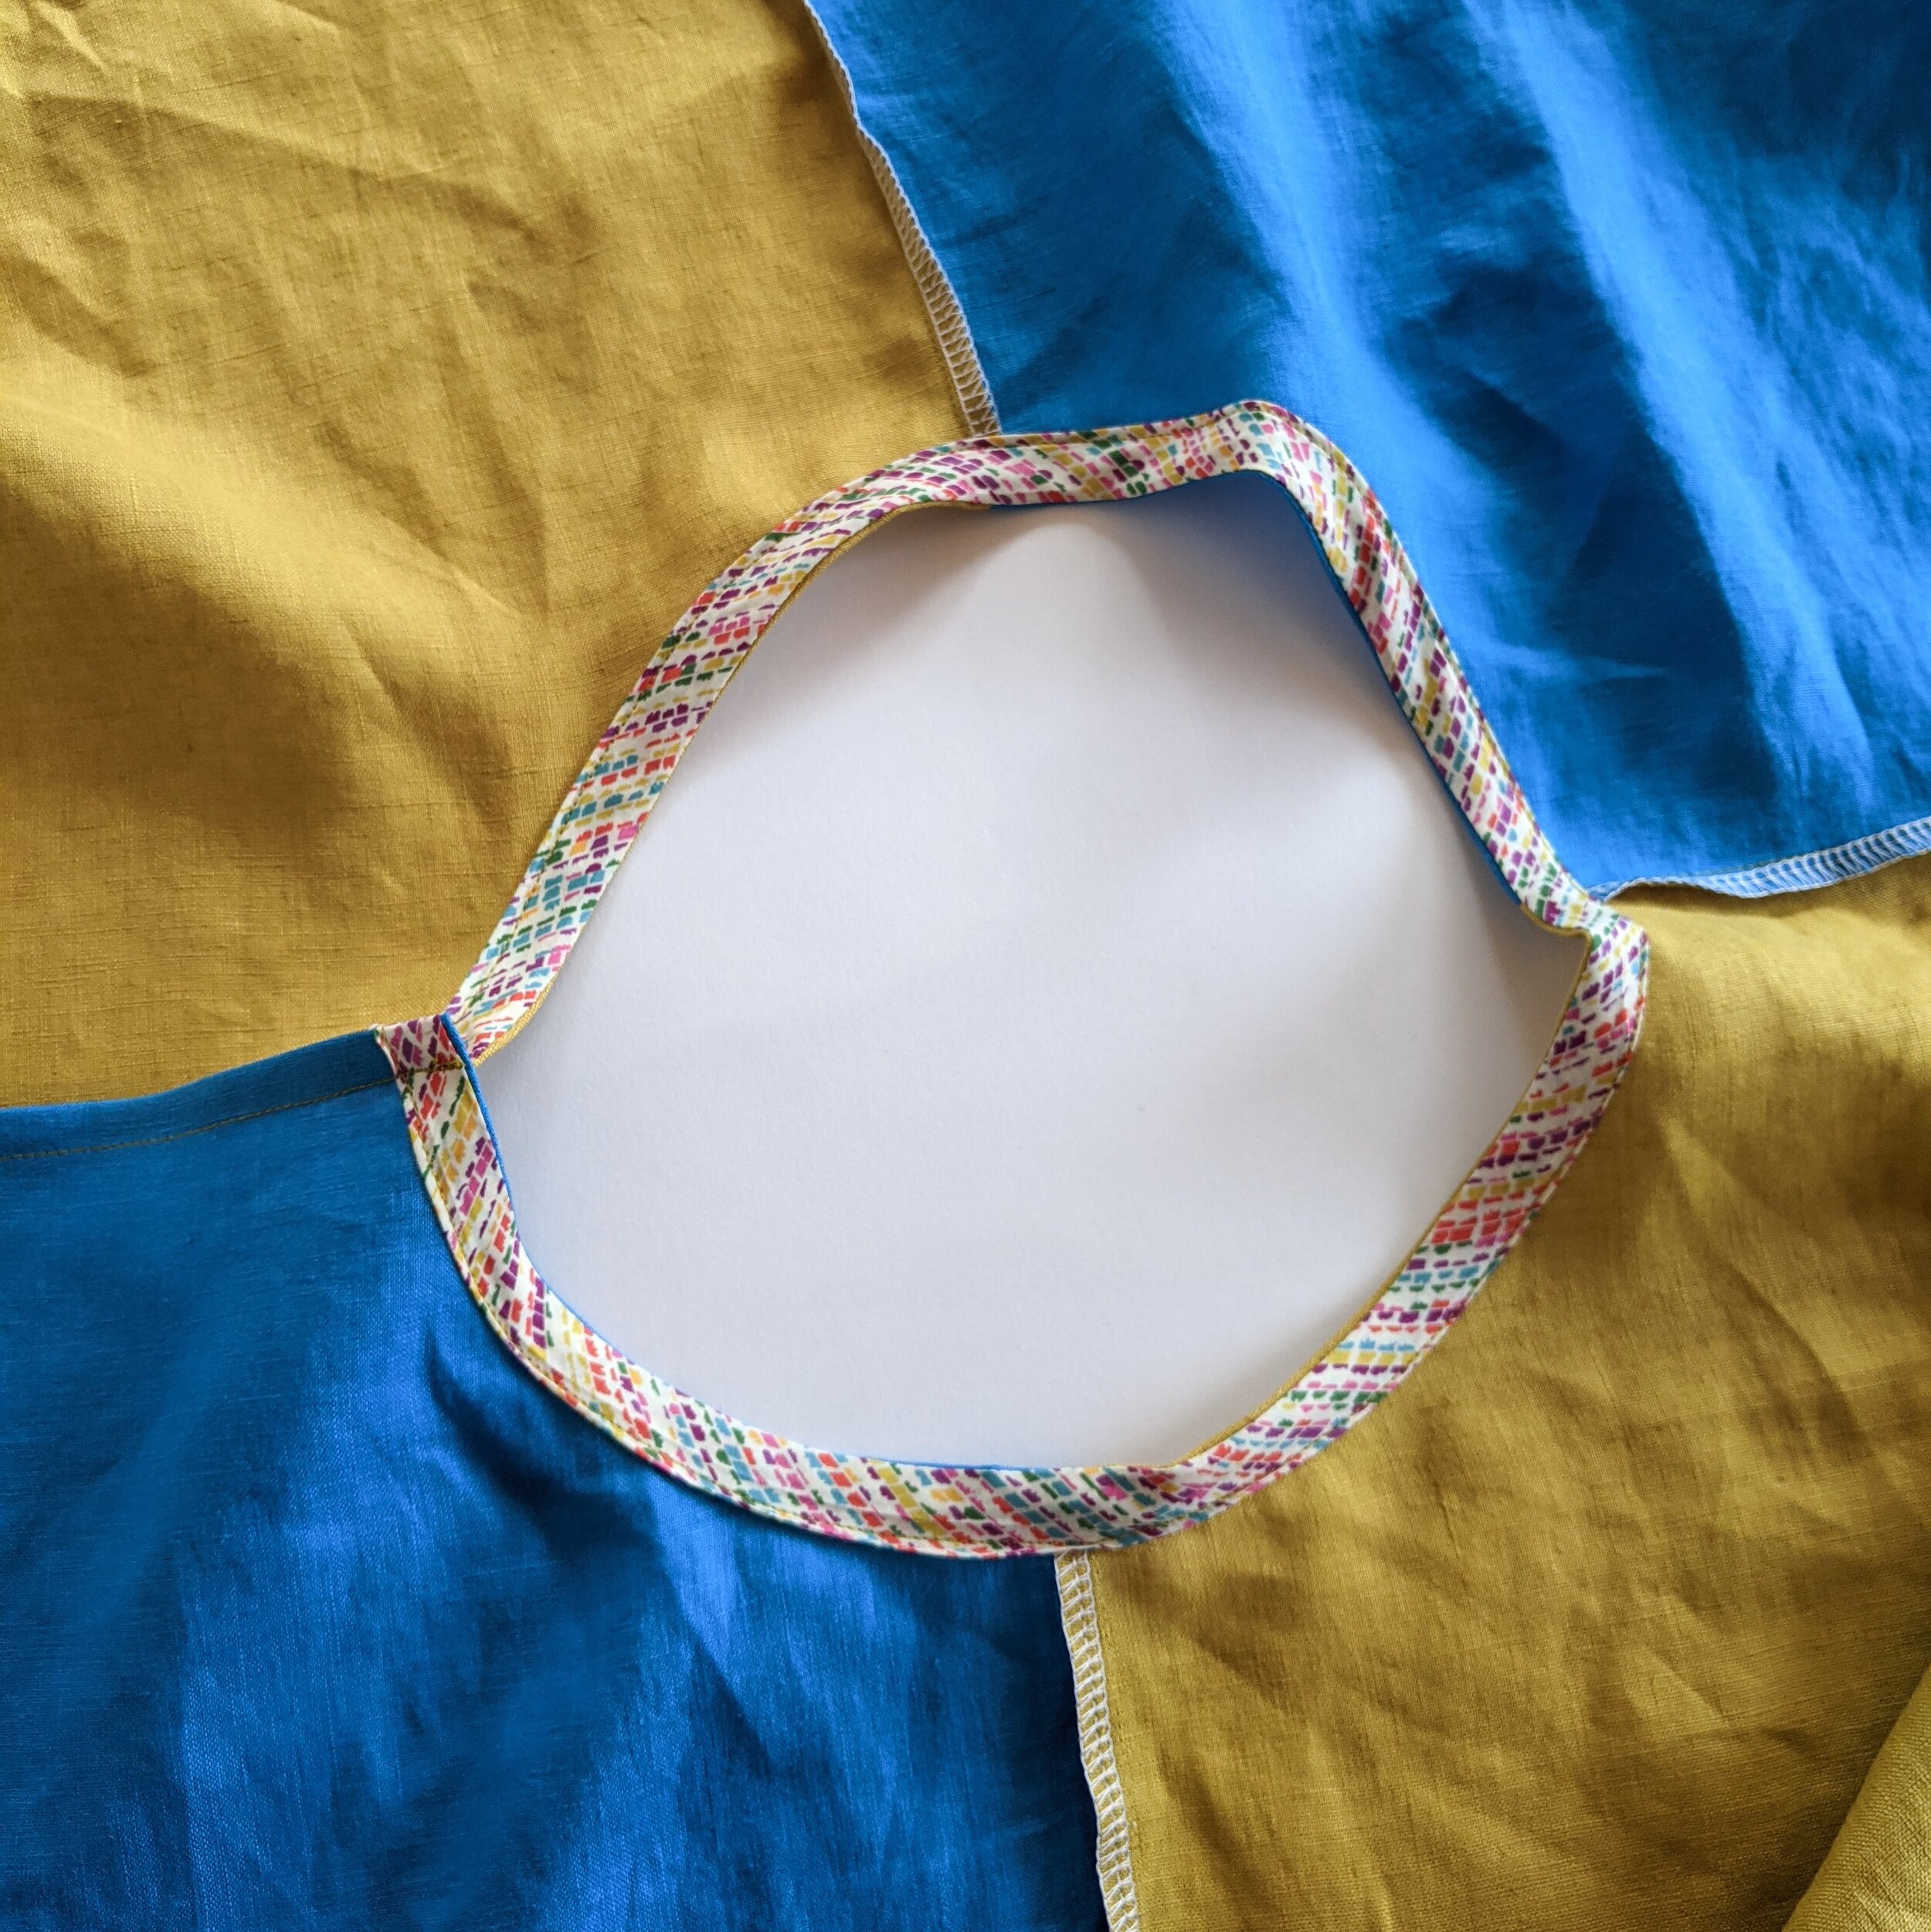
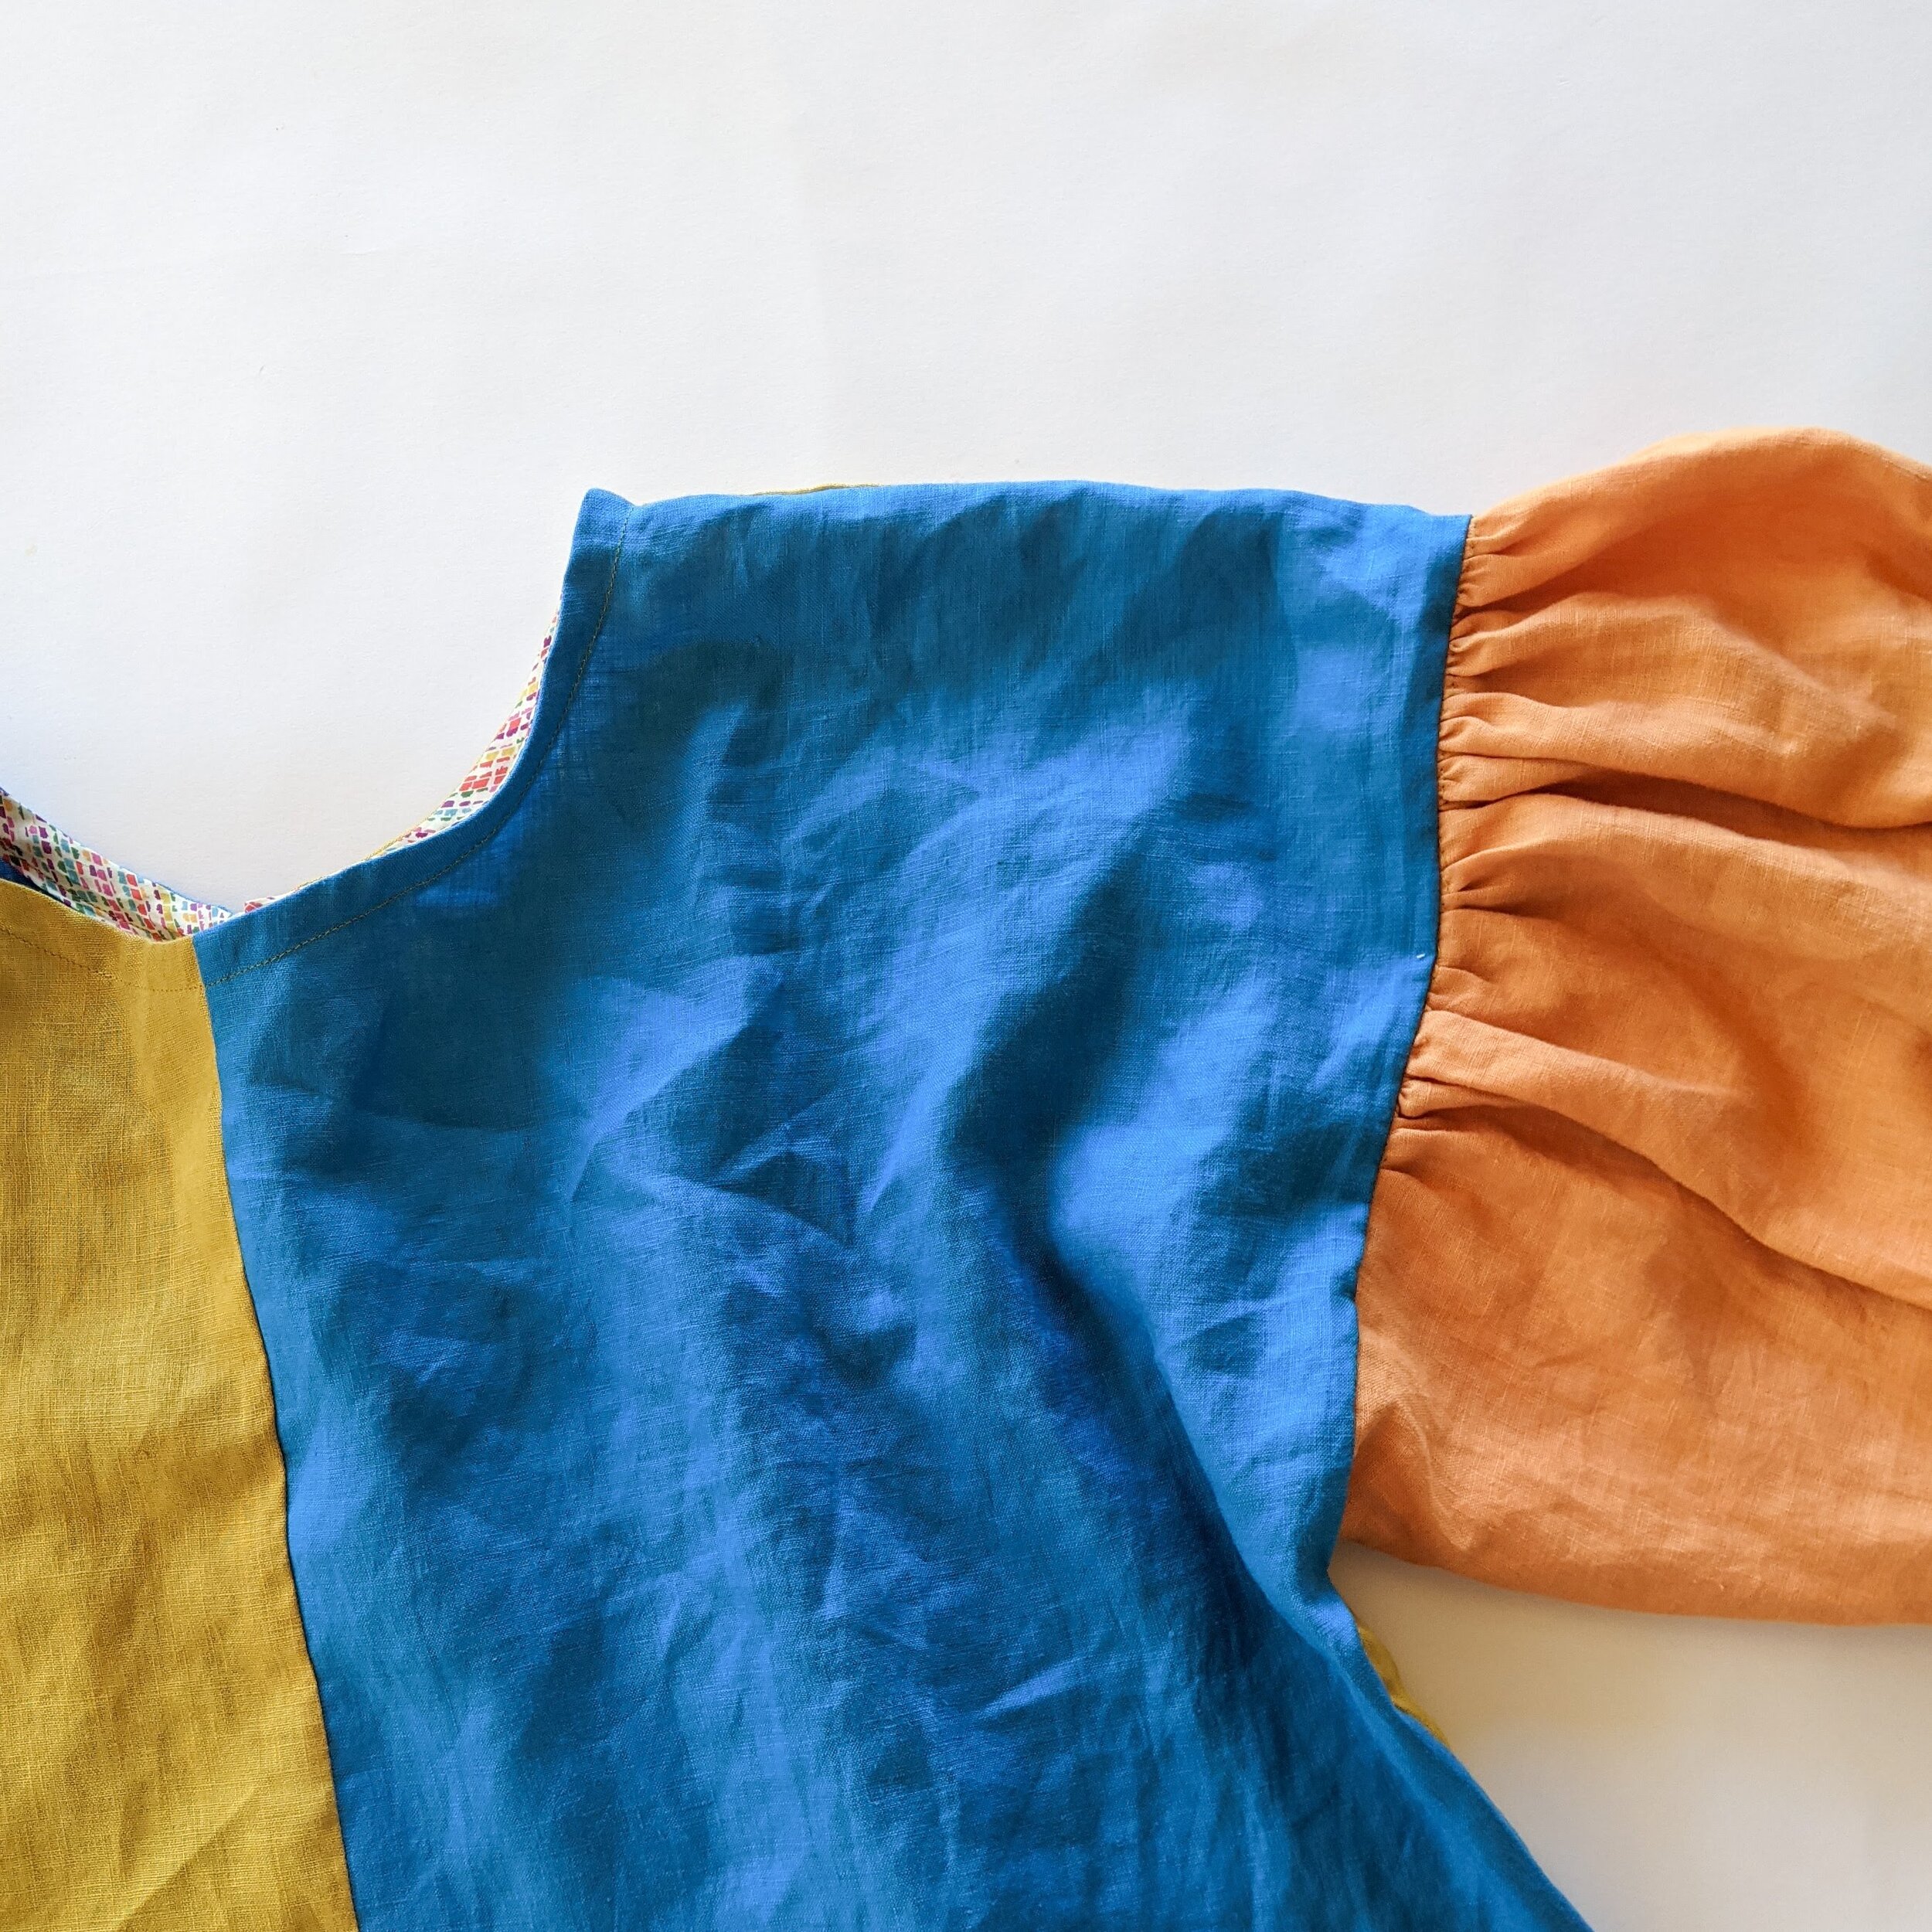
Before sewing the sleeves, I marked the middle with chalk so I could line it up with the shoulder seam later. I also marked 12cm in from each side as a guide for where to start and finish gathering. The diagram below shows the gathering line, 12cm in from the side. The finished length of my sleeves after gathering was 60cm. Then I attached them and sewed up the side seams like normal. Finally, I made casings at the end of each sleeve and inserted elastic. That’s it!

Fabric: These incredible linen colours are courtesy of The Fine Cloth Company. I used 50cm of Electric Blue, Apricot, Dijon and Candy Apple from their Linen Collection.


