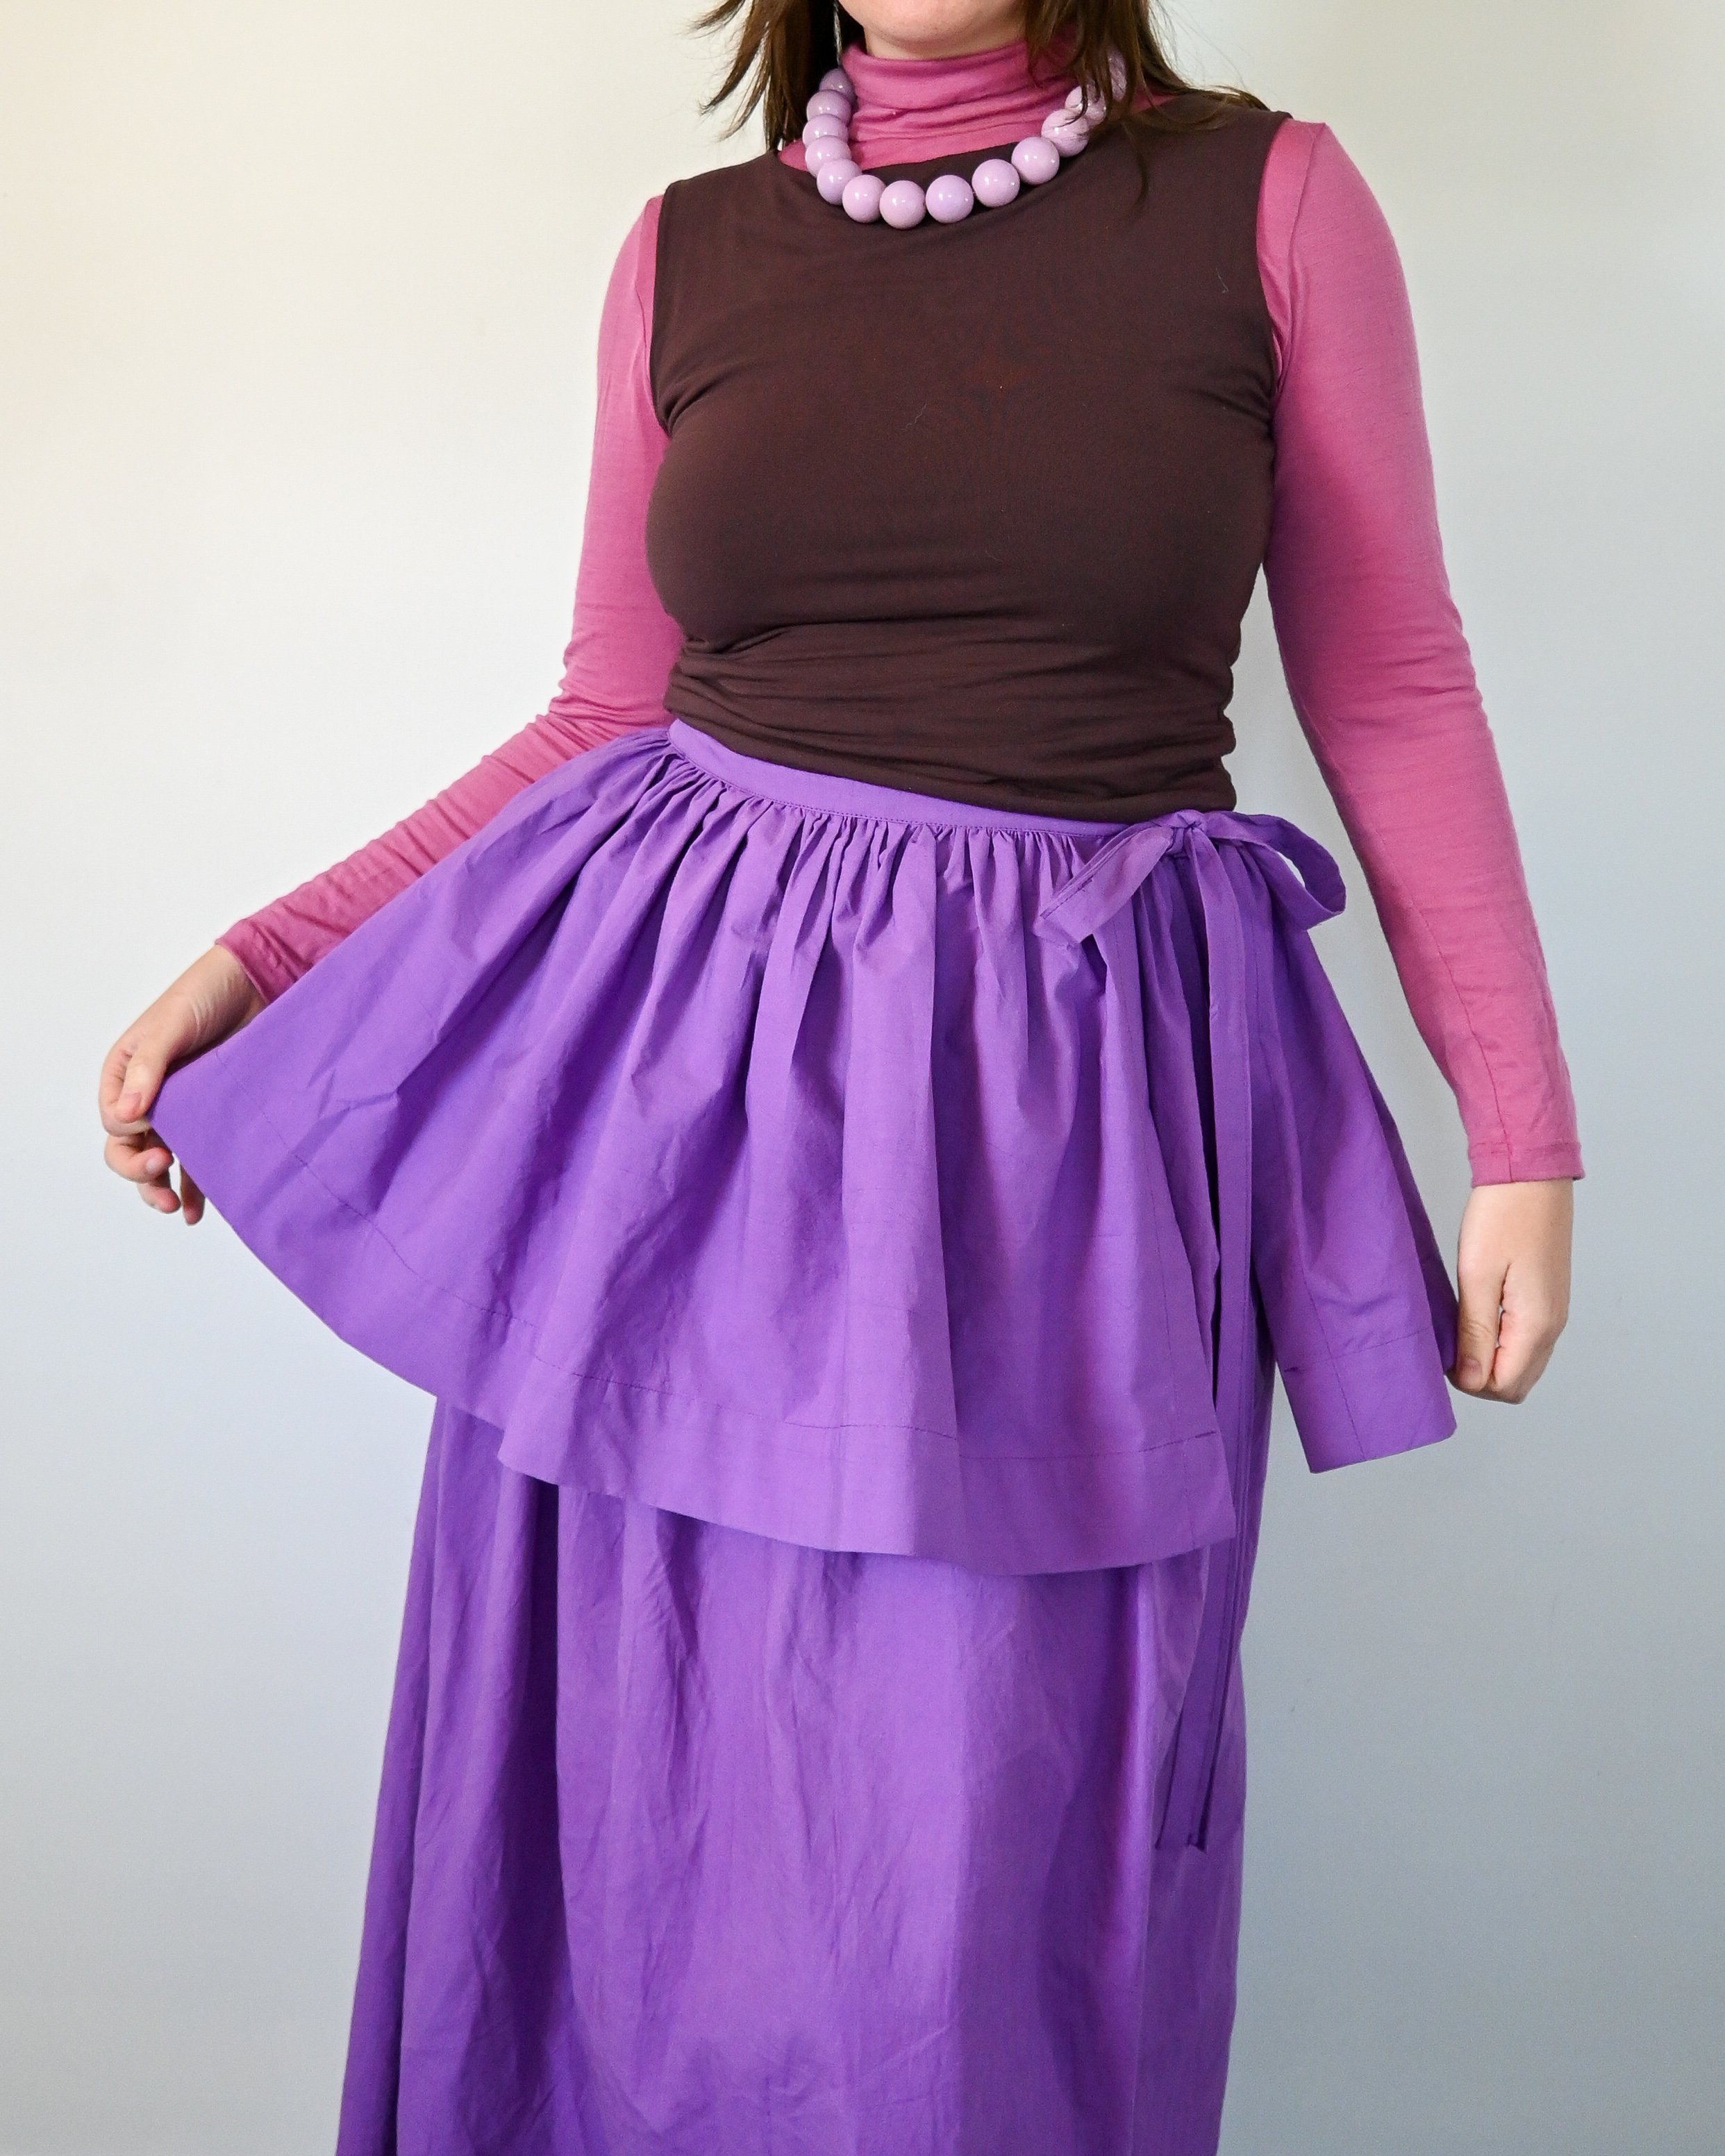
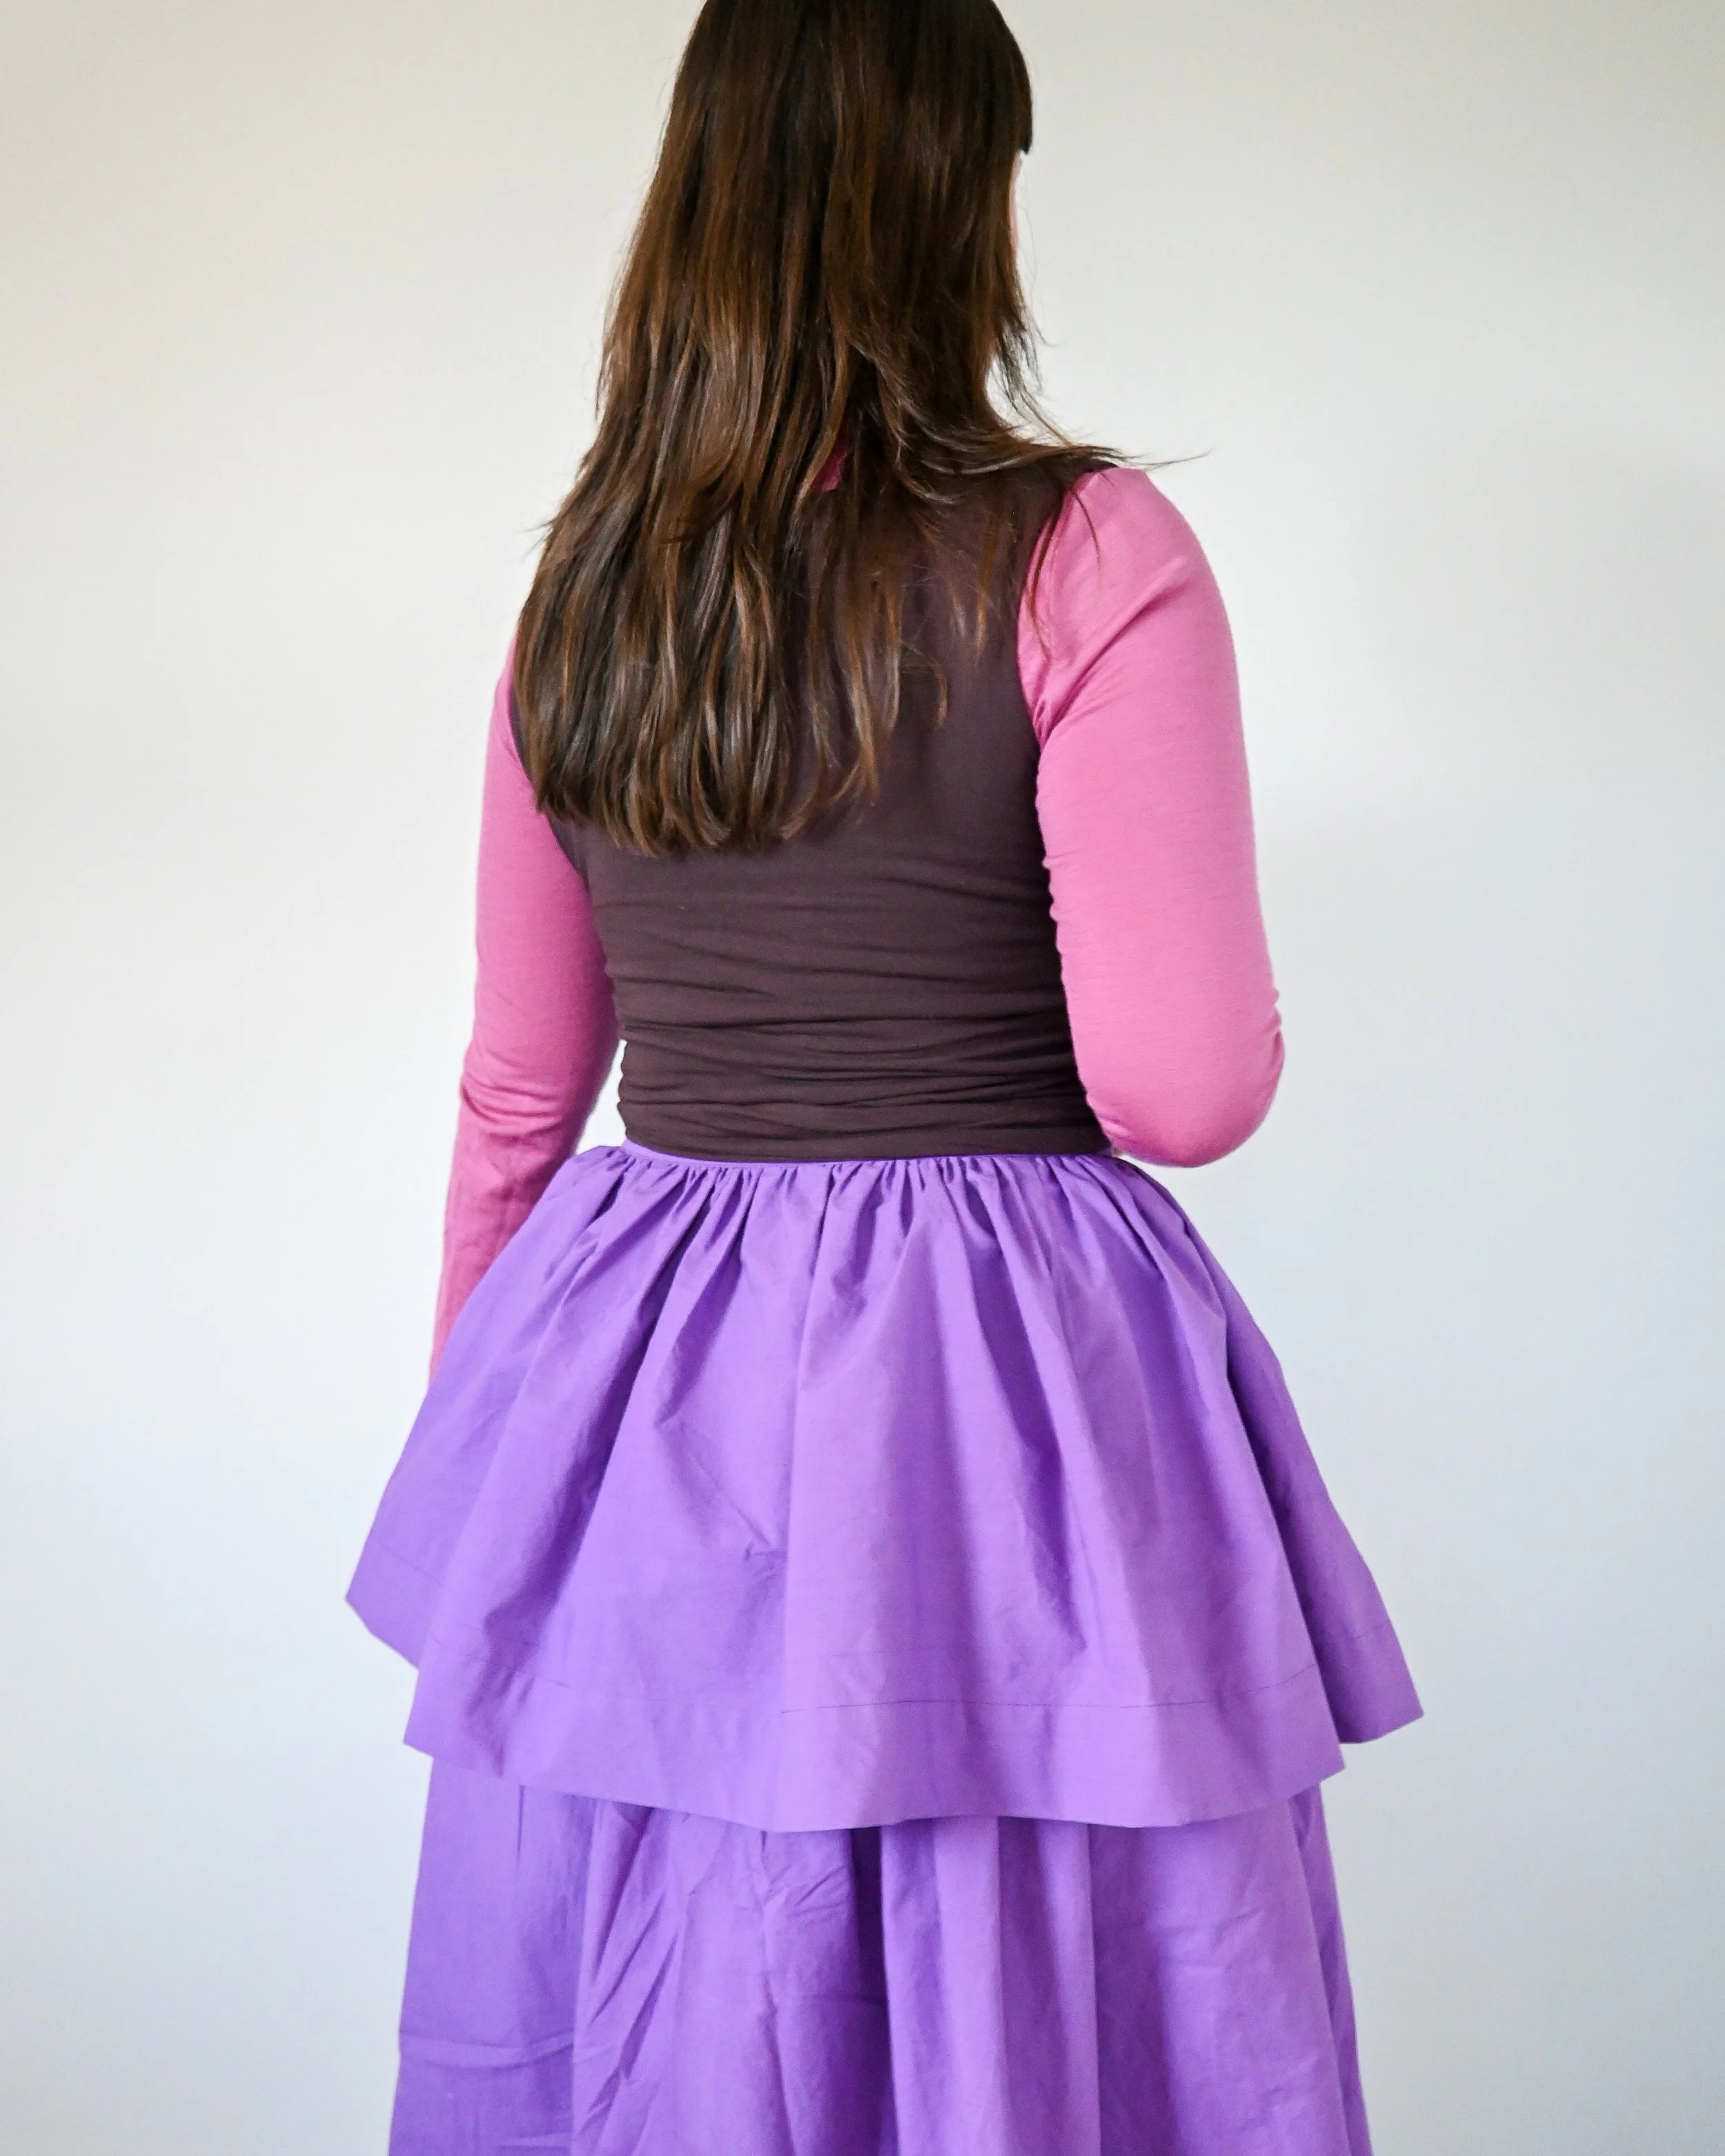
DIY Gathered Skirt Belt
I’ve been spotting the cutest skirt belts and ruffle belts all over Pinterest lately, and I love how they add more layers and dimension to an outfit. They actually reminded me of the gathered collar from my book Sew It Yourself, so I decided to use the same technique to make my own version. With just a few tweaks to the dimensions, this sweet gathered belt came to life! It's a quick and fun project using lightweight woven fabrics, perfect for offcuts too!
Fabric Suggestion:
About 1m of lightweight woven fabric like cotton shirting, poplin or linen, depending on the finish you’d like.
Self drafting tip:
Draw a rectangle that is a scaled-down version of your fabric. If you haven't purchased your fabric yet and are trying to determine how much fabric you need, you can choose a standard fabric width like 110cm or 135cm. For example, if my fabric is 140cm wide and 2 meters high, draw a rectangle 14cm wide and 20cm high.
Formula:
Rectangle width = Fabric width / 10
Rectangle Height = Fabric length / 10
Then you can scale down the pattern pieces and draw them inside your rectangle. Remember to place them all facing the same direction. Once you have drawn all the required pattern pieces, add up the heights, giving you a rough fabric amount. I always like to buy a little extra if my calculations are off or in case I make a mistake.
Pattern Pieces:
Use the formulas below to calculate the dimensions of your pattern pieces. If your fabric isn’t wide enough, especially if you're using offcuts like I did, you may need to join pieces together.
Skirt:
Width = Waist circumference (your full waist measurement) x 2
Height = Desired height x 2
Waist Tie:
Width = Waist circumference (your full waist measurement) x 4
Height = 8cm
Method:
Fold the skirt rectangle with right sides together and sew up the short sides with a 1cm seam allowance. Trim the bulk from the seam allowance and turn out the skirt so the right sides are on the outside. Press the seams. It should look like a long envelope or pita pocket.
Prepare the waist tie binding. Fold the rectangle in half lengthwise with the wrong sides facing and press to create a centre crease. Open it up, then fold each long edge in to meet the centre crease, again with the wrong sides facing, and press. Finally, fold the strip in half along the original crease so the right sides are together, and press.
Mark the centre of the skirt along the top edge (the raw edge) and the centre of the waist tie binding.
Gather the raw edge of the skirt and spread the gathers evenly. After it has been gathered, the finished length of the collar should be 10-20cm shorter than your waist, depending on how much of a gap you’d like. Tie it around your waist to test the fit and adjust if necessary.
Match the centre mark on the bias binding and collar and pin along the edge, sandwiching the raw edge inside the waist tie binding. Sew a straight stitch to attach the binding.
Knot the ends of the binding, press all over and trim any loose threads.