DIY Door Stop Tutorial

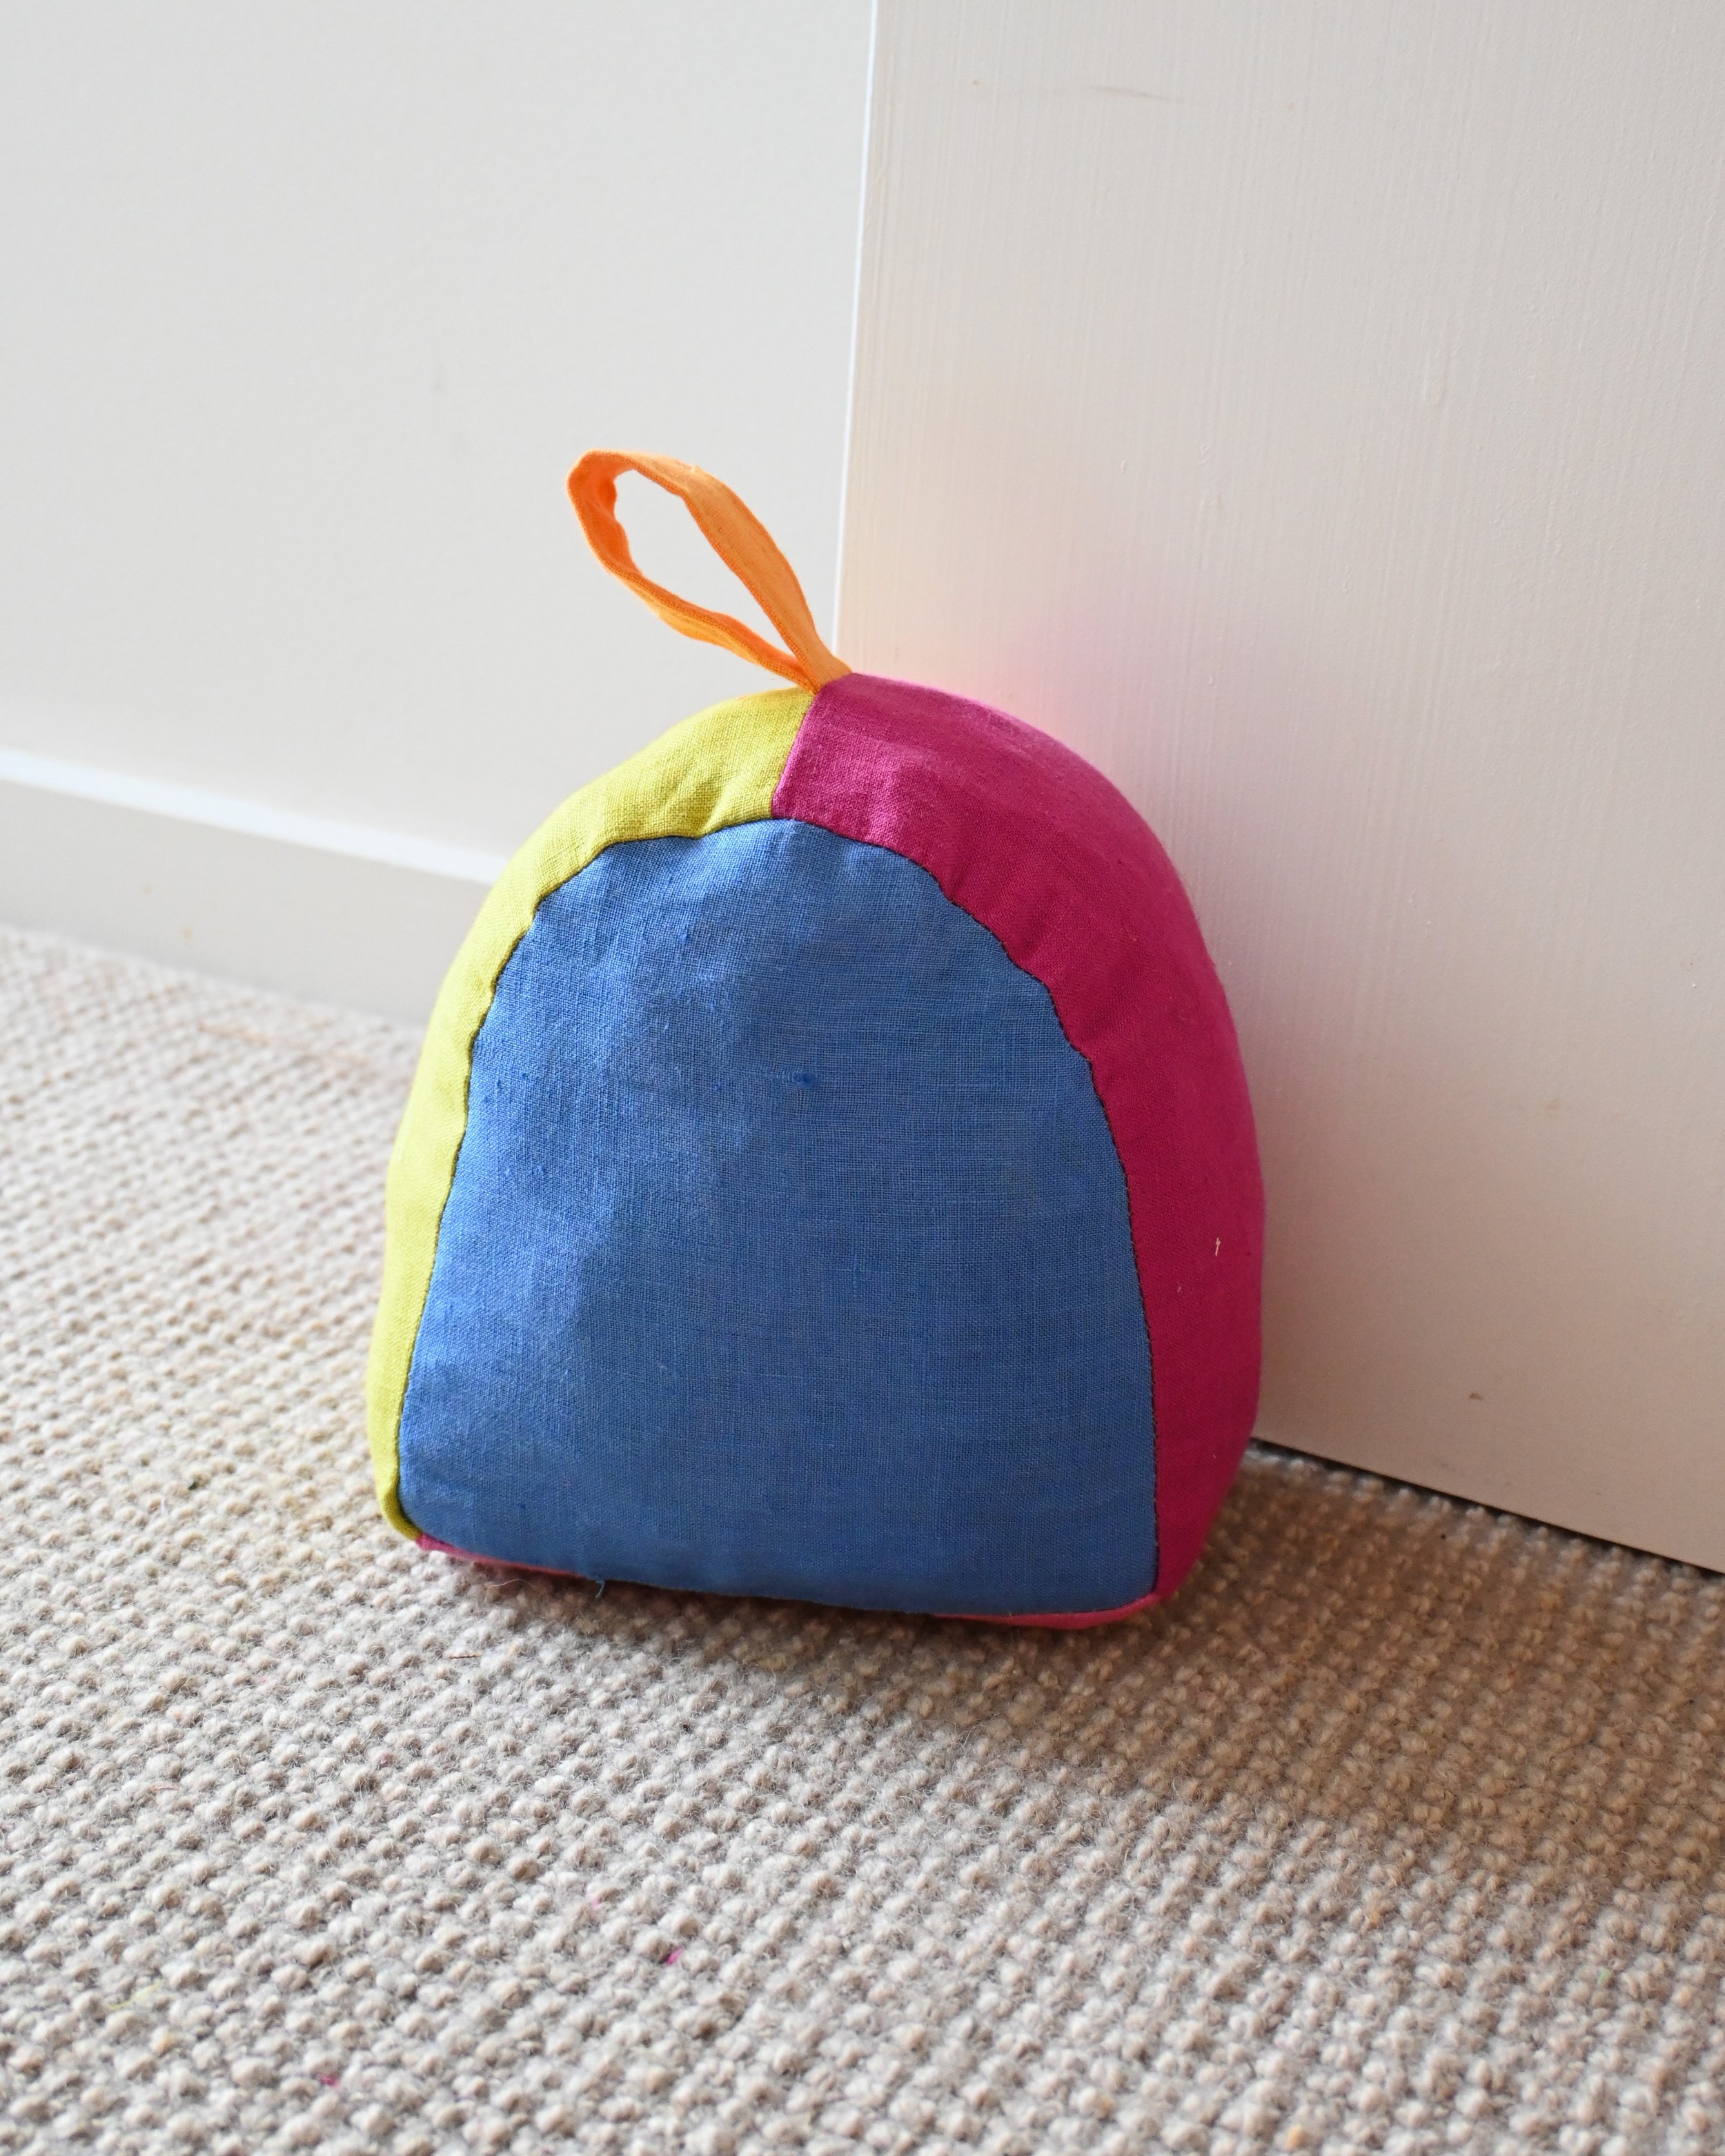
I needed a doorstop to replace the 5kg dumbbell holding my door open, so I dreamed up this DIY Door Lump or, for SEO purposes DIY Doorstop! Colour block the panels, mix and match florals, or embroider a face to make it your own and fill it with scraps from your sewing room floor - it’s a scrap buster, but make it cute! Let’s go!
This project is part of my Do It Yourself Decor series, and I will share new projects every month to inspire you to make things for your home. If you’re a brand and want to collaborate on a project, get in touch here.
Please Note:
This sewing pattern tutorial is for personal, non-commercial use only, and no part of this post may be reproduced, transmitted, or shared in any form. Please do not produce items with this pattern and tutorial for resale.


Finished size: The finished size of a Door Lump is about 20cm wide by 20cm high and 12cm thick, but it depends on how much you stuff it full of scraps. The lumpier, the better, I say!
Pattern details: This project uses a 1cm seam allowance, and the seam allowance is already included. Set the printing scale to 100% and print on A4 paper. Click here to download the free PDF pattern.
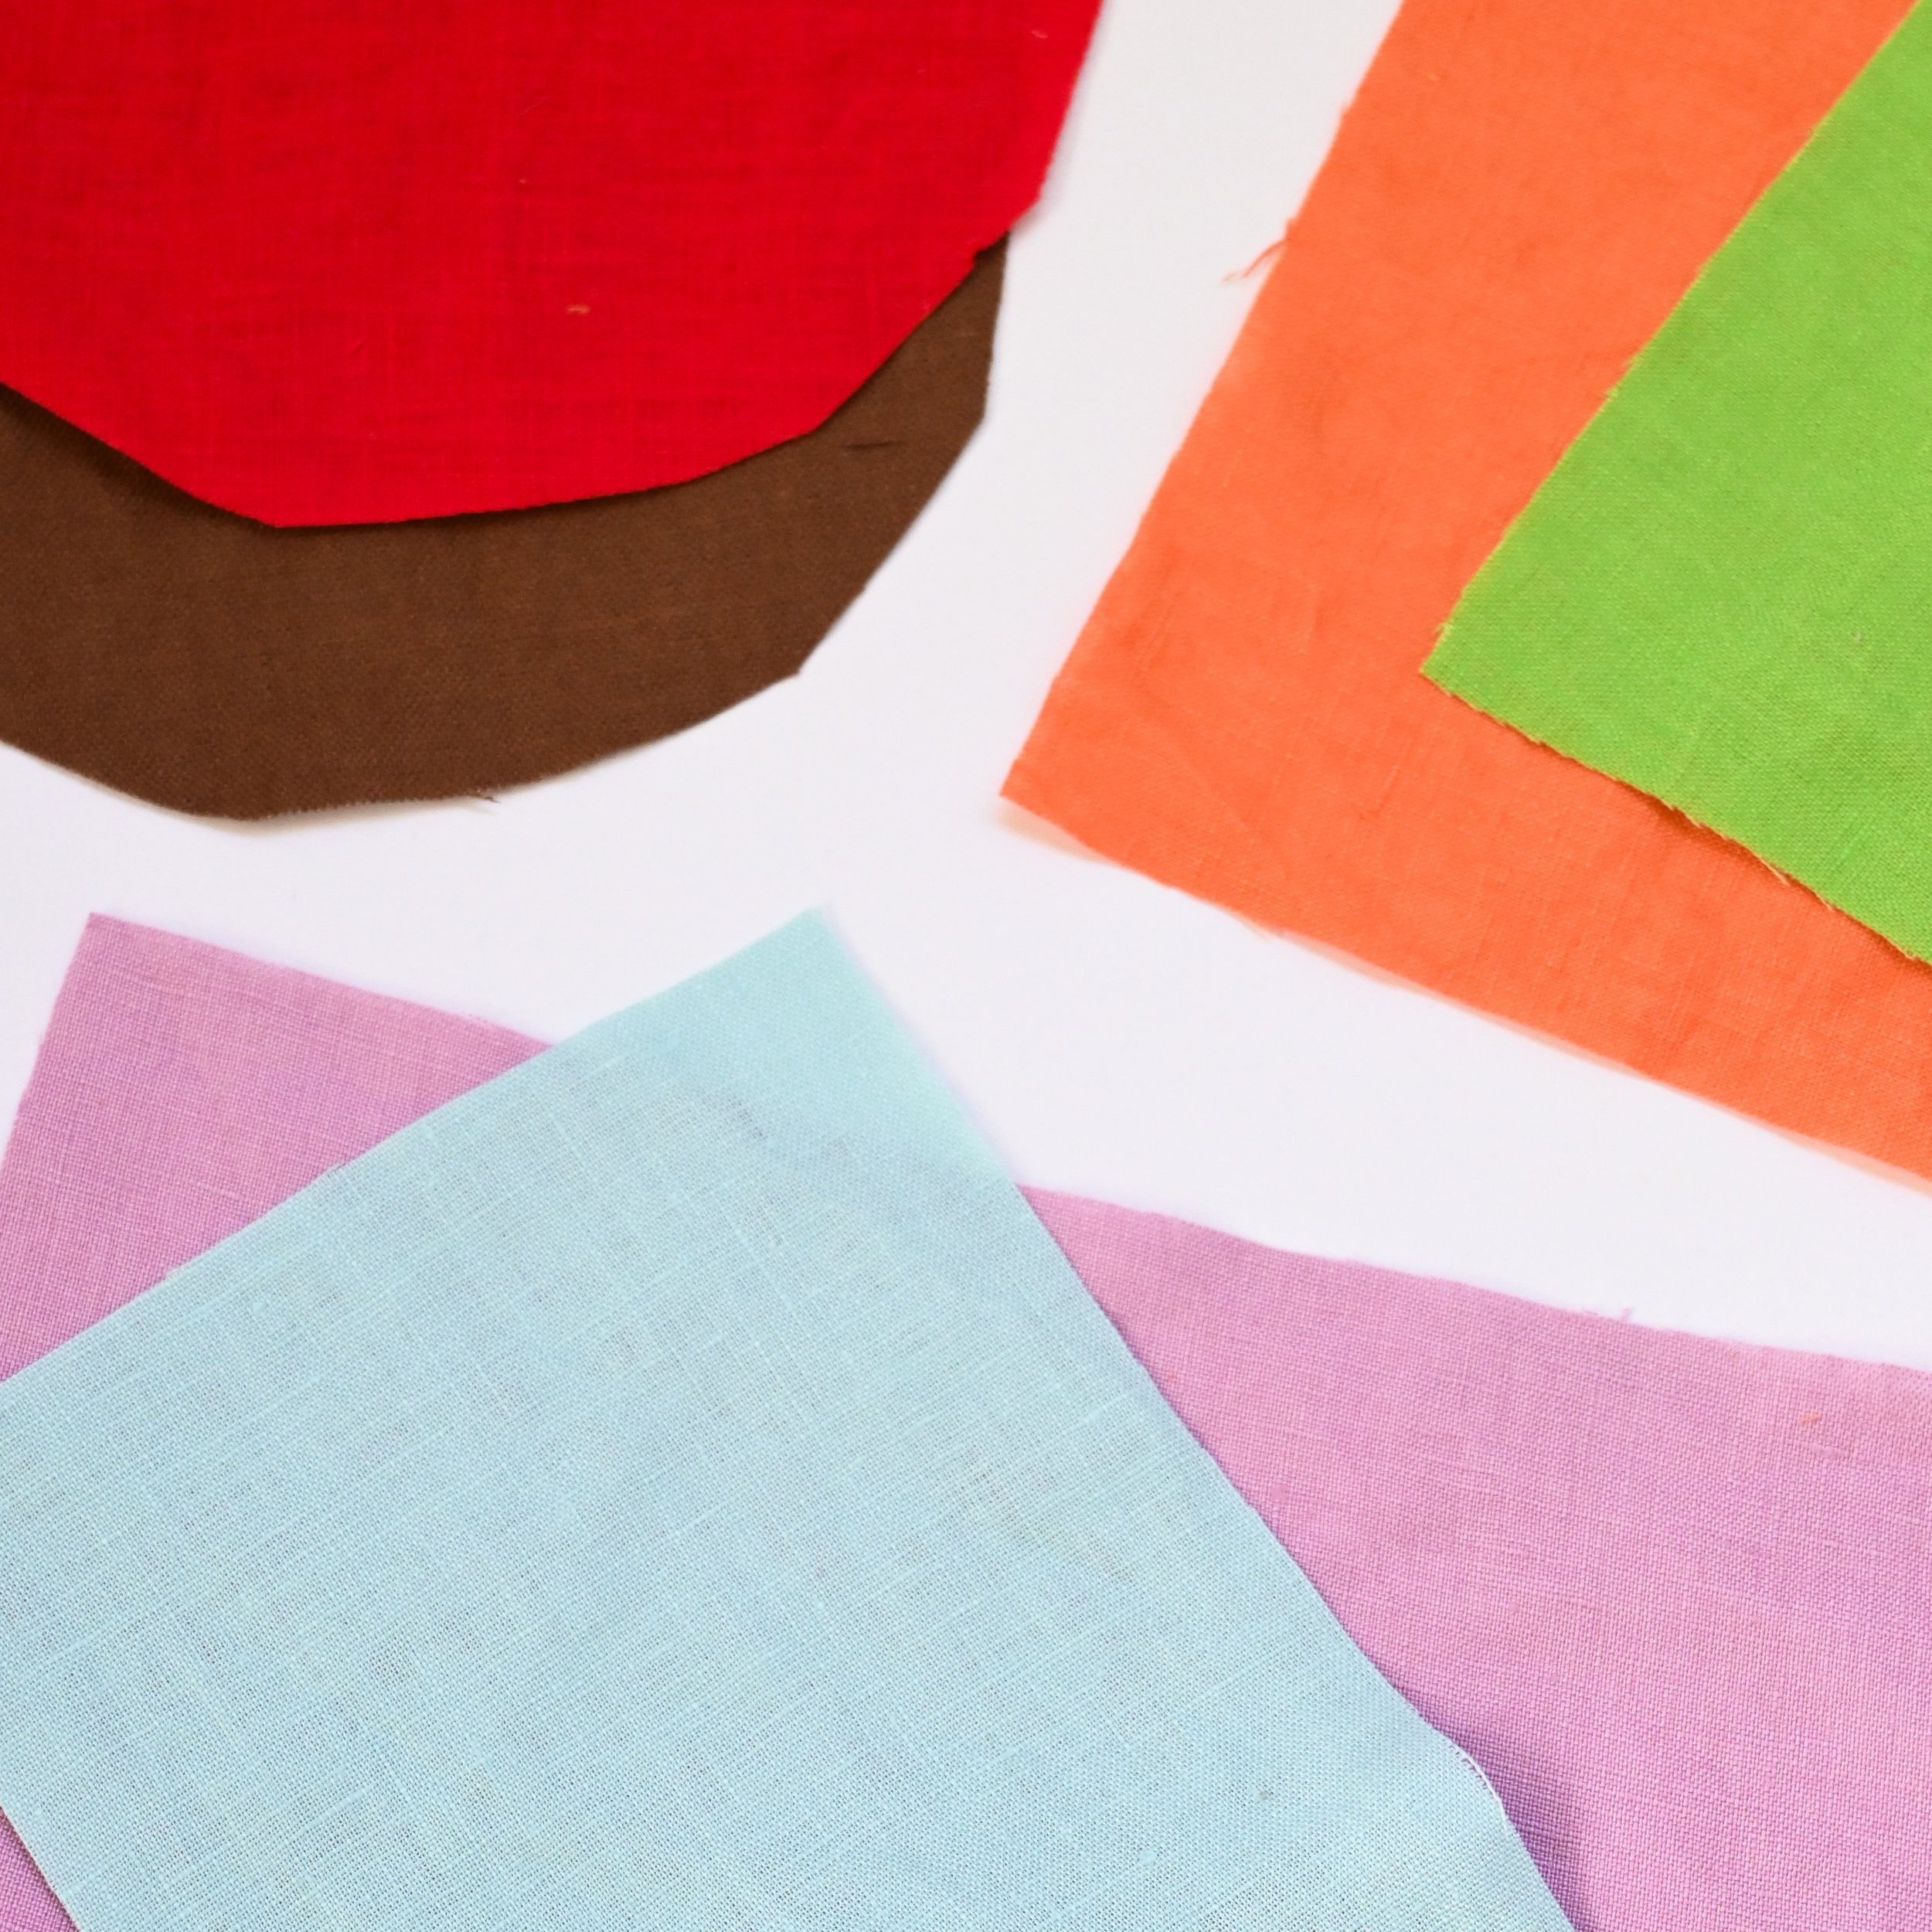
Materials required: mid to heavy weight woven fabric (not stretchy) for the outside, fabric scraps to stuff the inside, threads, scissors, sewing machine, iron and ironing board and a hand sewing needle. If you want to make it heavier, put something heavy inside it like rice, your collection of Ikea Allen keys or sand. If you are unsure, google what else you can put inside a door stop.
Step 1:
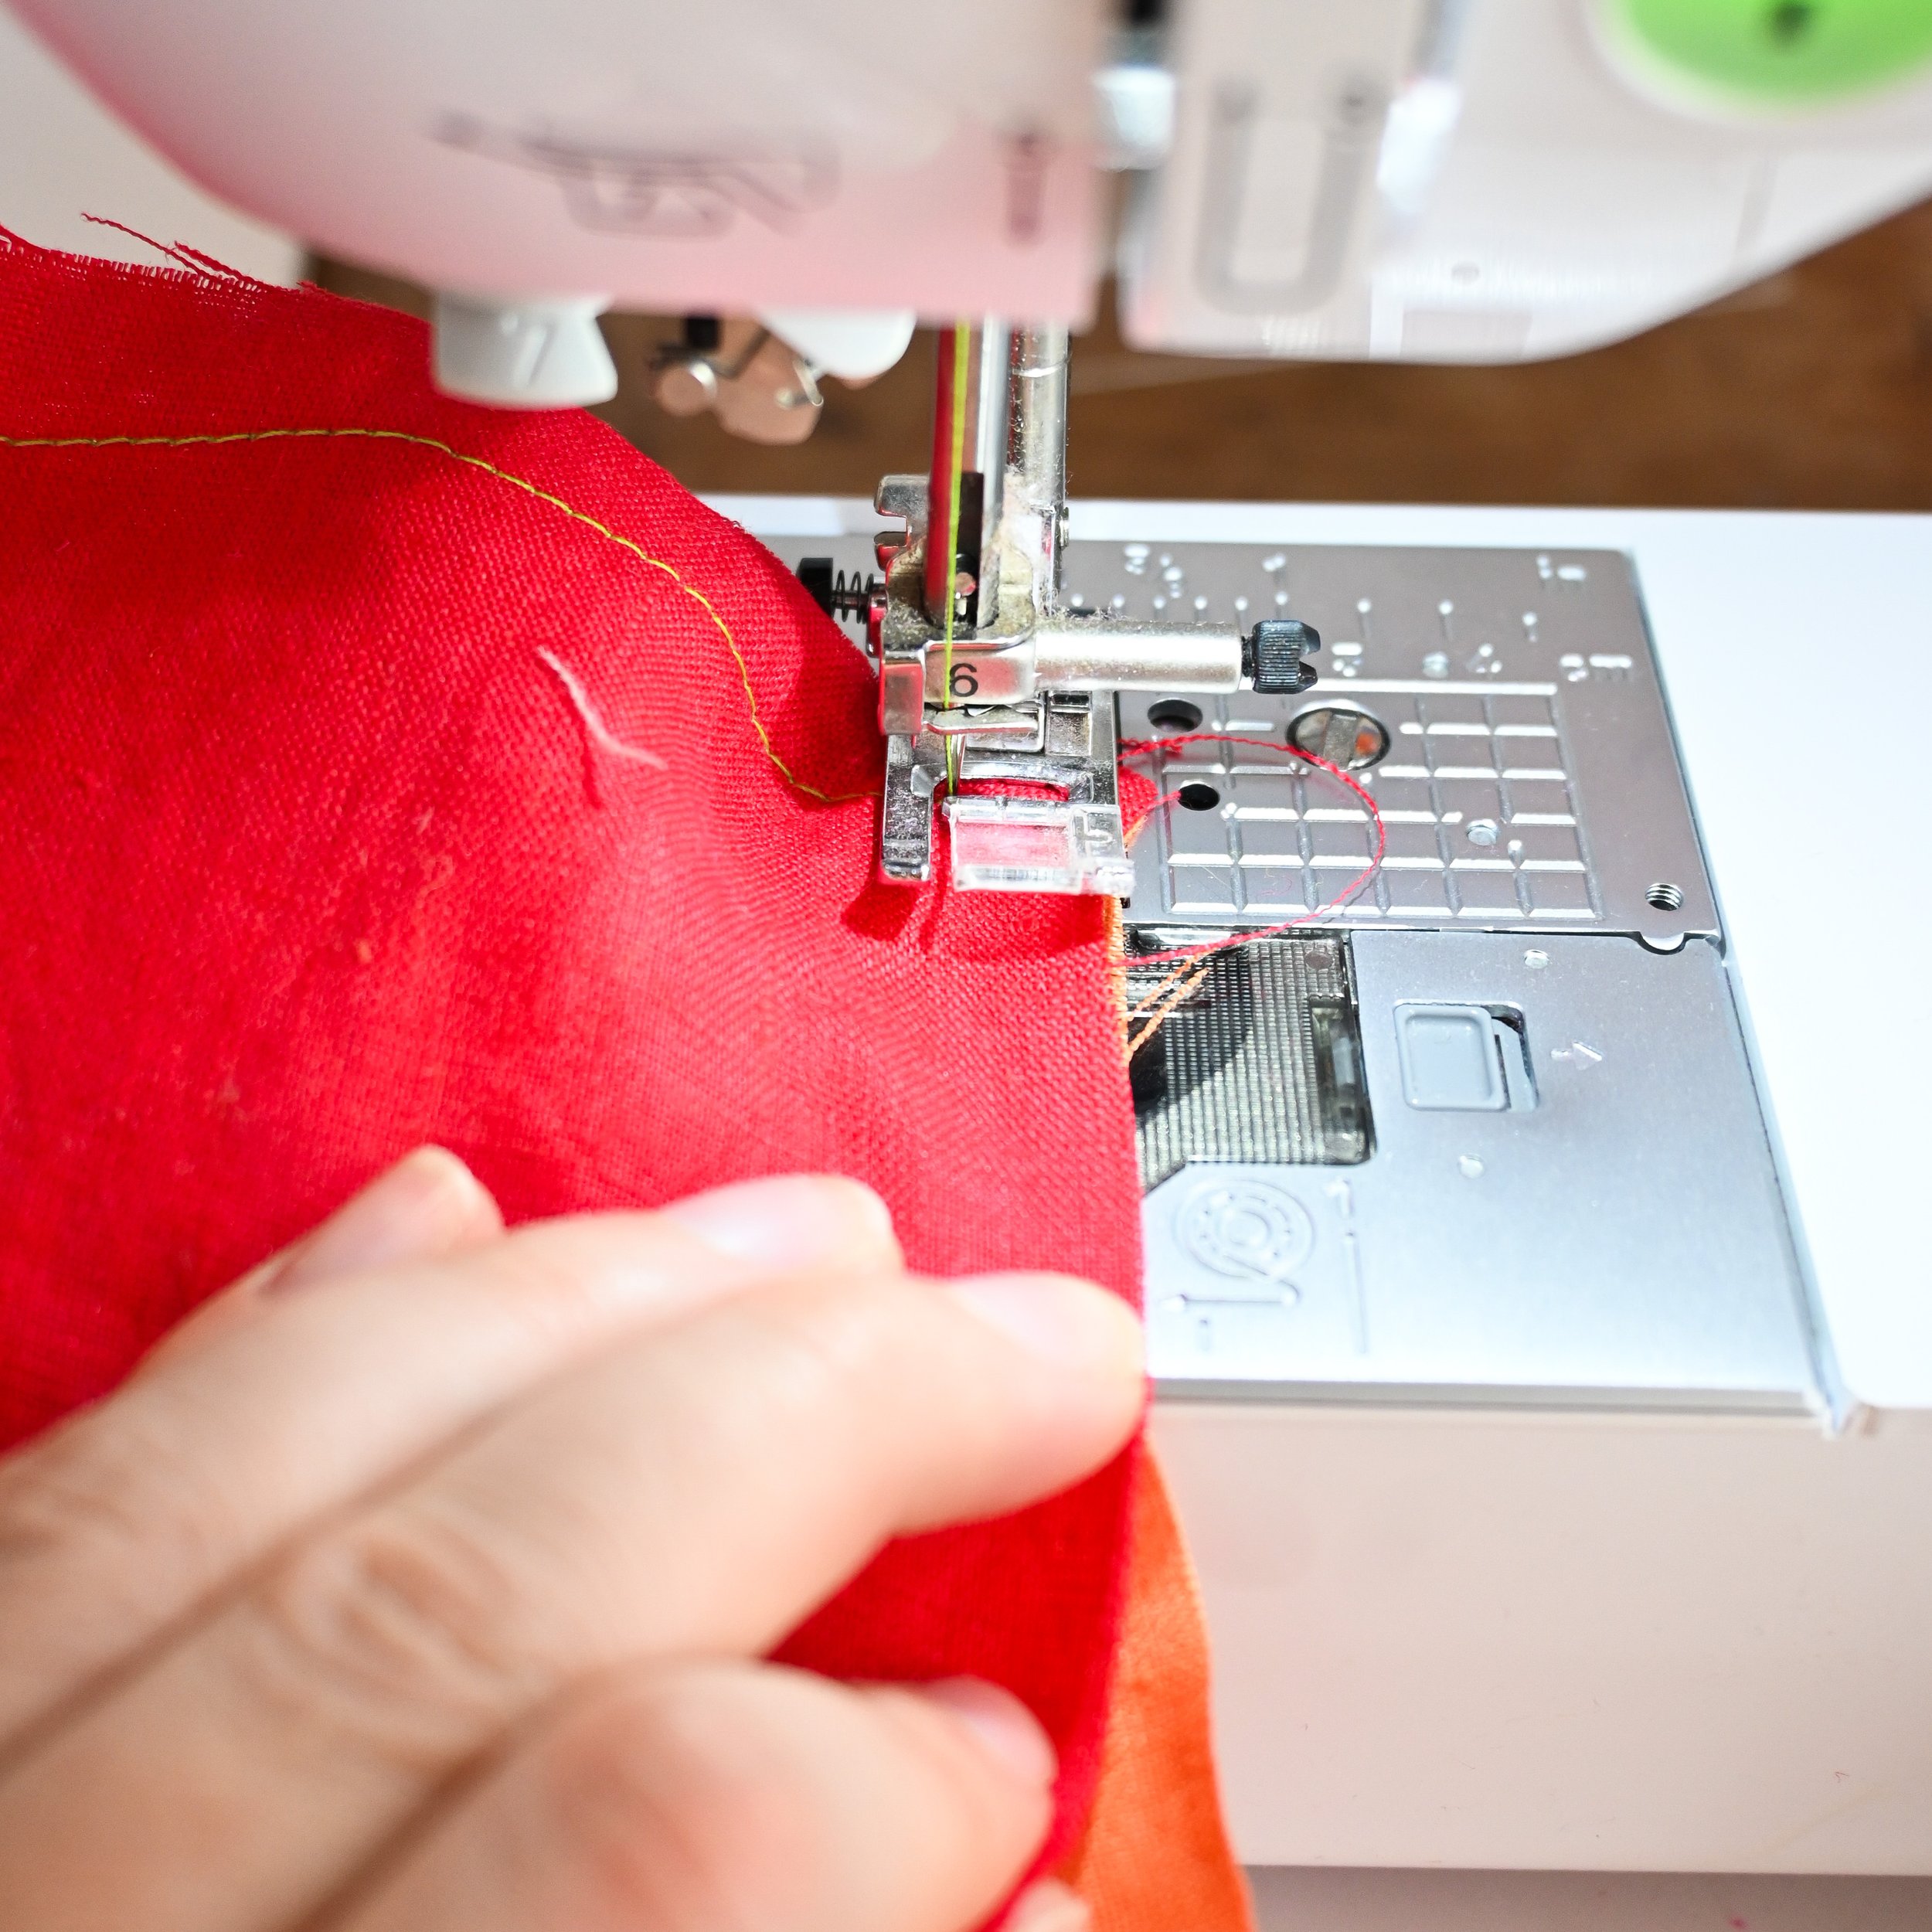
Cut out the pattern pieces using a mid to heavyweight fabric. I’ve used midweight linens because I have lots of it in my remnant box.
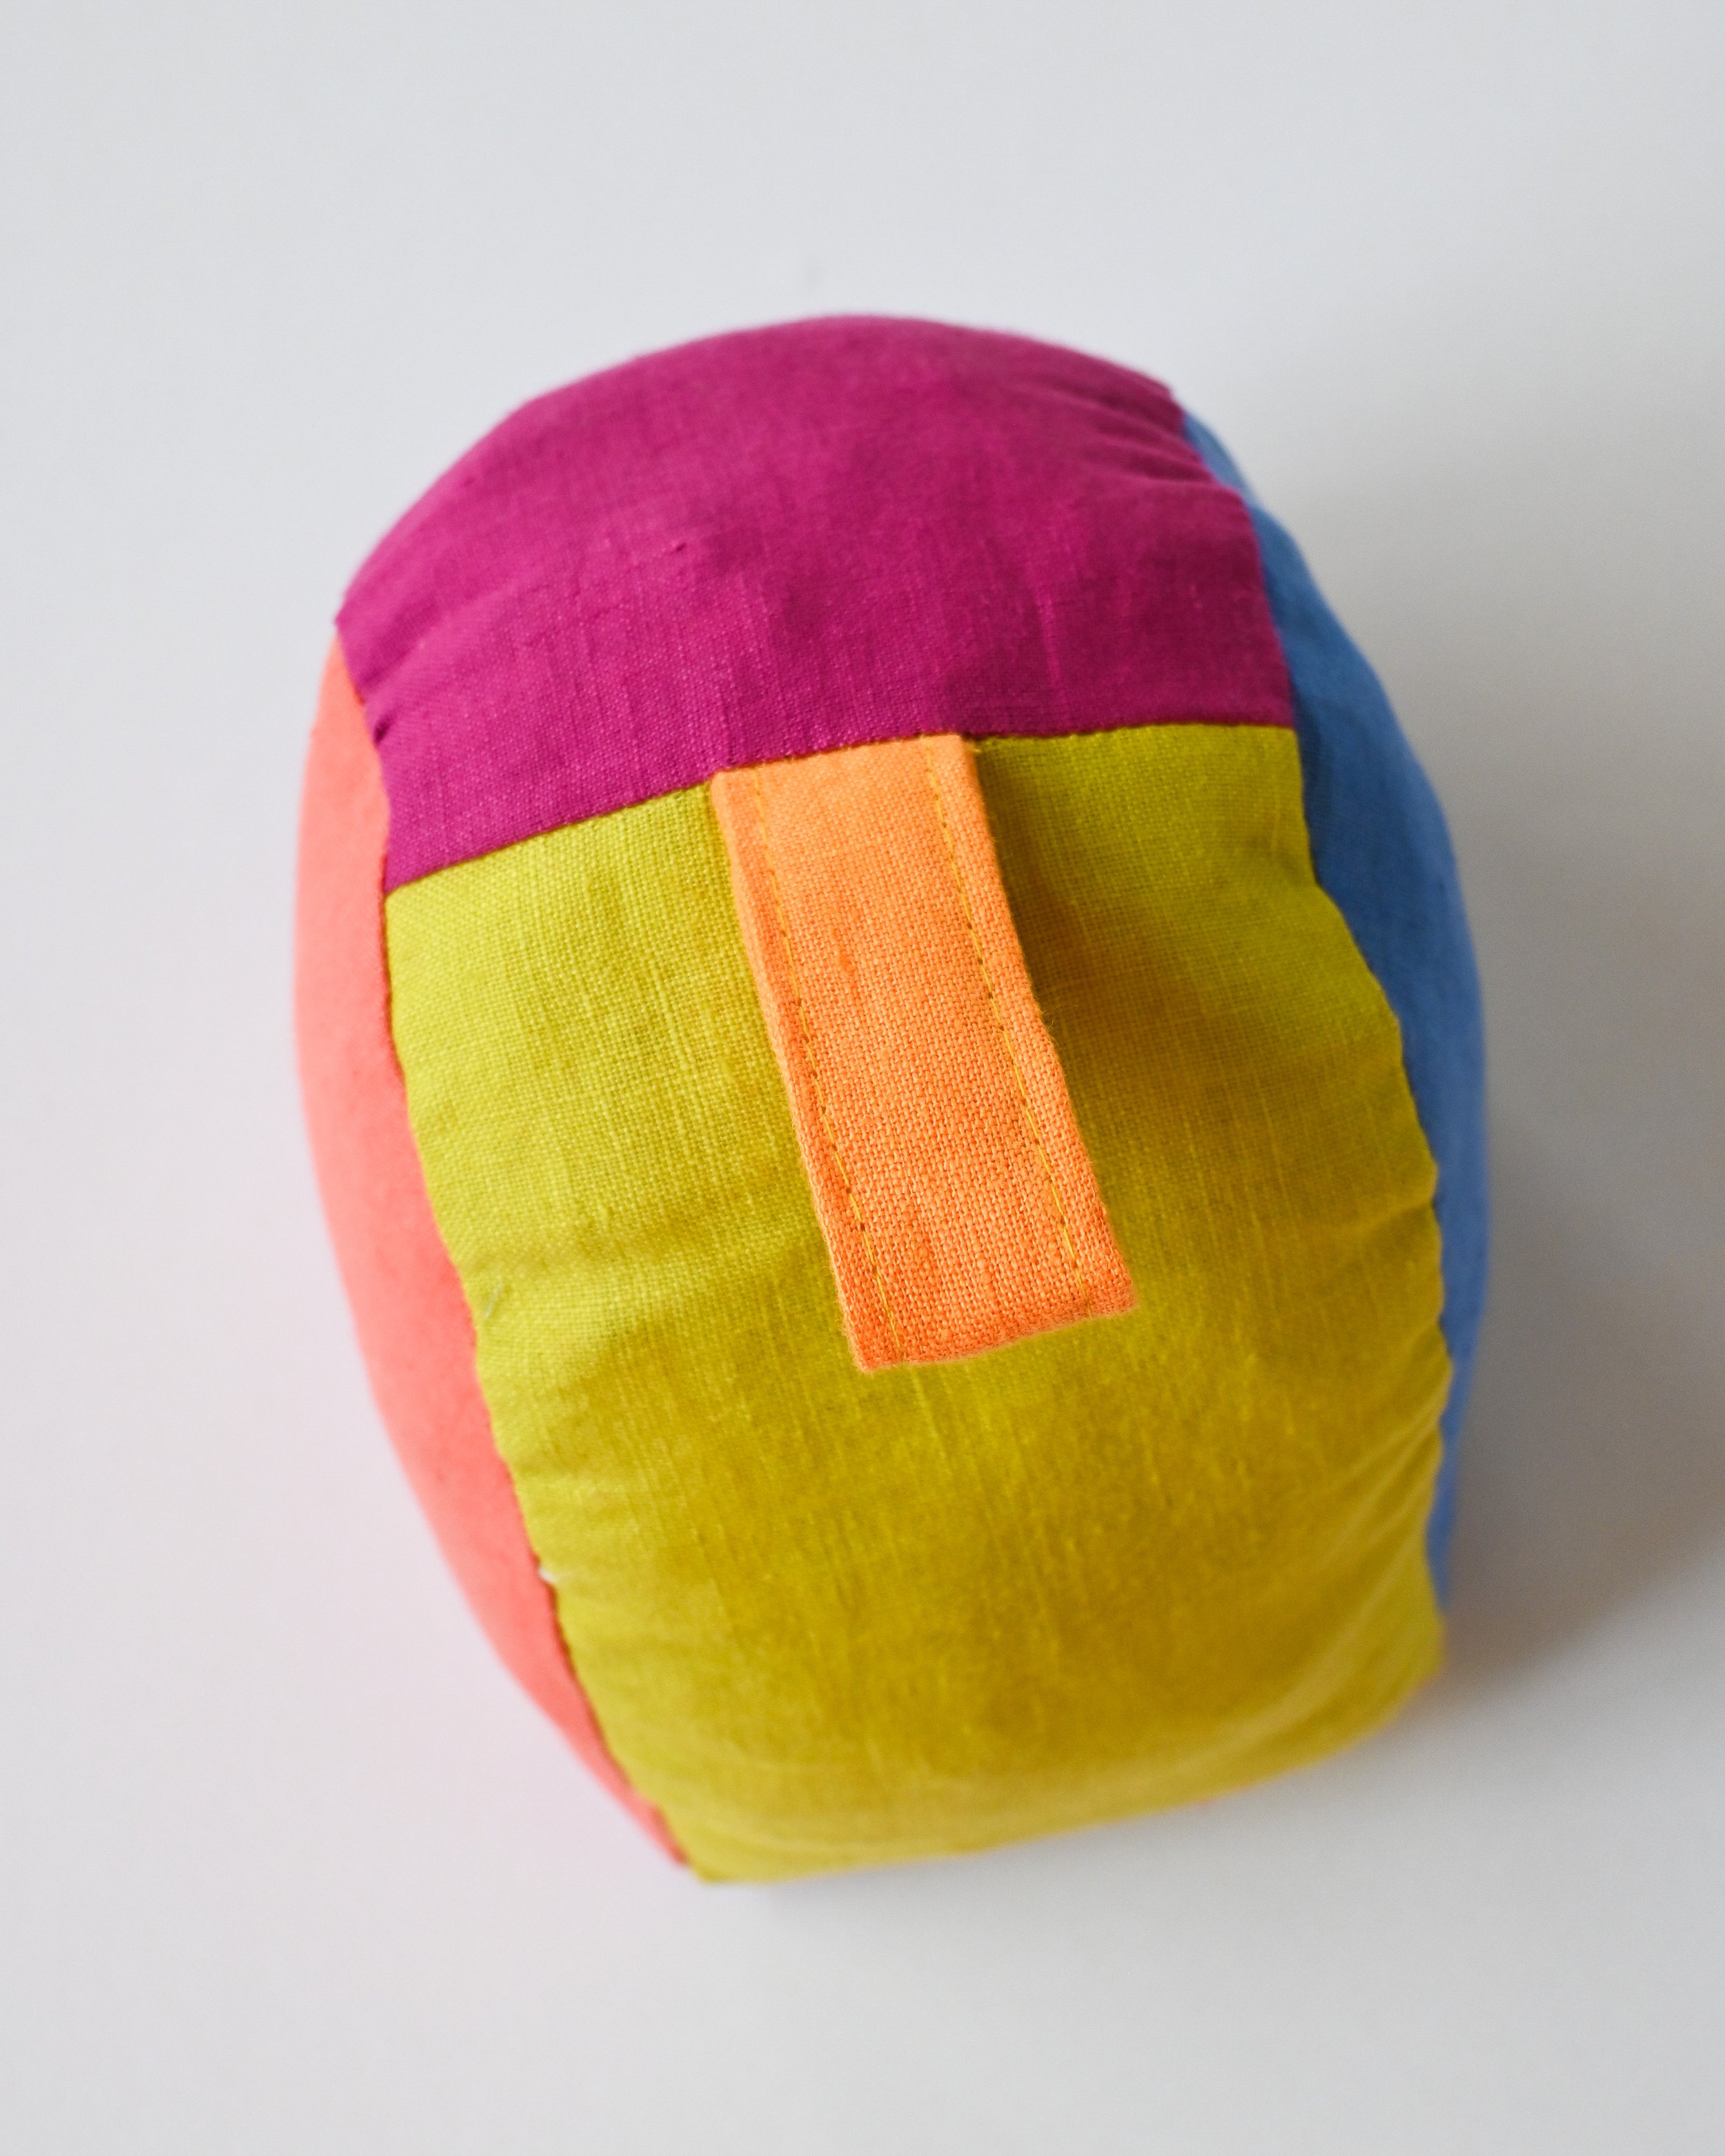
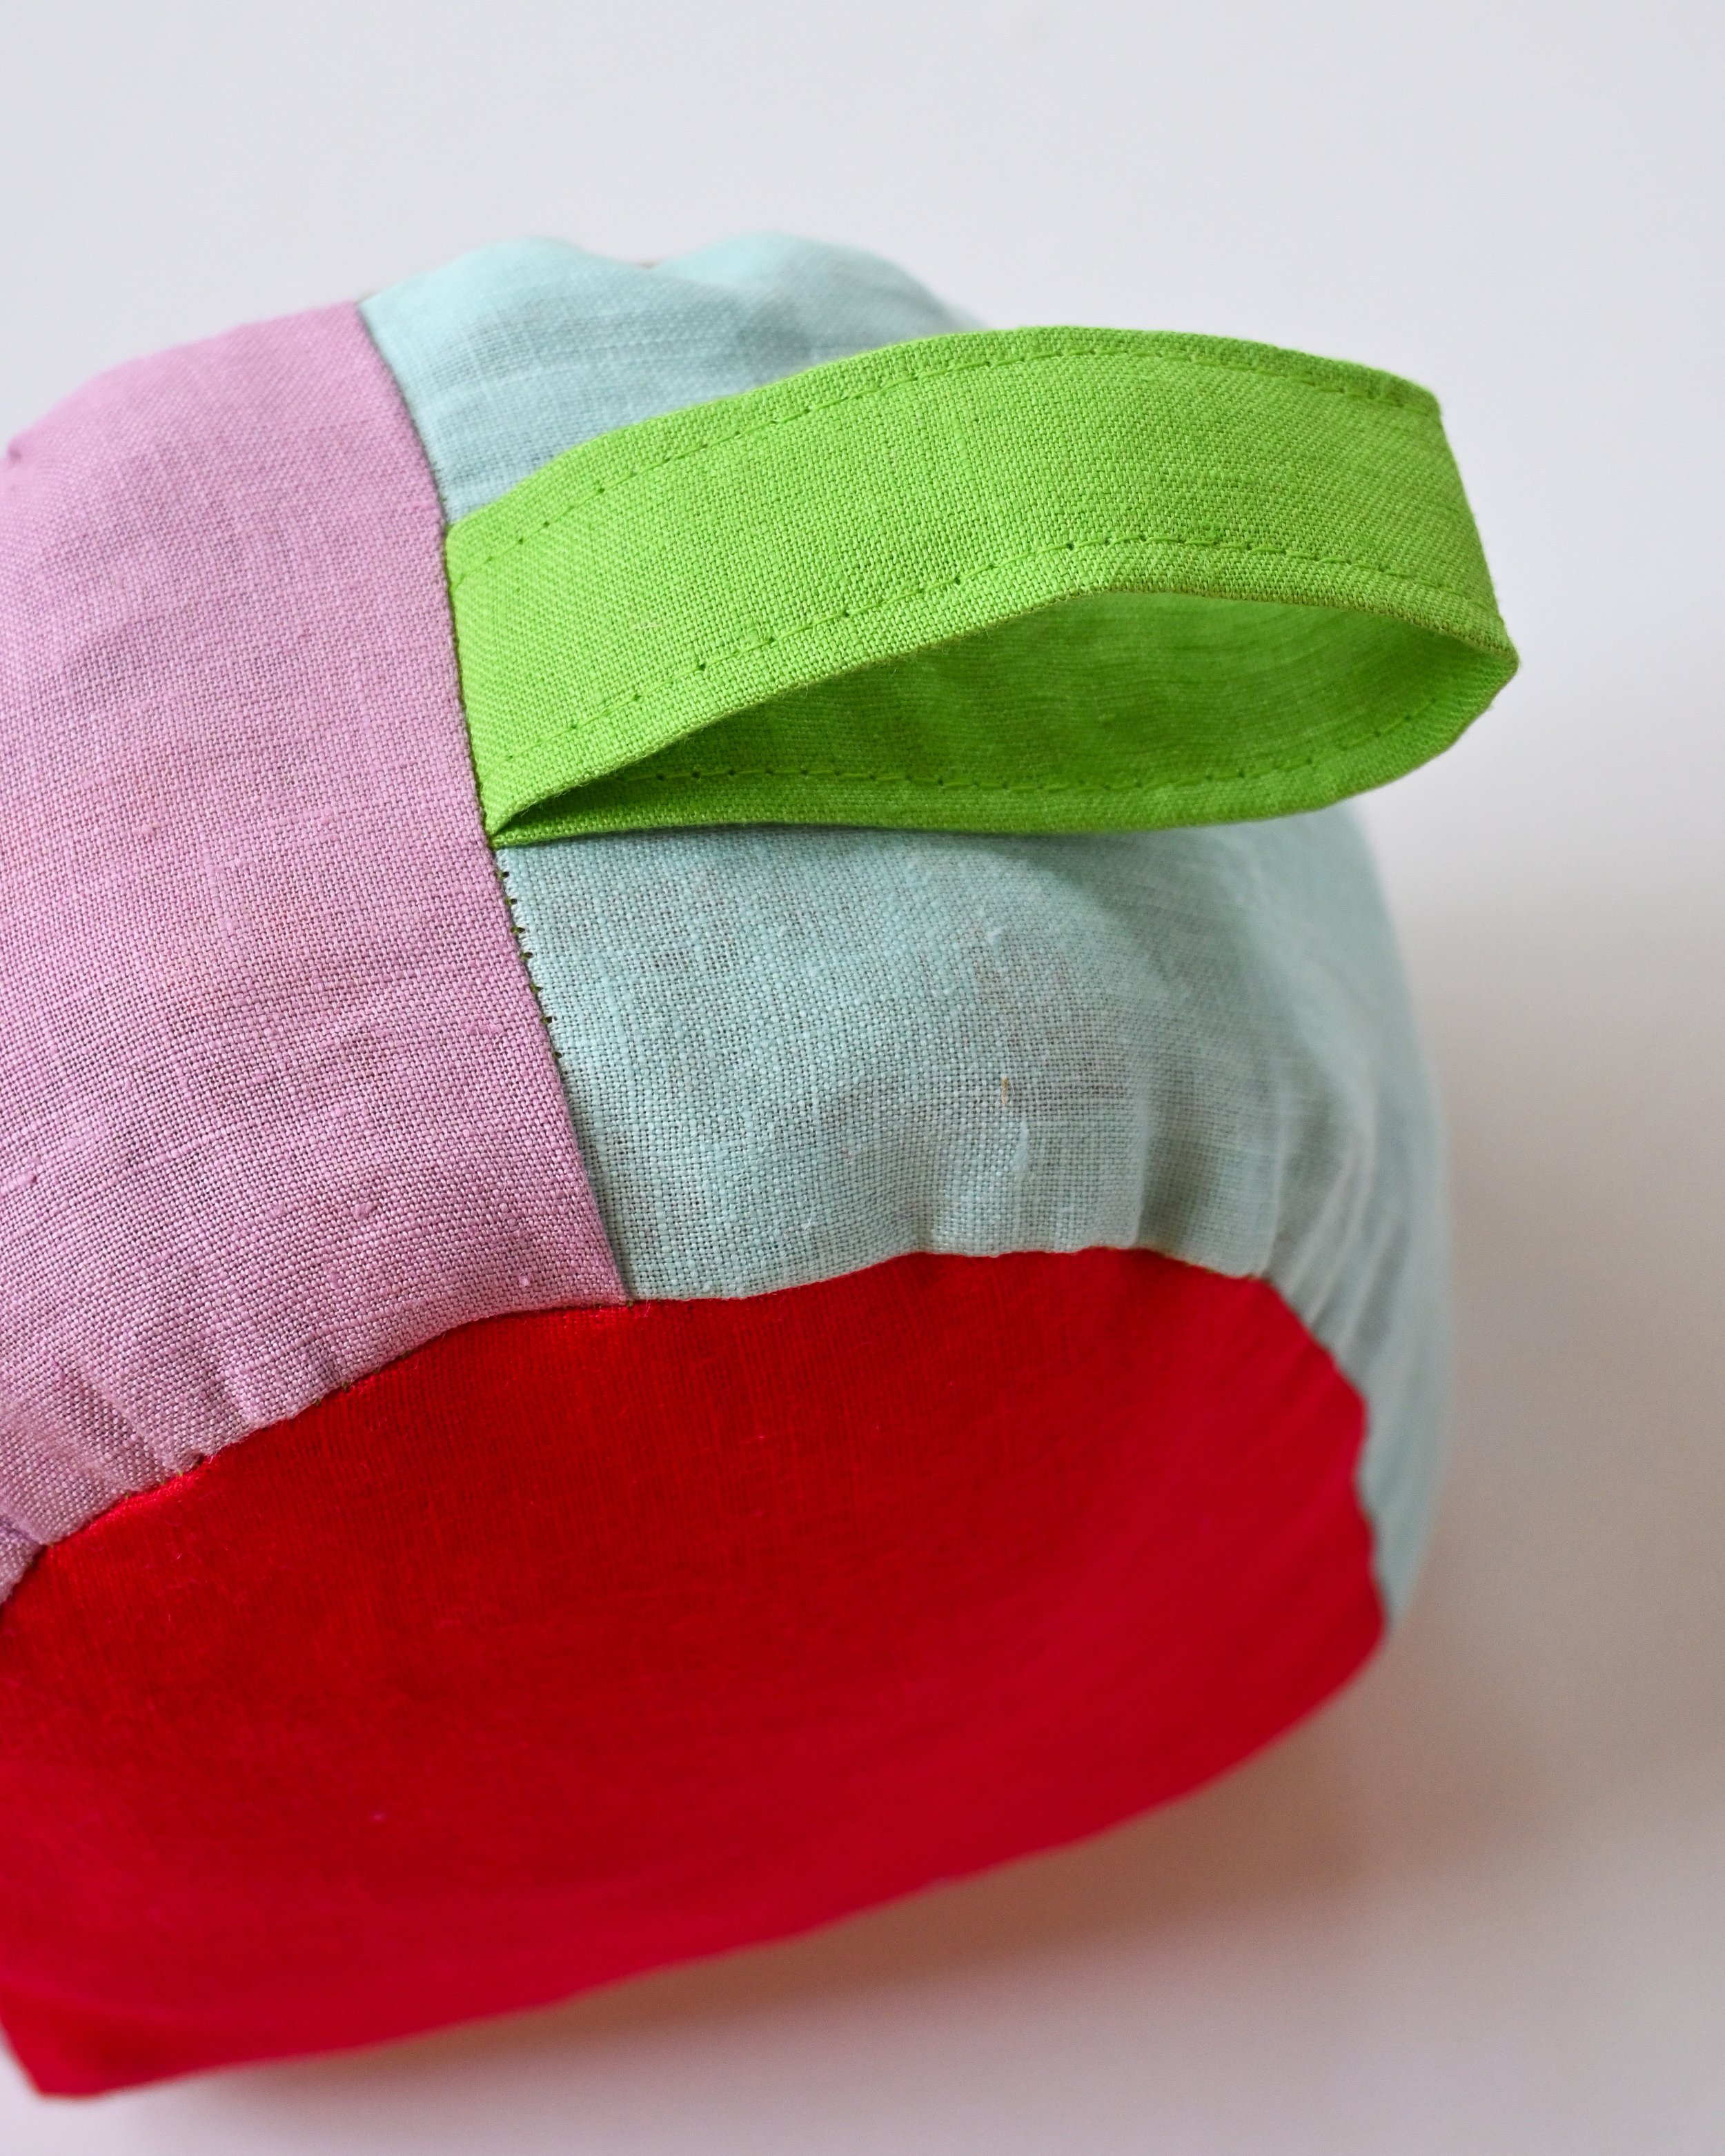
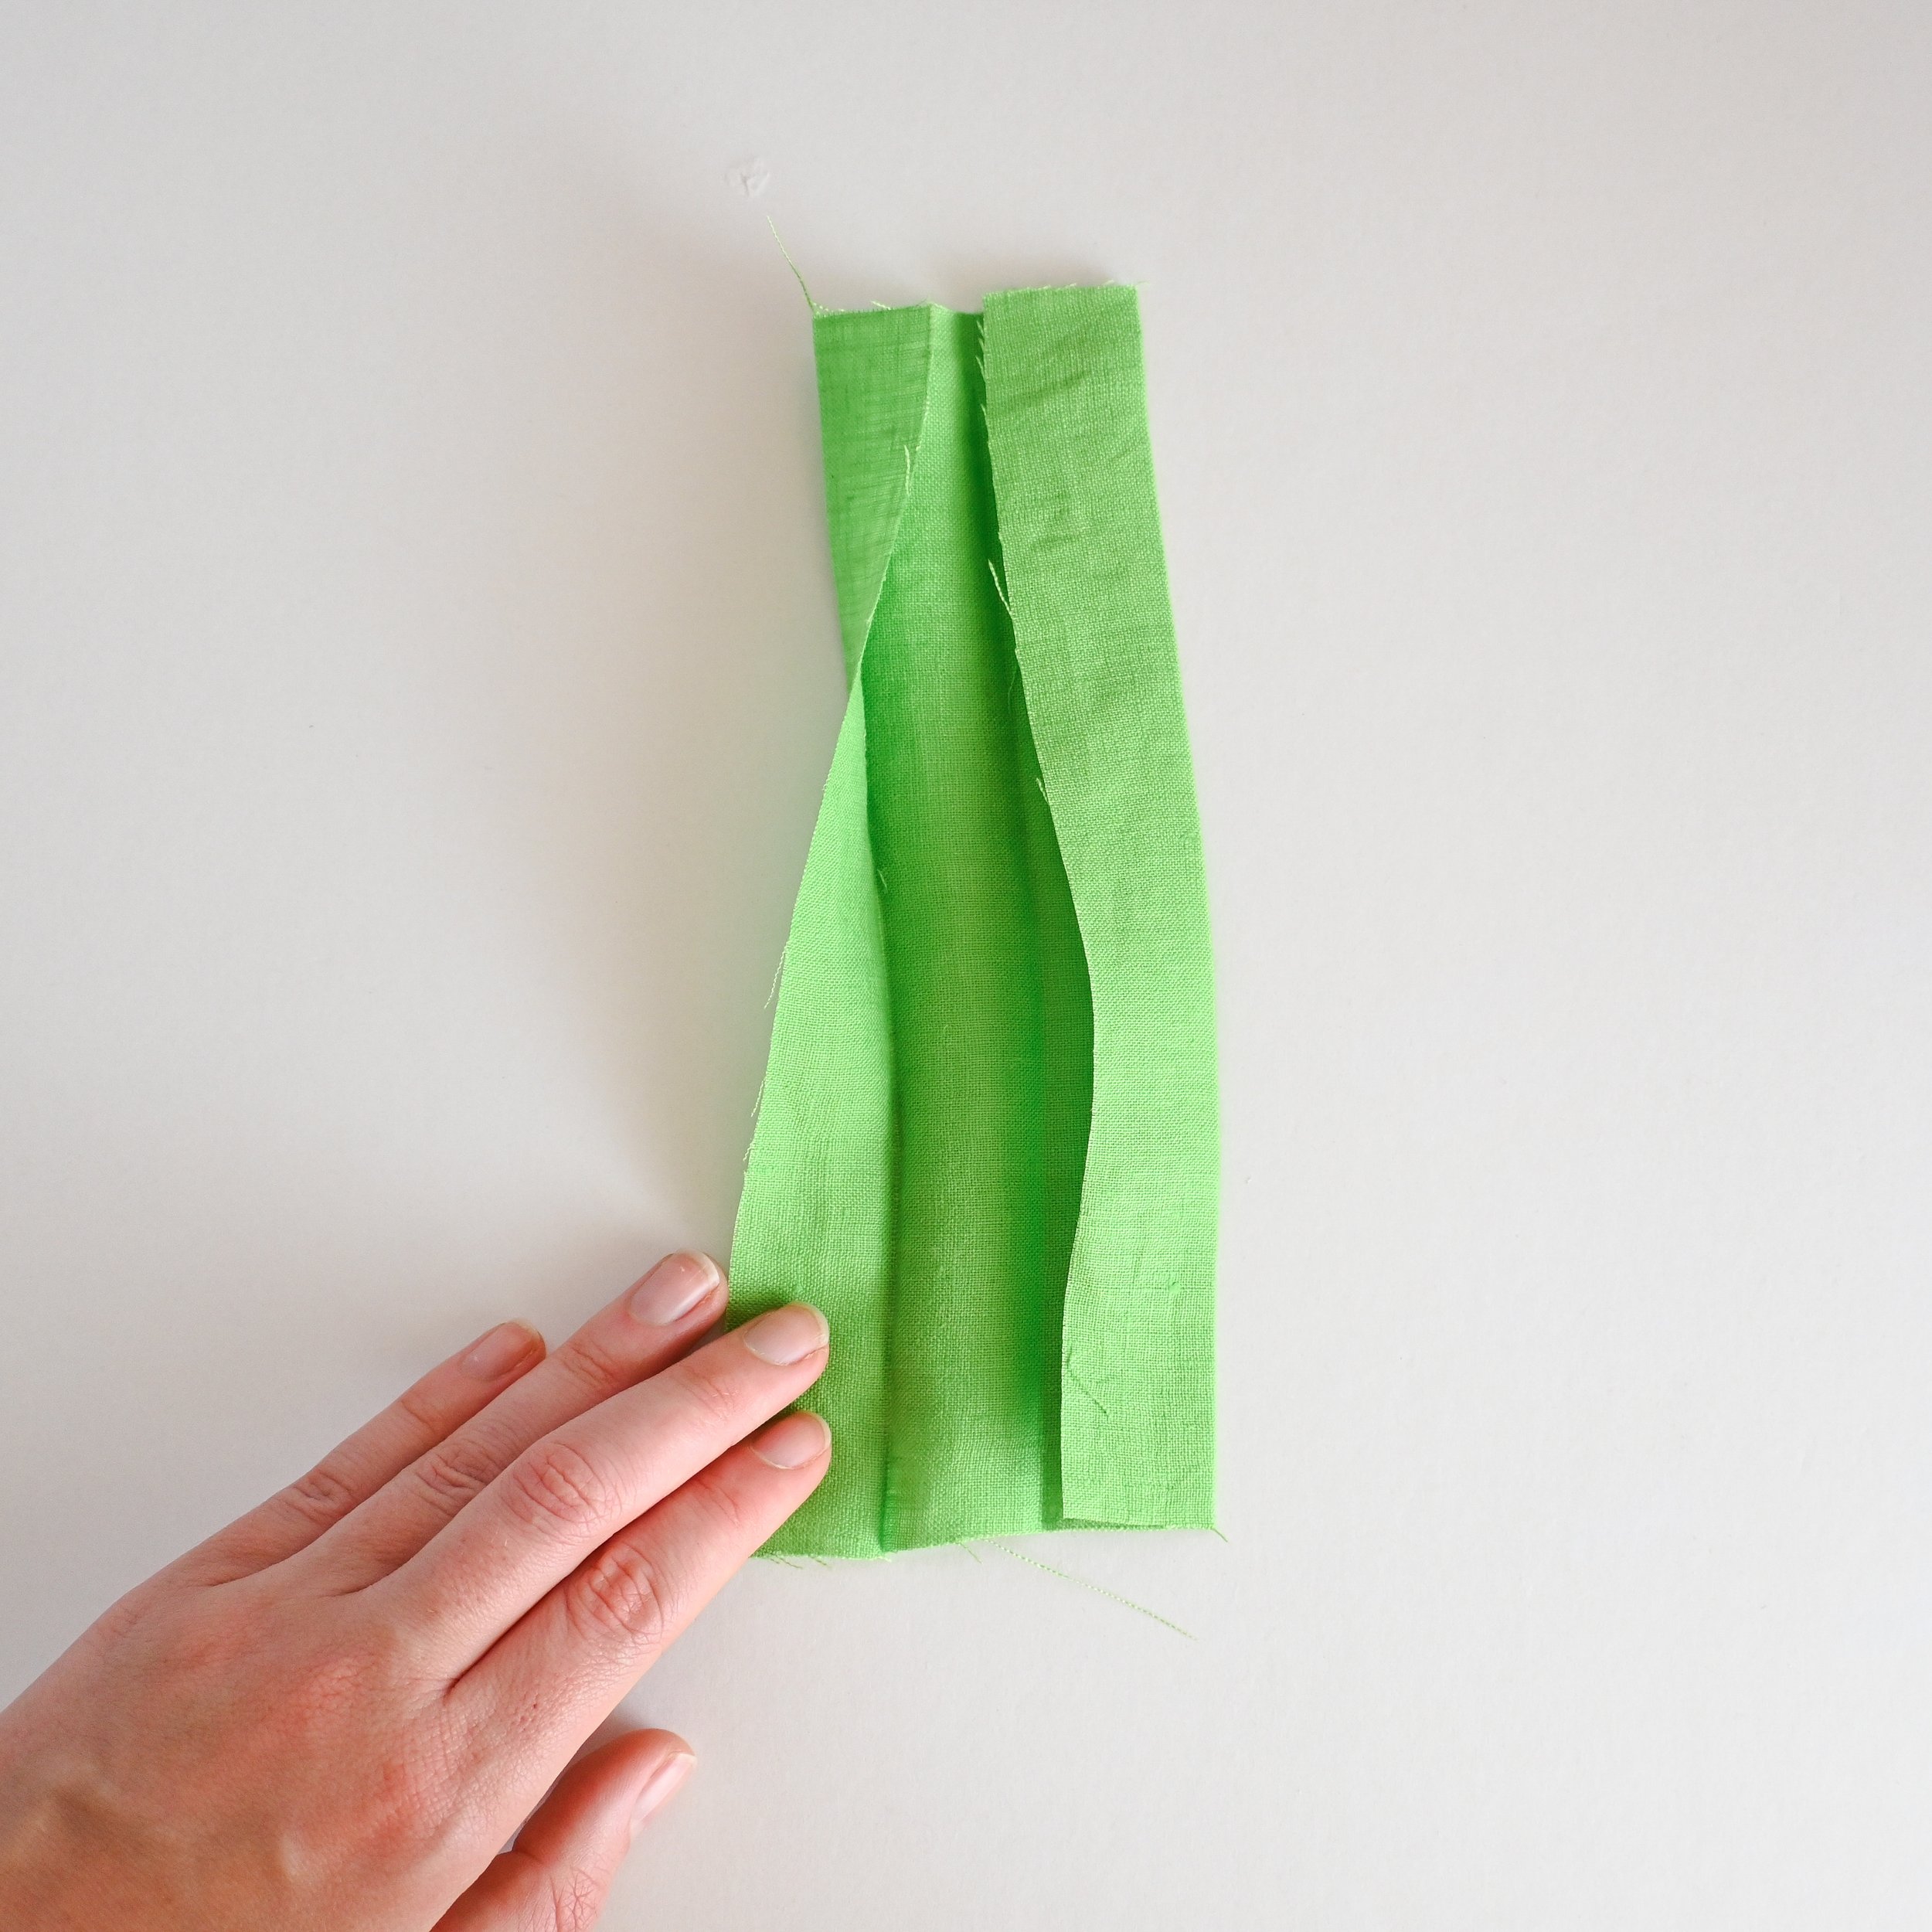
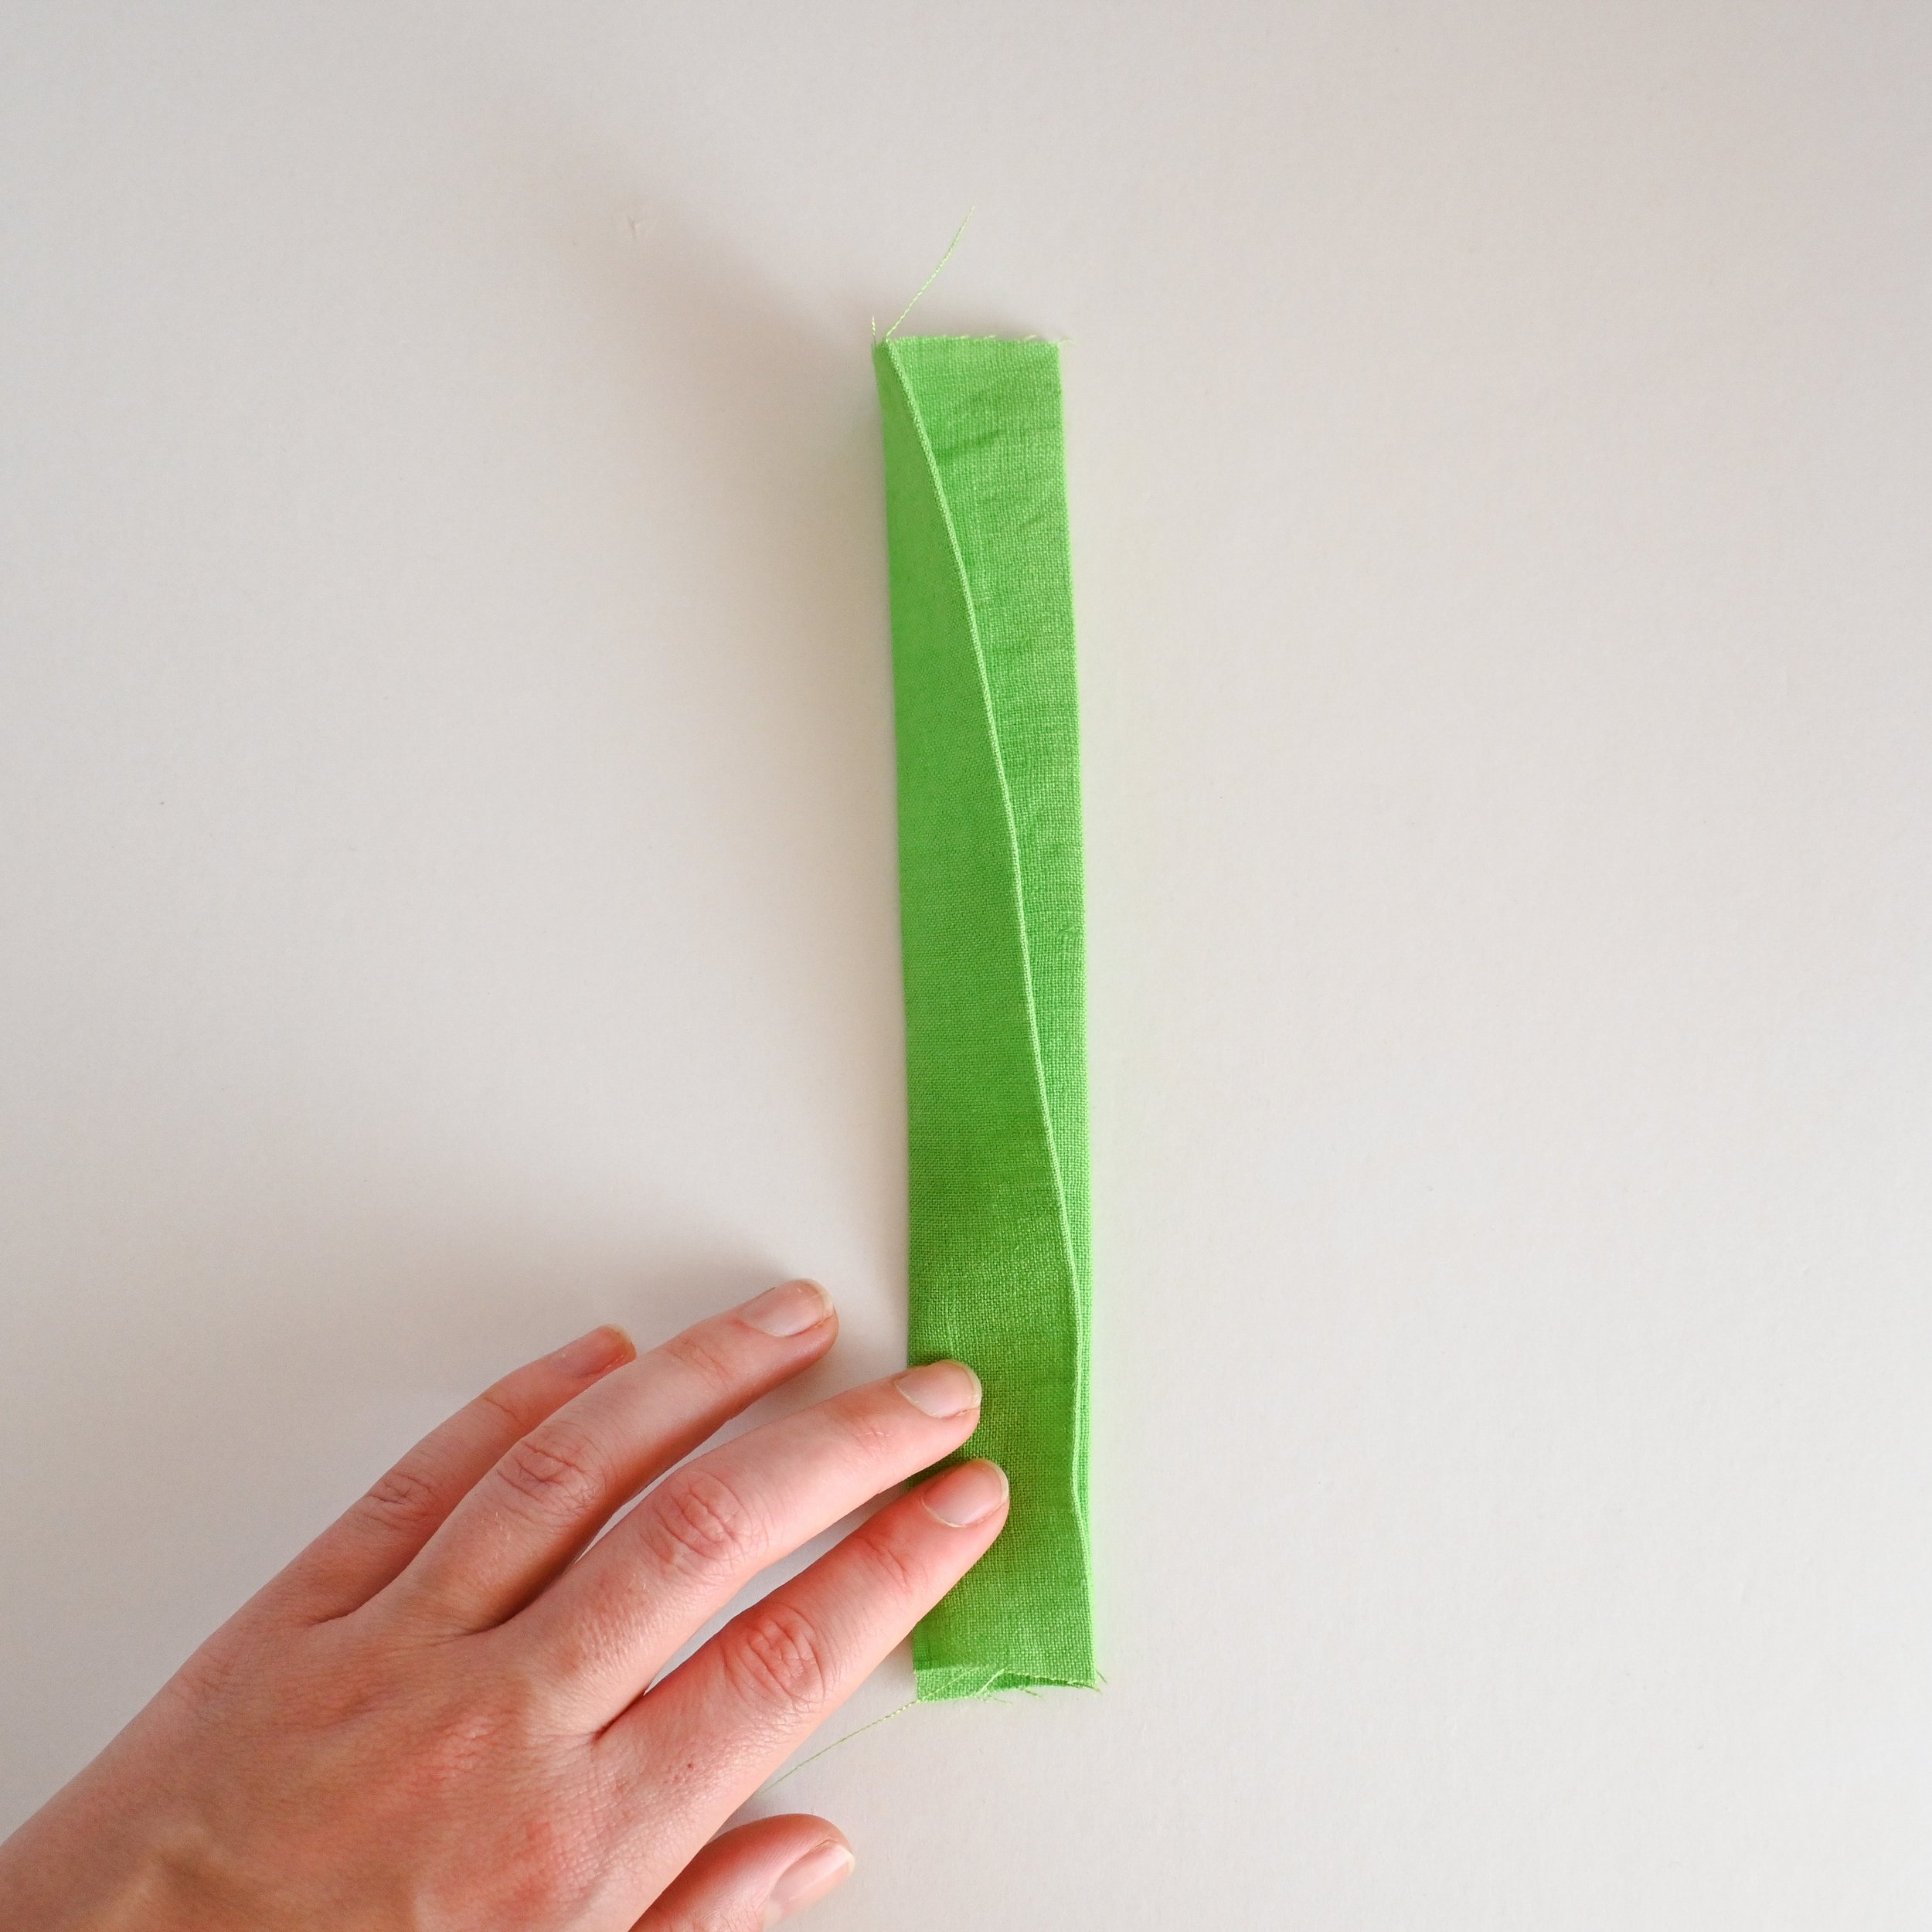
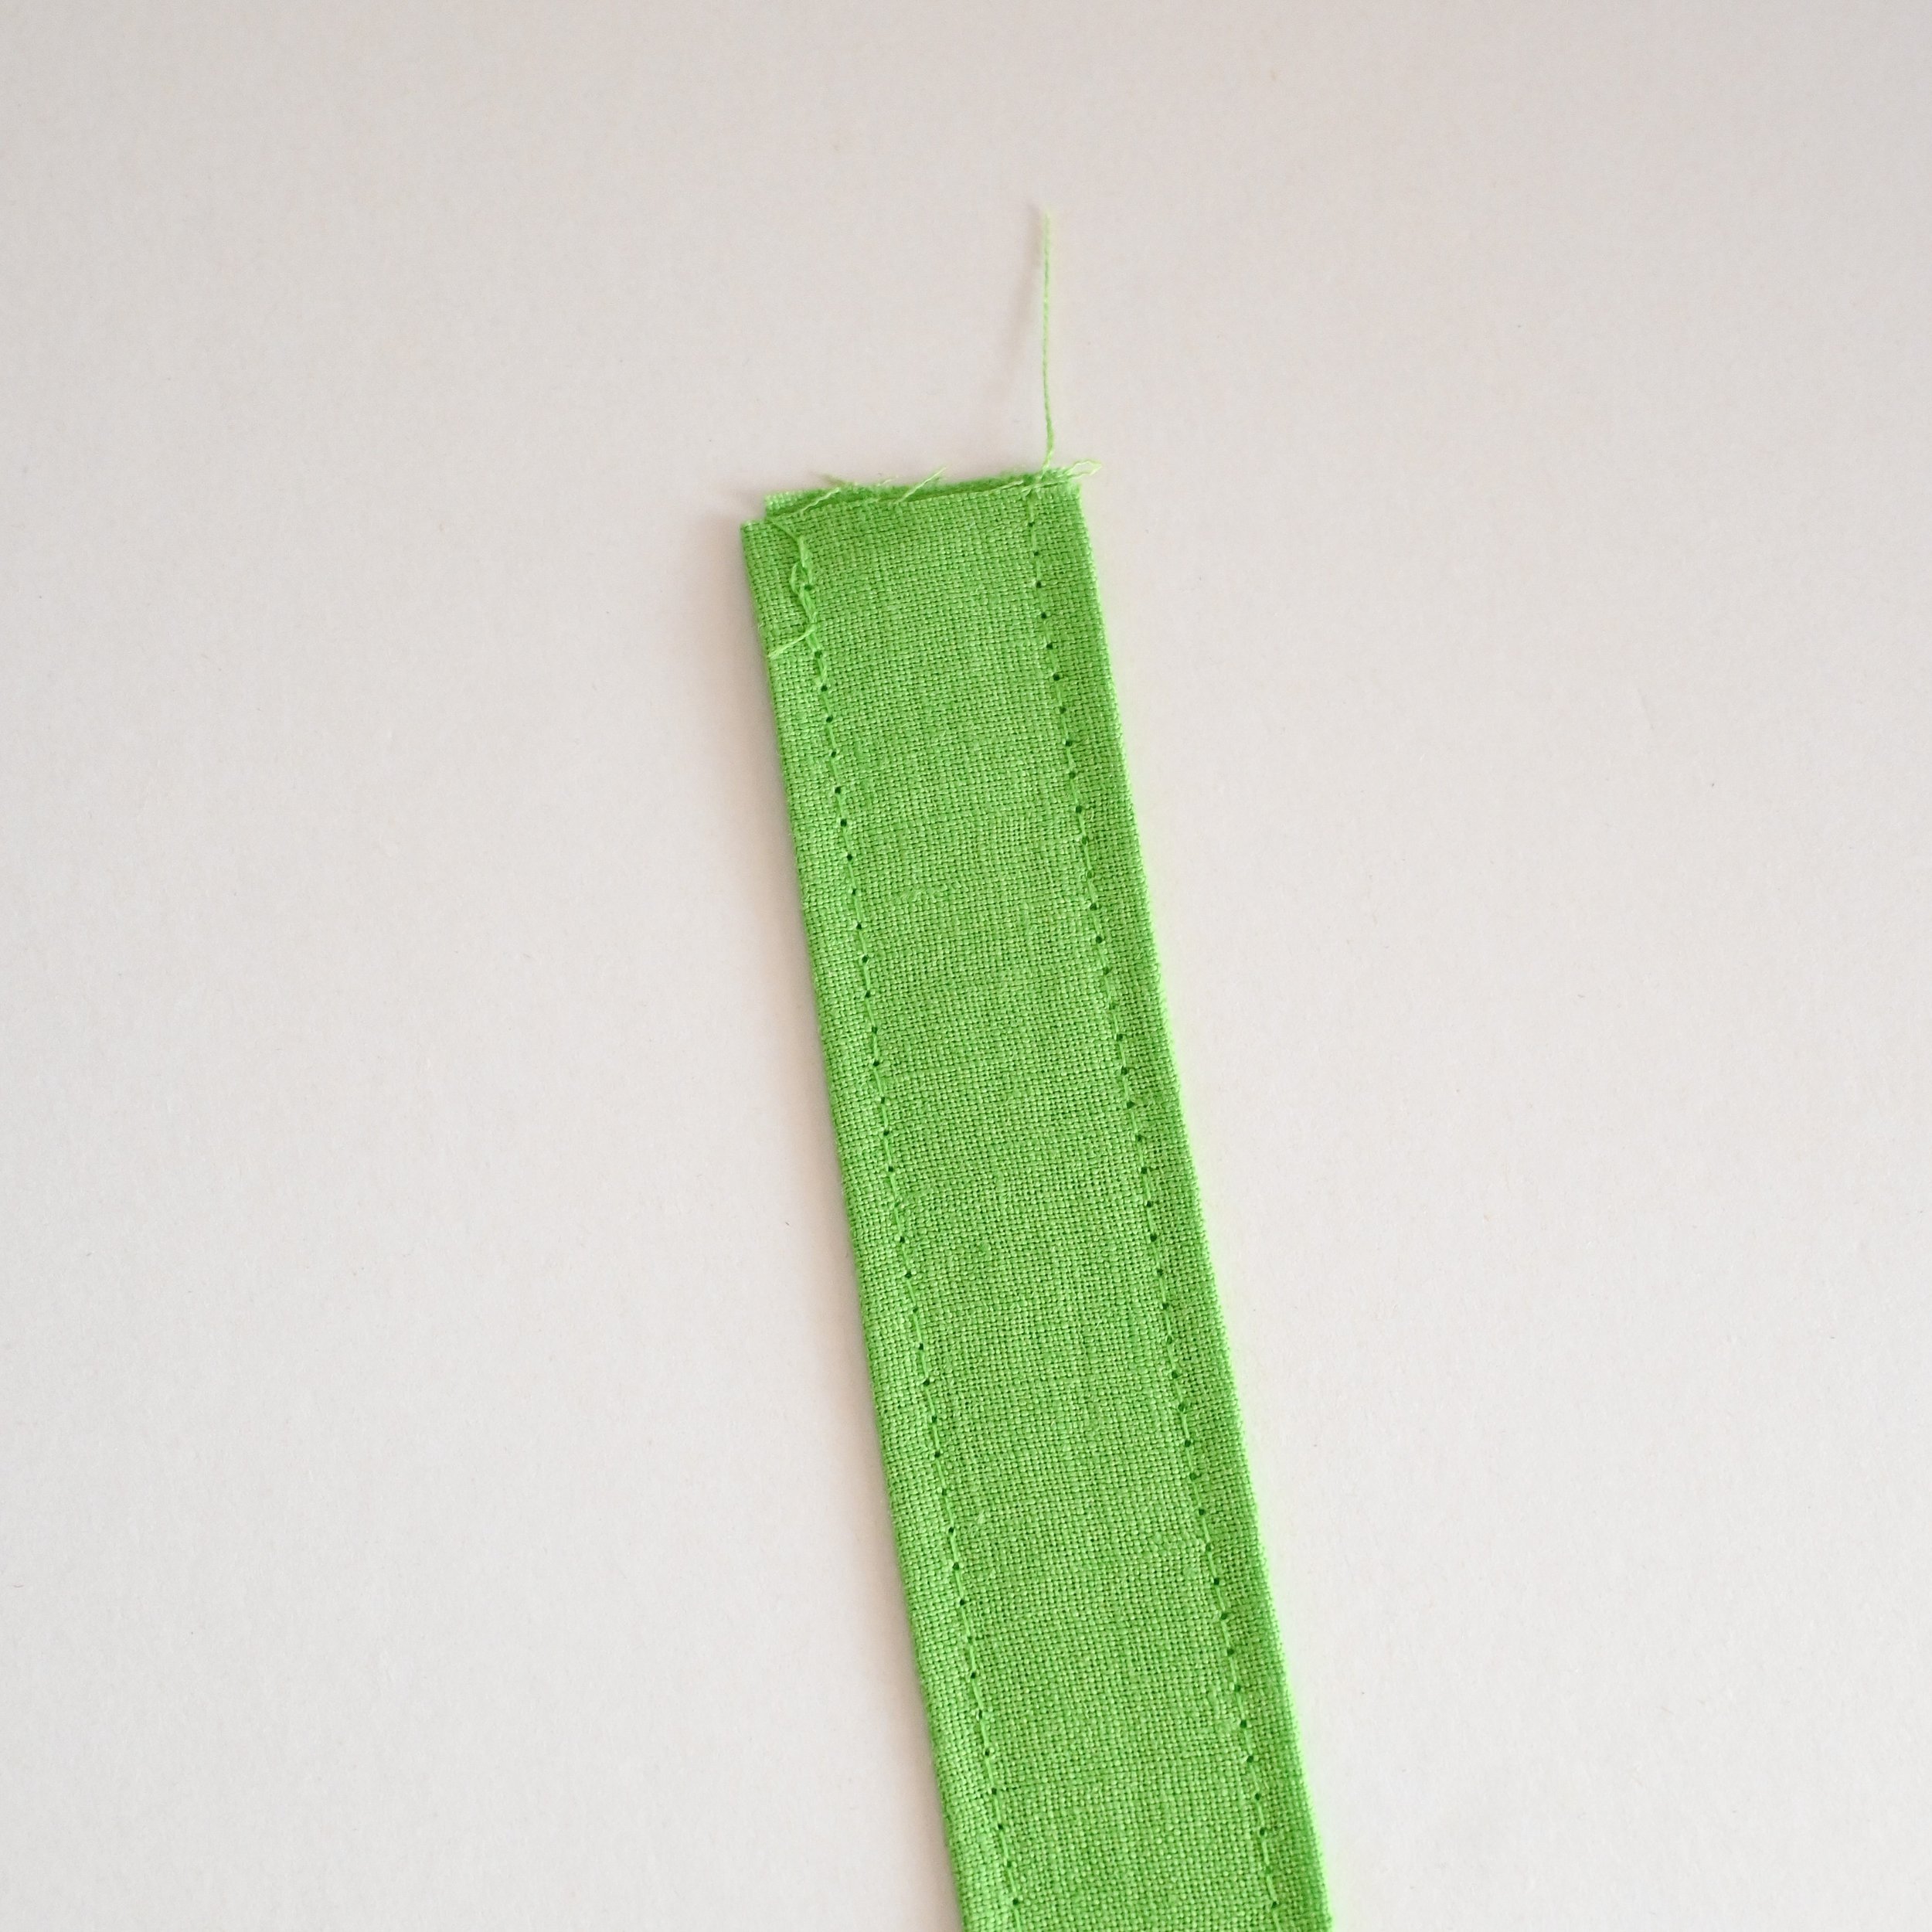
Step 2: Make the handle first by folding the handle rectangle in half with the wrong sides facing and press to mark the centre. Open it up and fold each side to the centre line with the wrong sides facing. Press. Fold it all in half and press. Edgestitch along the sides. It’s kind of like making bias binding.

Step 3:
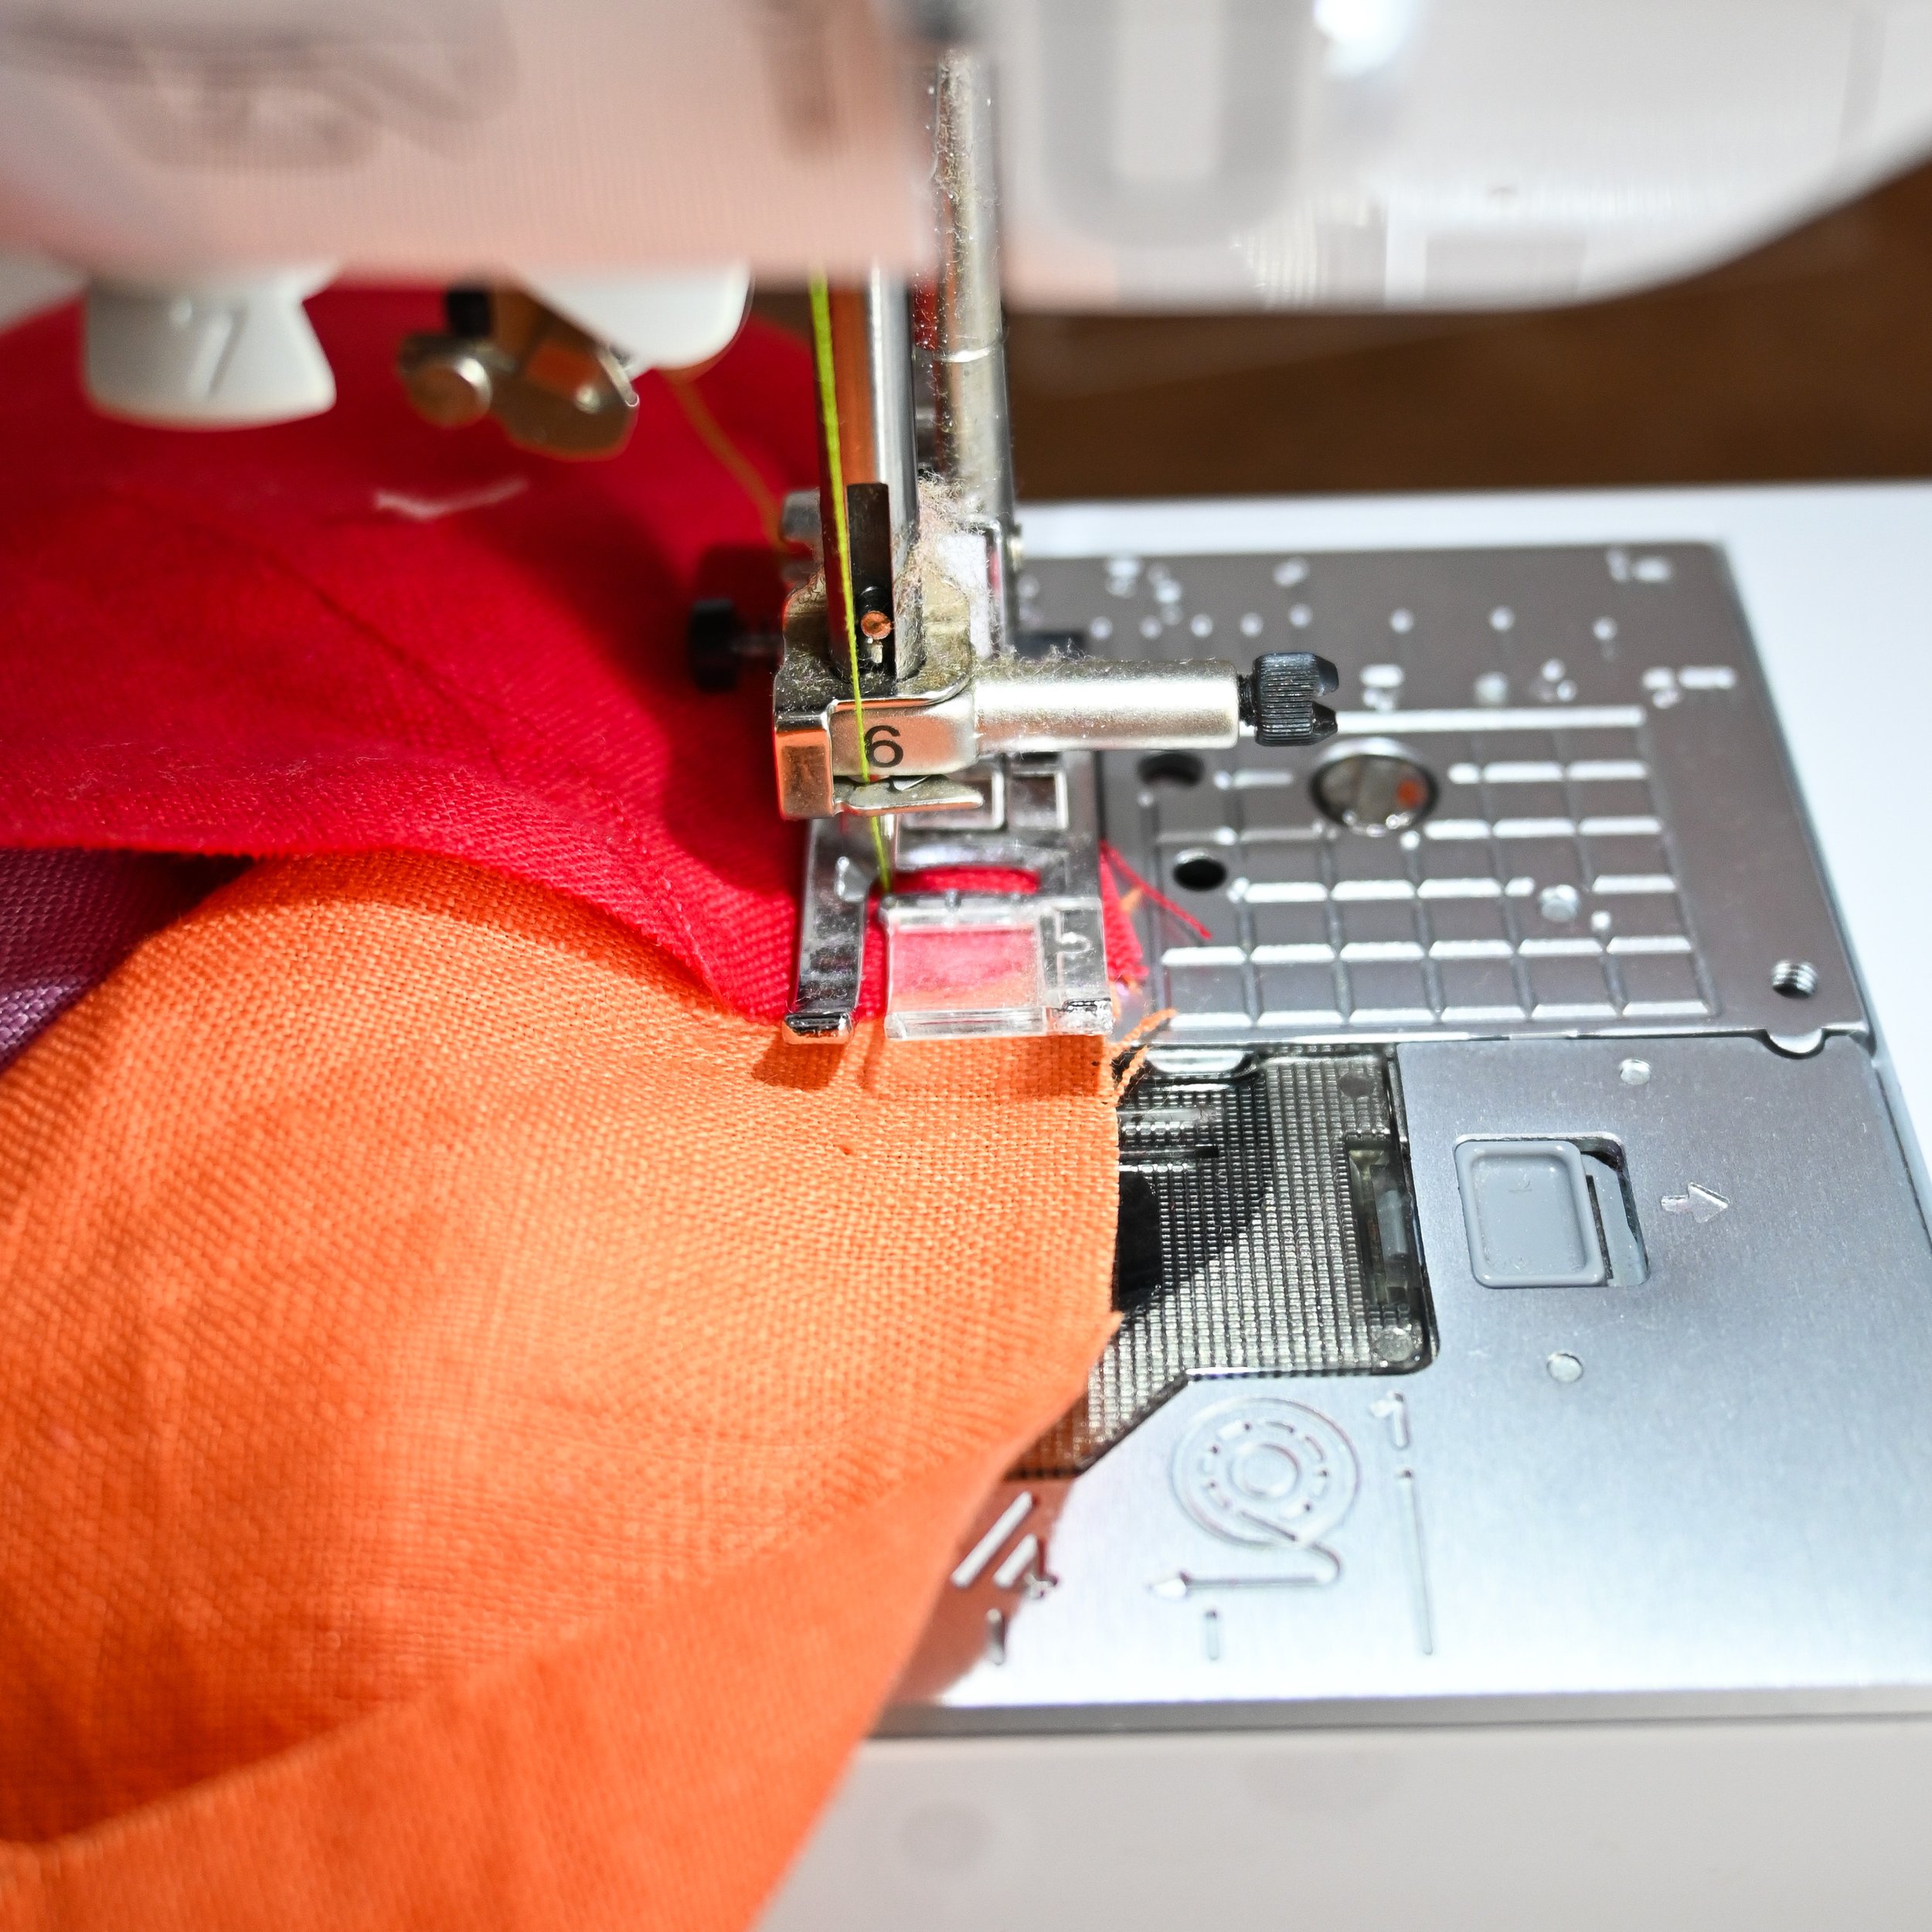
Fold the handle in half and place it in the centre along the short edge of the side panel on the right side of the fabric. Use a basting stitch to temporarily hold it in place. Sandwich the second side panel piece on top with right sides facing and stitch along the edge to join them into one long piece.

Step 4:
Attach the bottom panel to the long piece you’ve just made by placing right sides together and sewing along the edge. Repeat on the other side until you have a loop of panels.

Step 5:
Fold one arch in half to mark the centre along the round edge and then line that up with the centre seam on the loop with right sides together. Pin along the round edge and stitch the loop and arch panel together, starting 1cm away from the left bottom corner.
Step 6: When you reach the bottom right corner it’s time to PIVOT! Stop stitching about 1cm away from the bottom of the arch panel and with the needle down, raise the presser foot. Pivot the top layer and line up the straight edge with the bottom panel. Then continue stitching all the way to the other side where you can manoeuvre the arch panel like you did when pivoting to complete the loop.

Step 7:
Repeat Step 6 on the other side, leaving a 5cm ish gap along the bottom edge to turn it all out in the next step. Clip the round edges a little bit so that when it’s turned out, the round seams don’t pucker. I did about 8 snips into the round seam allowance. In the end, IT’S A LUMP so it dosnt’t need to be PERFECT.

Step 8:
Turn the lump out and start filling it with small fabric scraps. If you want your lump to be heavier, make a little fabric pouch/sausage with scraps and fill it with rice. I found that giving my lump a massage helped move the scraps around and give it a nice shape.

Step 9:
Hand sew the hole closed and trim any loose threads.
Yay! You did it! Share your lumpy creation and tag me @_diydaisy and use #diydoorlump so I can see it!
Any donation is welcome here if you would like to contribute or support the development of tutorials.

