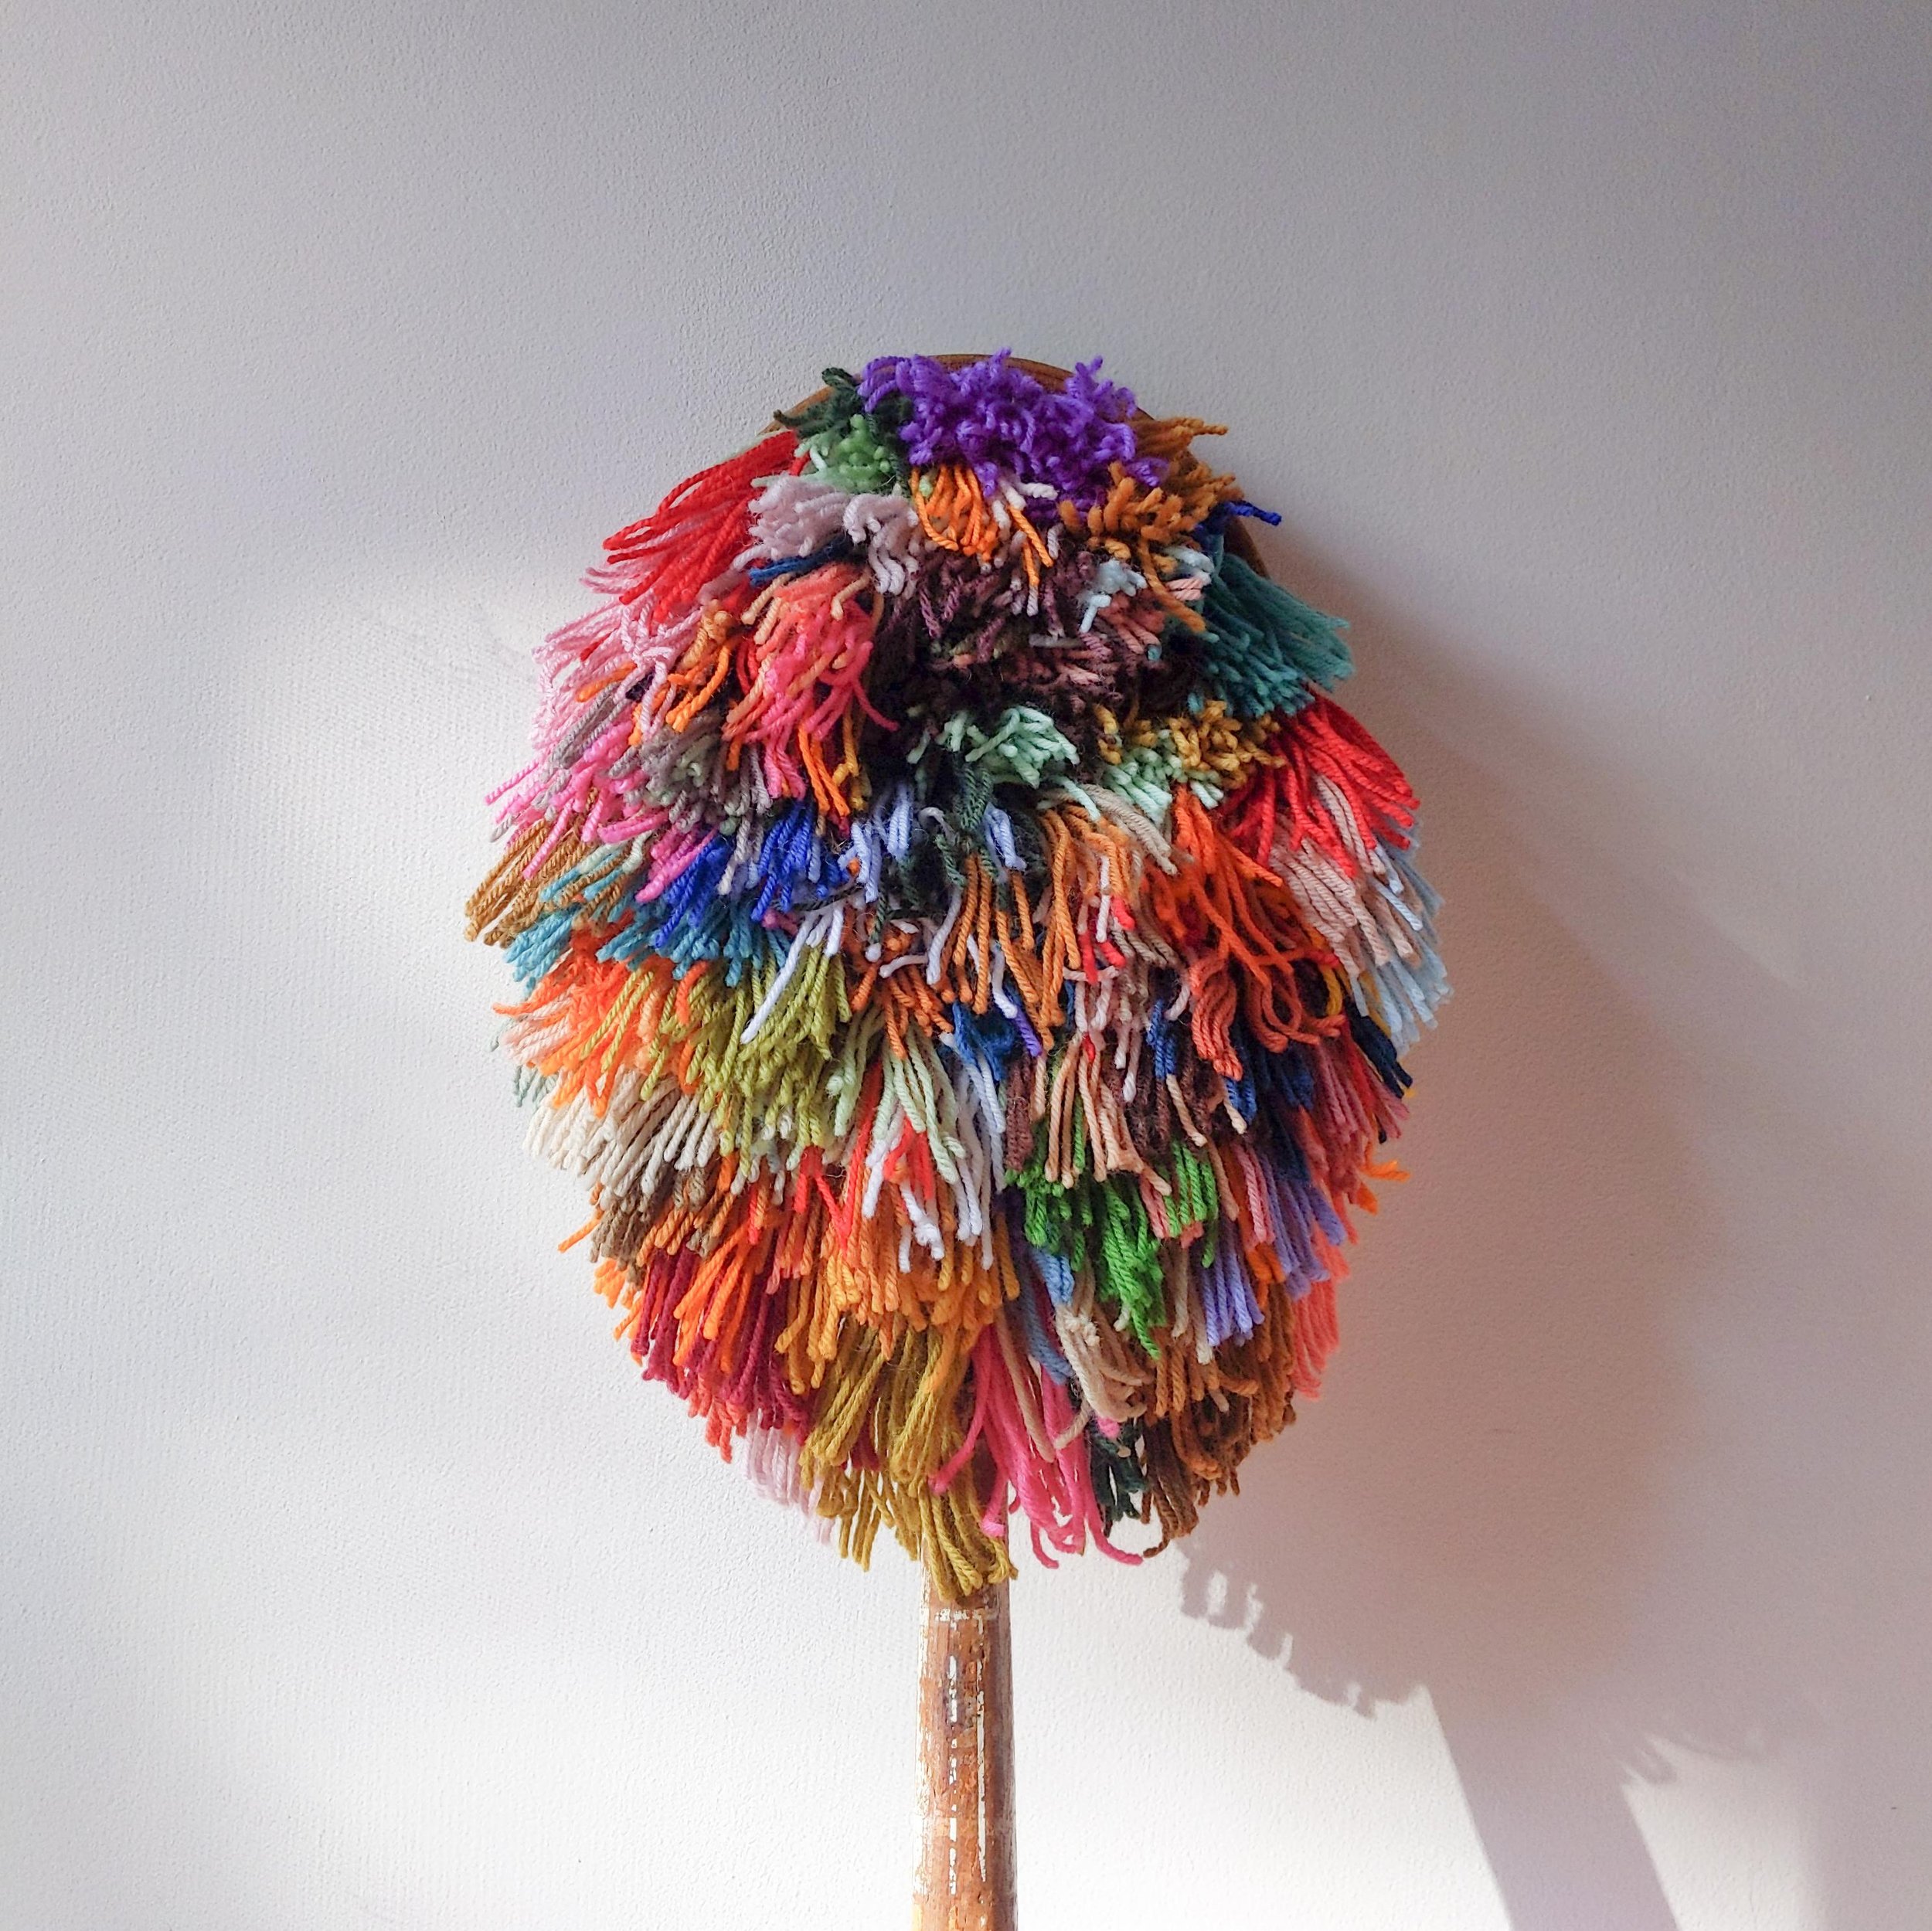
DIY Rainbow Racquet
Get ready to craft up your own up-cycled wall hanging or decor item made using wool and a wooden racquet. This project encourages you to channel your DIY energy, try new colour combos and let go for an hour or two of creative self-care. Let’s go!
You will need:
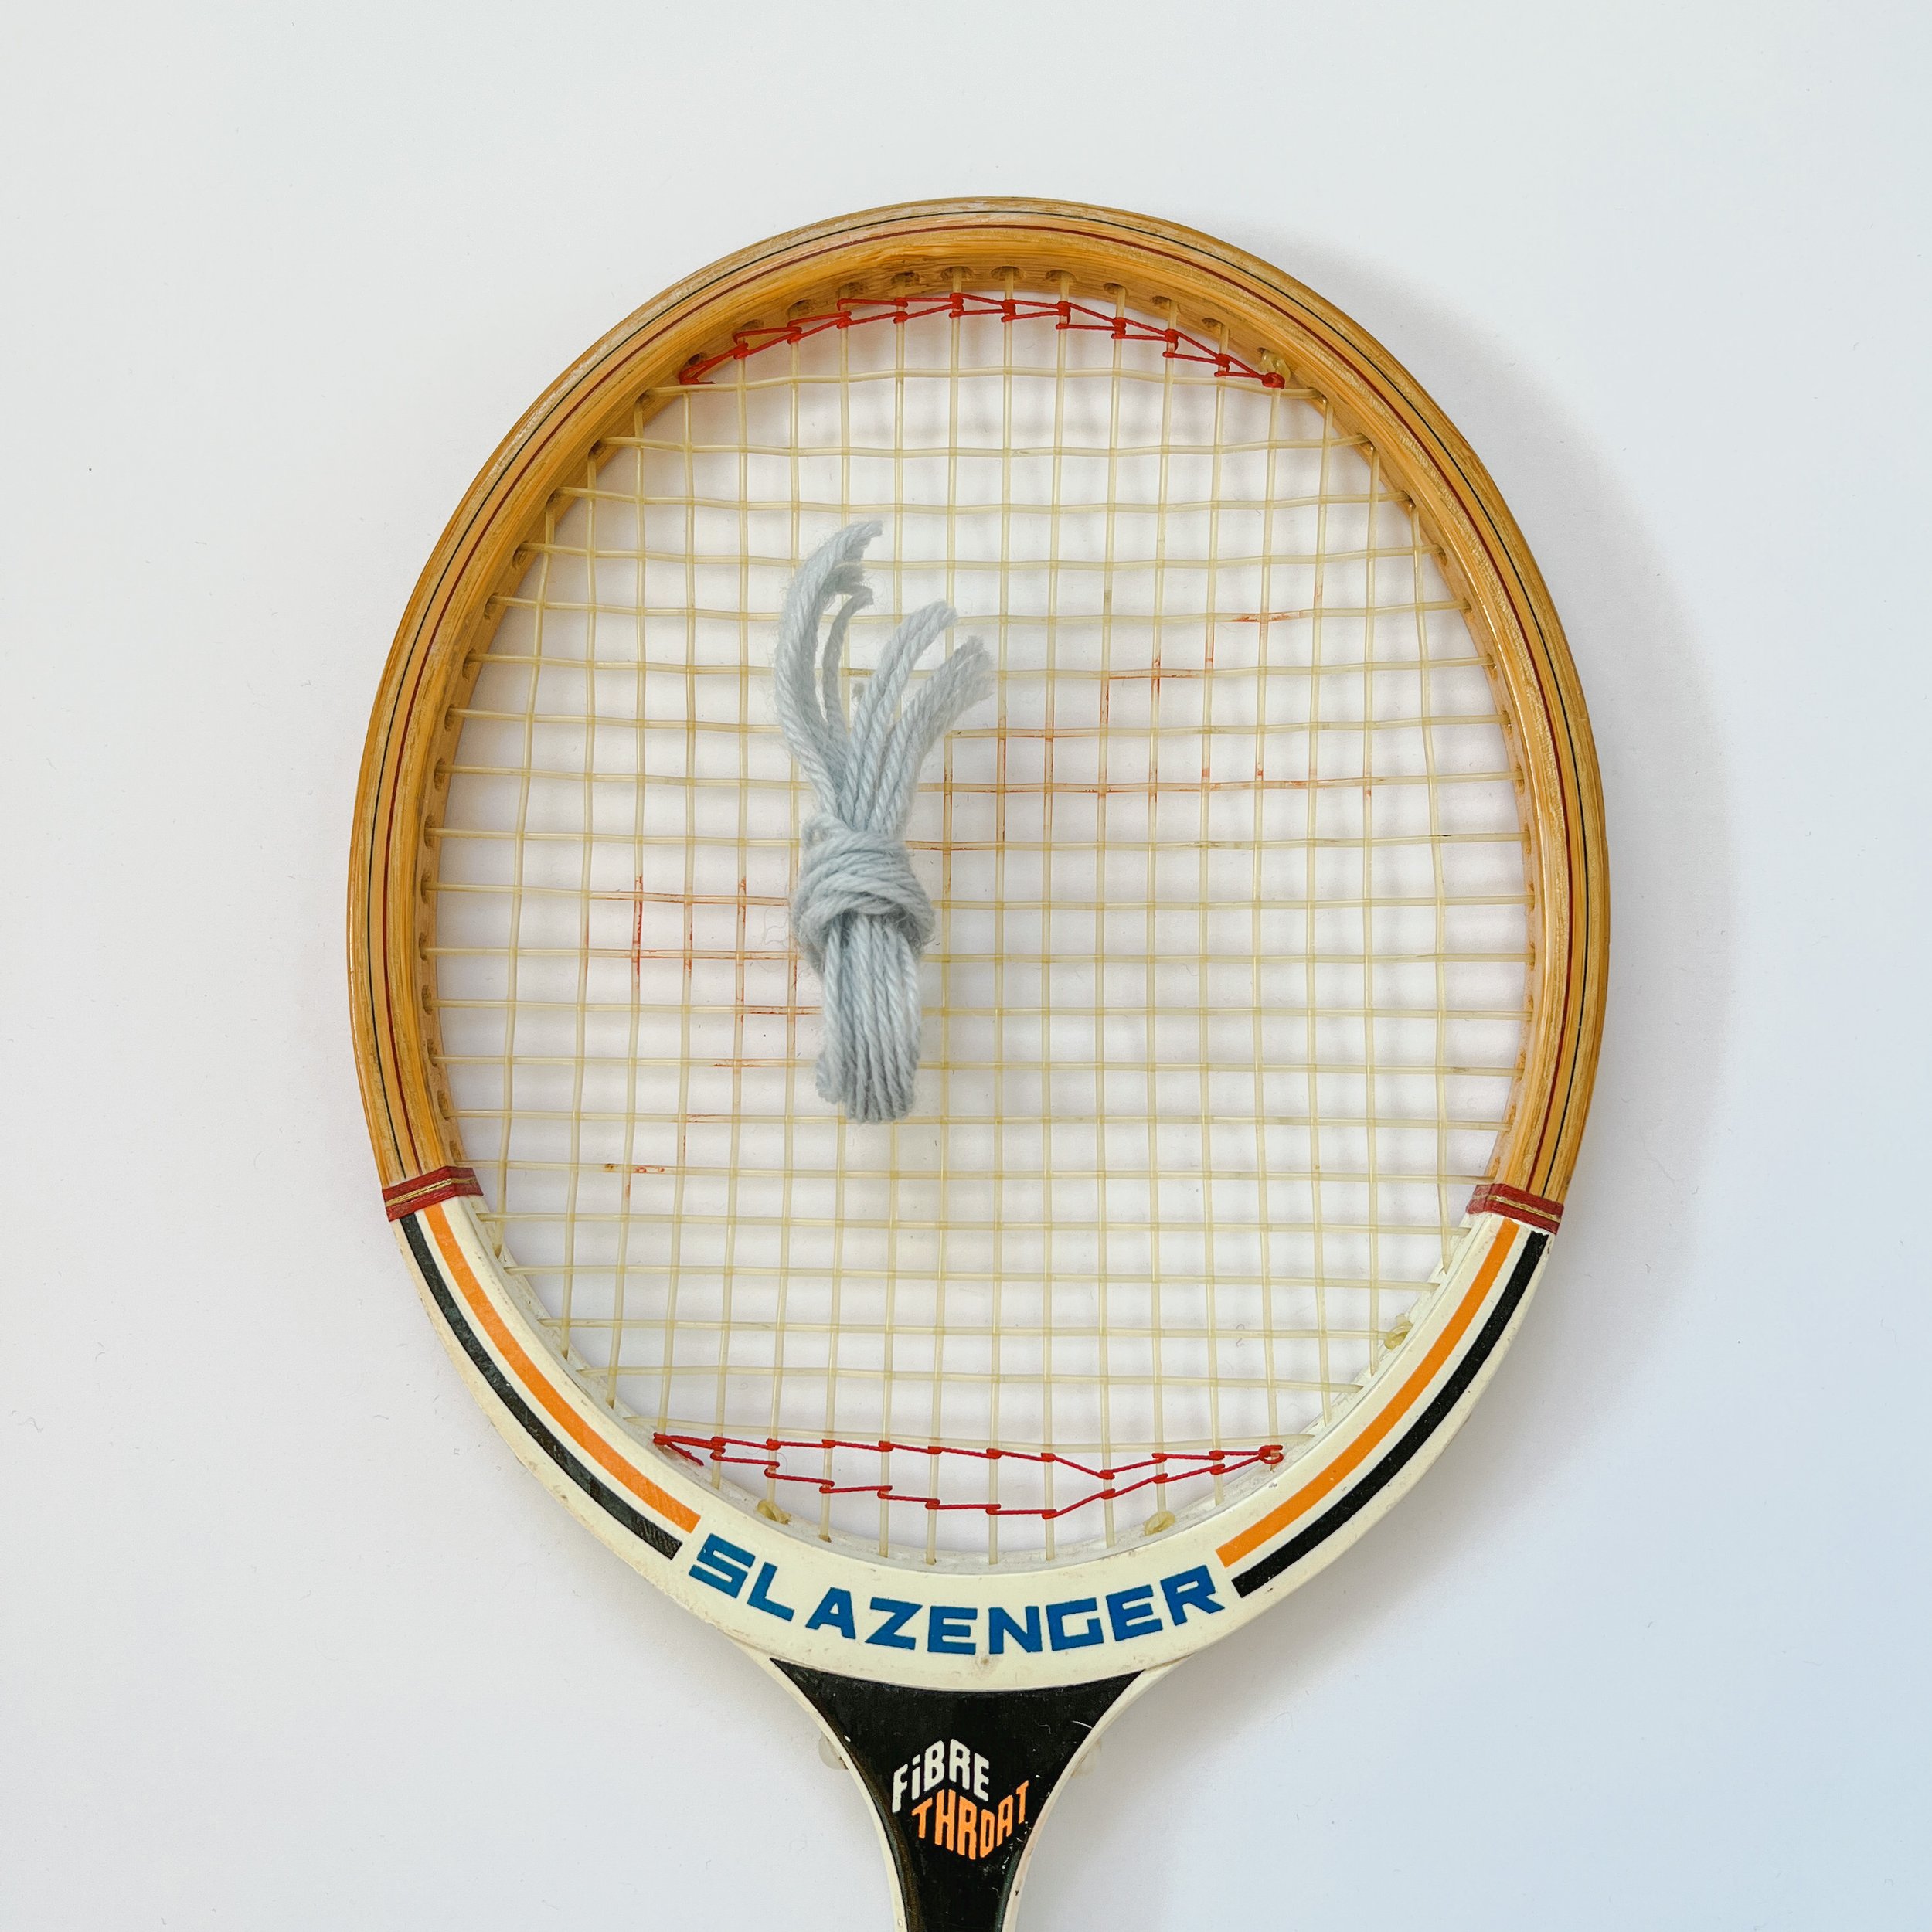
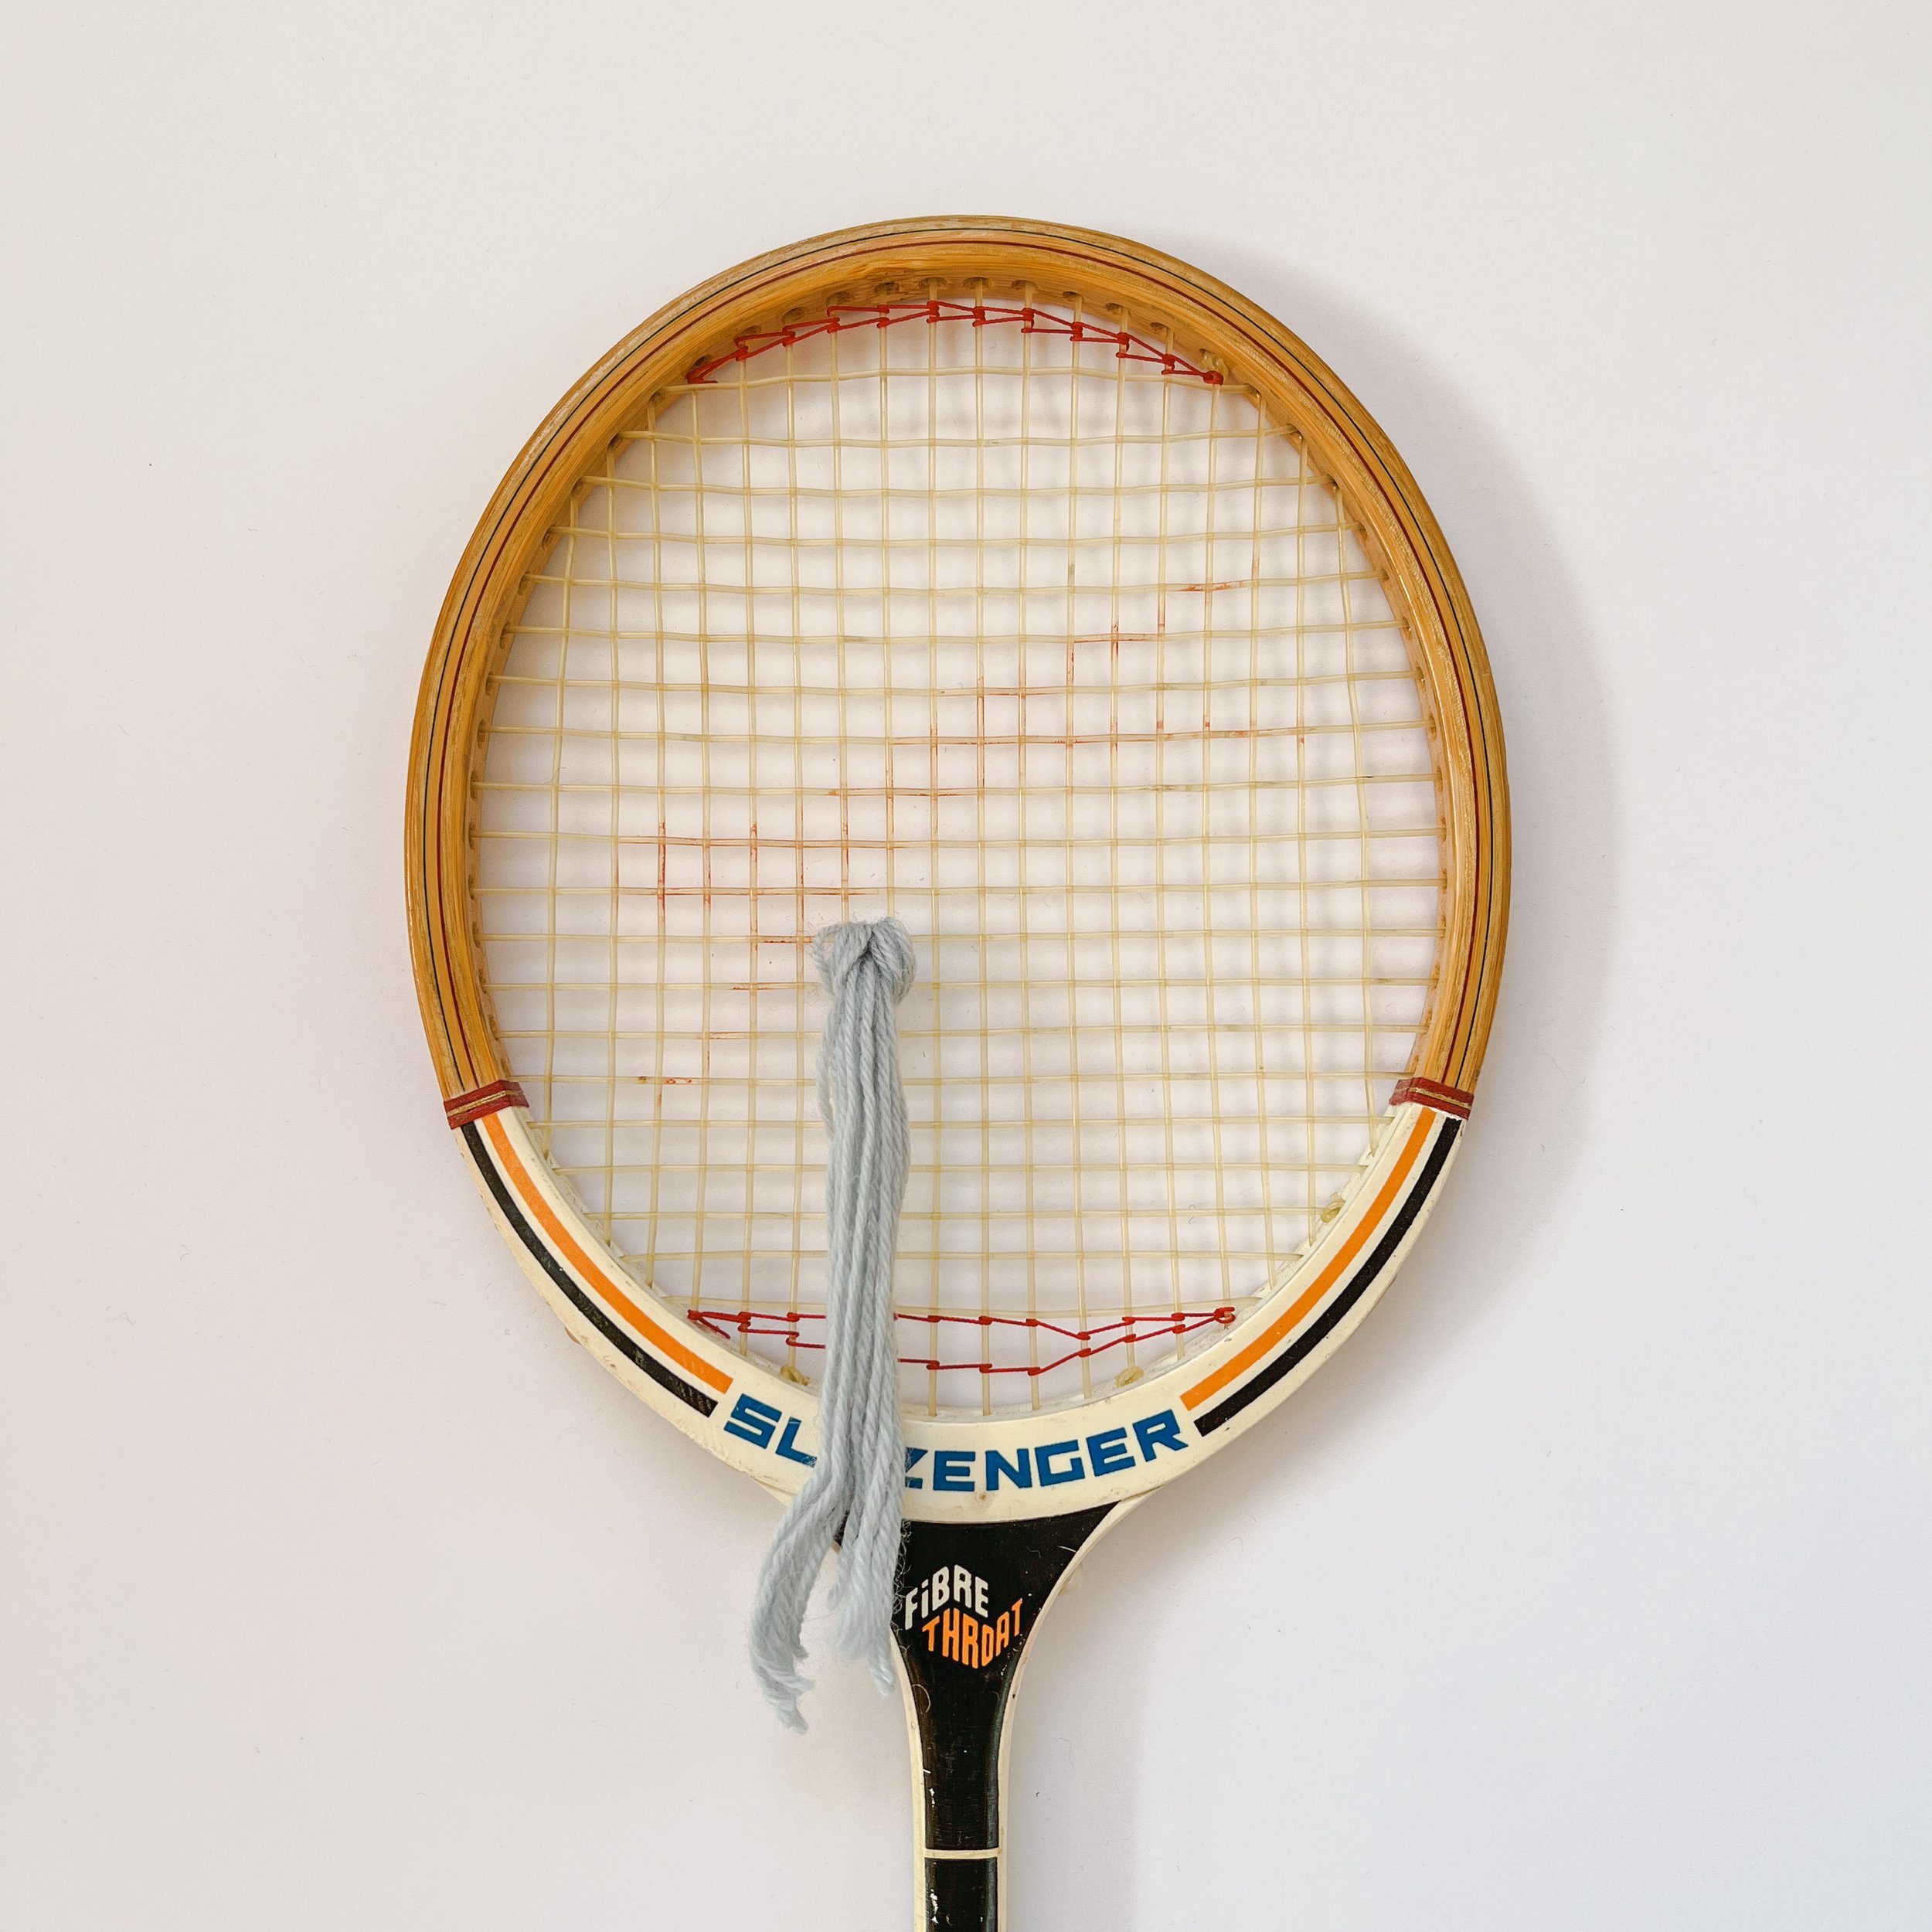
A vintage wooden racquet. I’ve found mine at op shops ranging from $2-$15.
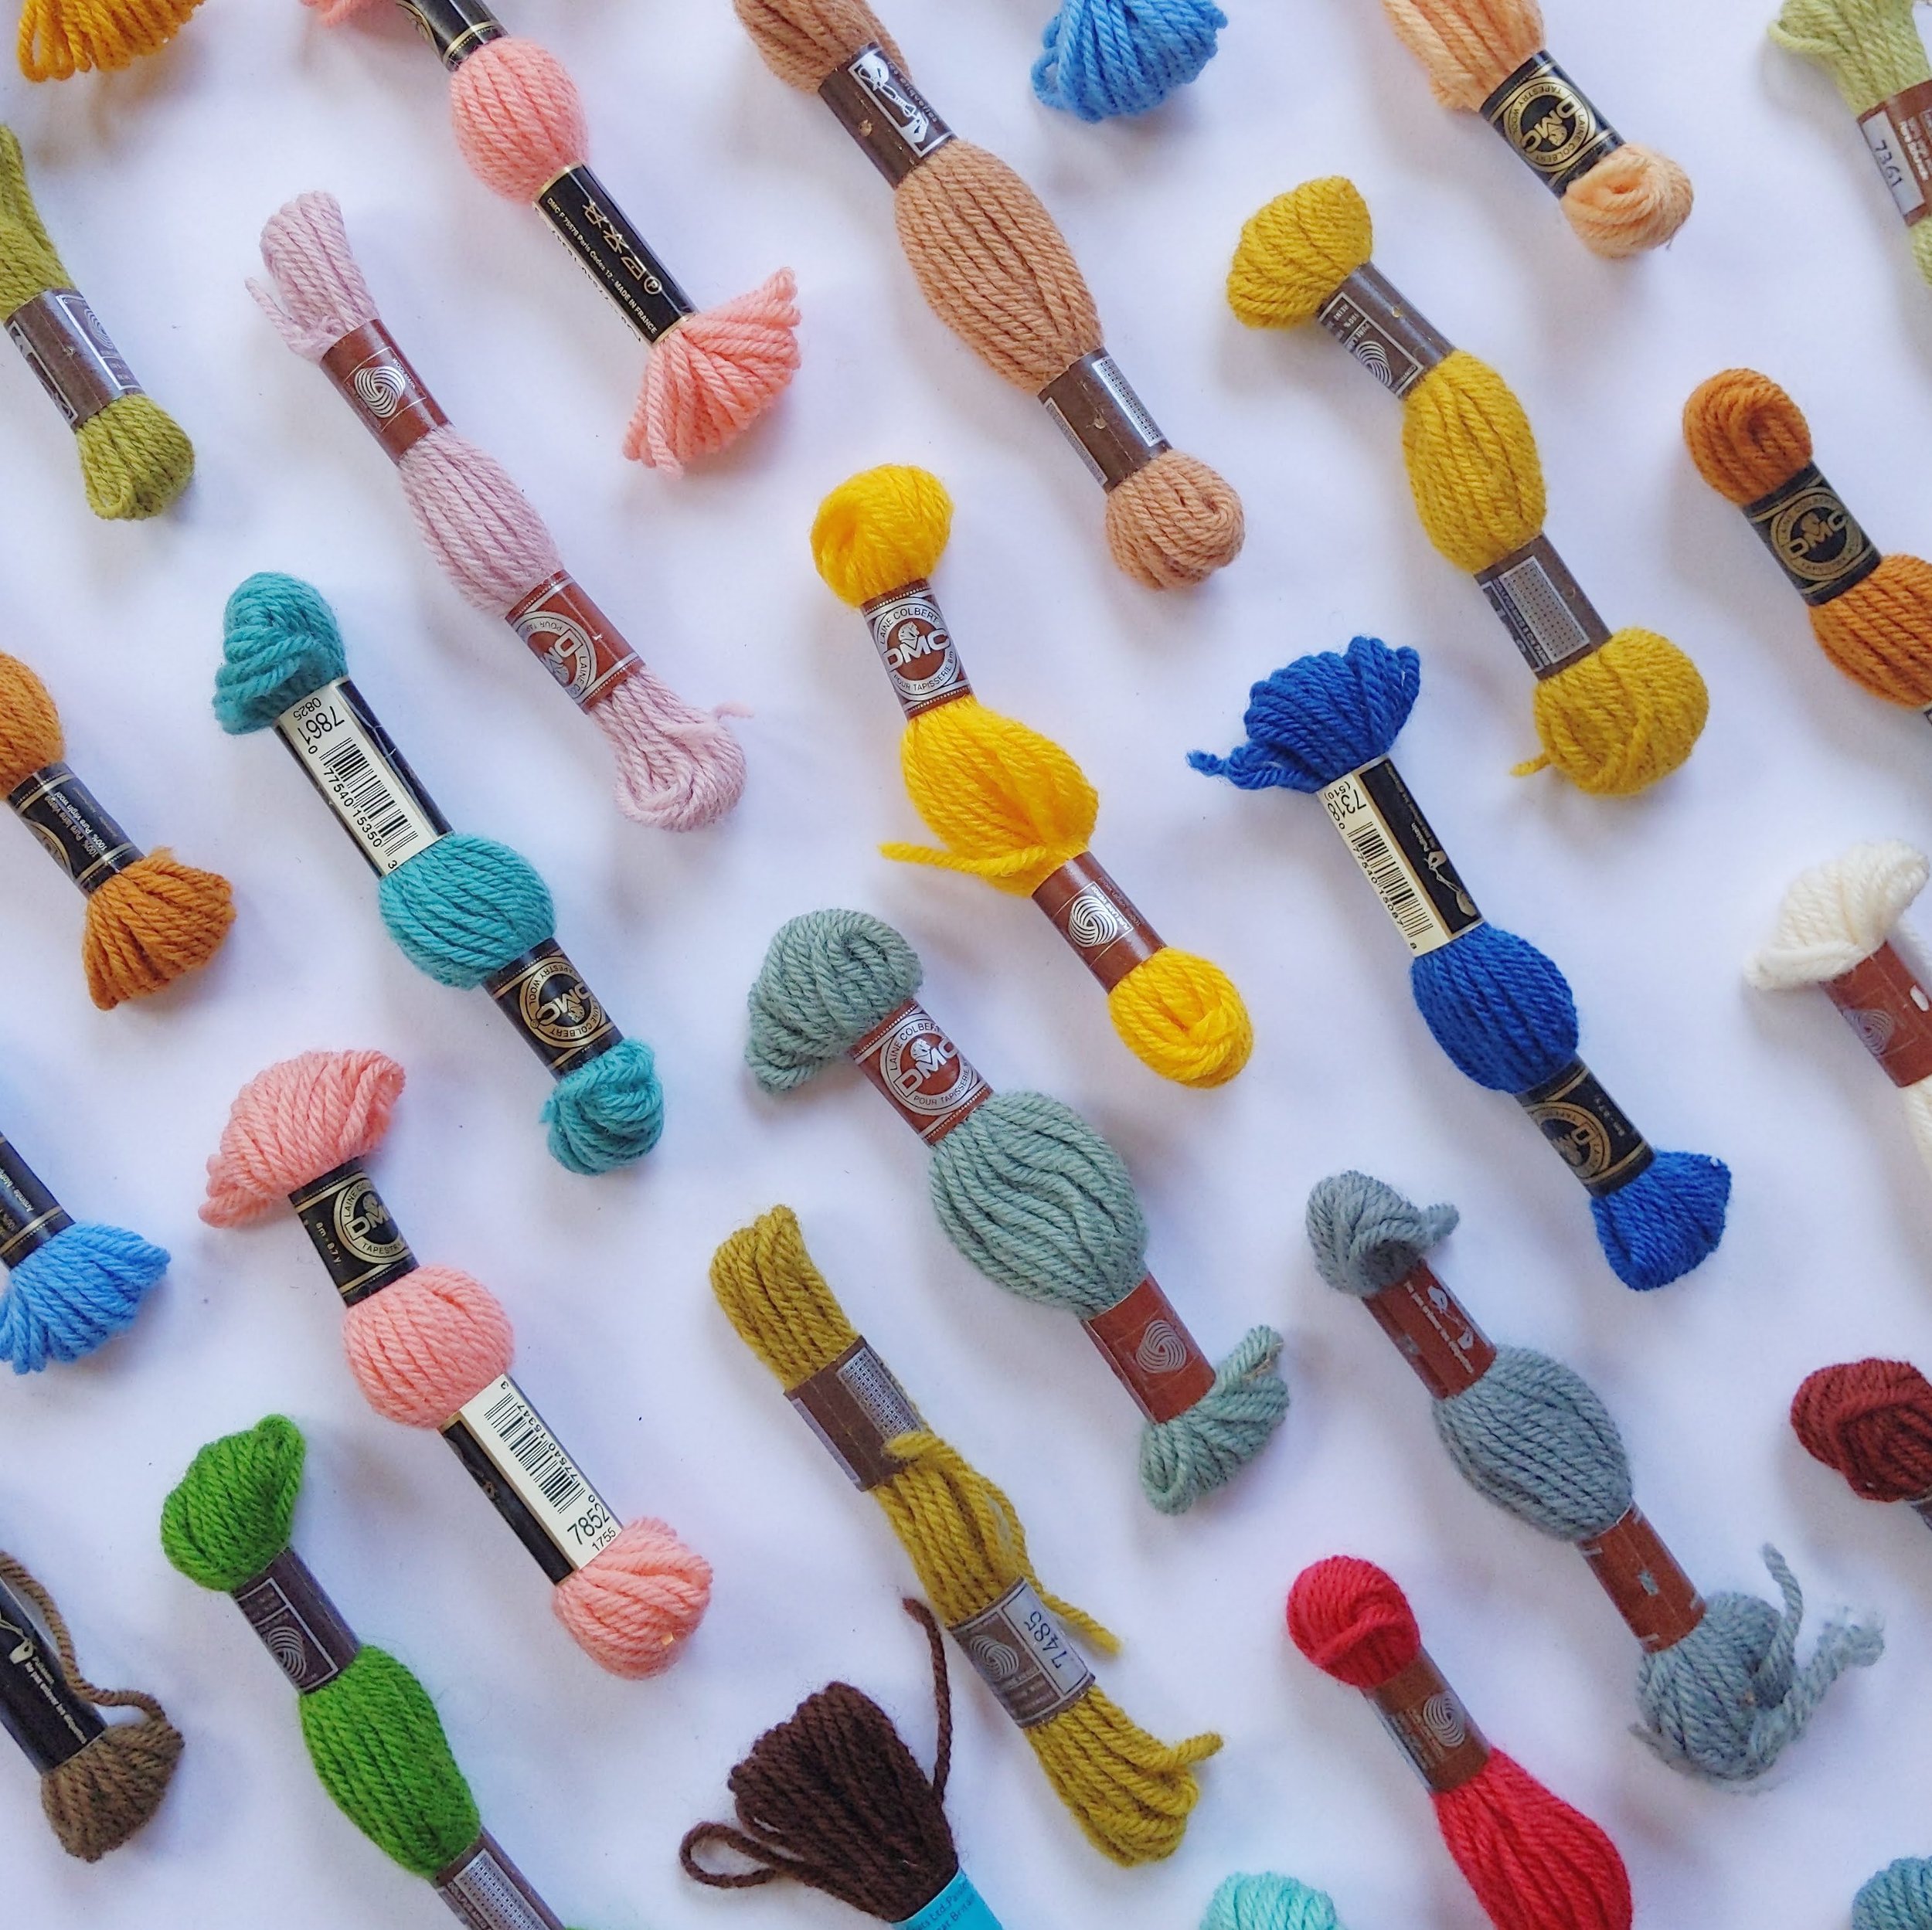
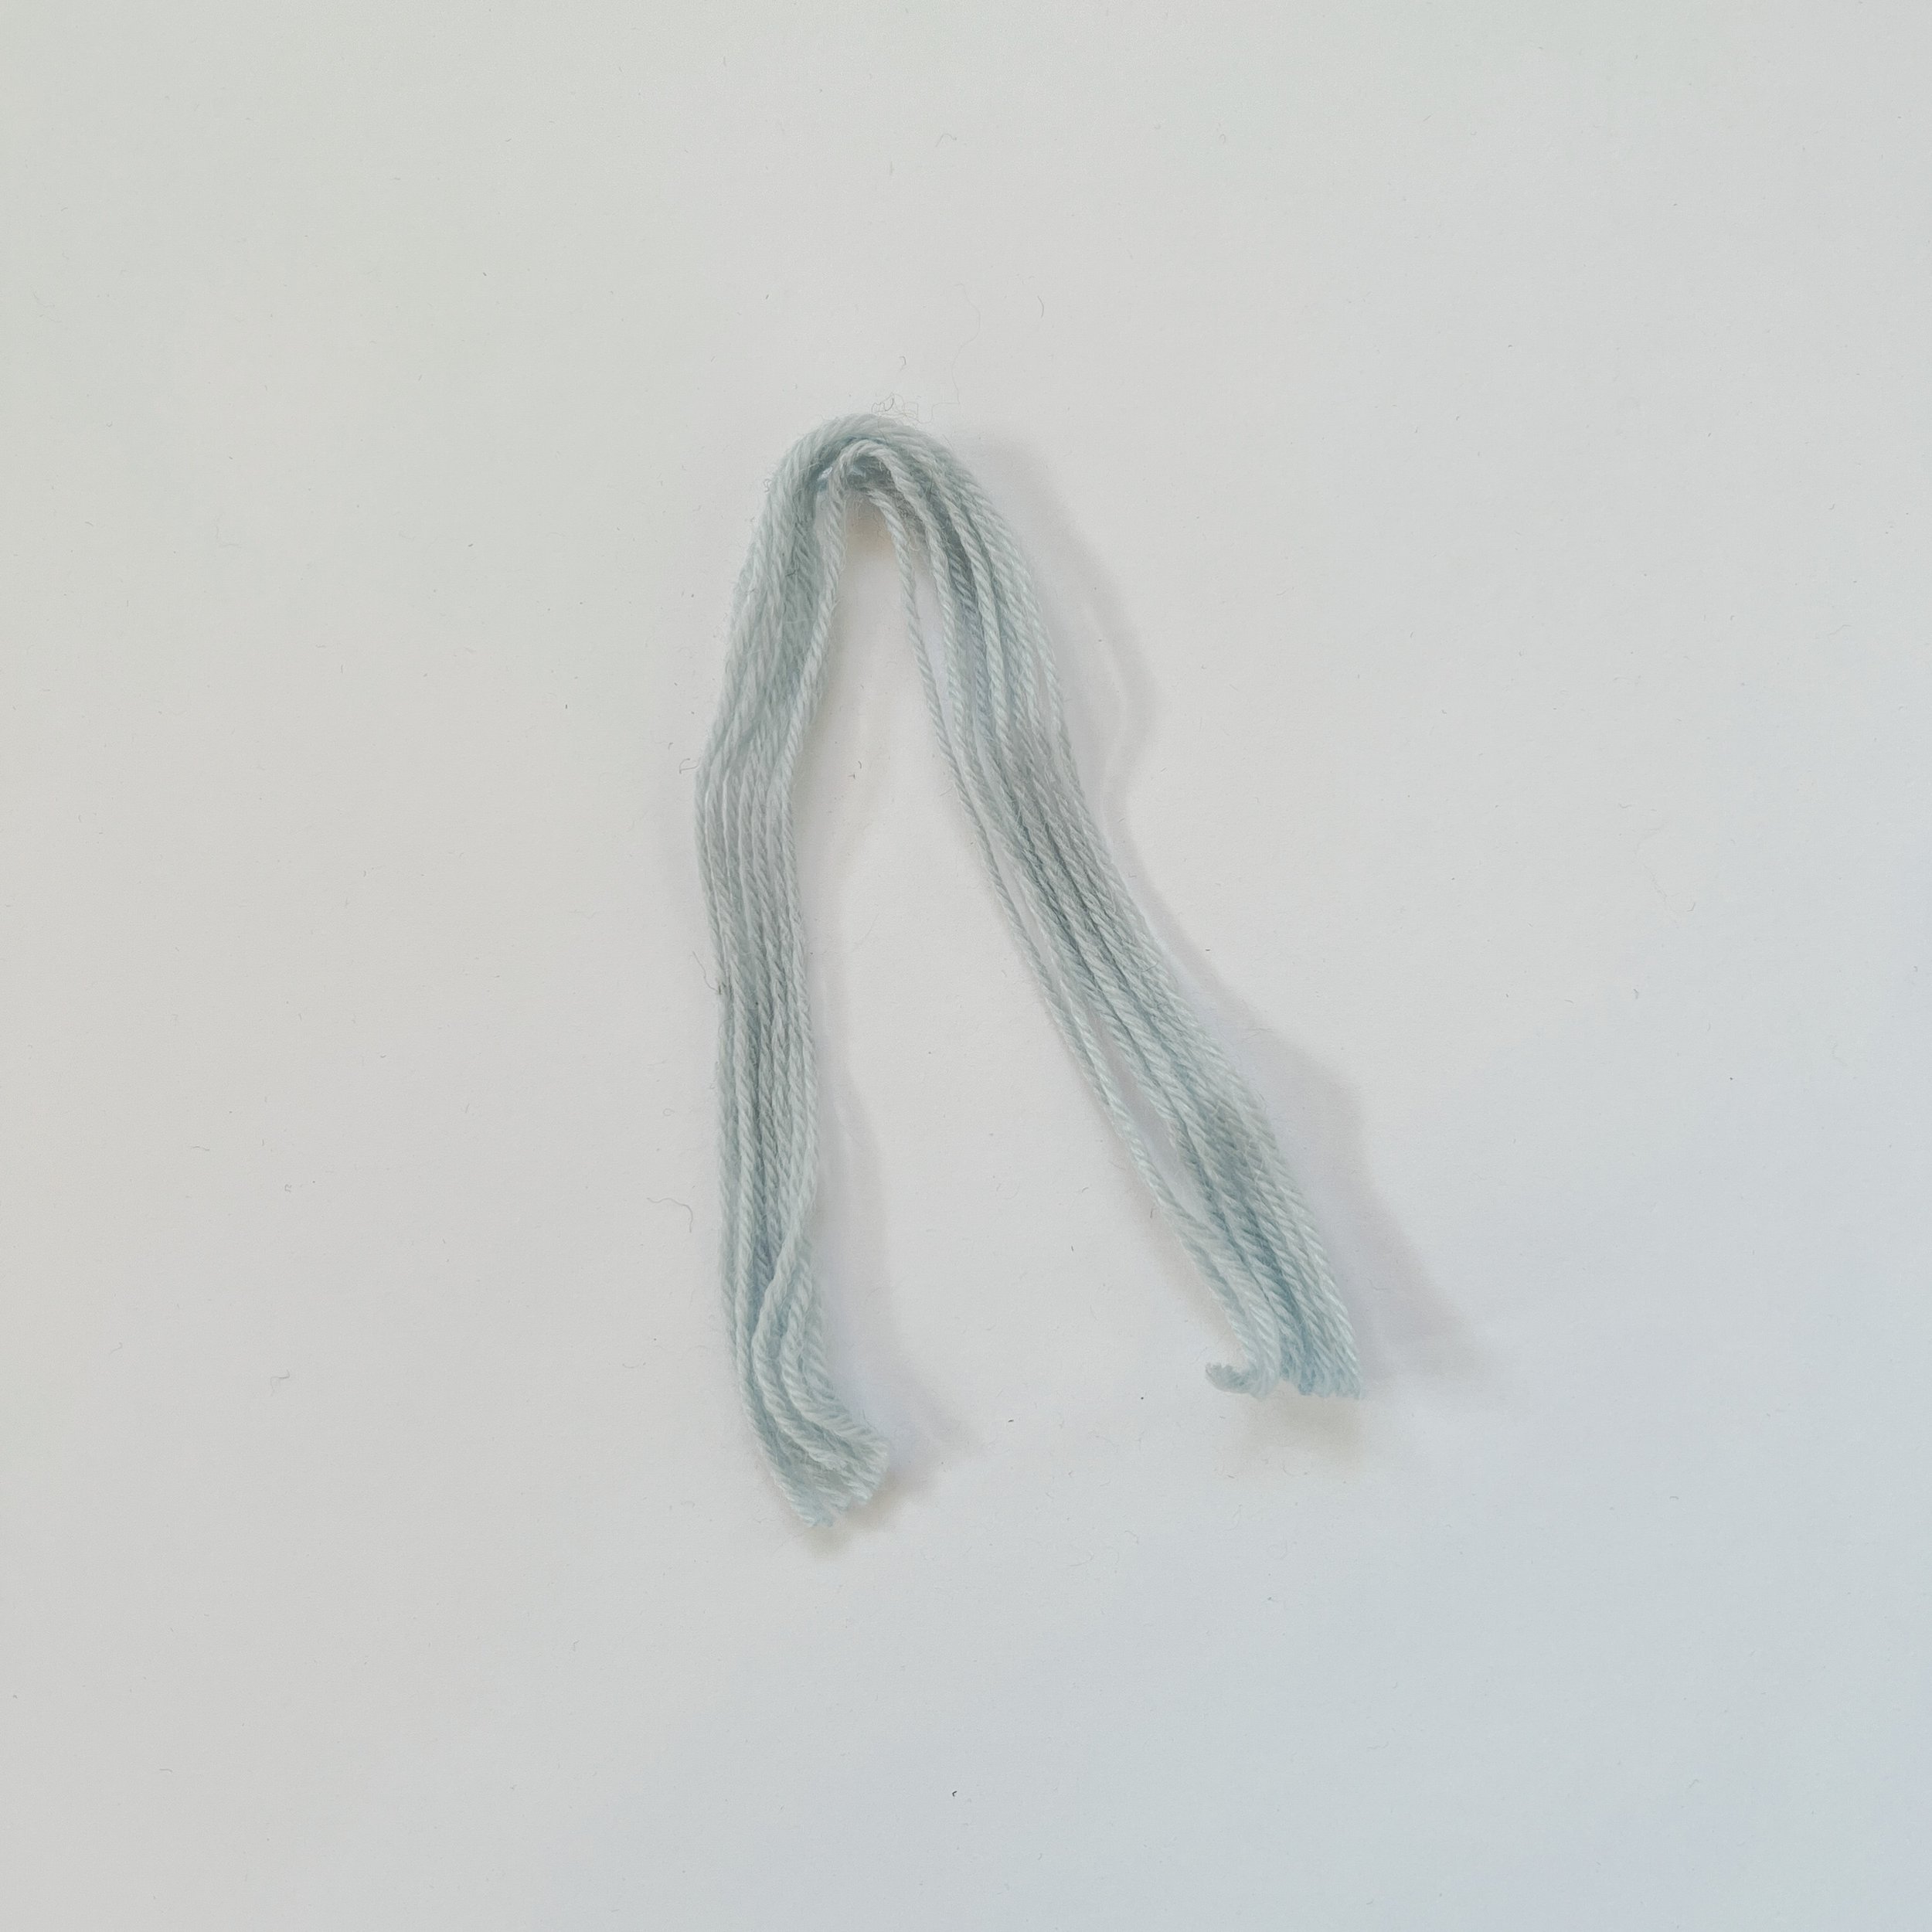
Wool Embroidery Yarn in various colours. I’m using 2nd hand wool I have collected at op shops and thrift stores in the craft sections.
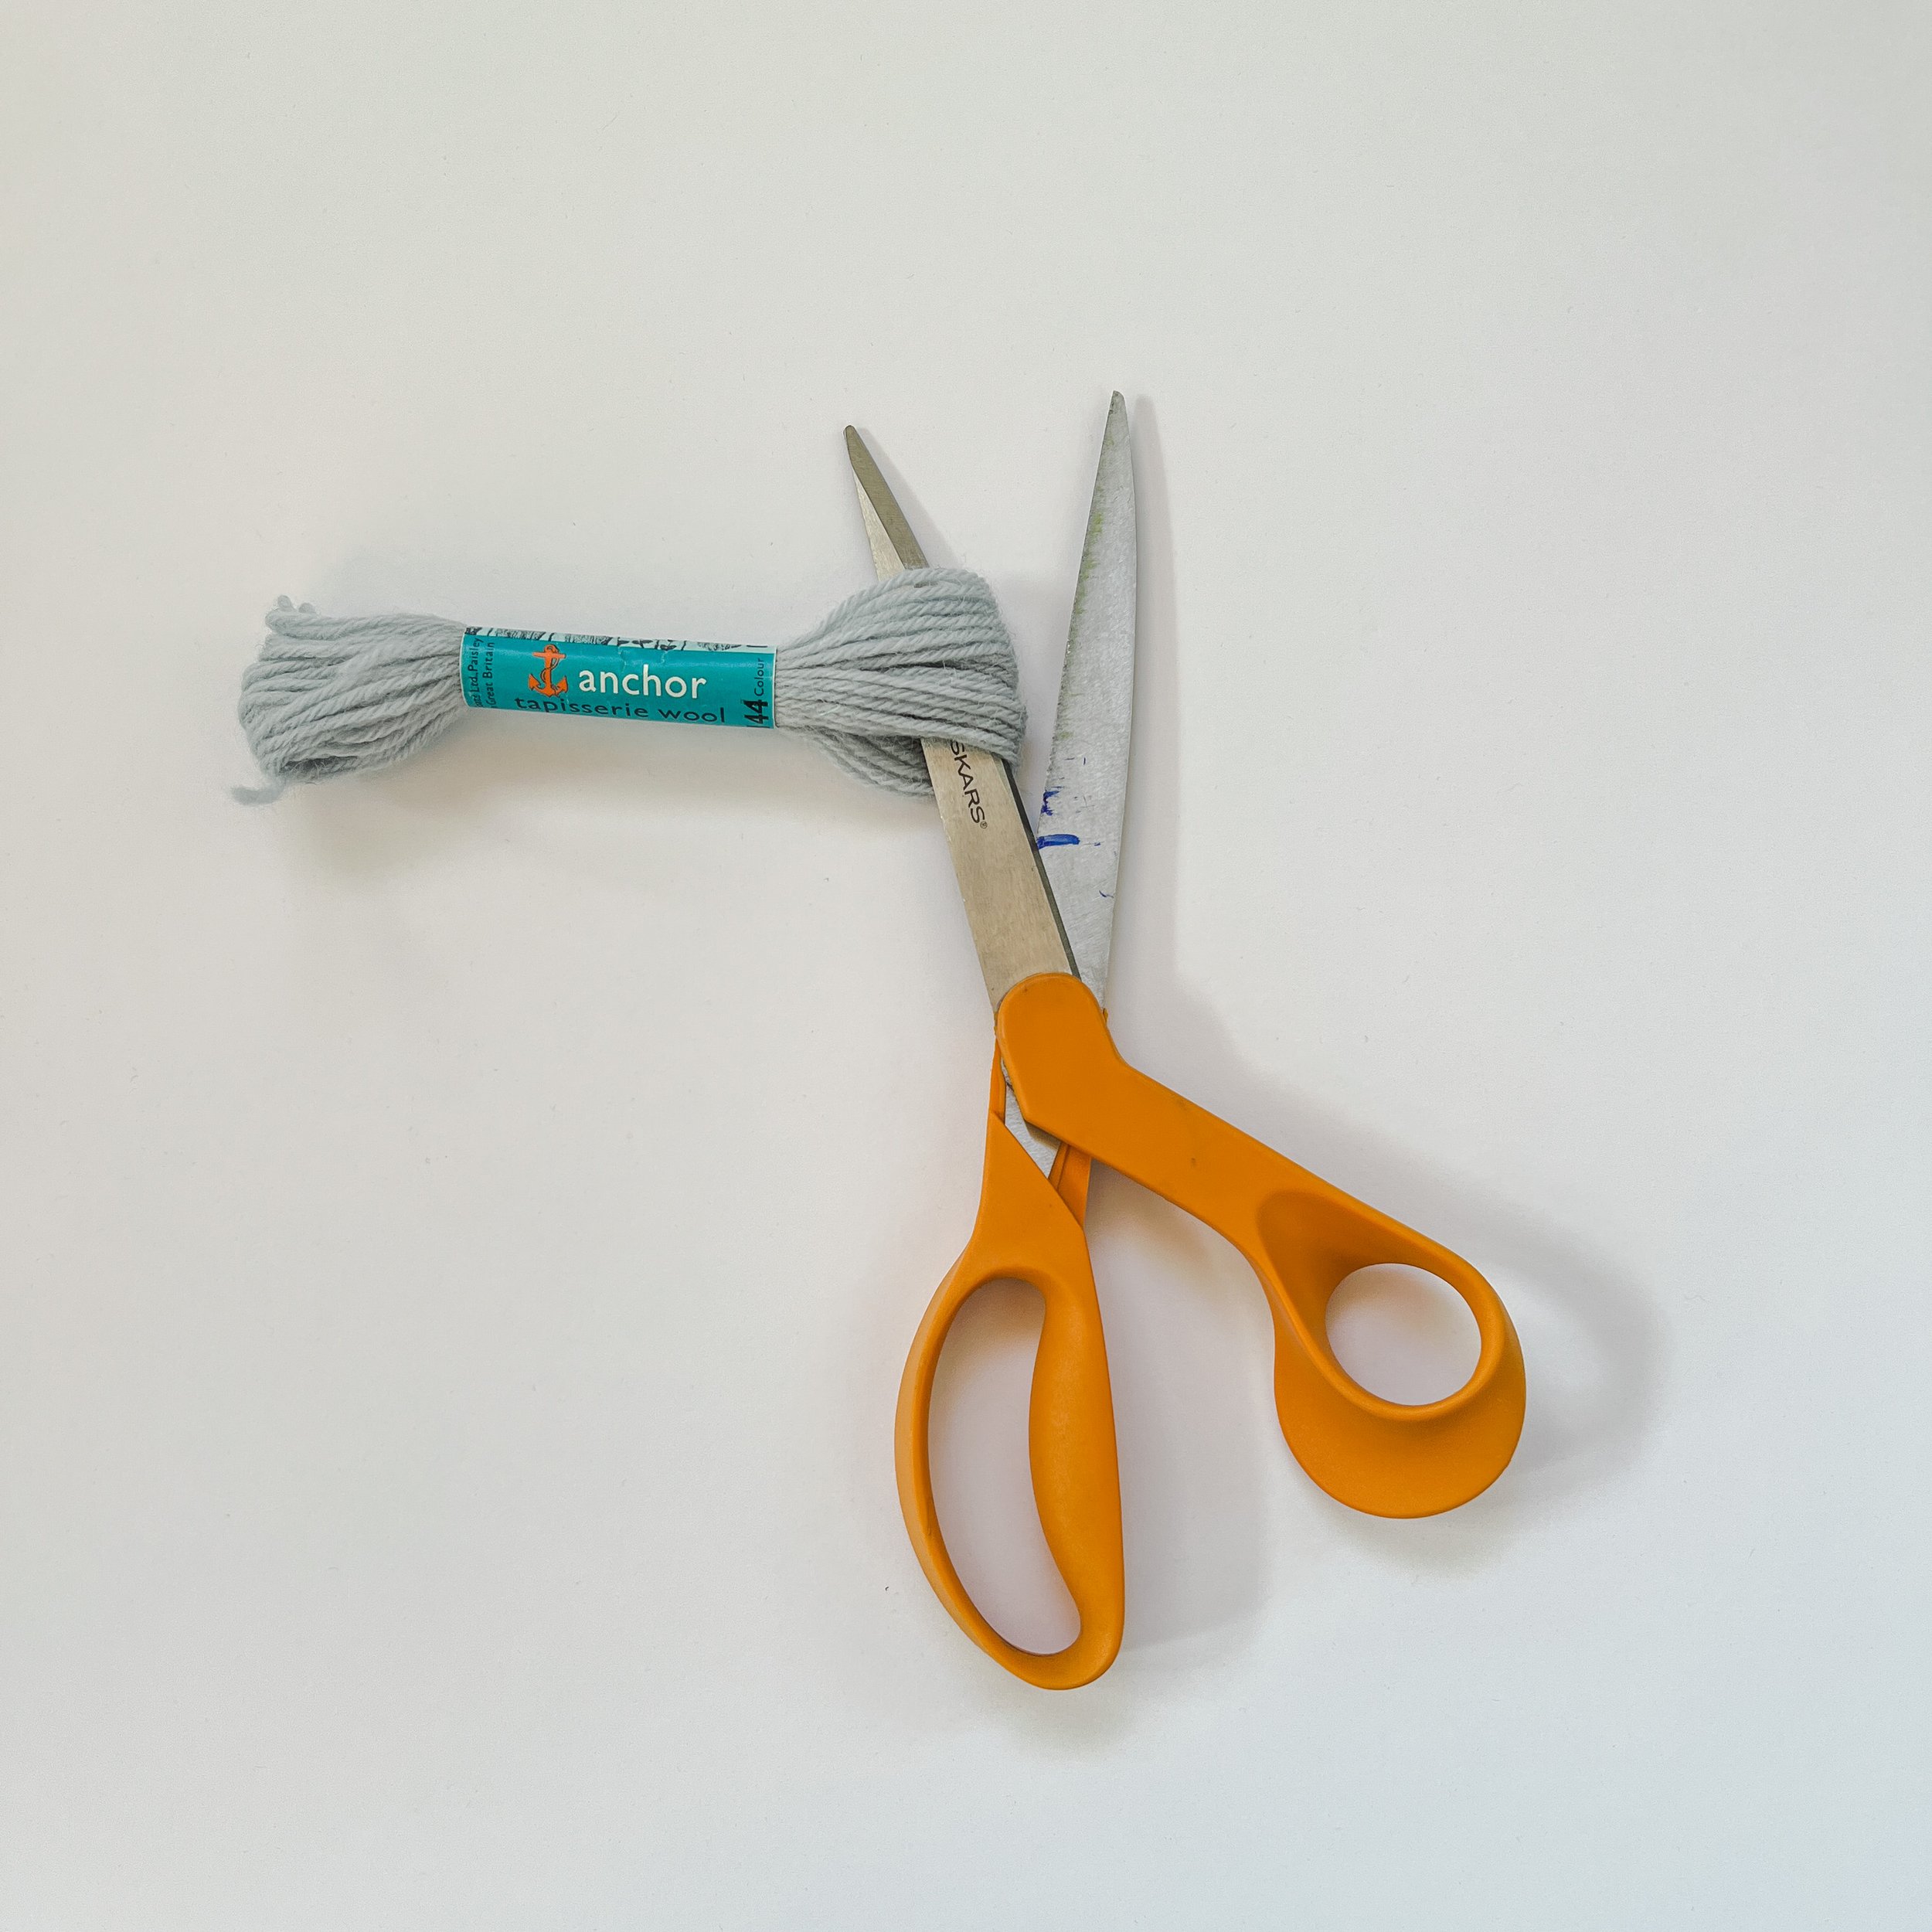
Scissors
A wall hook to hang your finished project. I use Command Strip Hooks.
How to: Watch this first to see me weave a racquet!
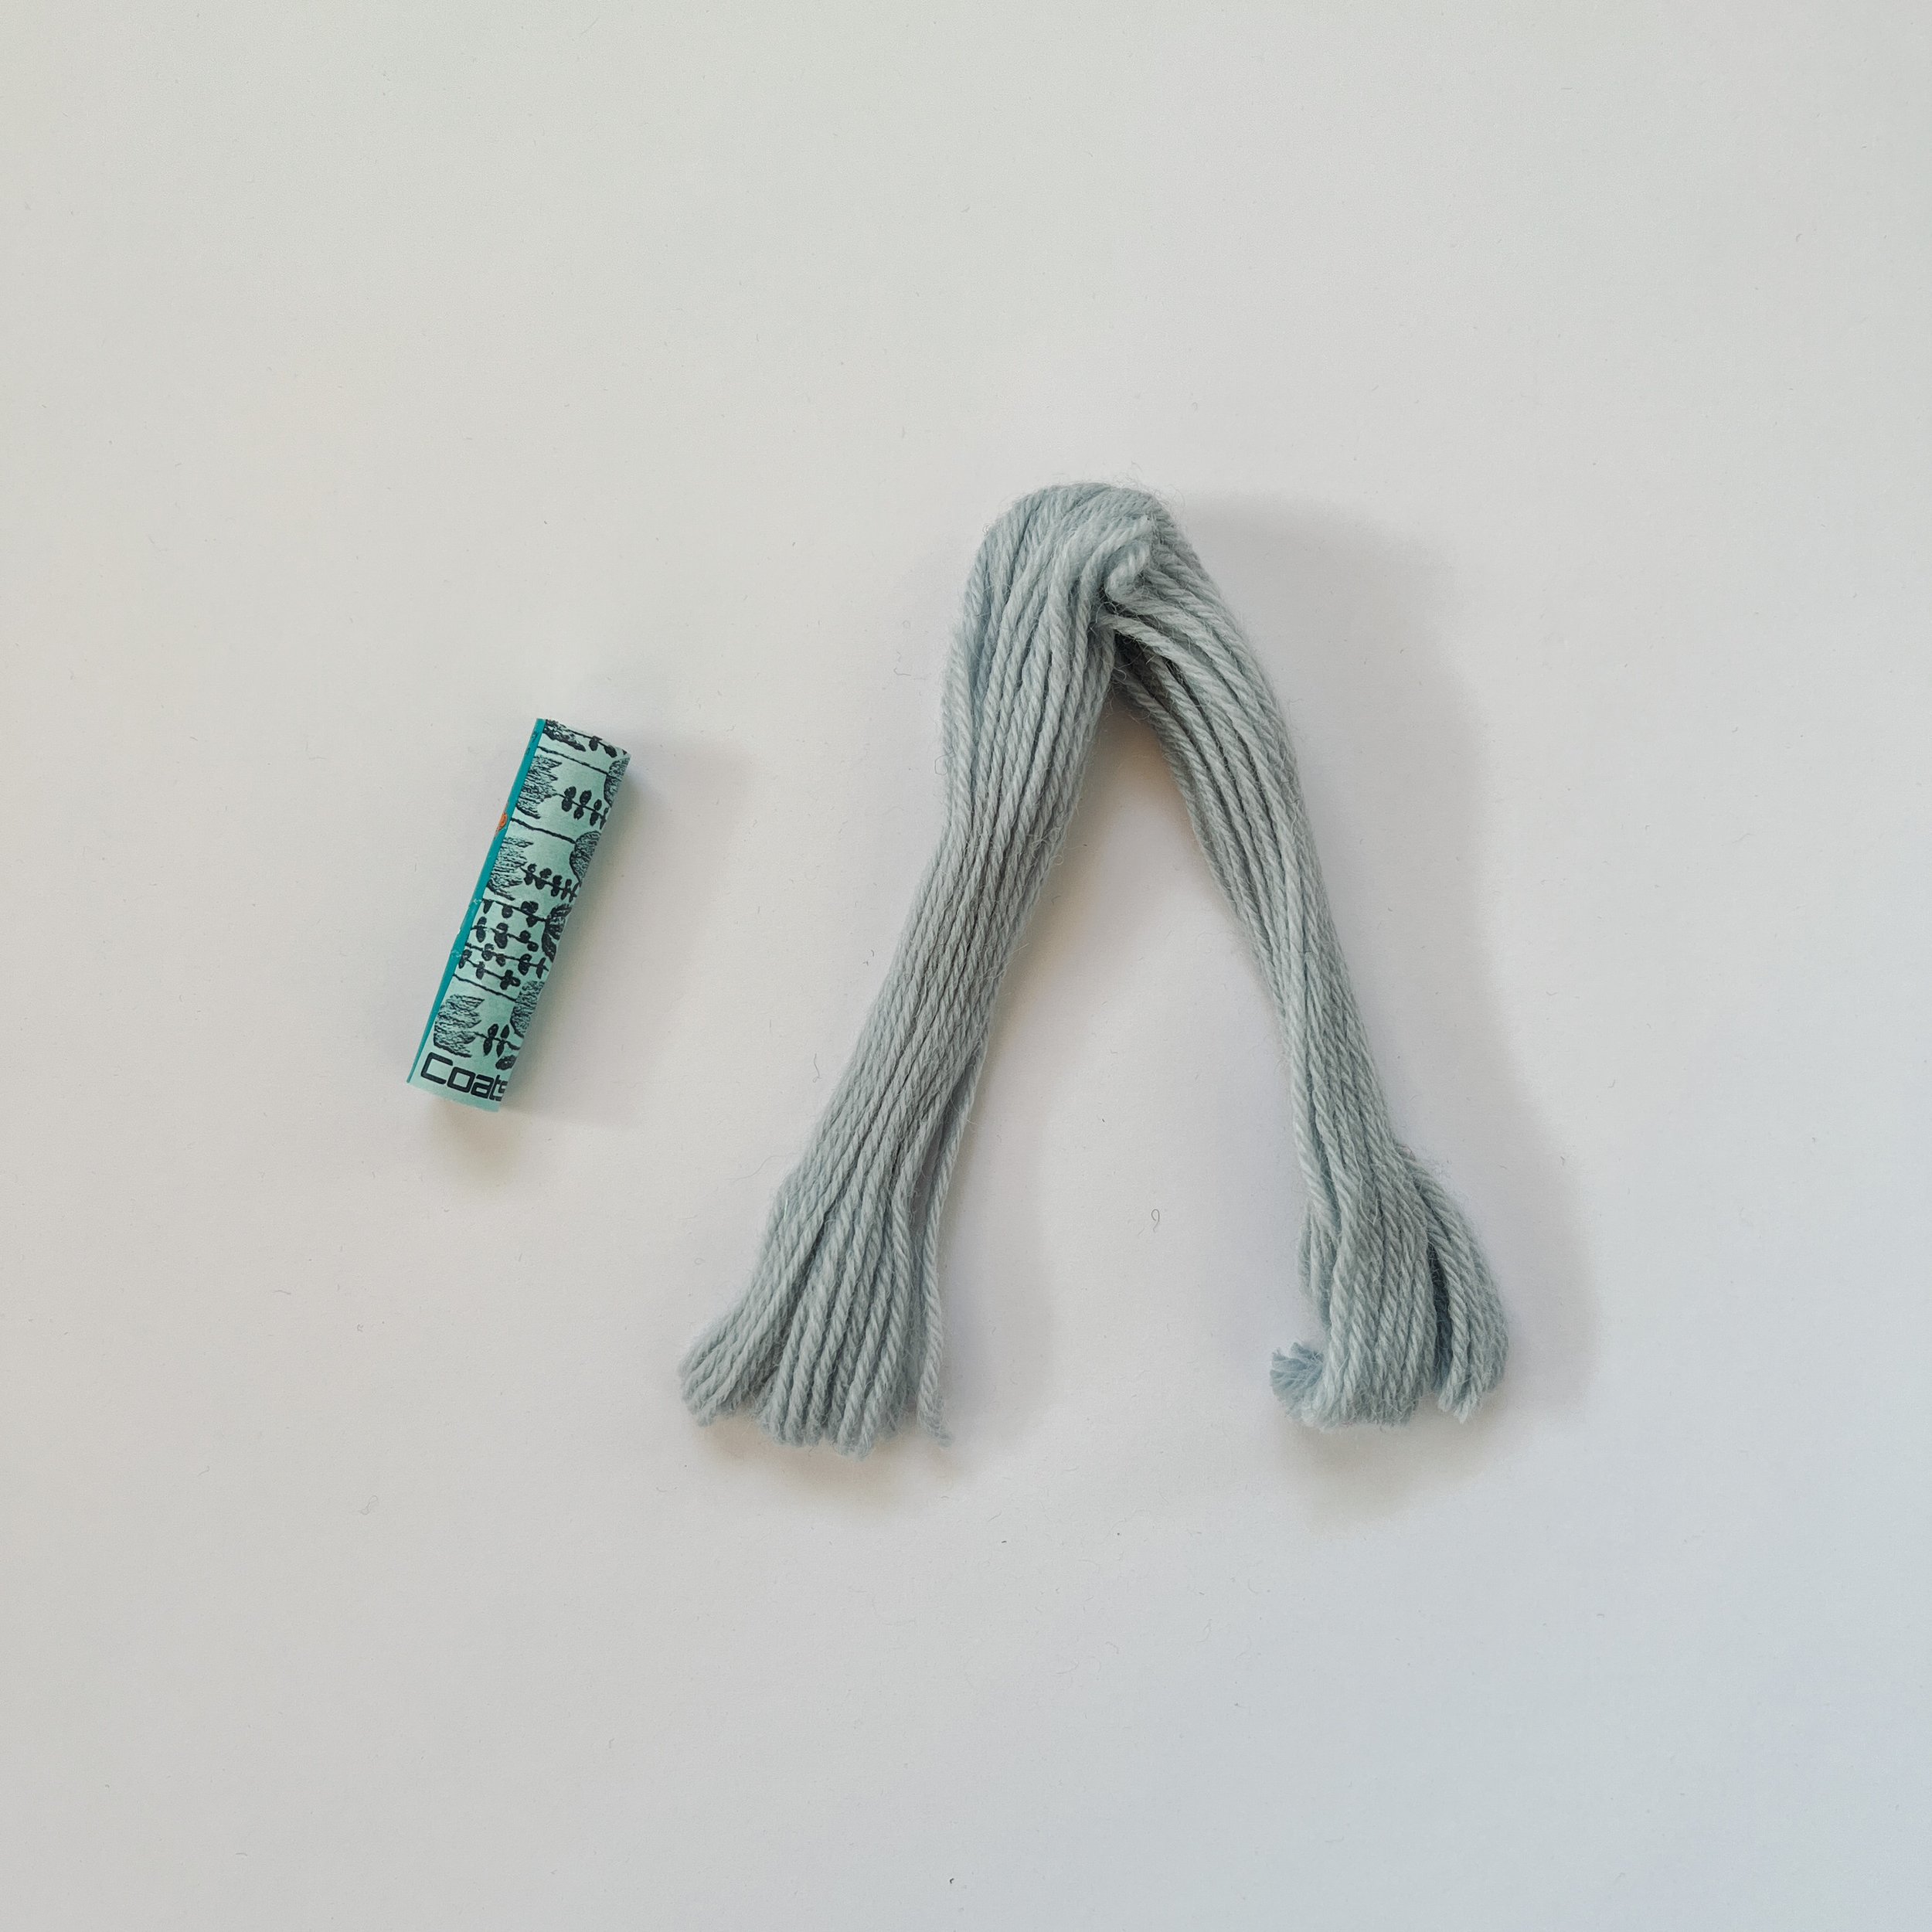
The technique you will use to attach the wool to the racquet is a Larks Head Knot. Take a skein of wool, and with the paper wrapping still attached, cut through the wool at one end so that you have an upside-down V of wool strips.
Peel away 4-6 pieces of wool and pinch the fold to insert it through a hole in the racquet strings. You can start anywhere, but I like to start from the bottom and work my way up.
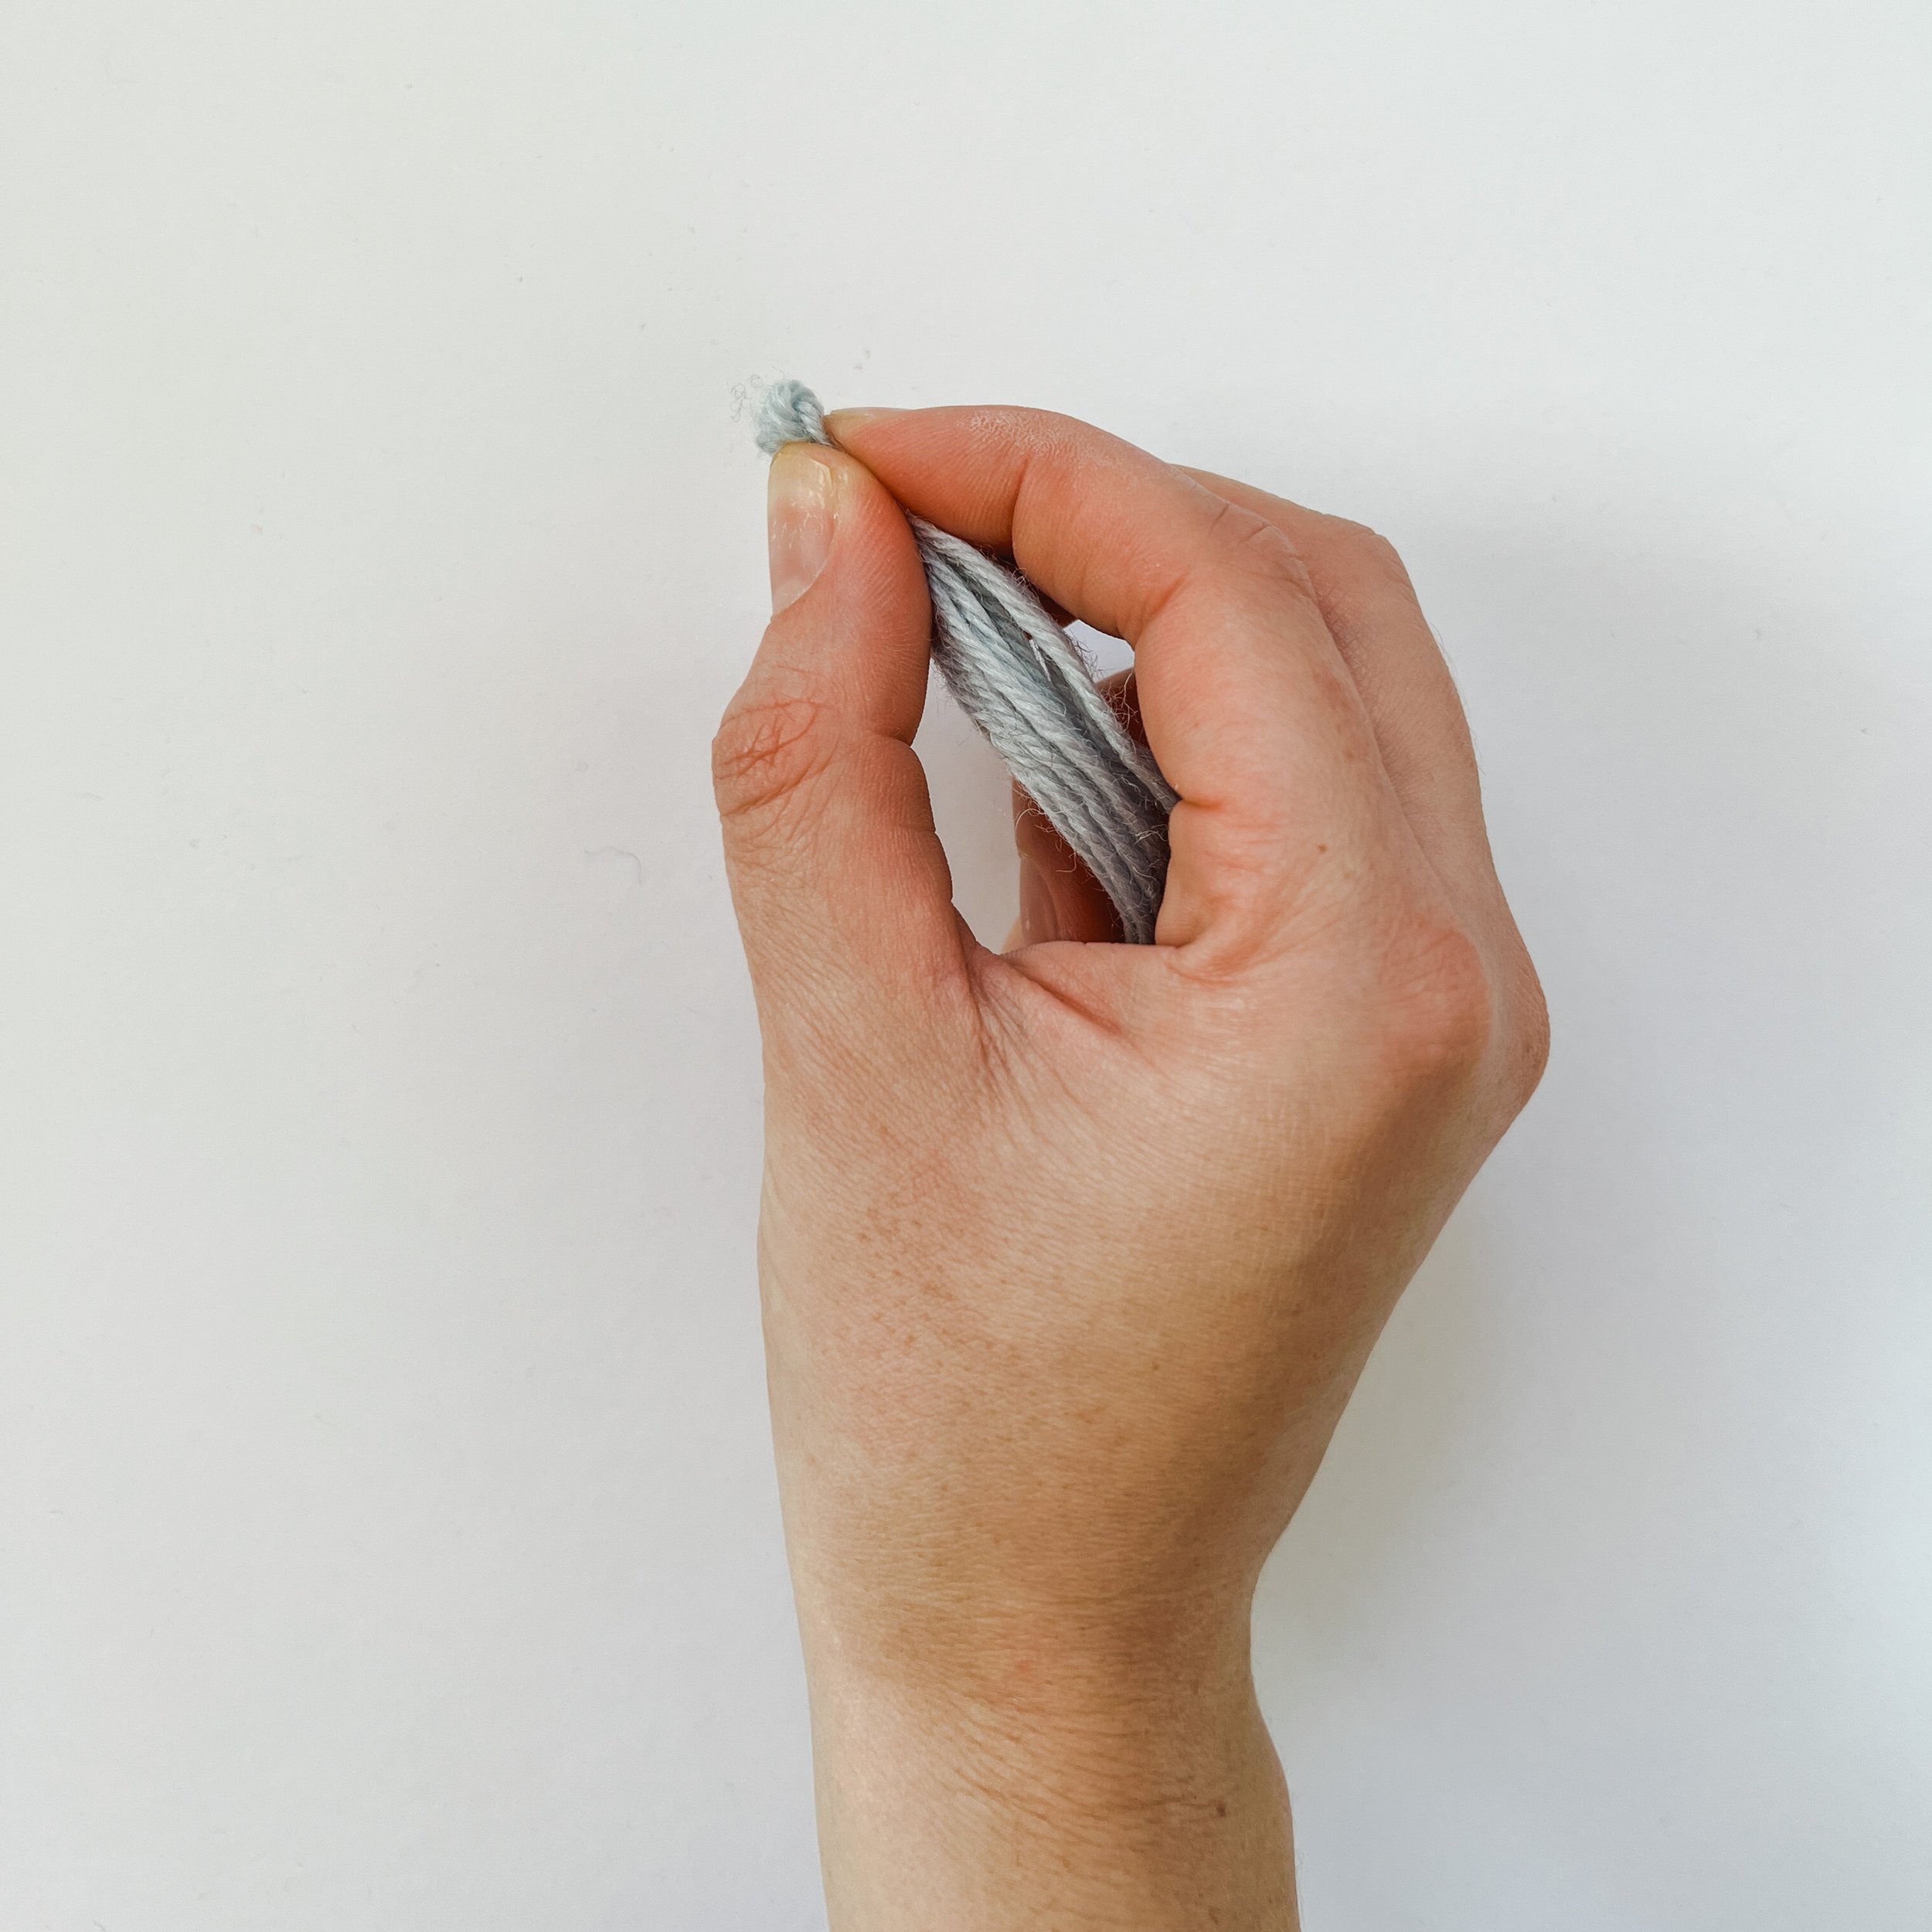
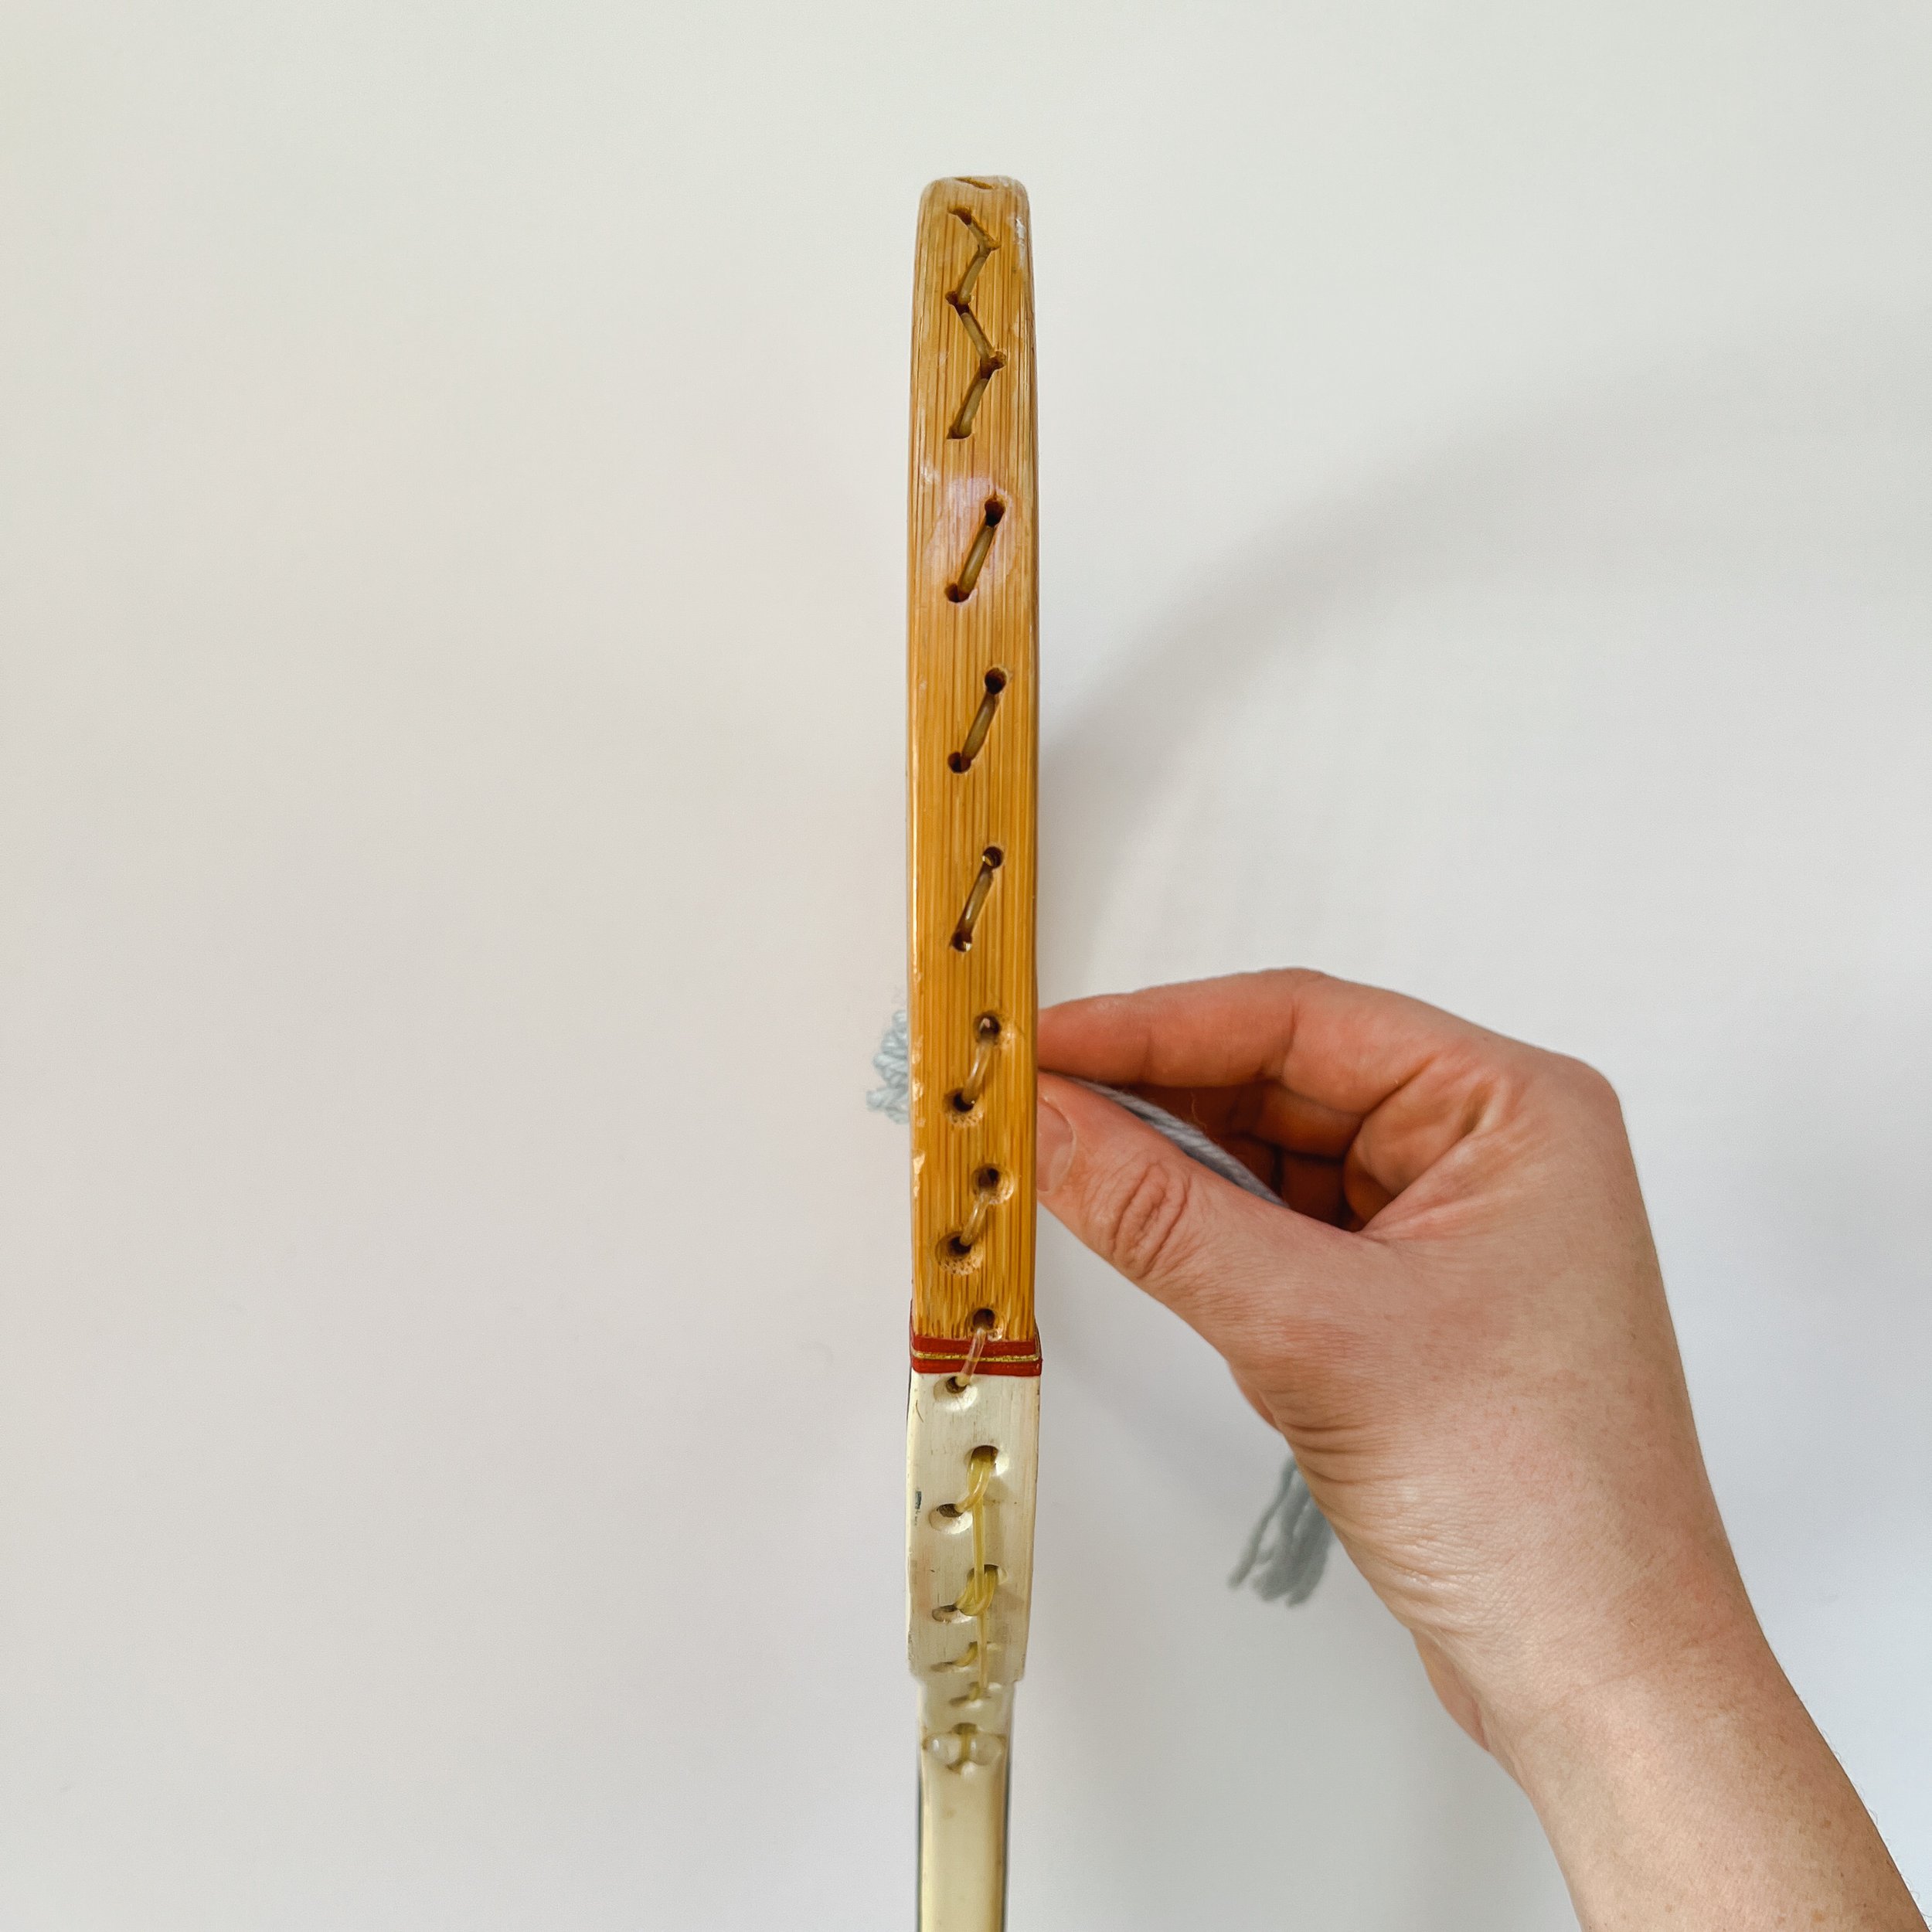
Push the pinched end through the hole, and then from the other side of the racquet, push the pinched end back through the hole above. Pull the pinched end through about 2cm and open up the loop. Then you can insert the loose ends of the wool through the hole. Gently pull down on the ends to secure the larks head knot in place.
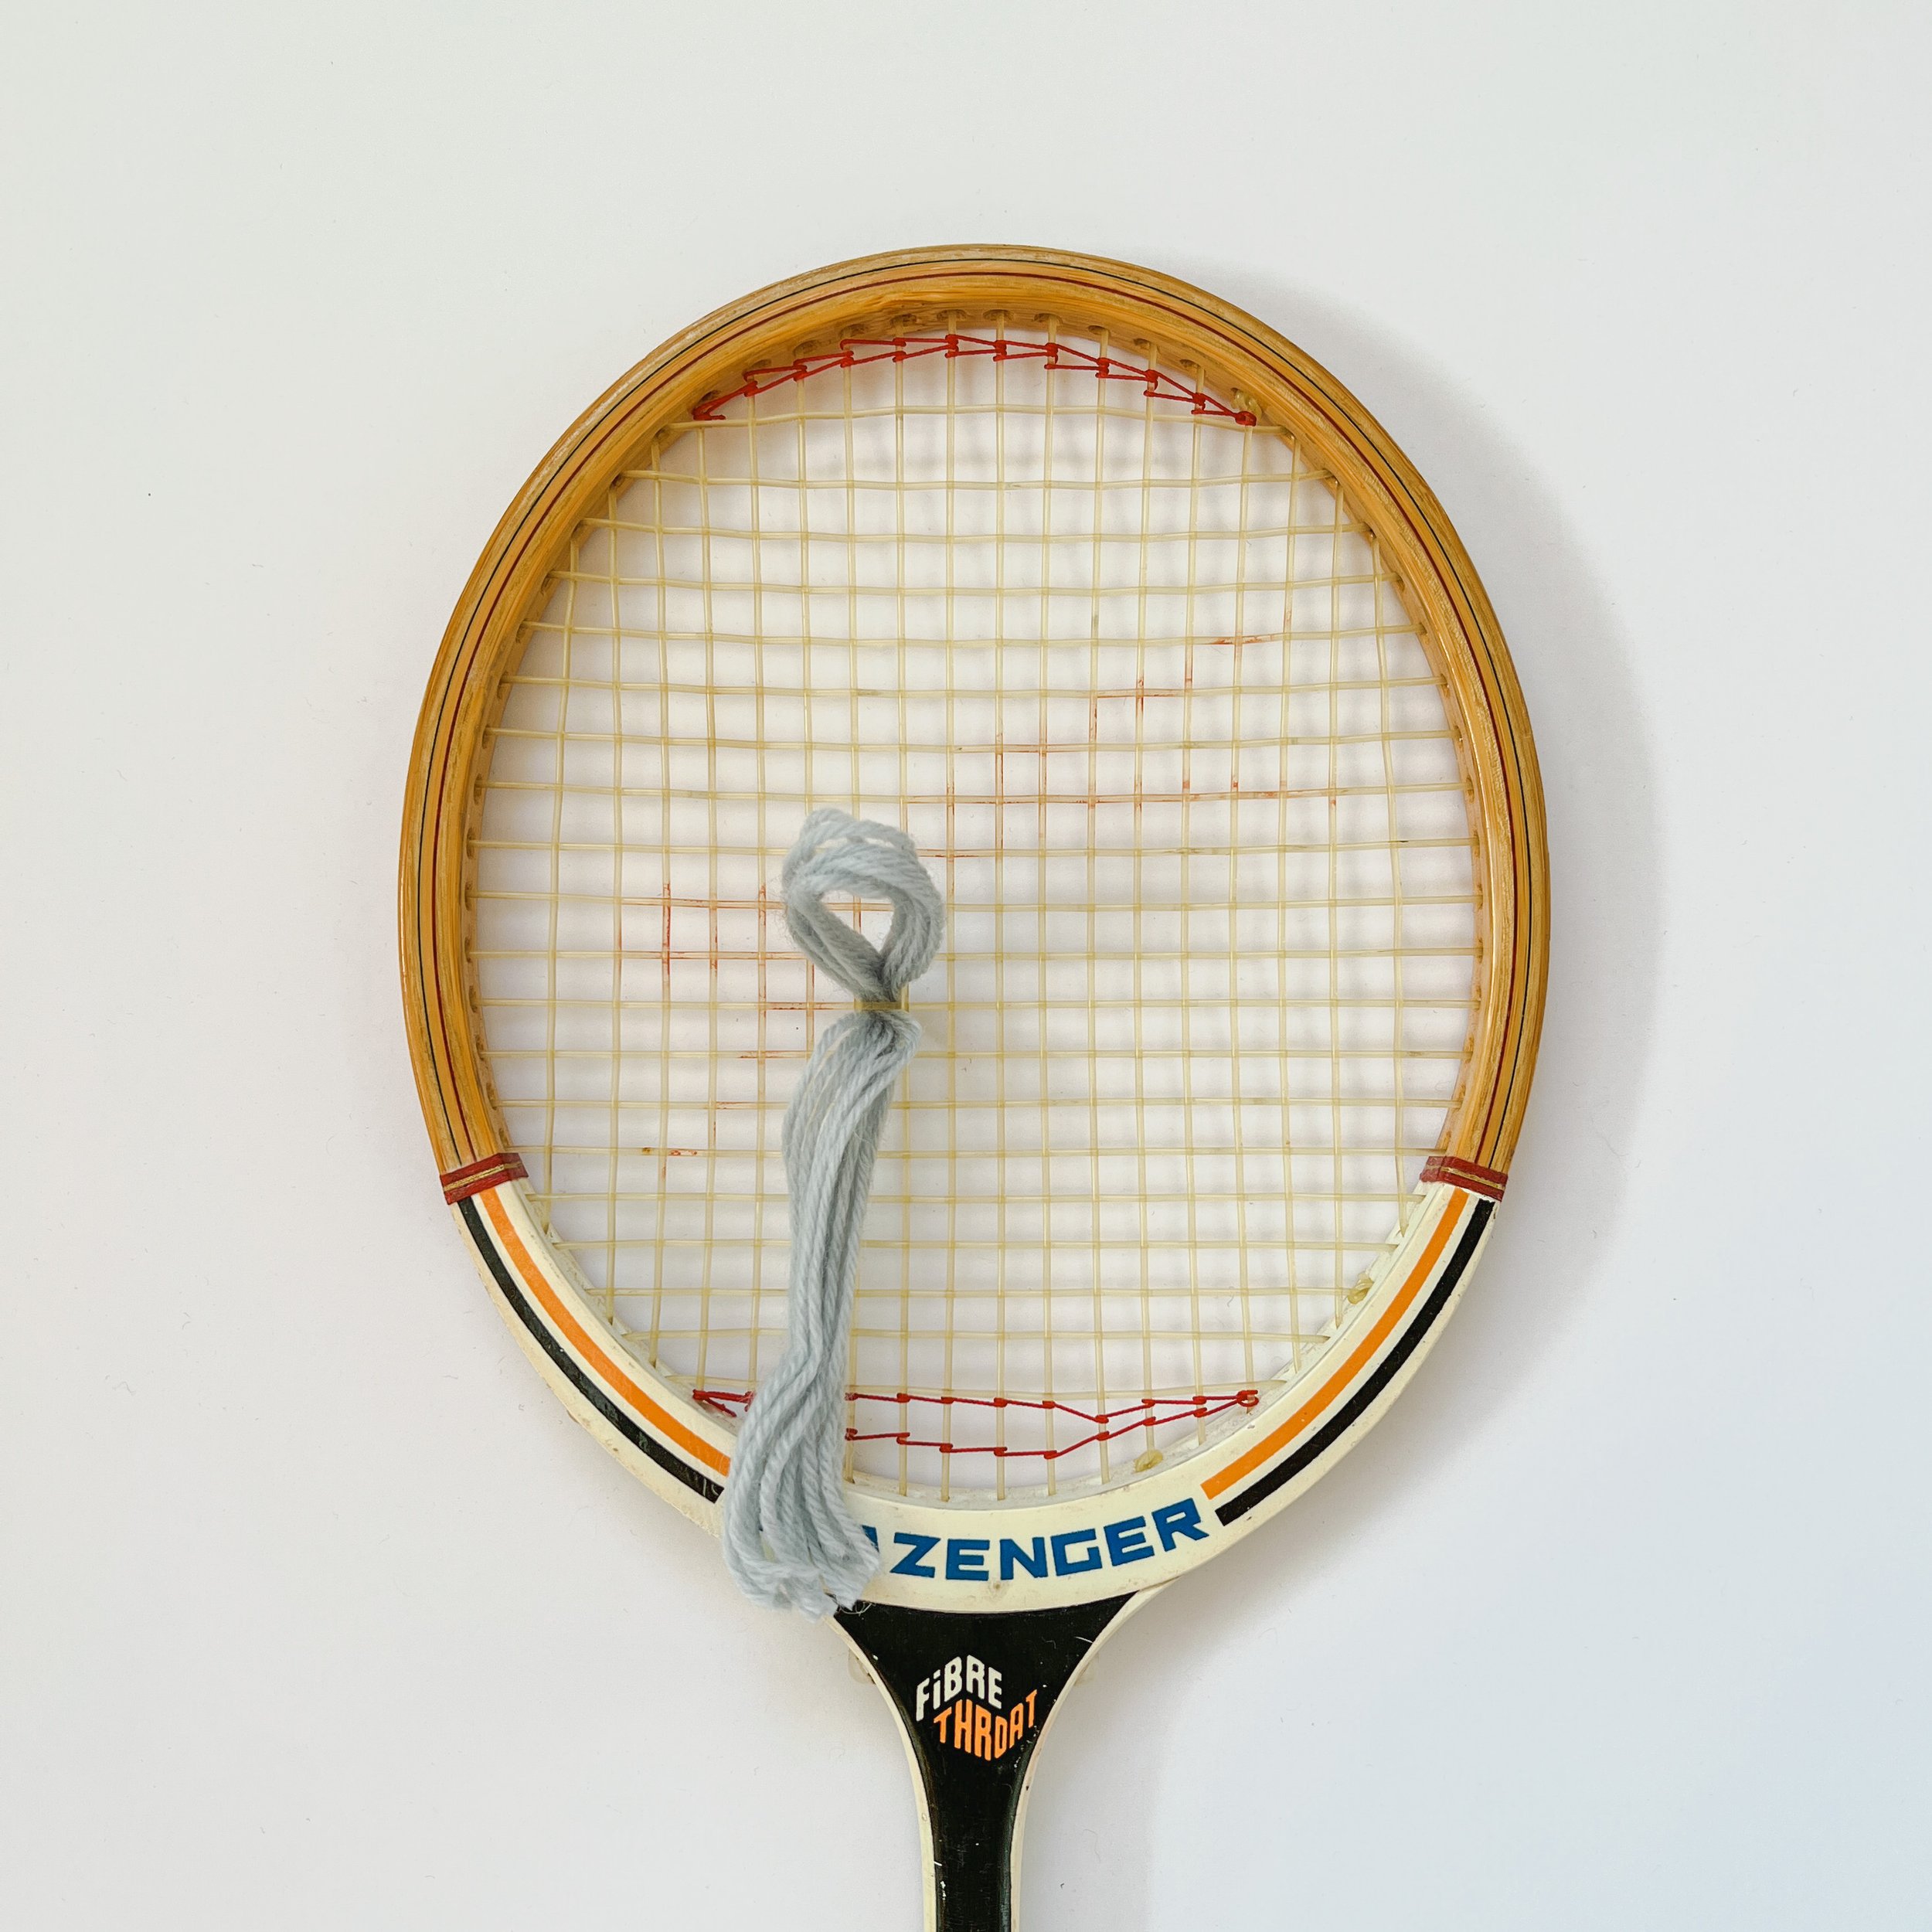
Continue doing this all over the racquet until you are happy with the colours and ruffleyness. You can trim the ends of the wool at any time, but I find it best to do so at the end. It's like giving your racquet a haircut, and it's super satisfying! Need more wool? Take a look in your local op shop and add more ruffles to your racquet when you find more. Enjoy!
