DIY Lumpy Letters
I made another project using upcycled cardboard - It’s these Lumpy Letters! Here’s how to make them:
Make a batch of paper mache clay.
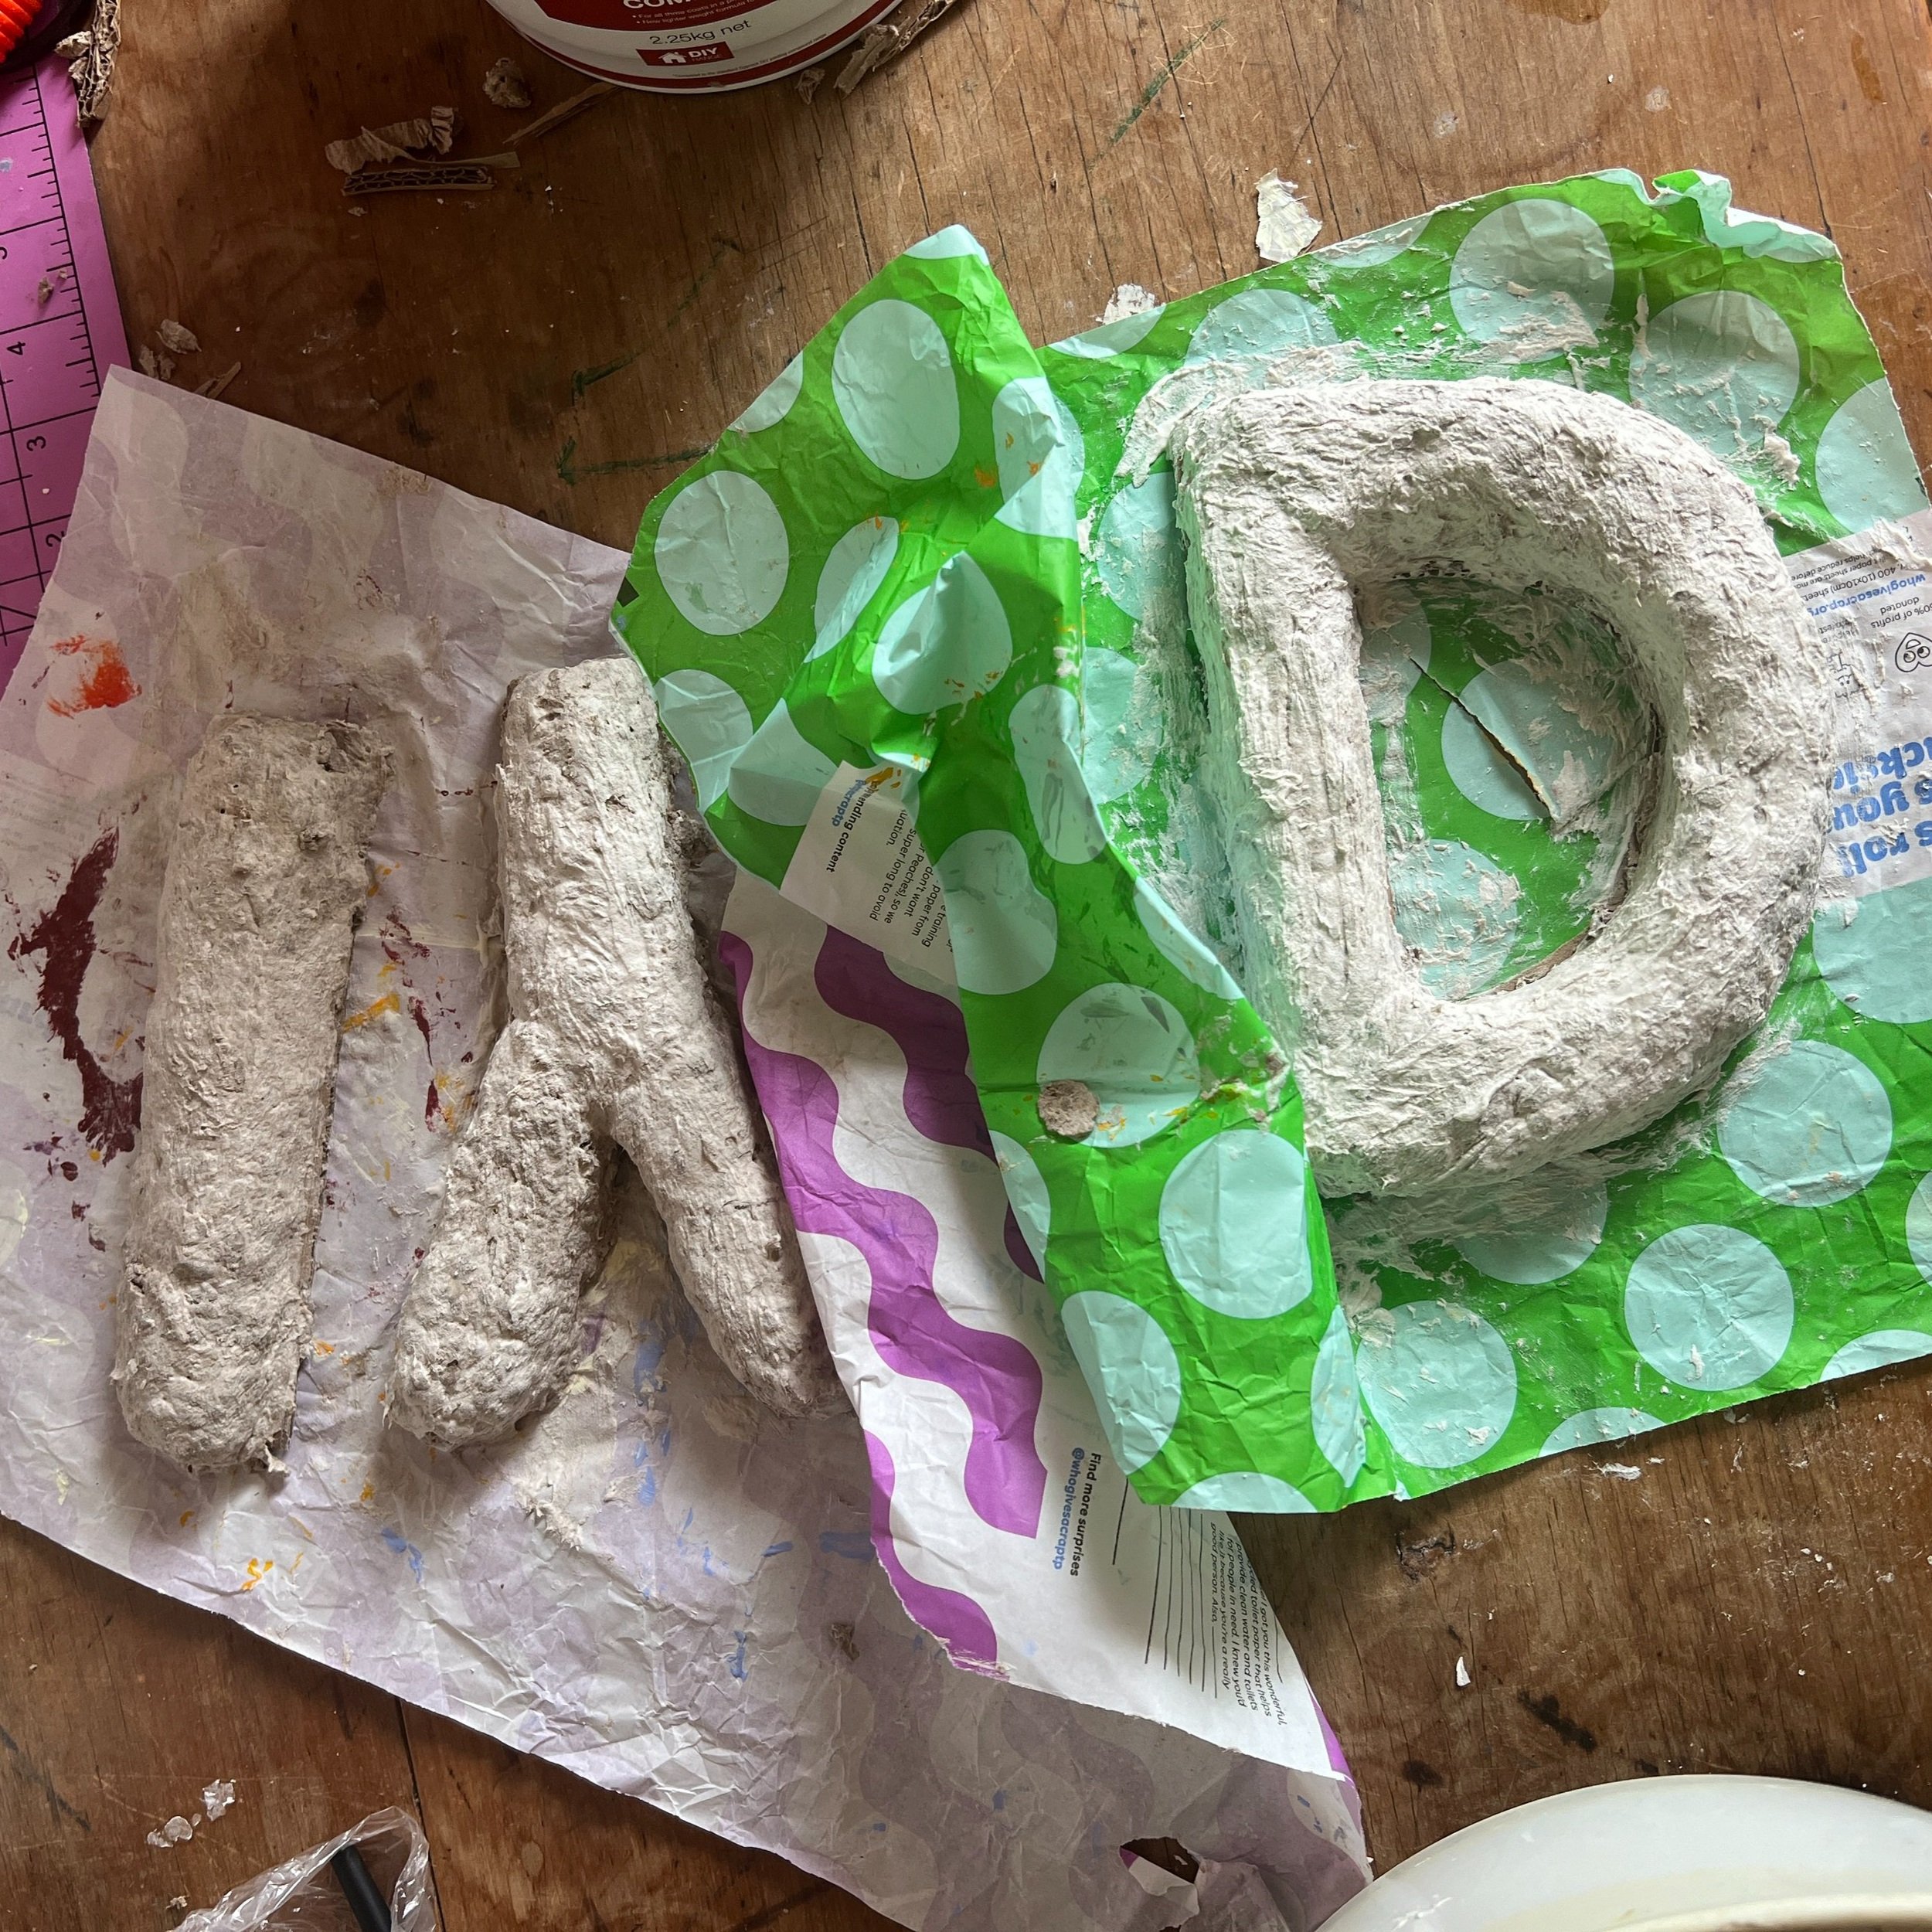
Cut out letters from cardboard with the width of the shapes about 2-3 inches wide.
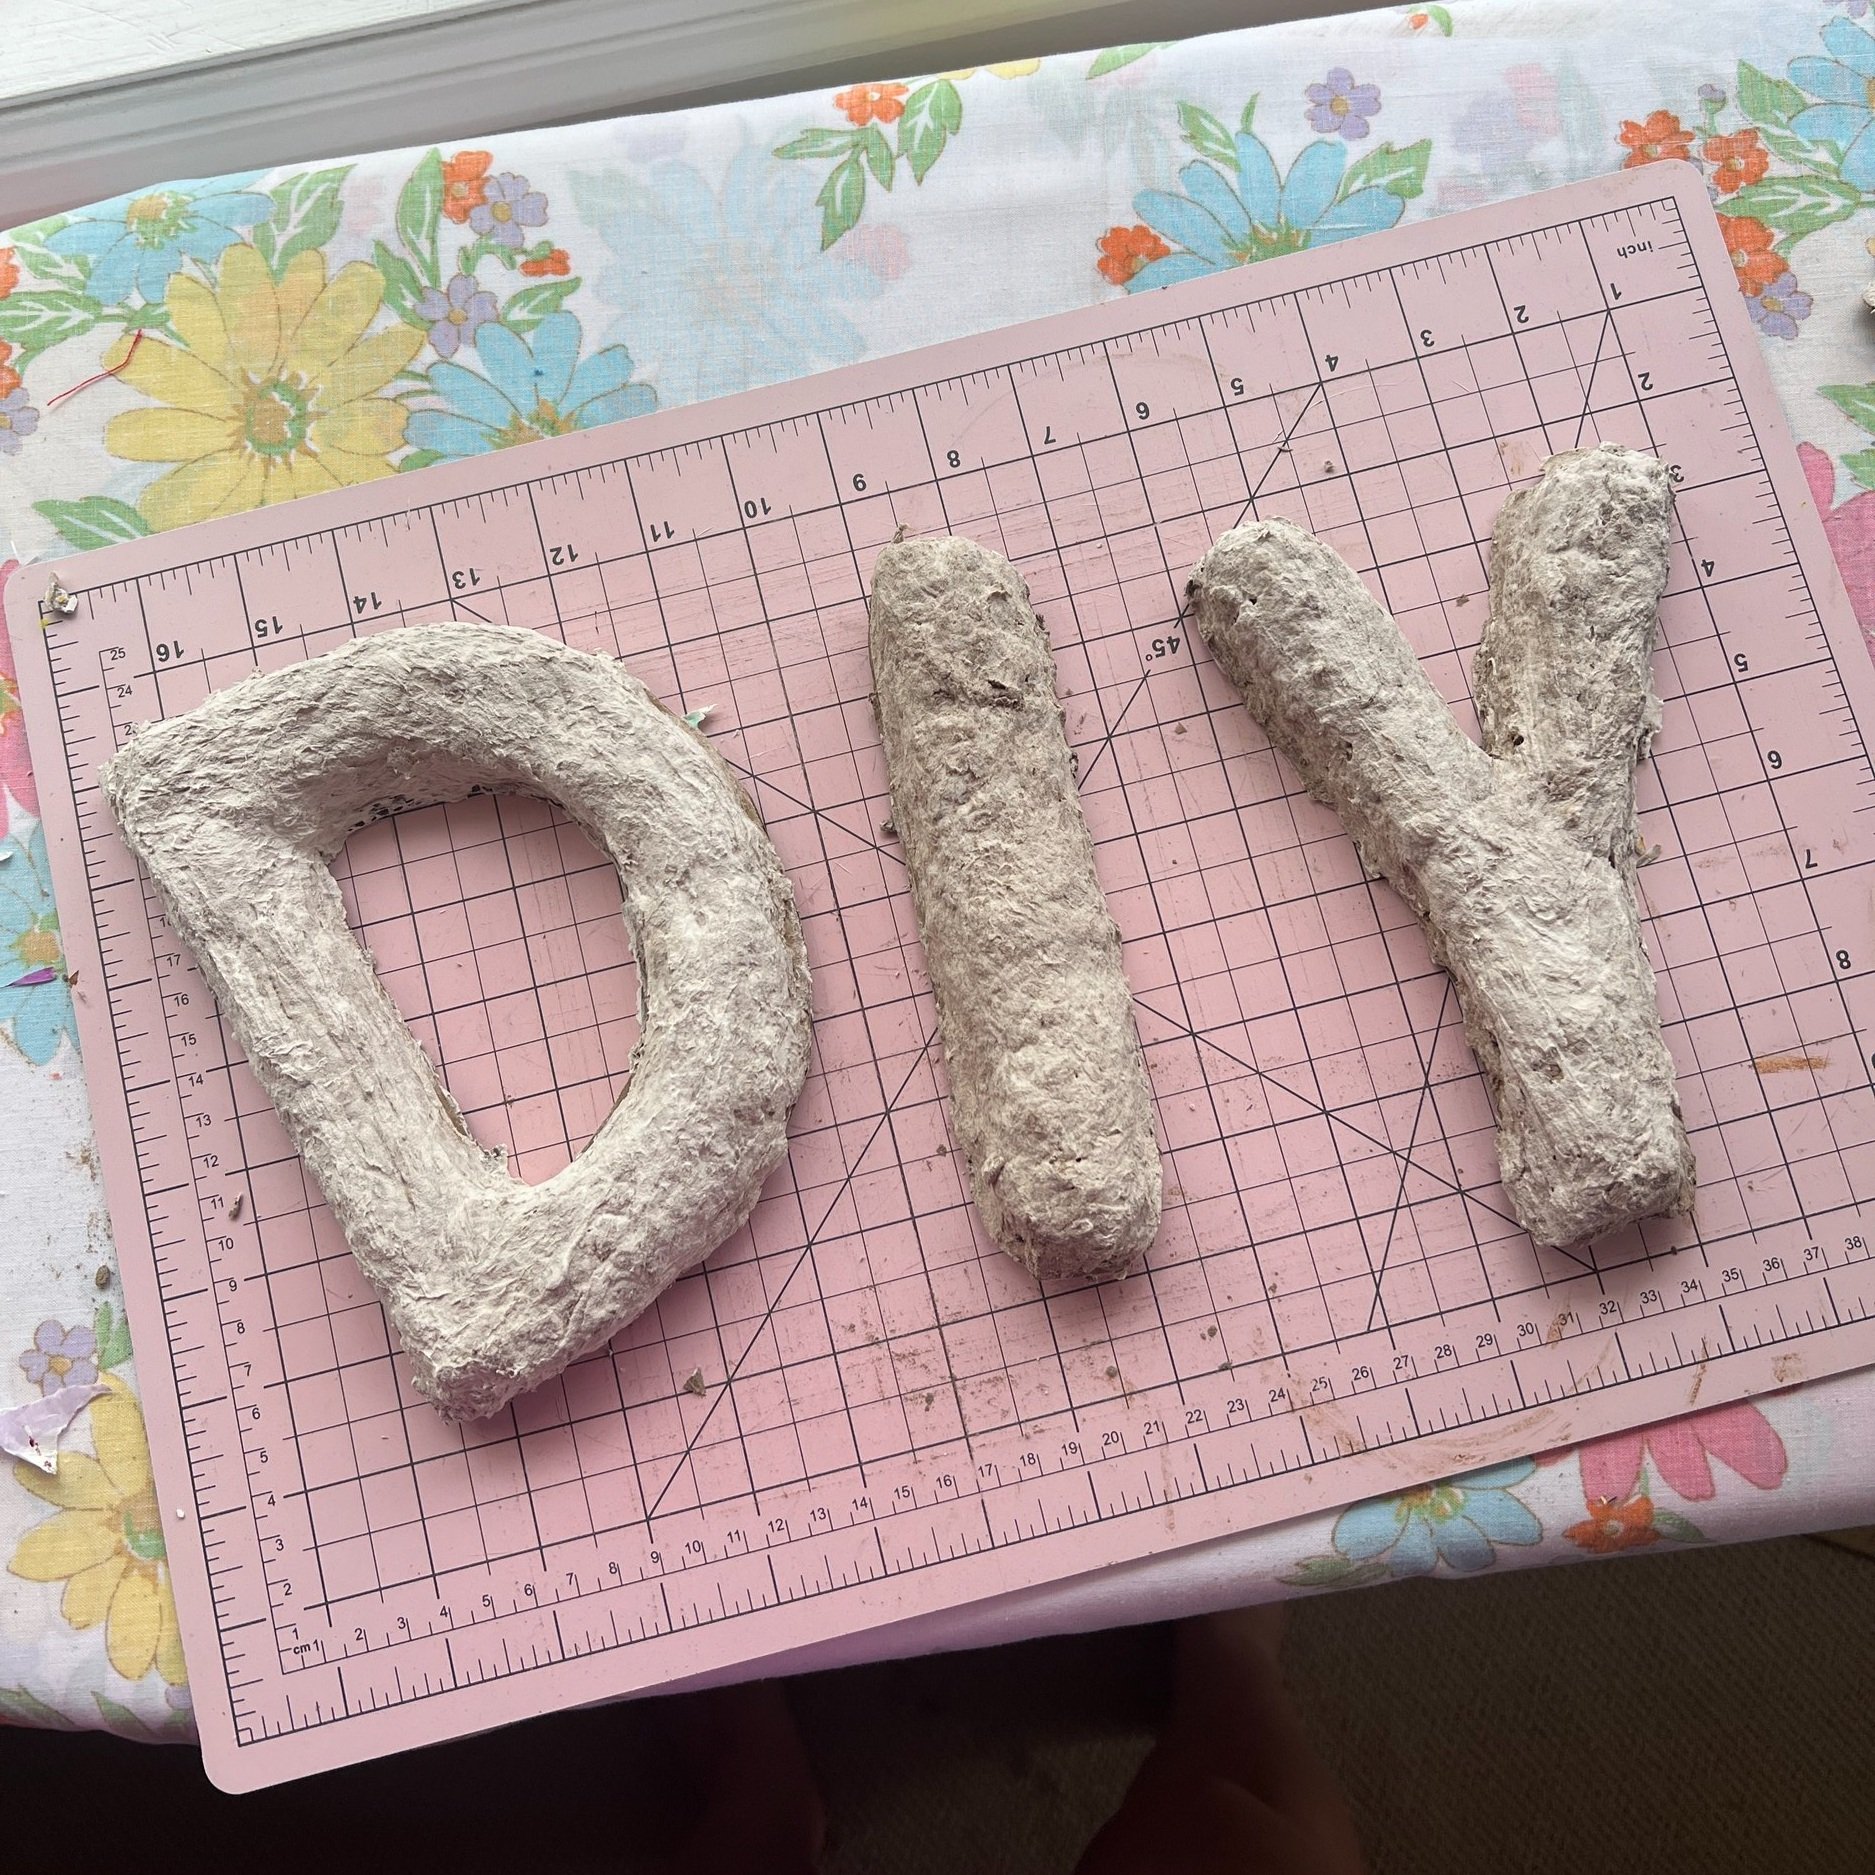
Take a small handful of paper mache clay and mould it into a loose sausage shape. Then, apply it to your cardboard letter shape and form into a lumpy letter. Once youve completed all your letters, you can smooth some extra mixing compound over the top like icing a cake. I did this to fill in the gaps and secure everything. Leave to dry.
Once your lumpy letters are completely dry, sand to smooth if desired in a well-ventilated space.
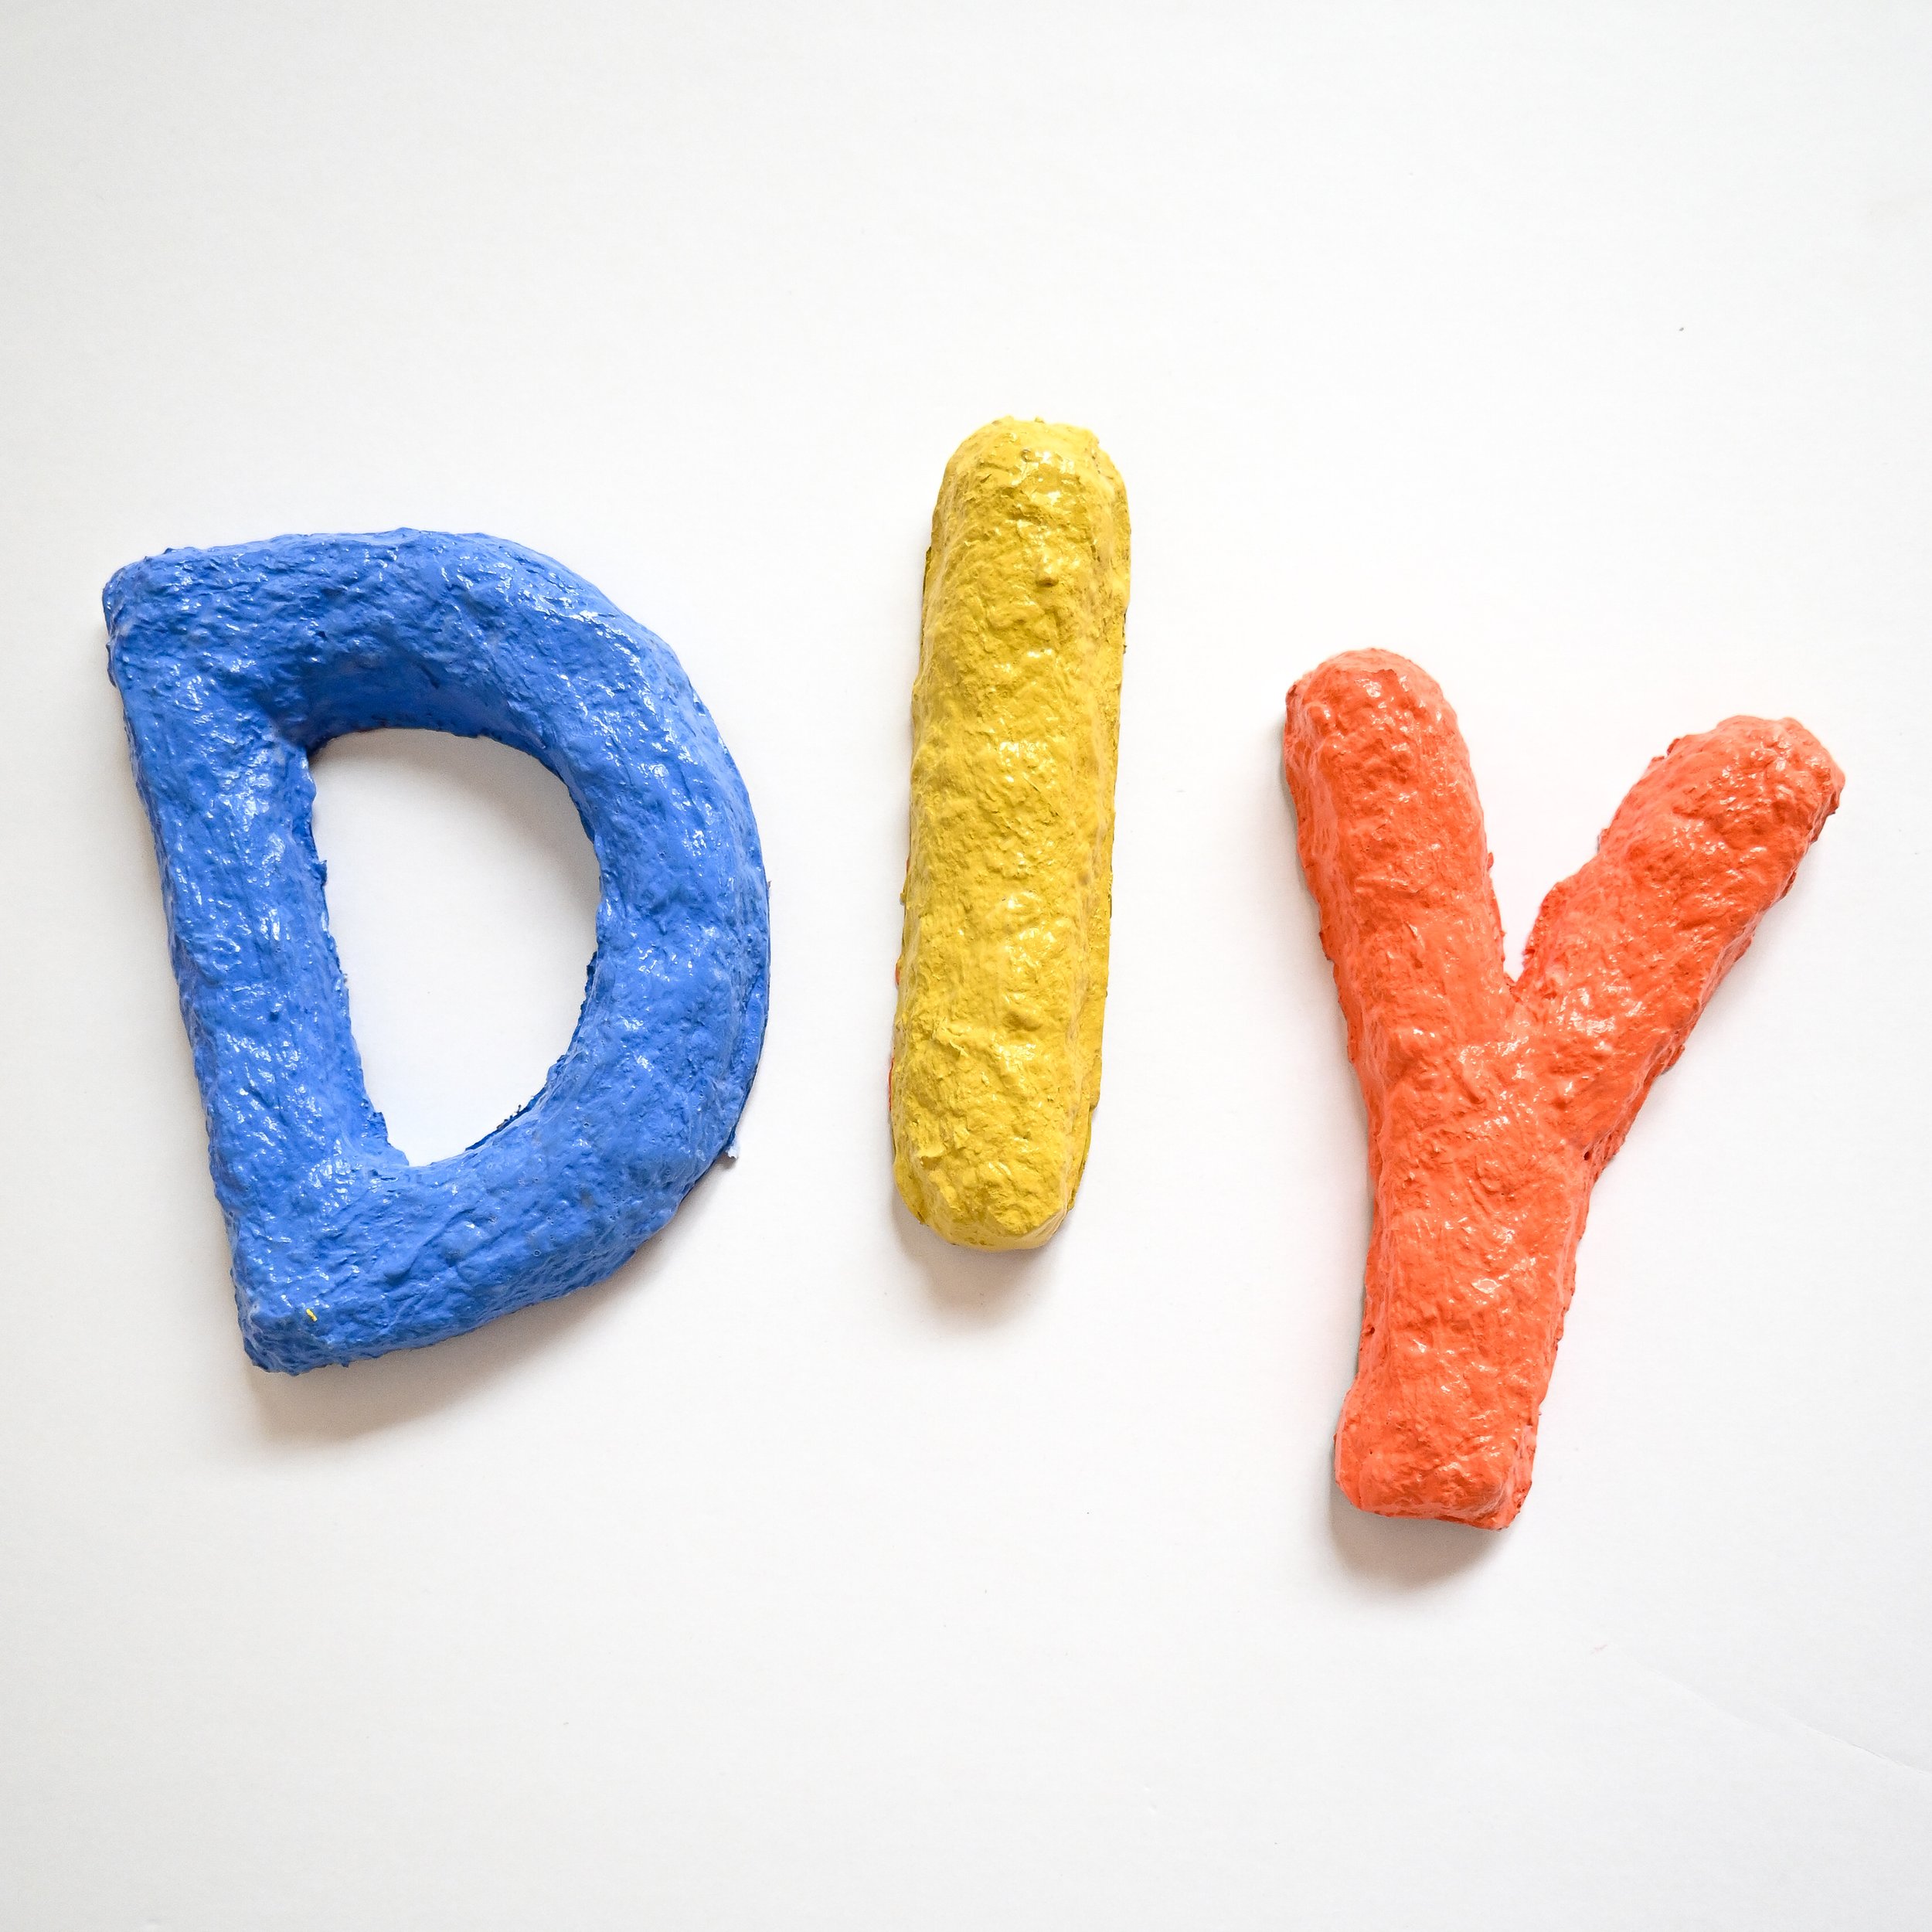
Paint your letters with acrylic paint or house paint. Leave to dry. Seal with glossy Modge Podge and leave to dry.
Attach to walls using 3M Command Strips.
This project is part of my Year of DIY personal creative challenge and my DIY Decor series. Each month, Im inspired by a prompt word to create 1-3 projects that use a certain material or technique to create new objects to decorate my space. Im trying to use second-hand materials or materials I already own as much as possible to be a more sustainable maker and stop hoarding my craft supplies. If you want to learn more or follow along, find me @_diydaisy.