DIY Shadow Shelfies
Welcome back to my Year Of DIY! It’s February, and my prompt is ‘Cardboard’, so I made these Shadow Selfies to add to my gallery wall. I’ve always loved seeing shadow boxes or letterpress trays hung on the wall and filled with trinkets and knick-knacks, so I wanted to put my own spin on it and make some colourful shelfies. These ones were made out of a delivery box, some Who Gives A Crap toilet paper wrappers, patience and paper mache! The only thing I had to buy to make this project, was paint and hot glue! If you want to make some for yourself, here’s how I created them:
You will need:
Cardboard
Scissors or a box cutter
Hot glue & Hot Glue Gun
Paper to paper mache with, I used Who Gives A Crap toilet paper wrappers but you can also use newspaper.
Various sized paint brushes
A bowl for paper mache
Water
Paint
How to make a Shadow Shelfie:
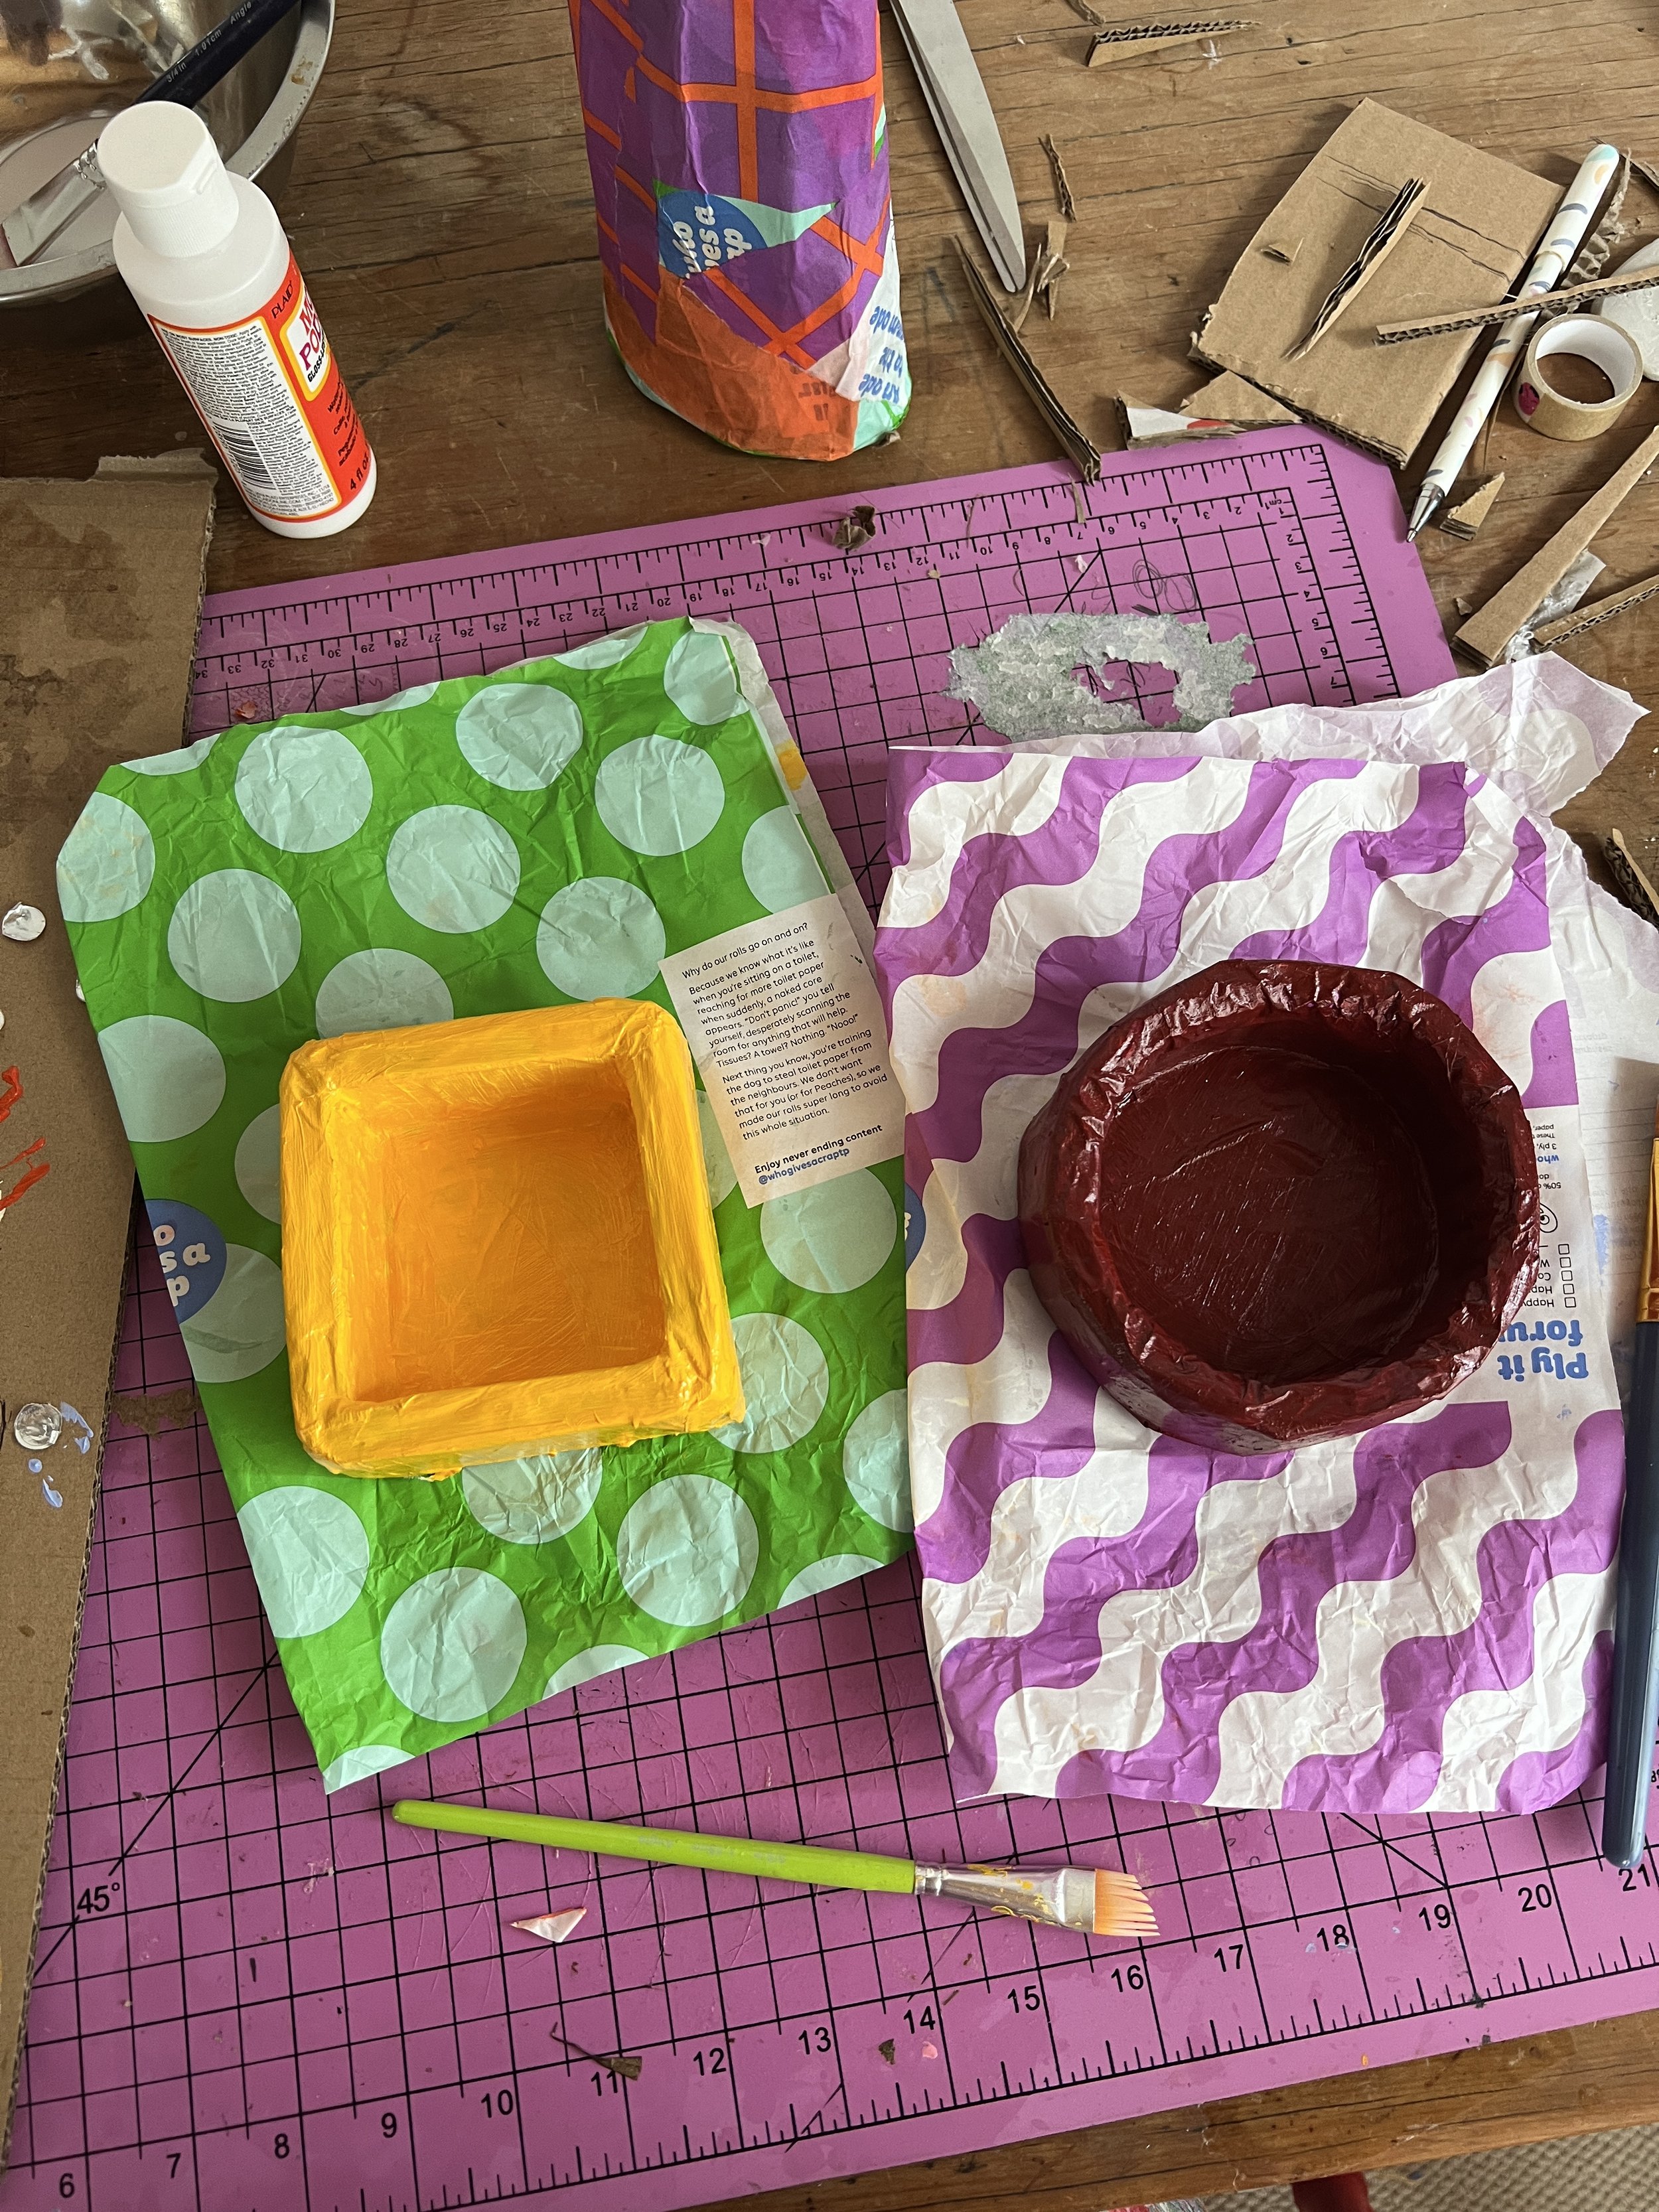
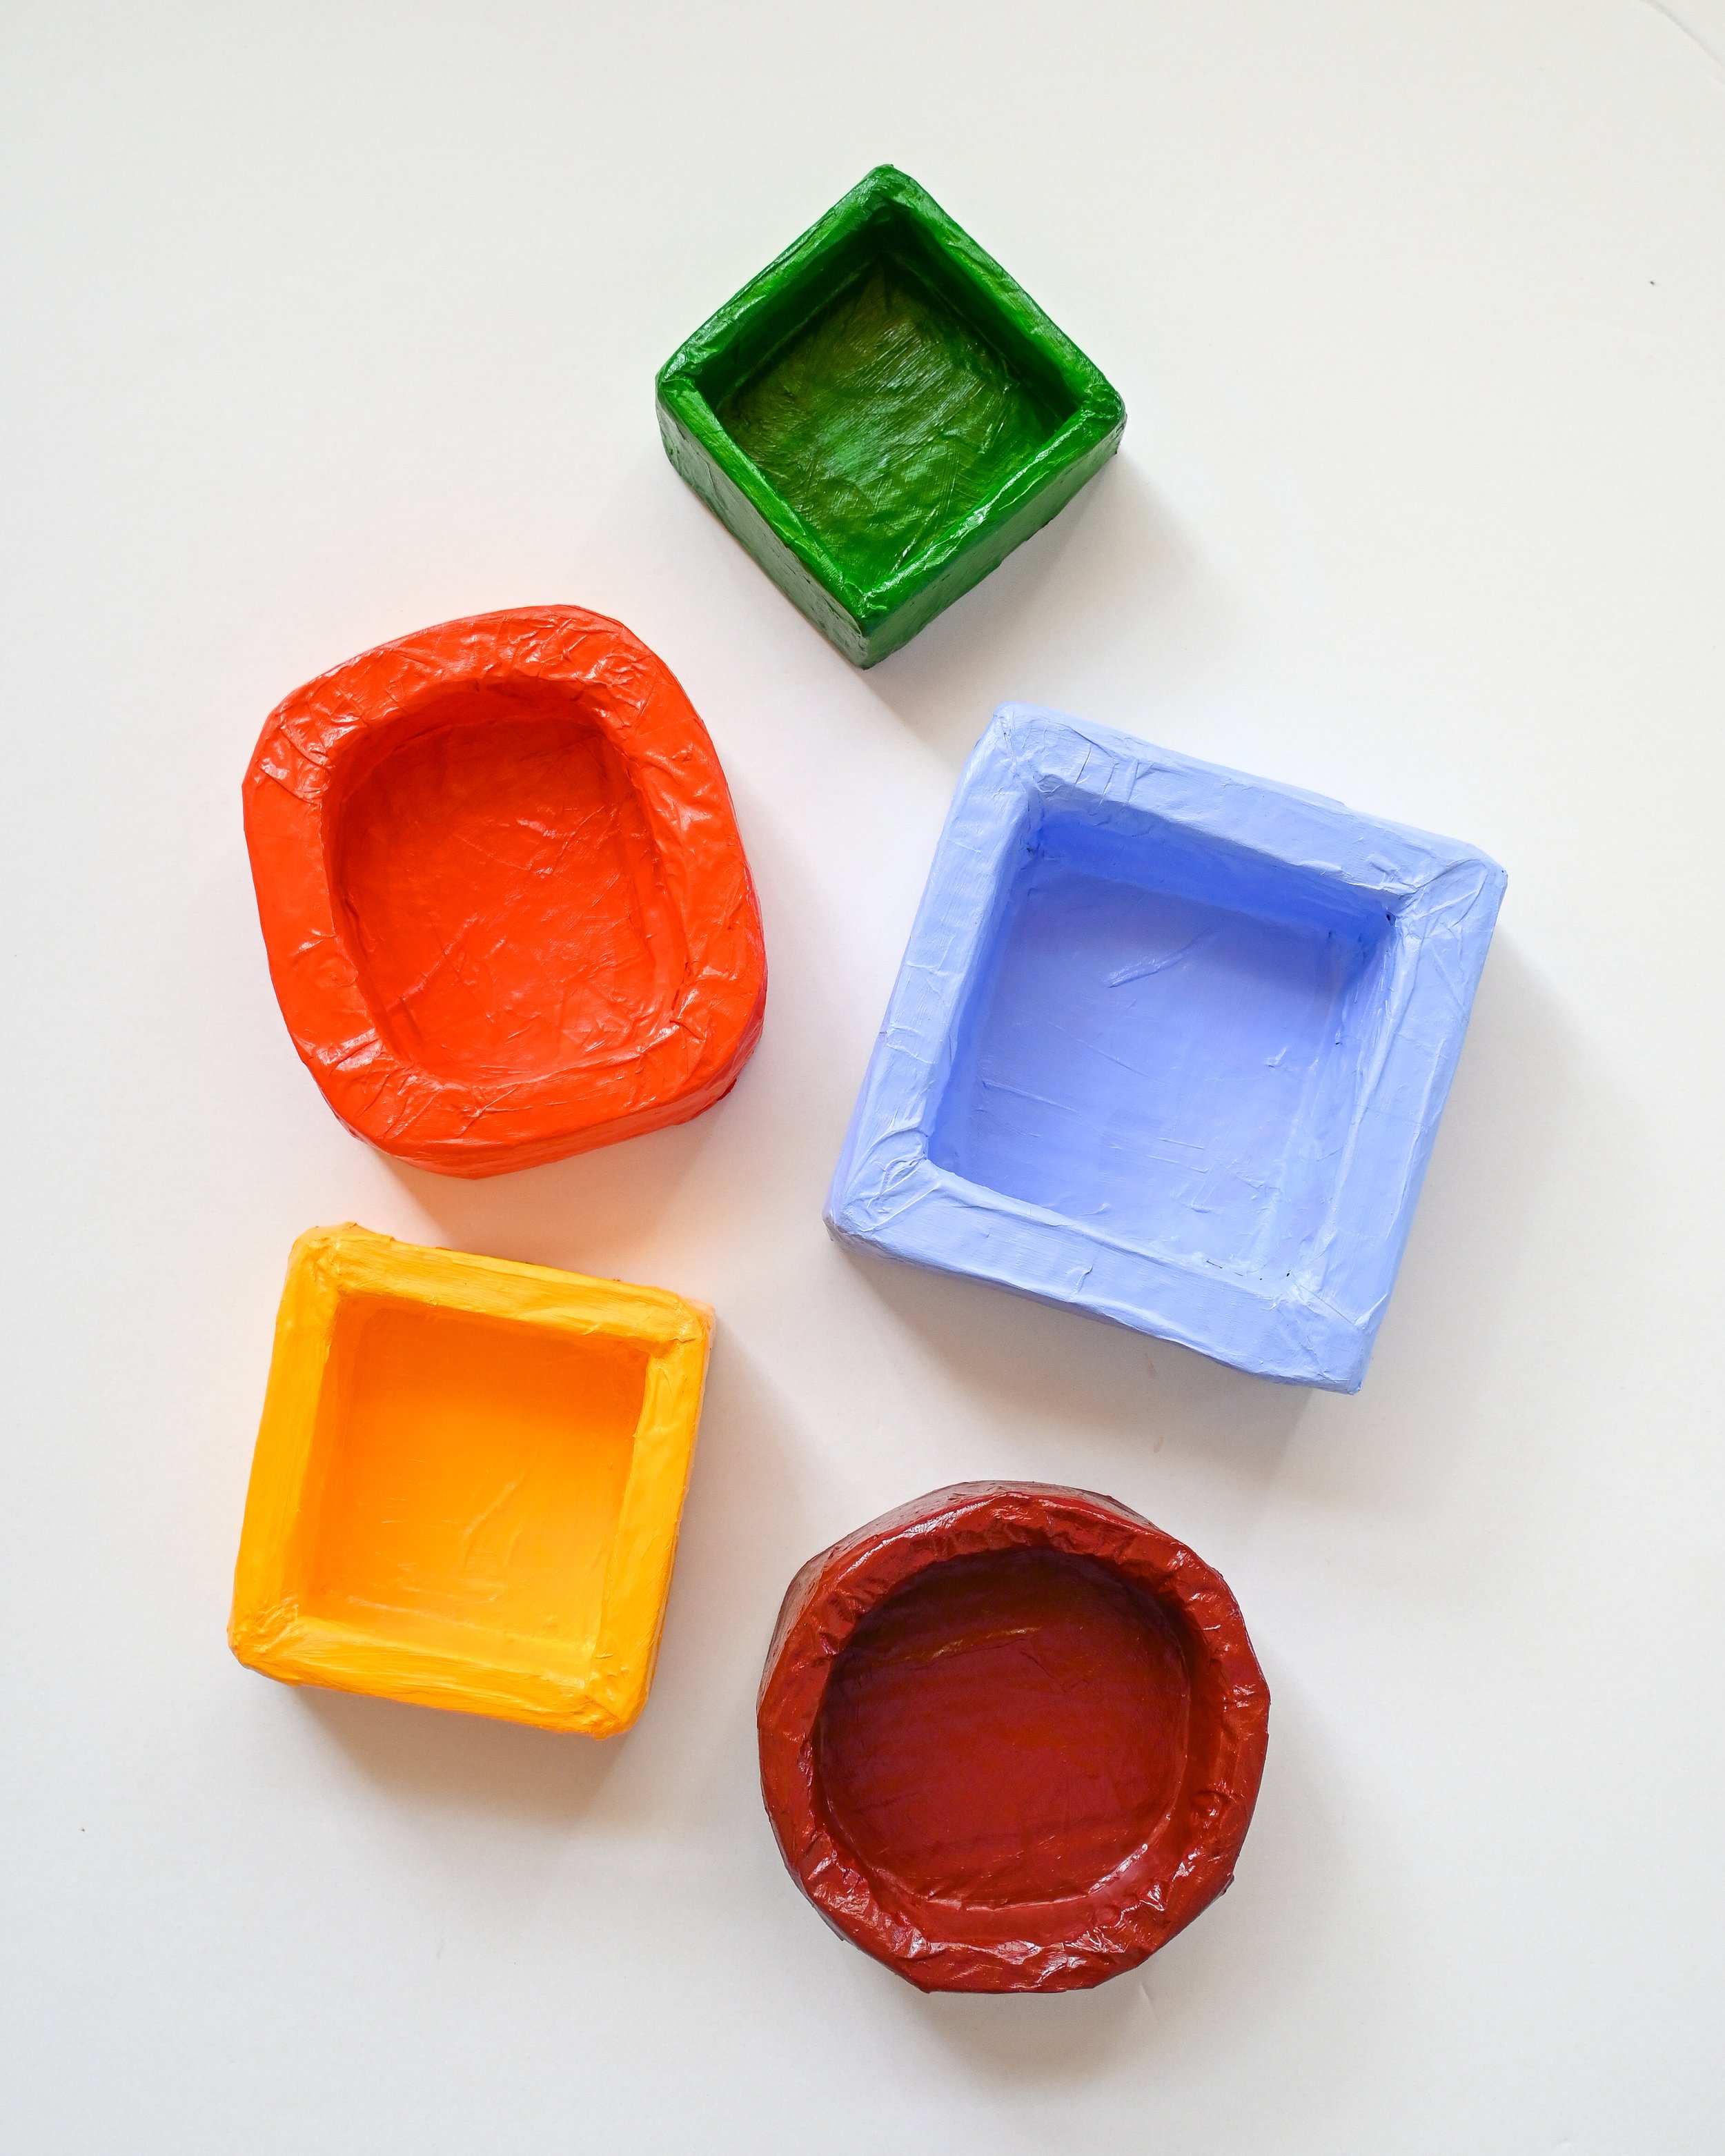
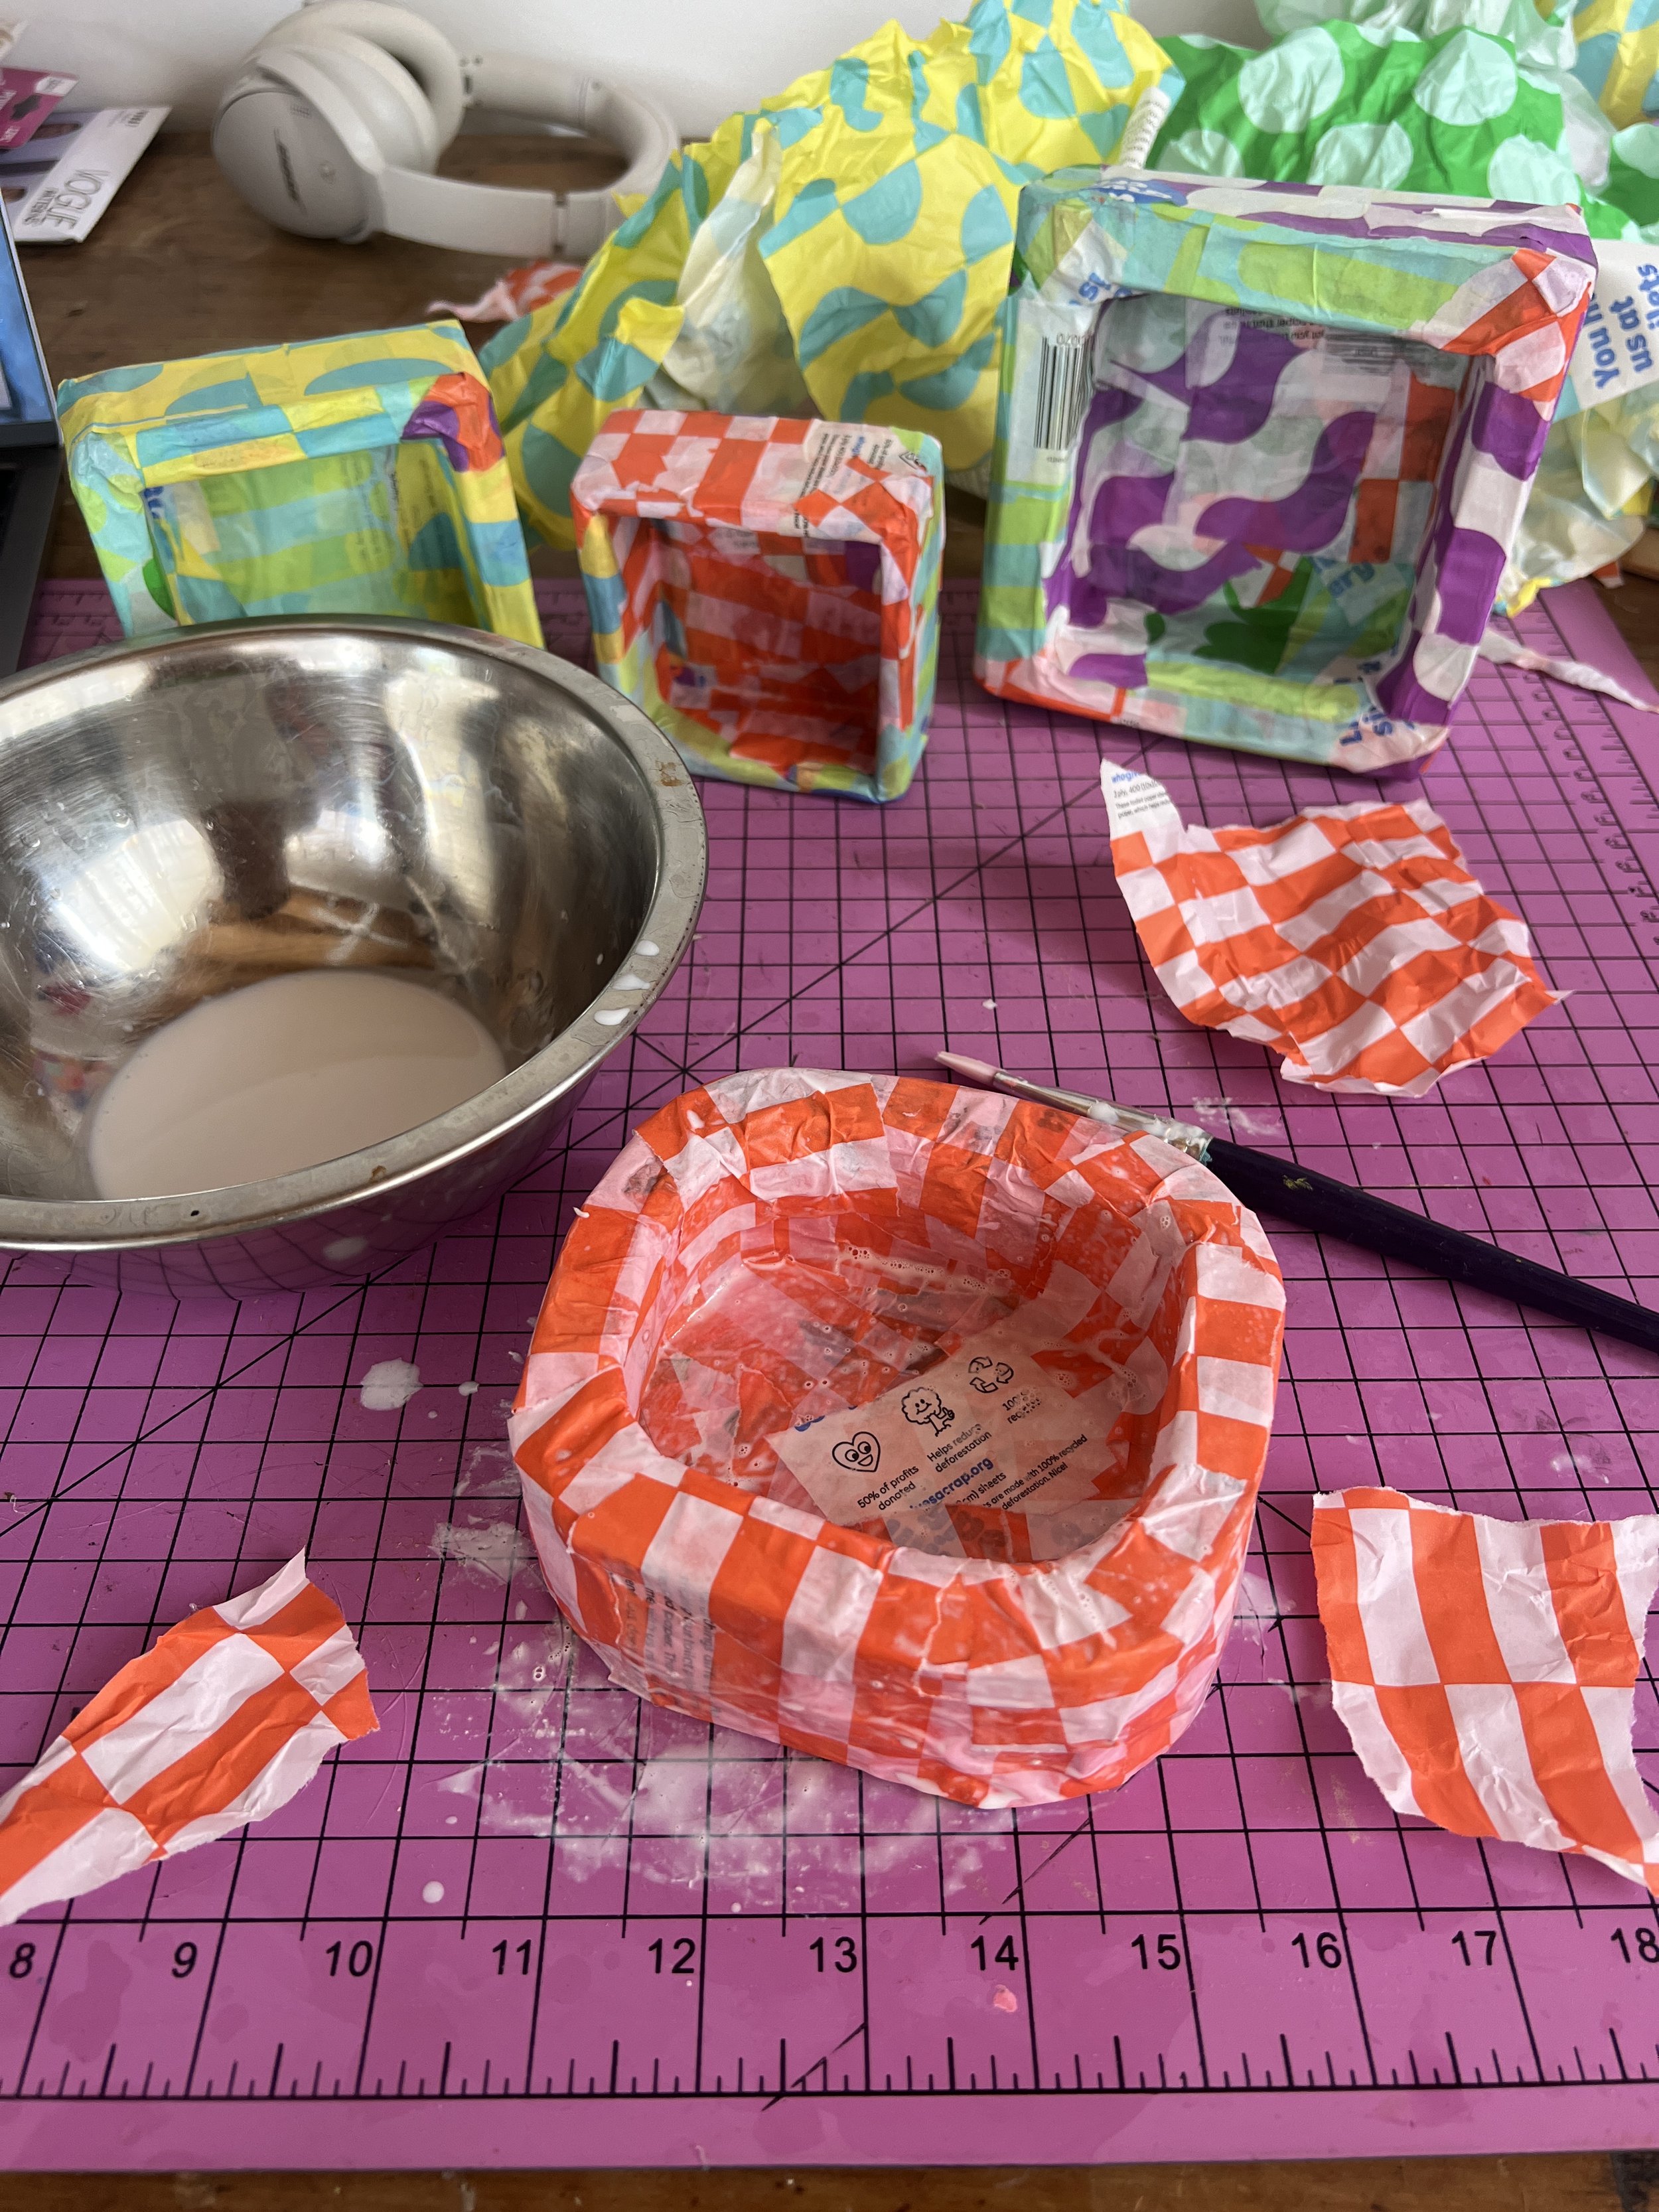
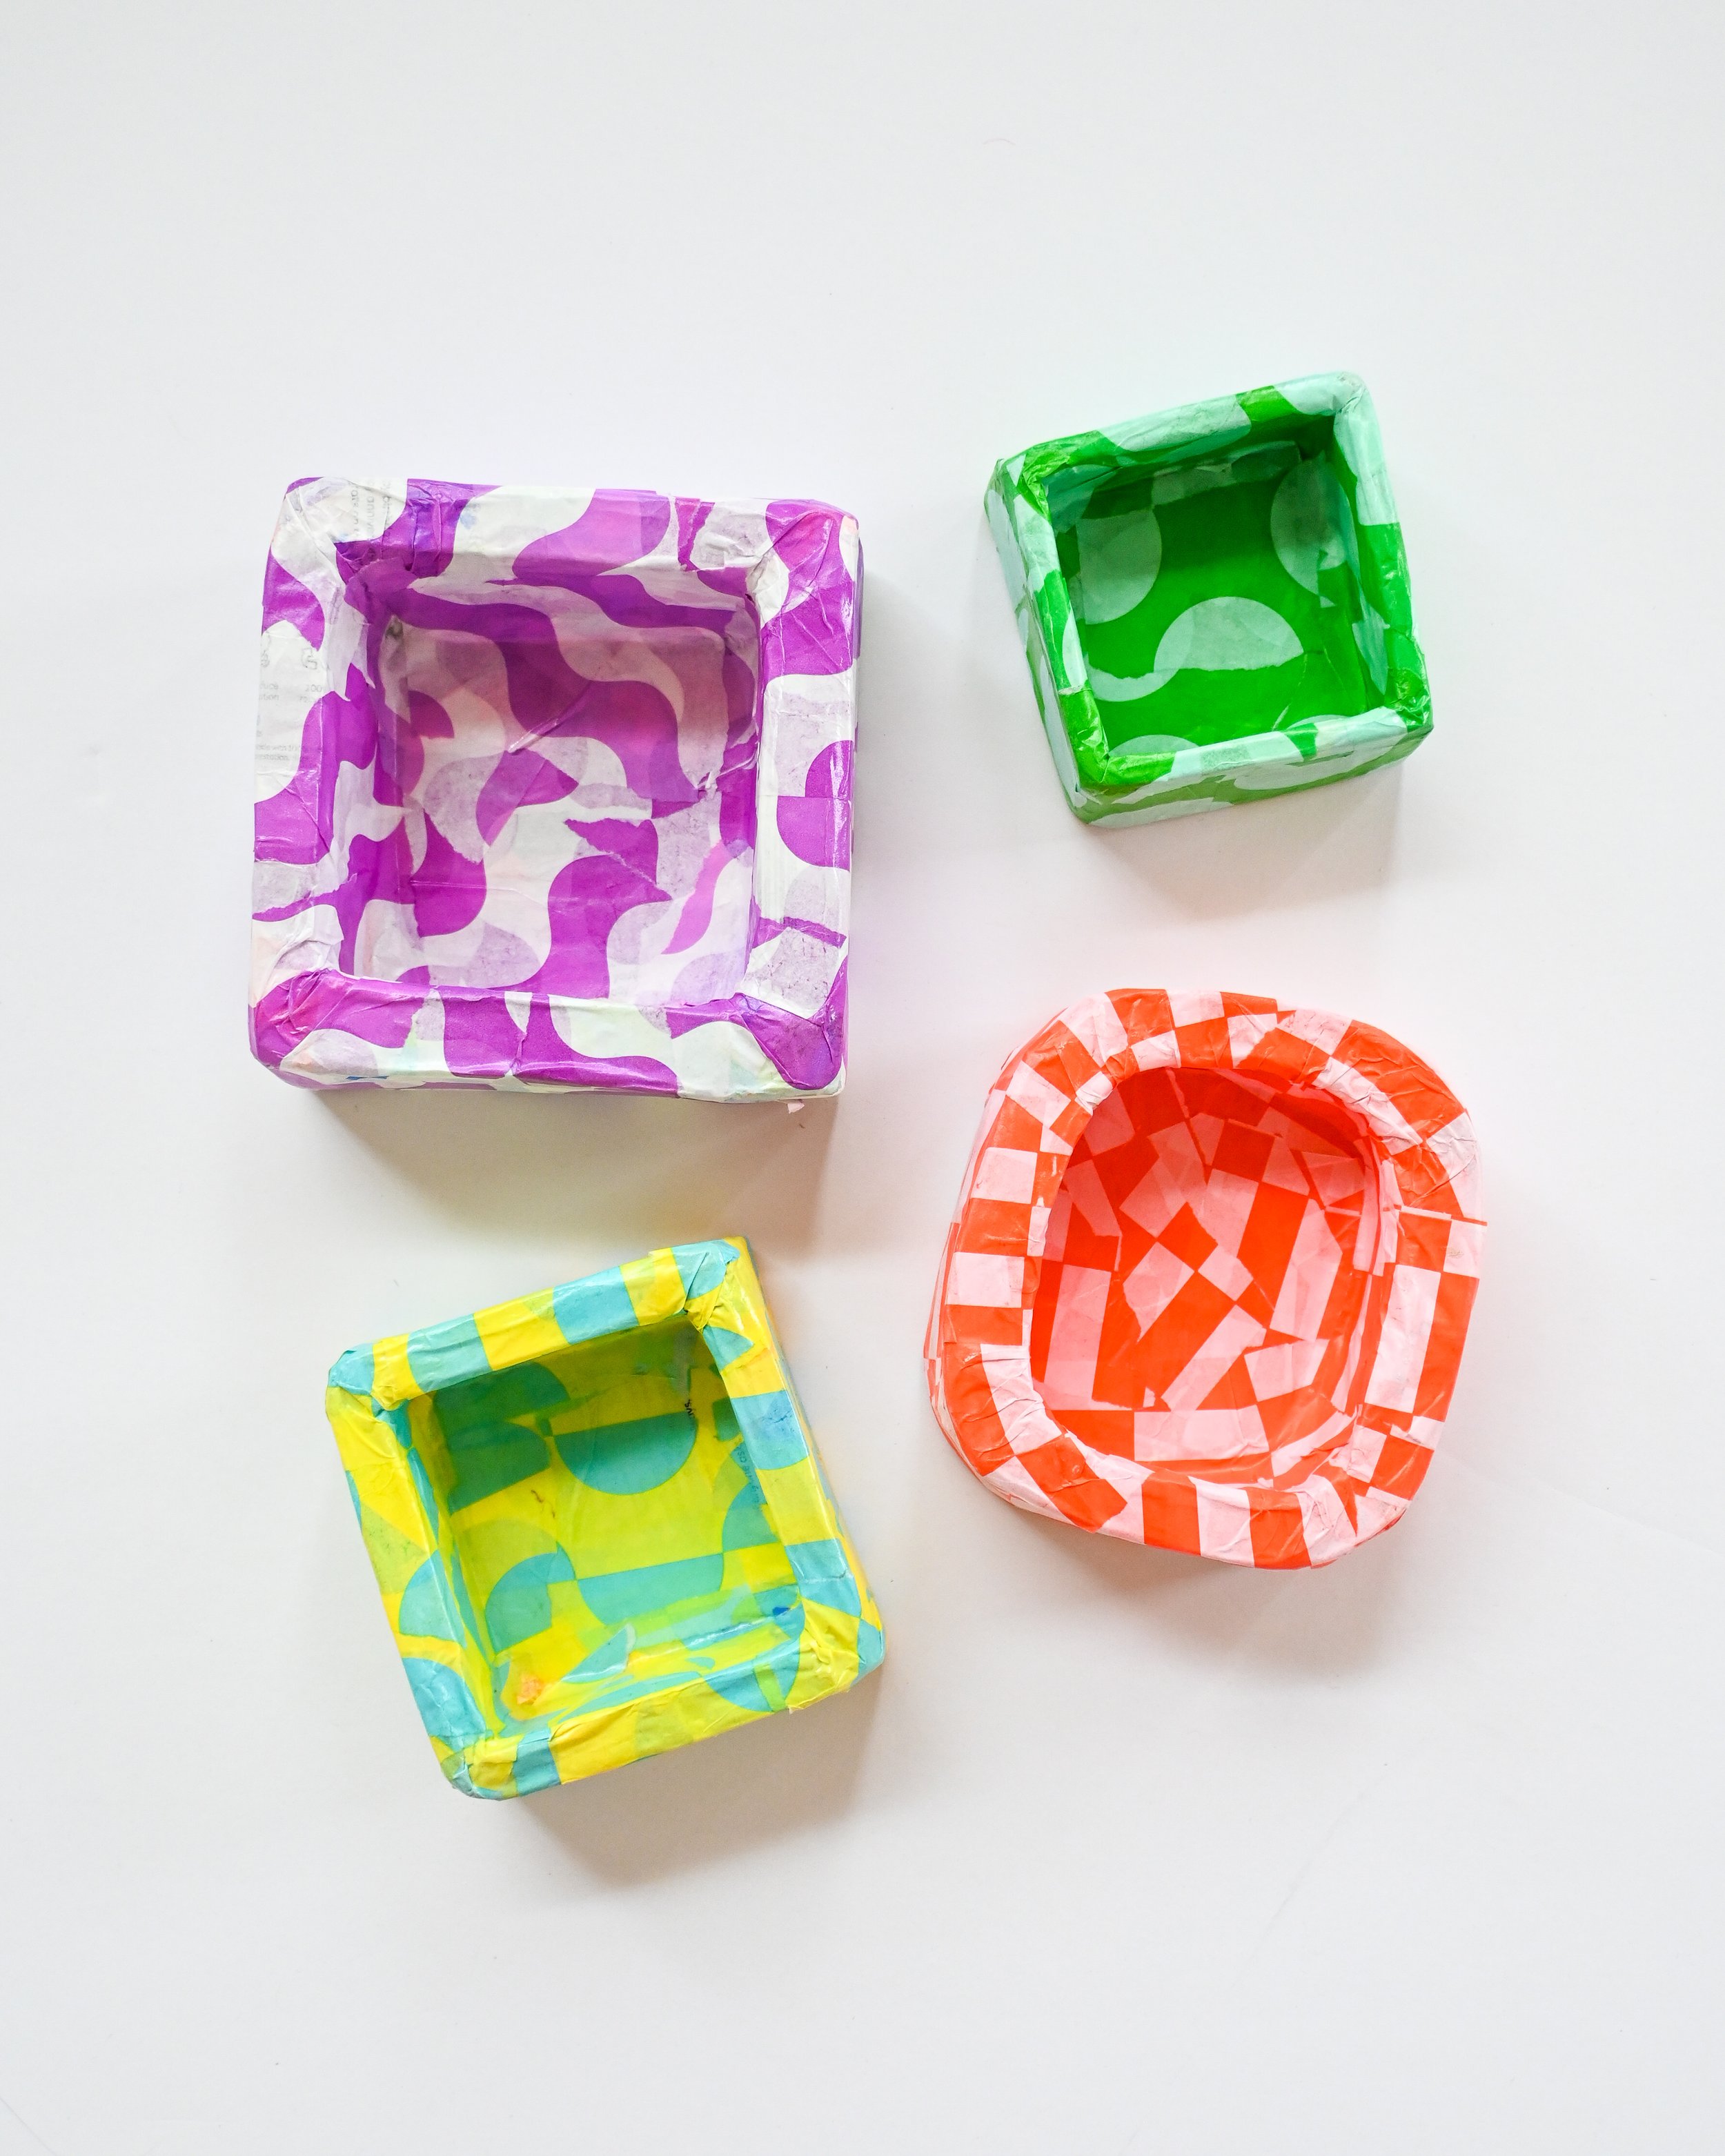
Create a base using cardboard and hot glue. Cut out the shape for the back and then cut out strips to build up the side walls. The options are endless here but I decided to go for squares, a circle and a rounded rectangle. This part will all get covered up with paper mache, so don't worry about how it looks, as long as s ’s sturdy.
Tear your newspaper or paper into strips of various sizes. Mine were about 5cm x 3cm.
Make a paper mache mixture with 2 parts Modge Podge and 1 part water. Mix it together in a bowl and set it to the side of your workspace.
It’s time to paper mache! Paint a bit of mixture onto your cardboard base and lay a piece of paper on top. Paint over it with the mixture and a paintbrush so it’s nice and glued on. Then, repeat this all over until you have an even layer. Wait for it to dry, and then do another 2 layers, drying in between each layer. Leave to dry.
Once it’s fully dry, paint it with your colour of choice. I did 3 layers to get a nice opaque finish.
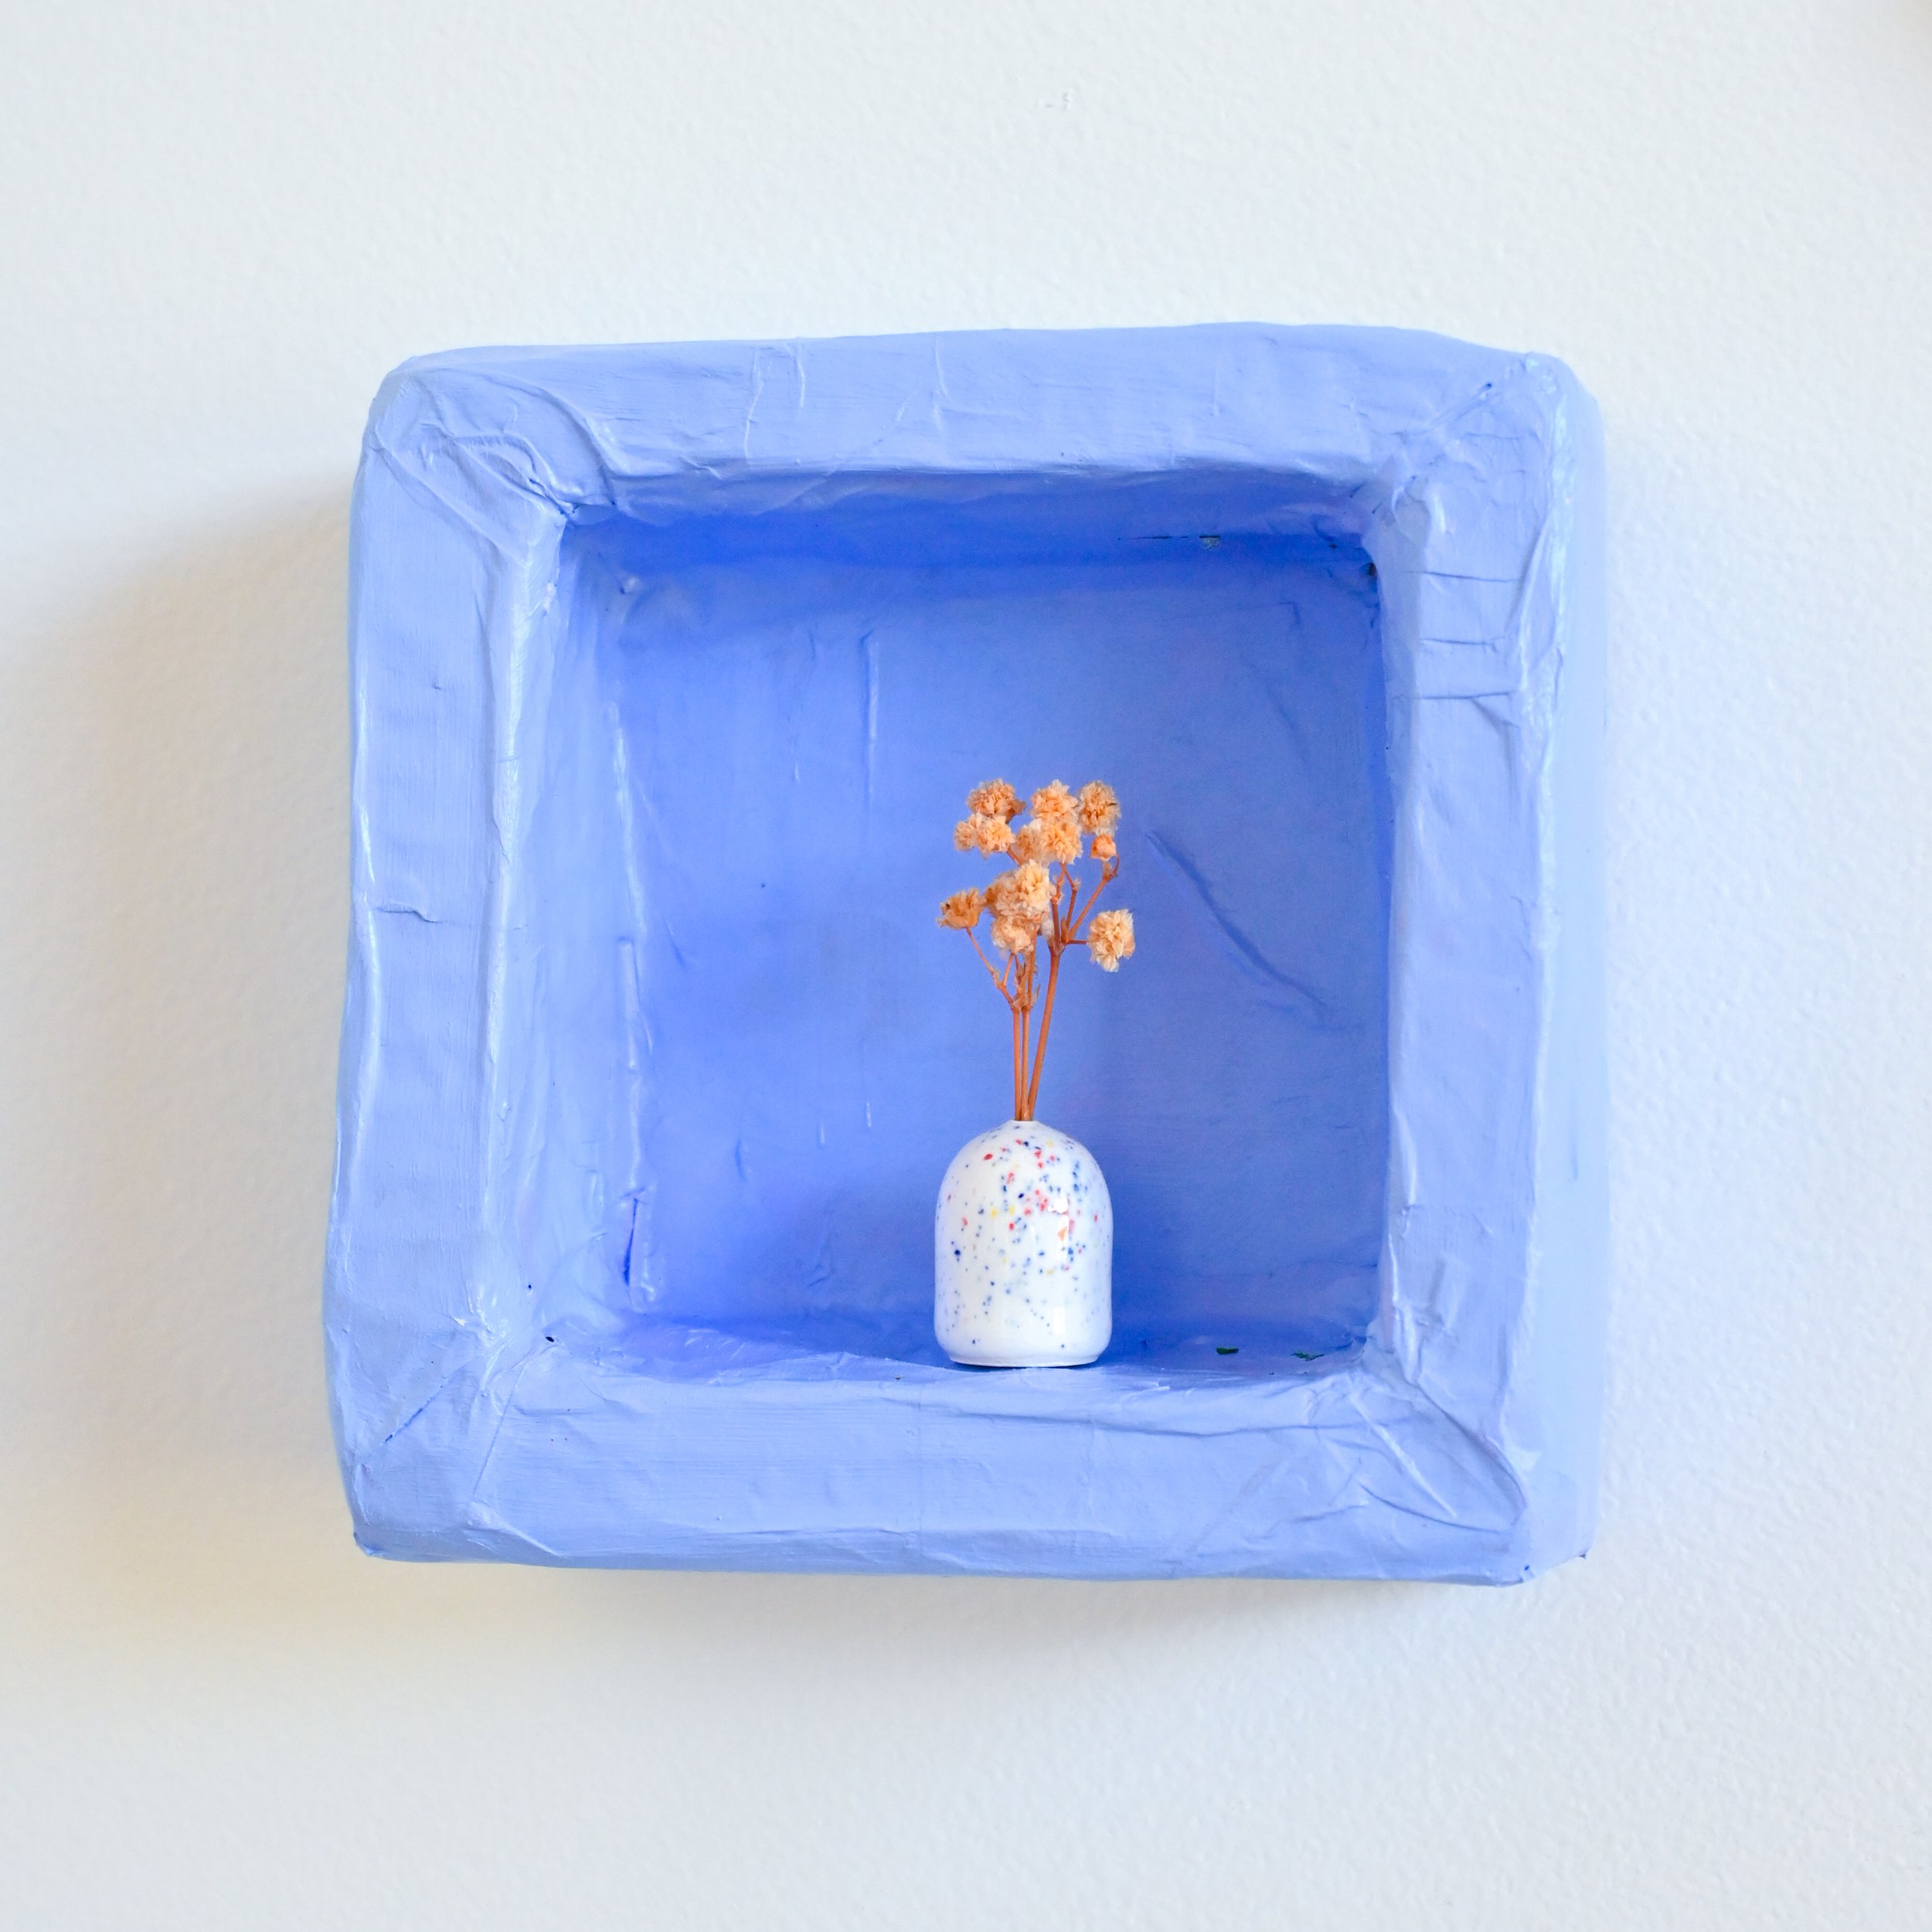
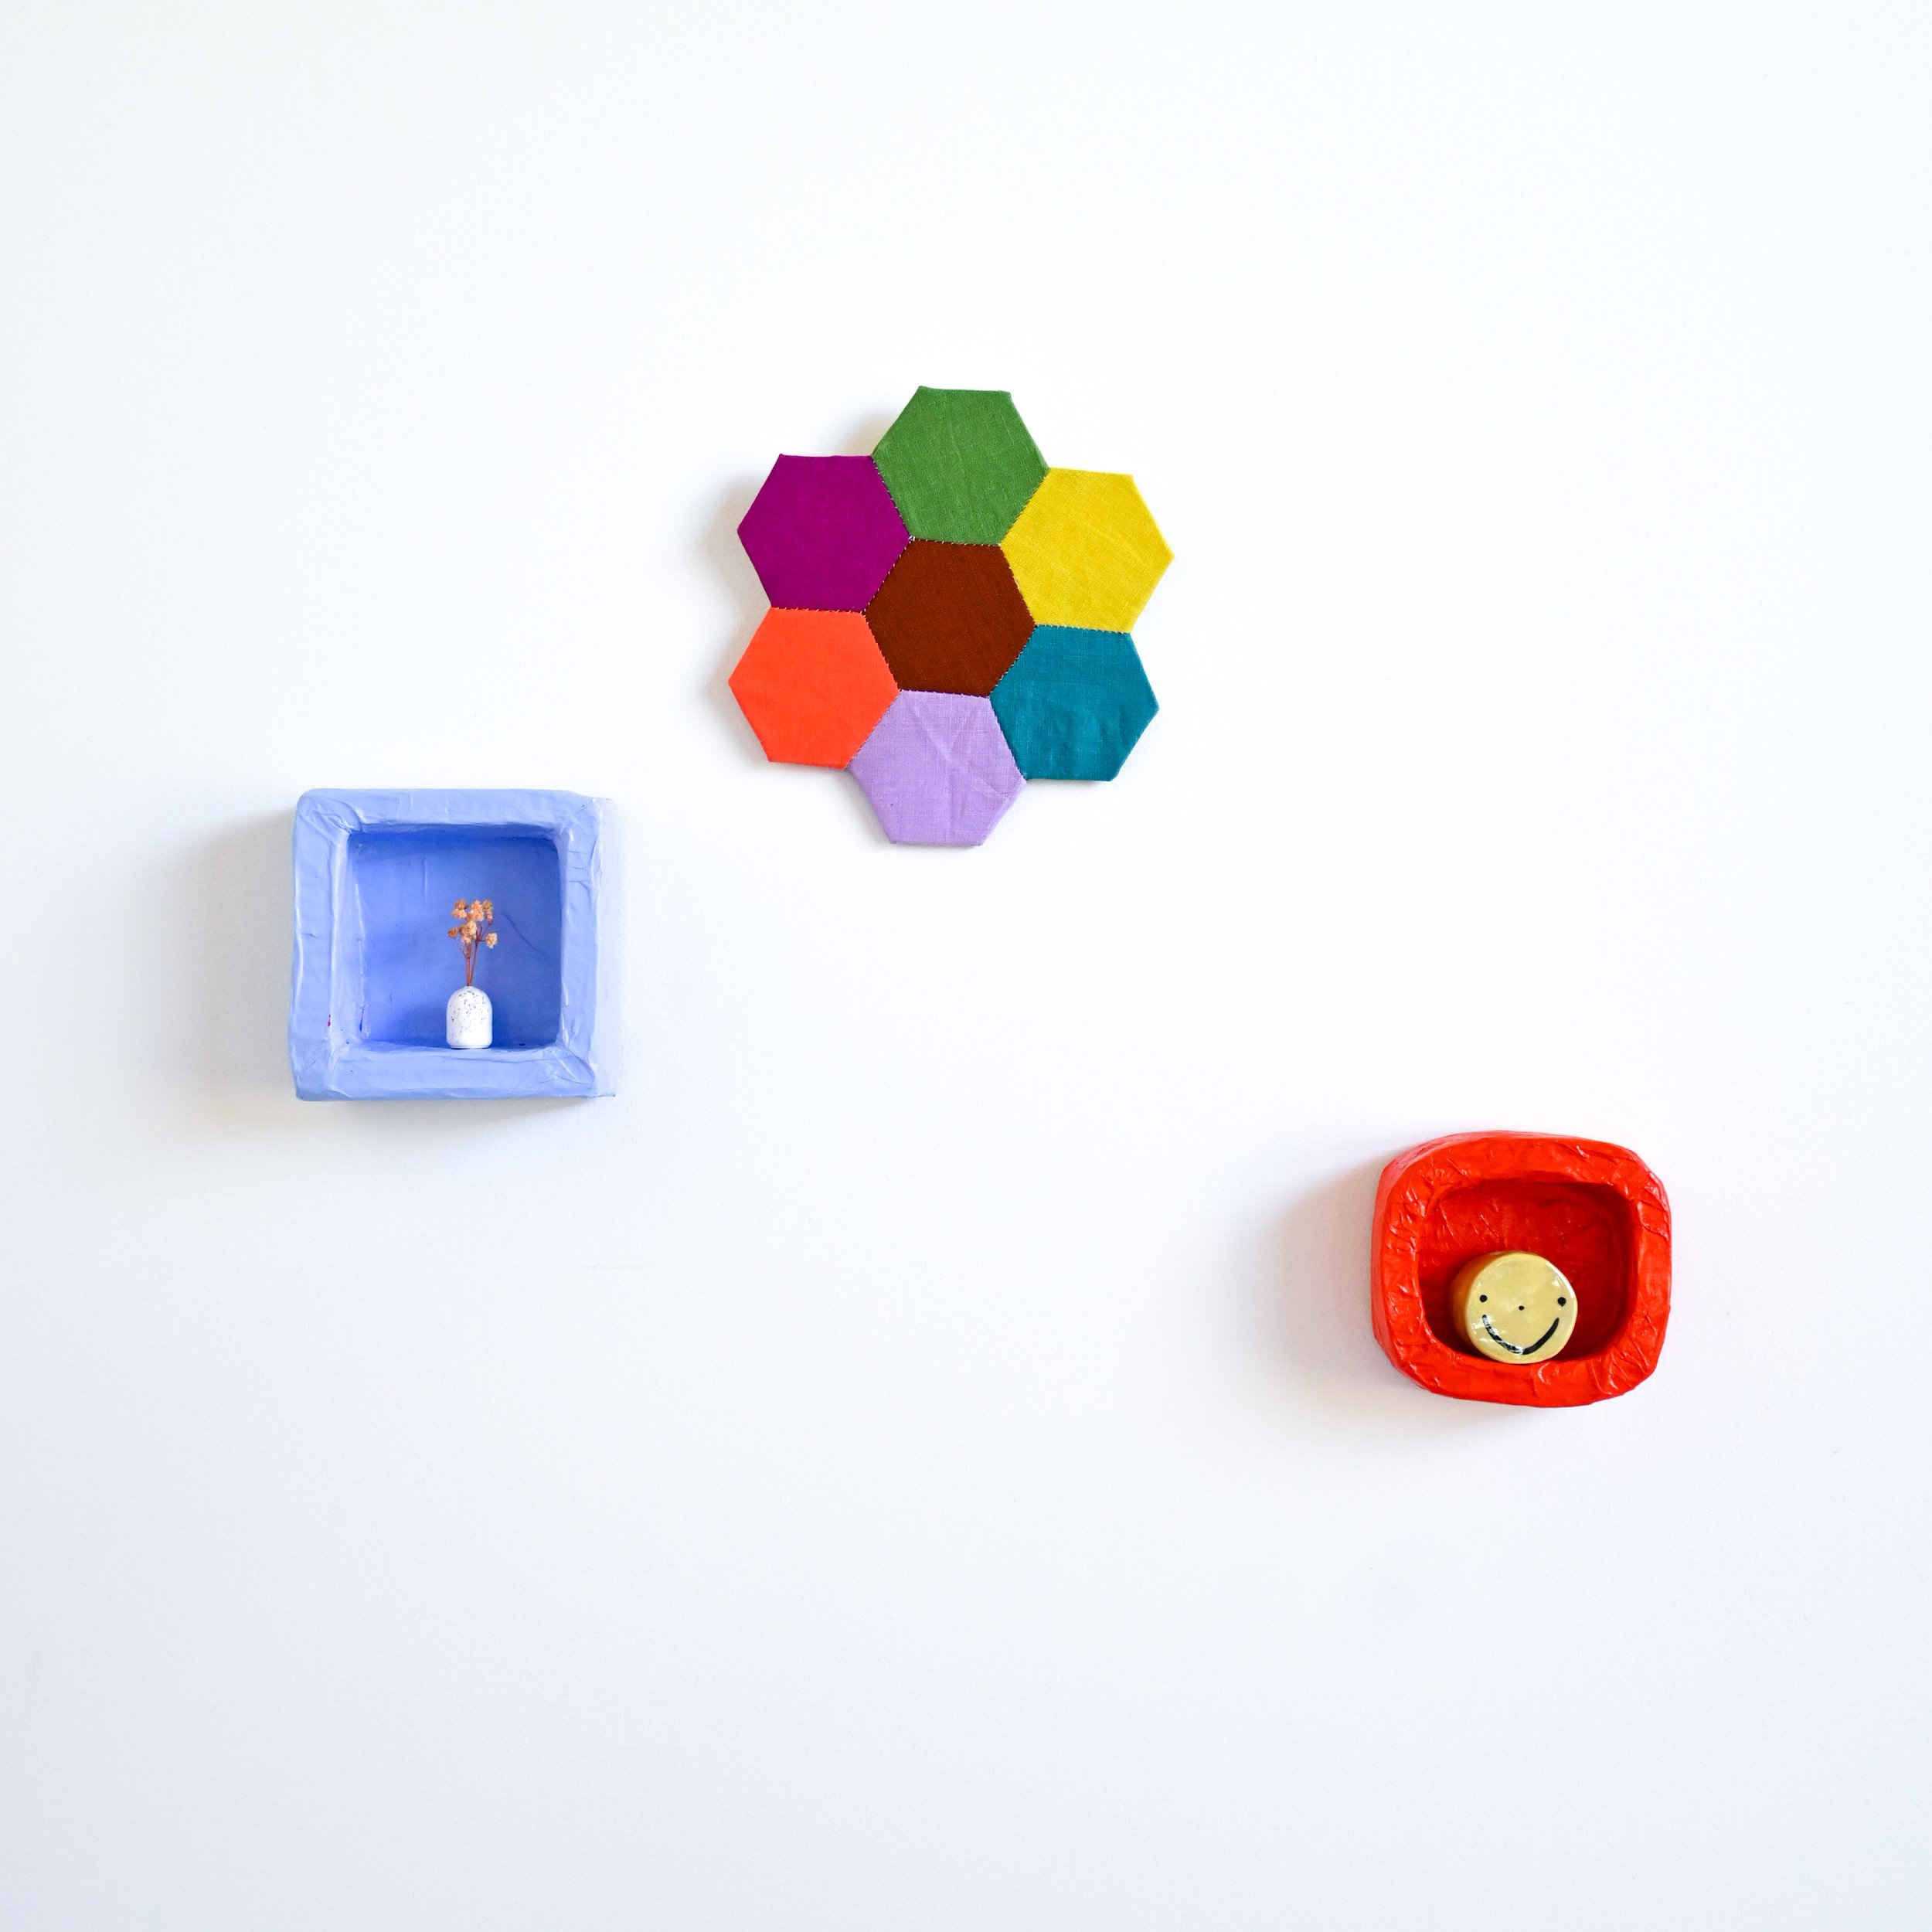
Using command strips, hang your Shadow Shelfie and pop a small (not-so-heavy) trinket inside on display.
I’d love to see what you create if you try this tutorial! Tag me @_diydaisy and use #diyshadowshelfie so I can see yours!