DIY Daisy Top Tutorial
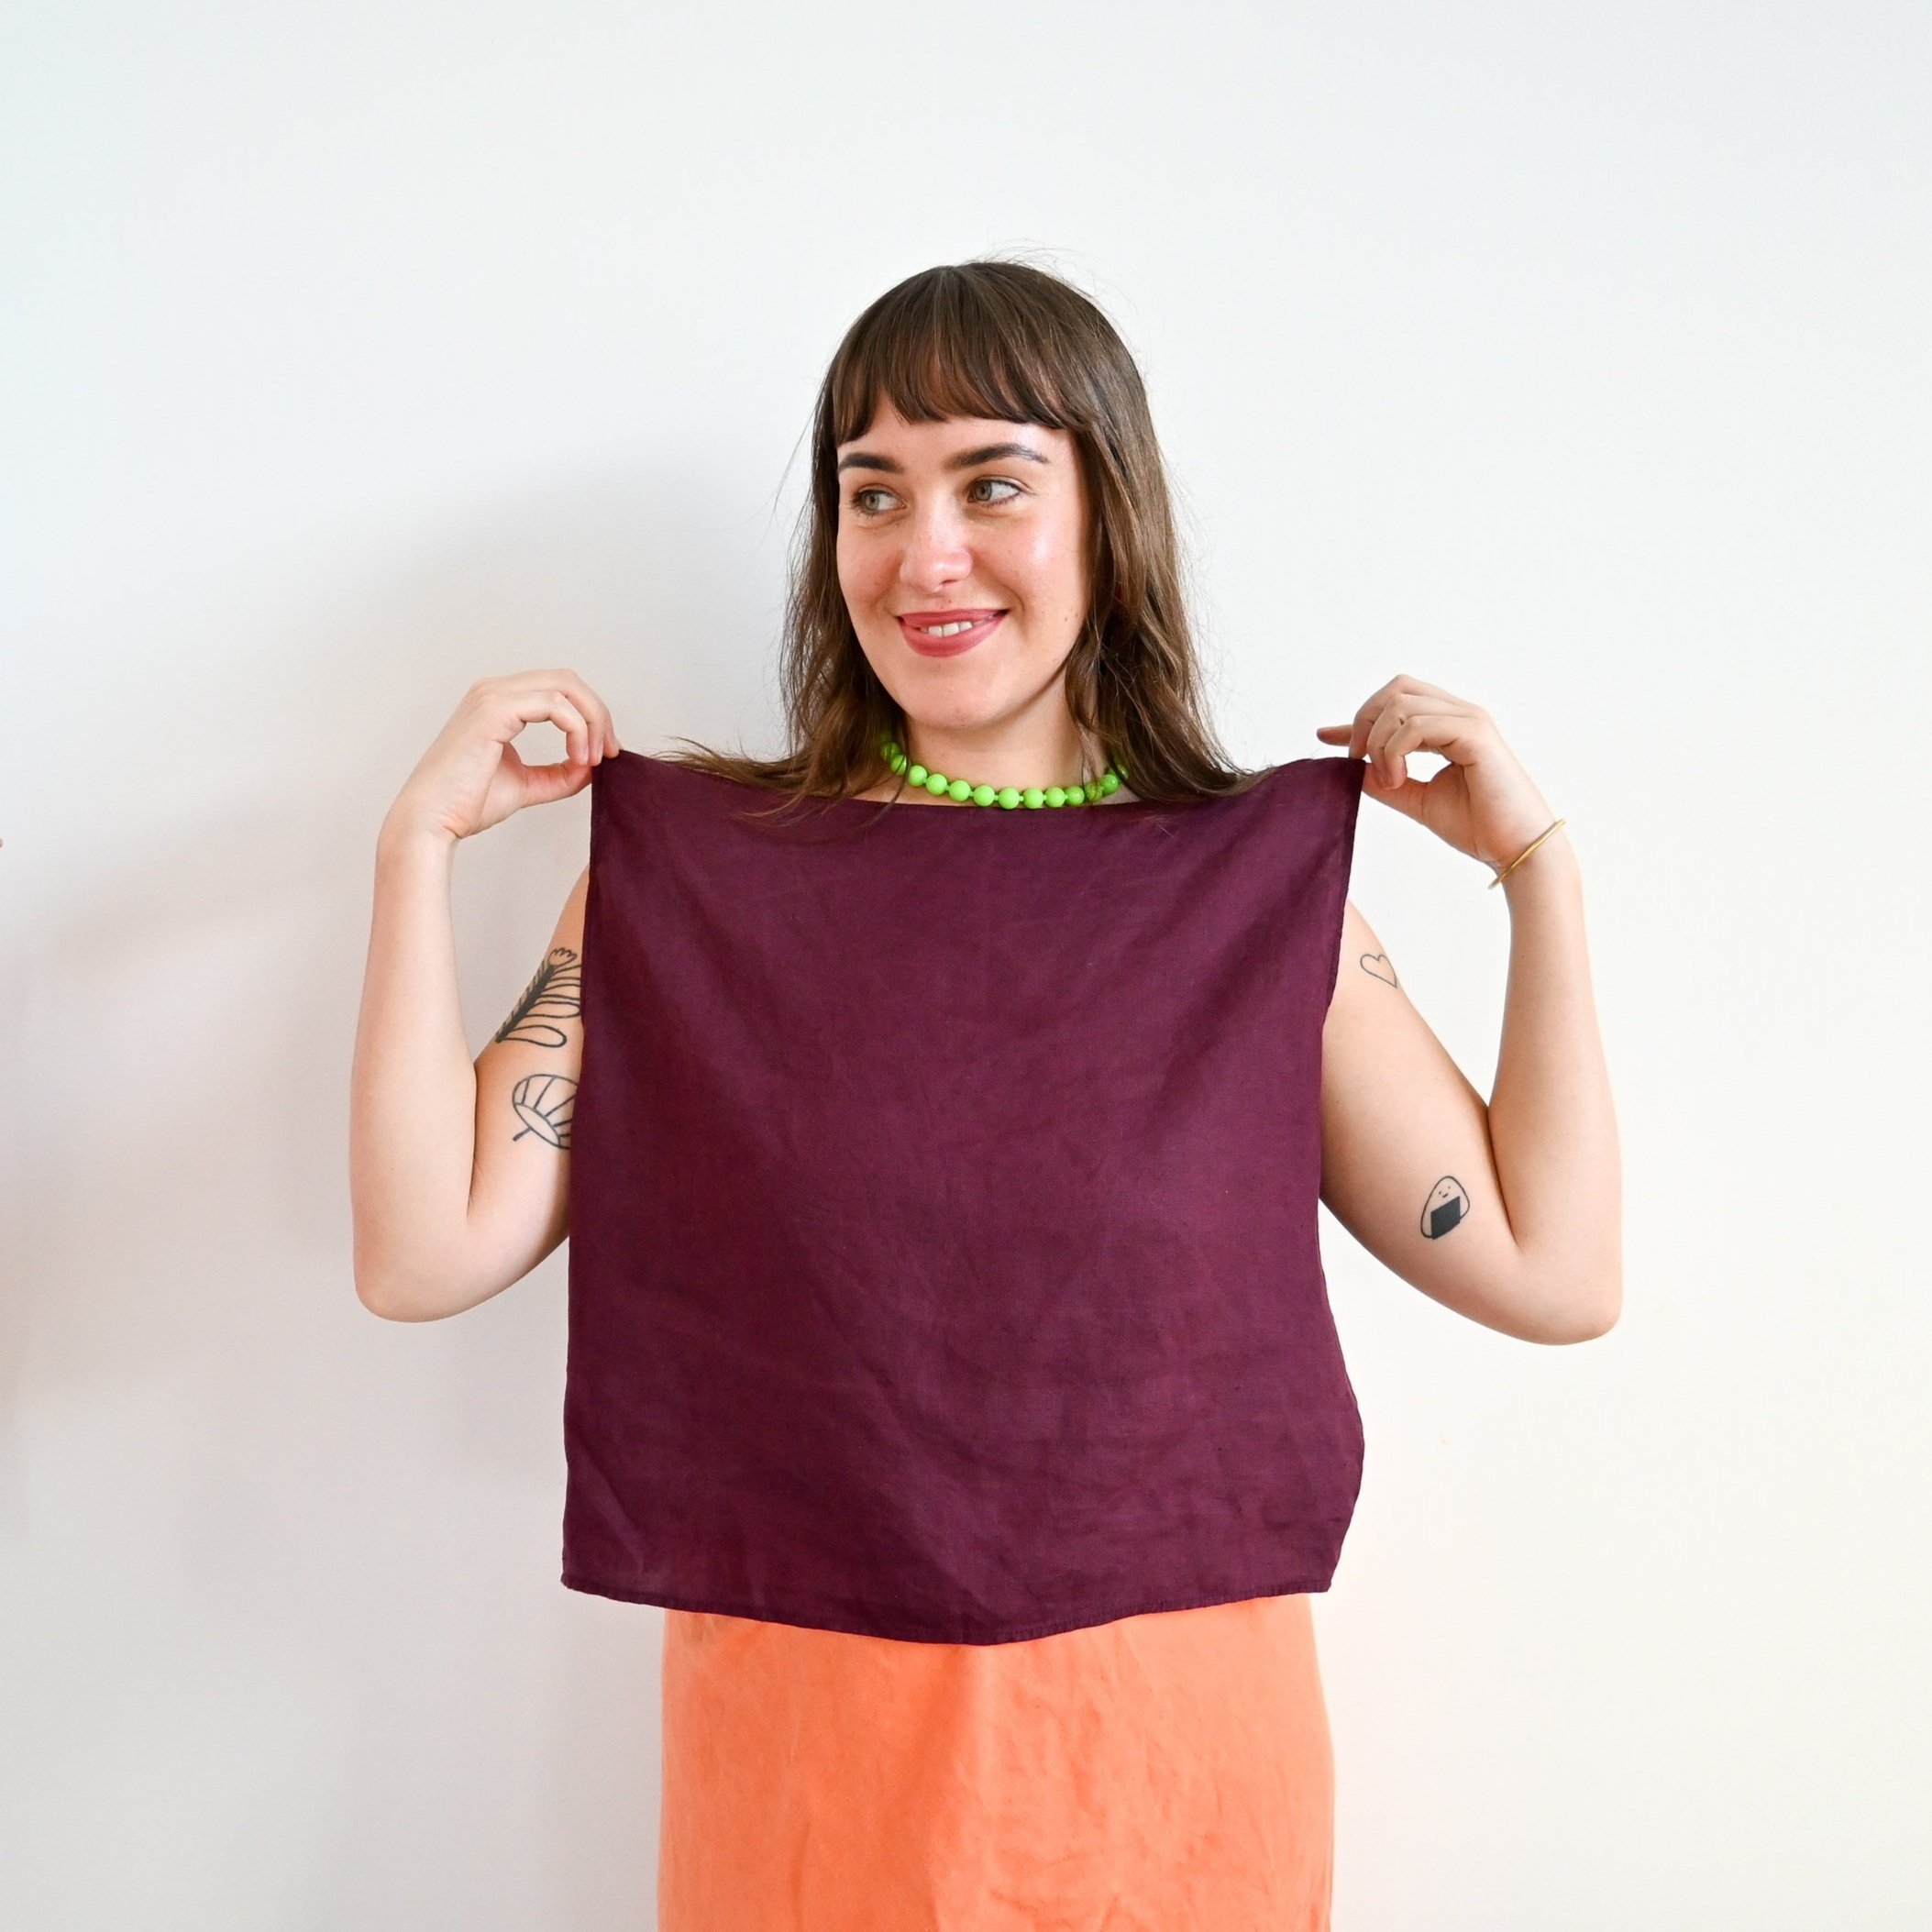
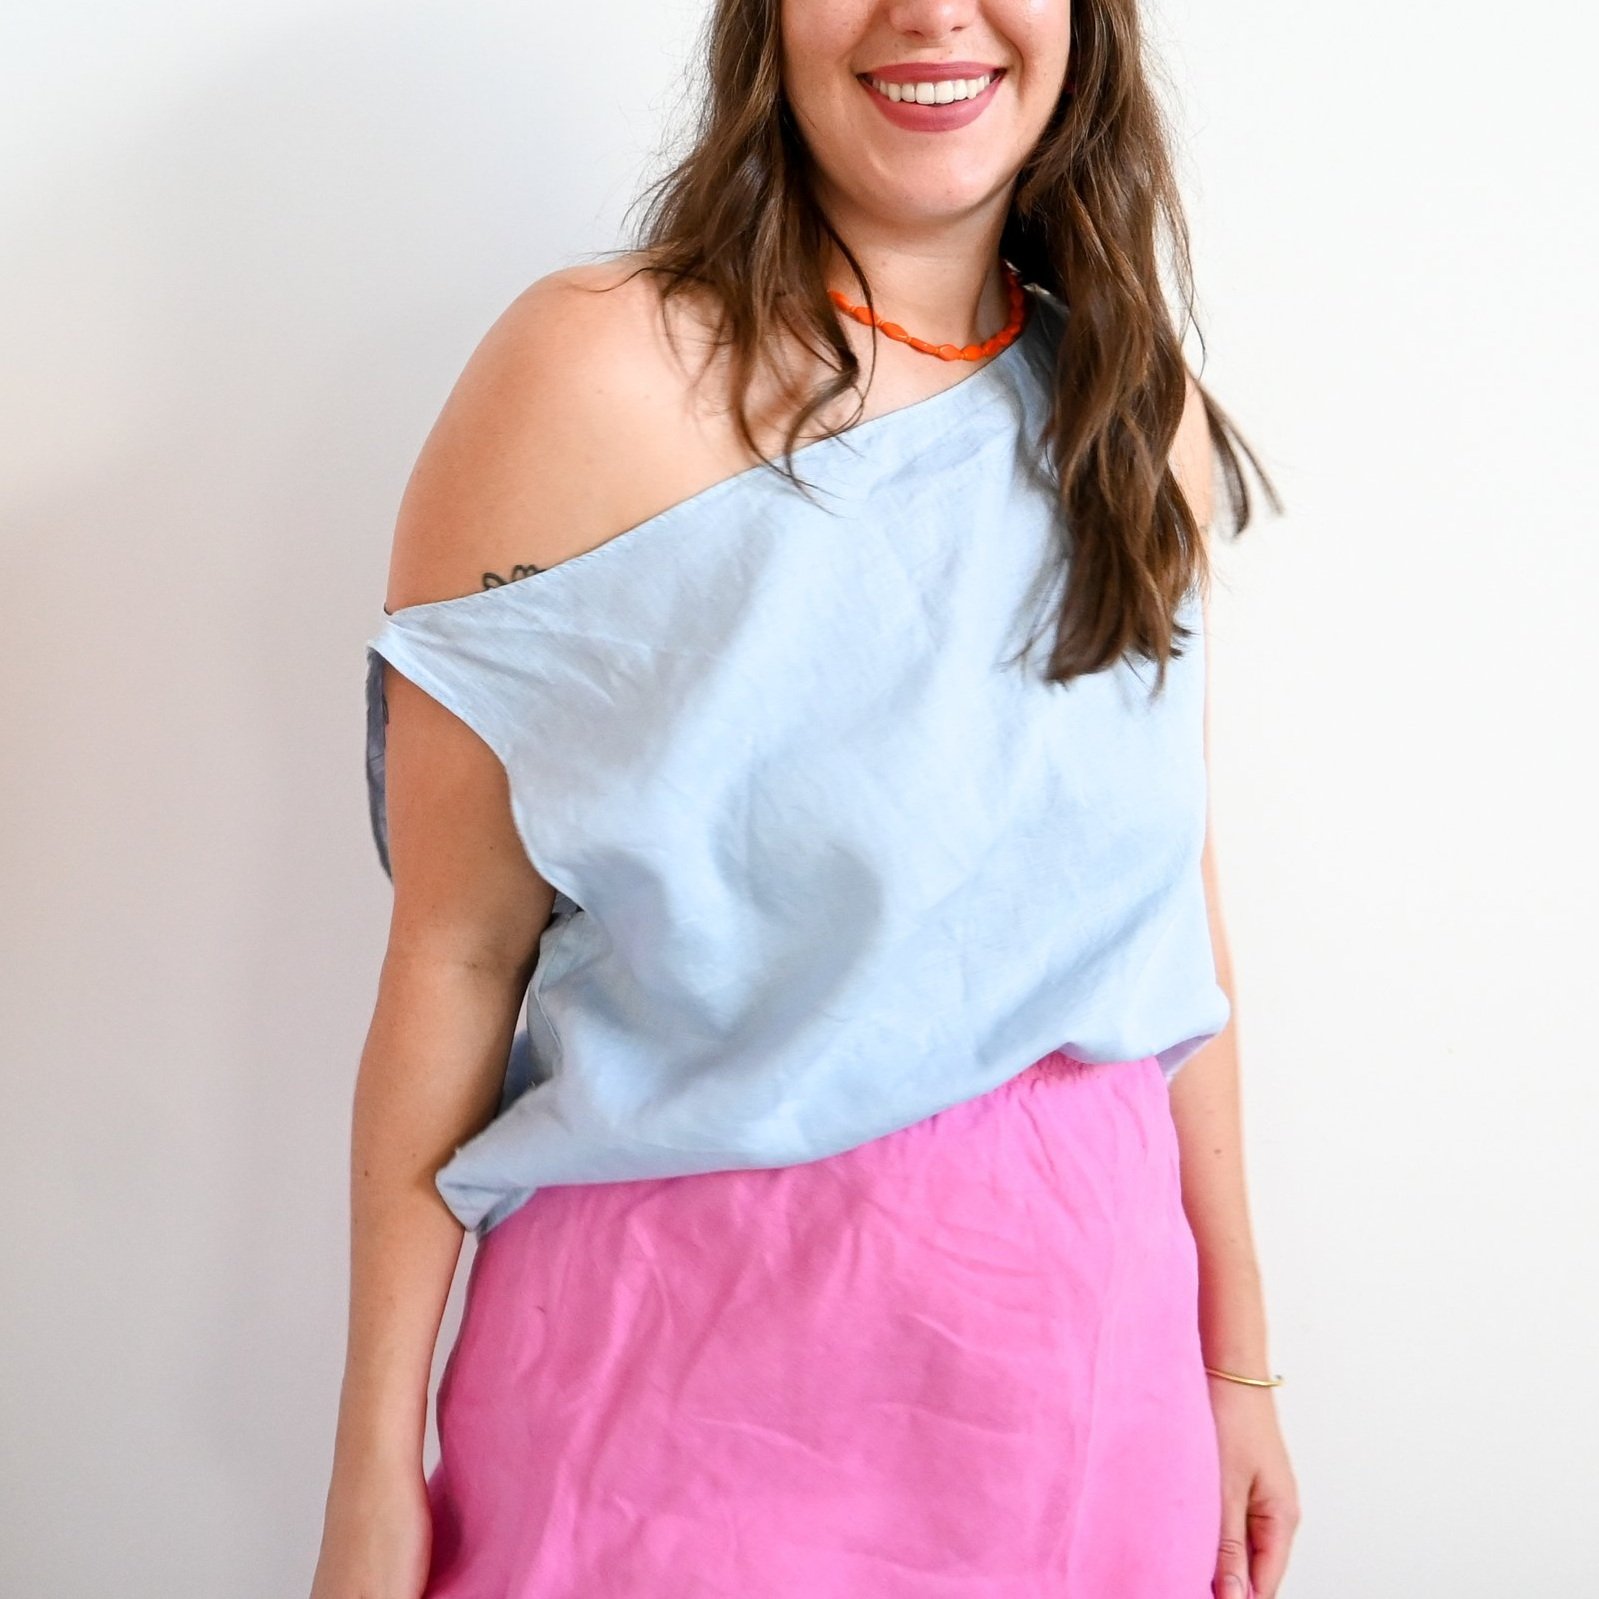
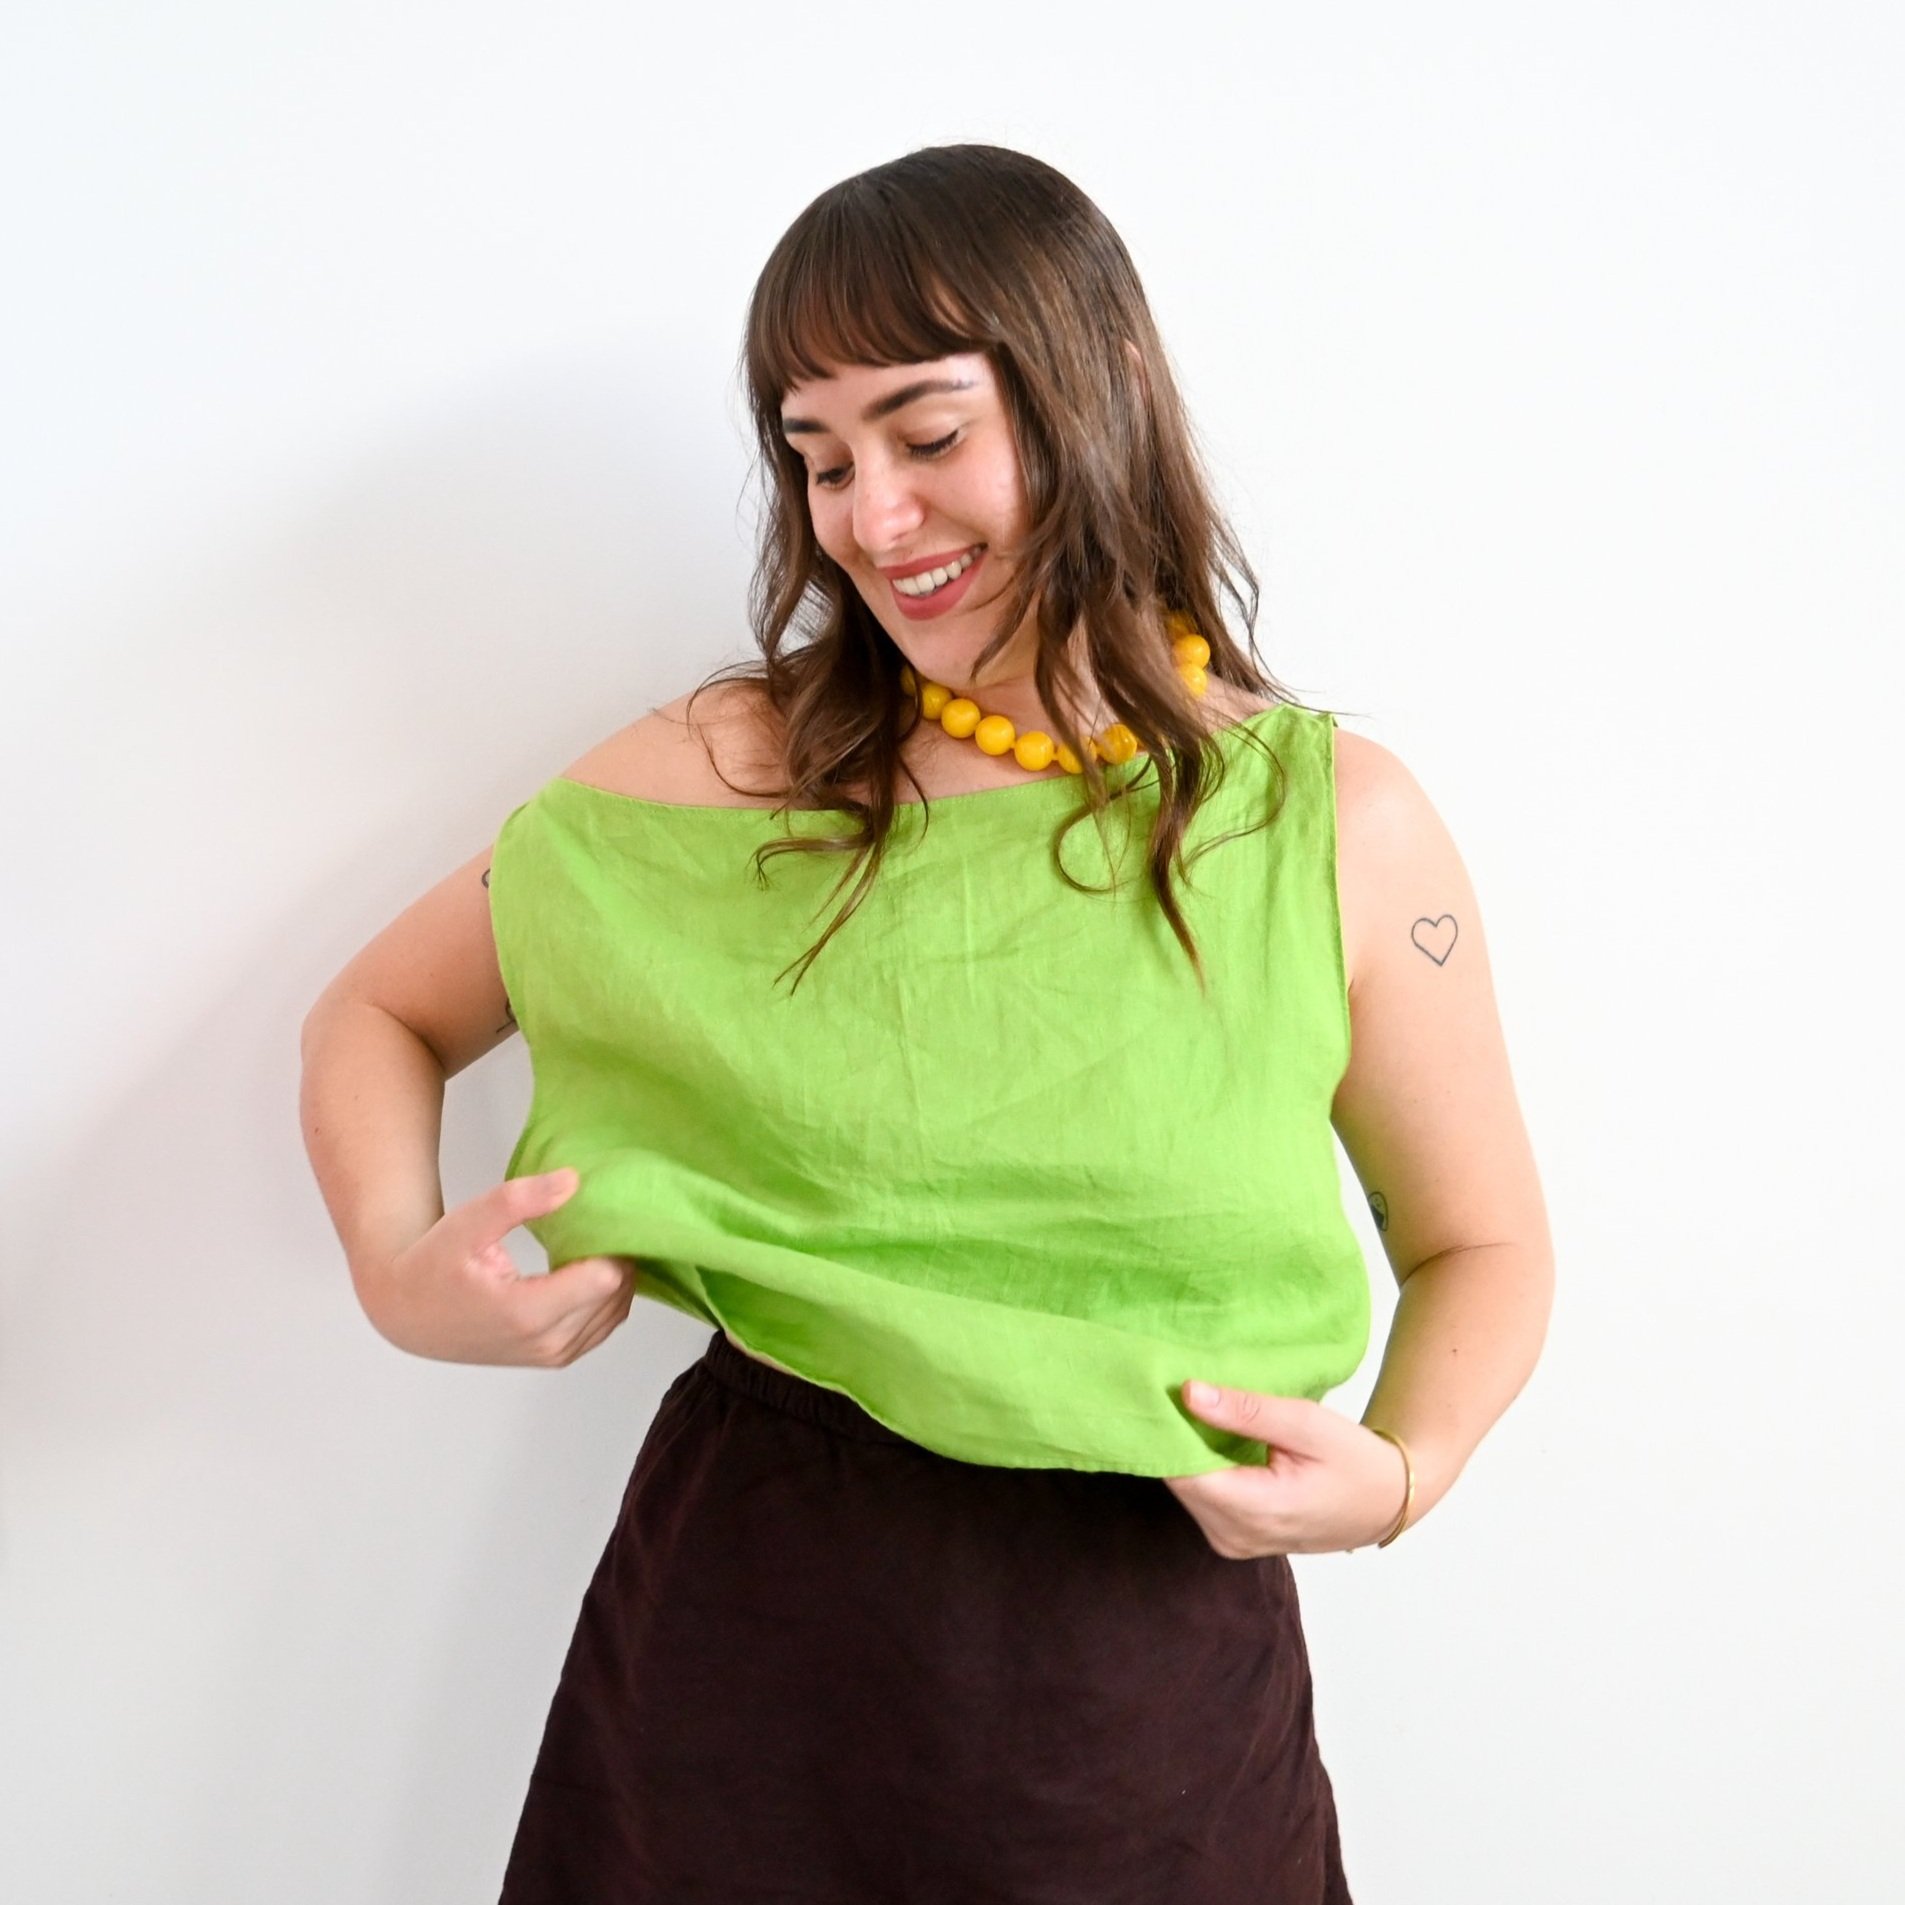
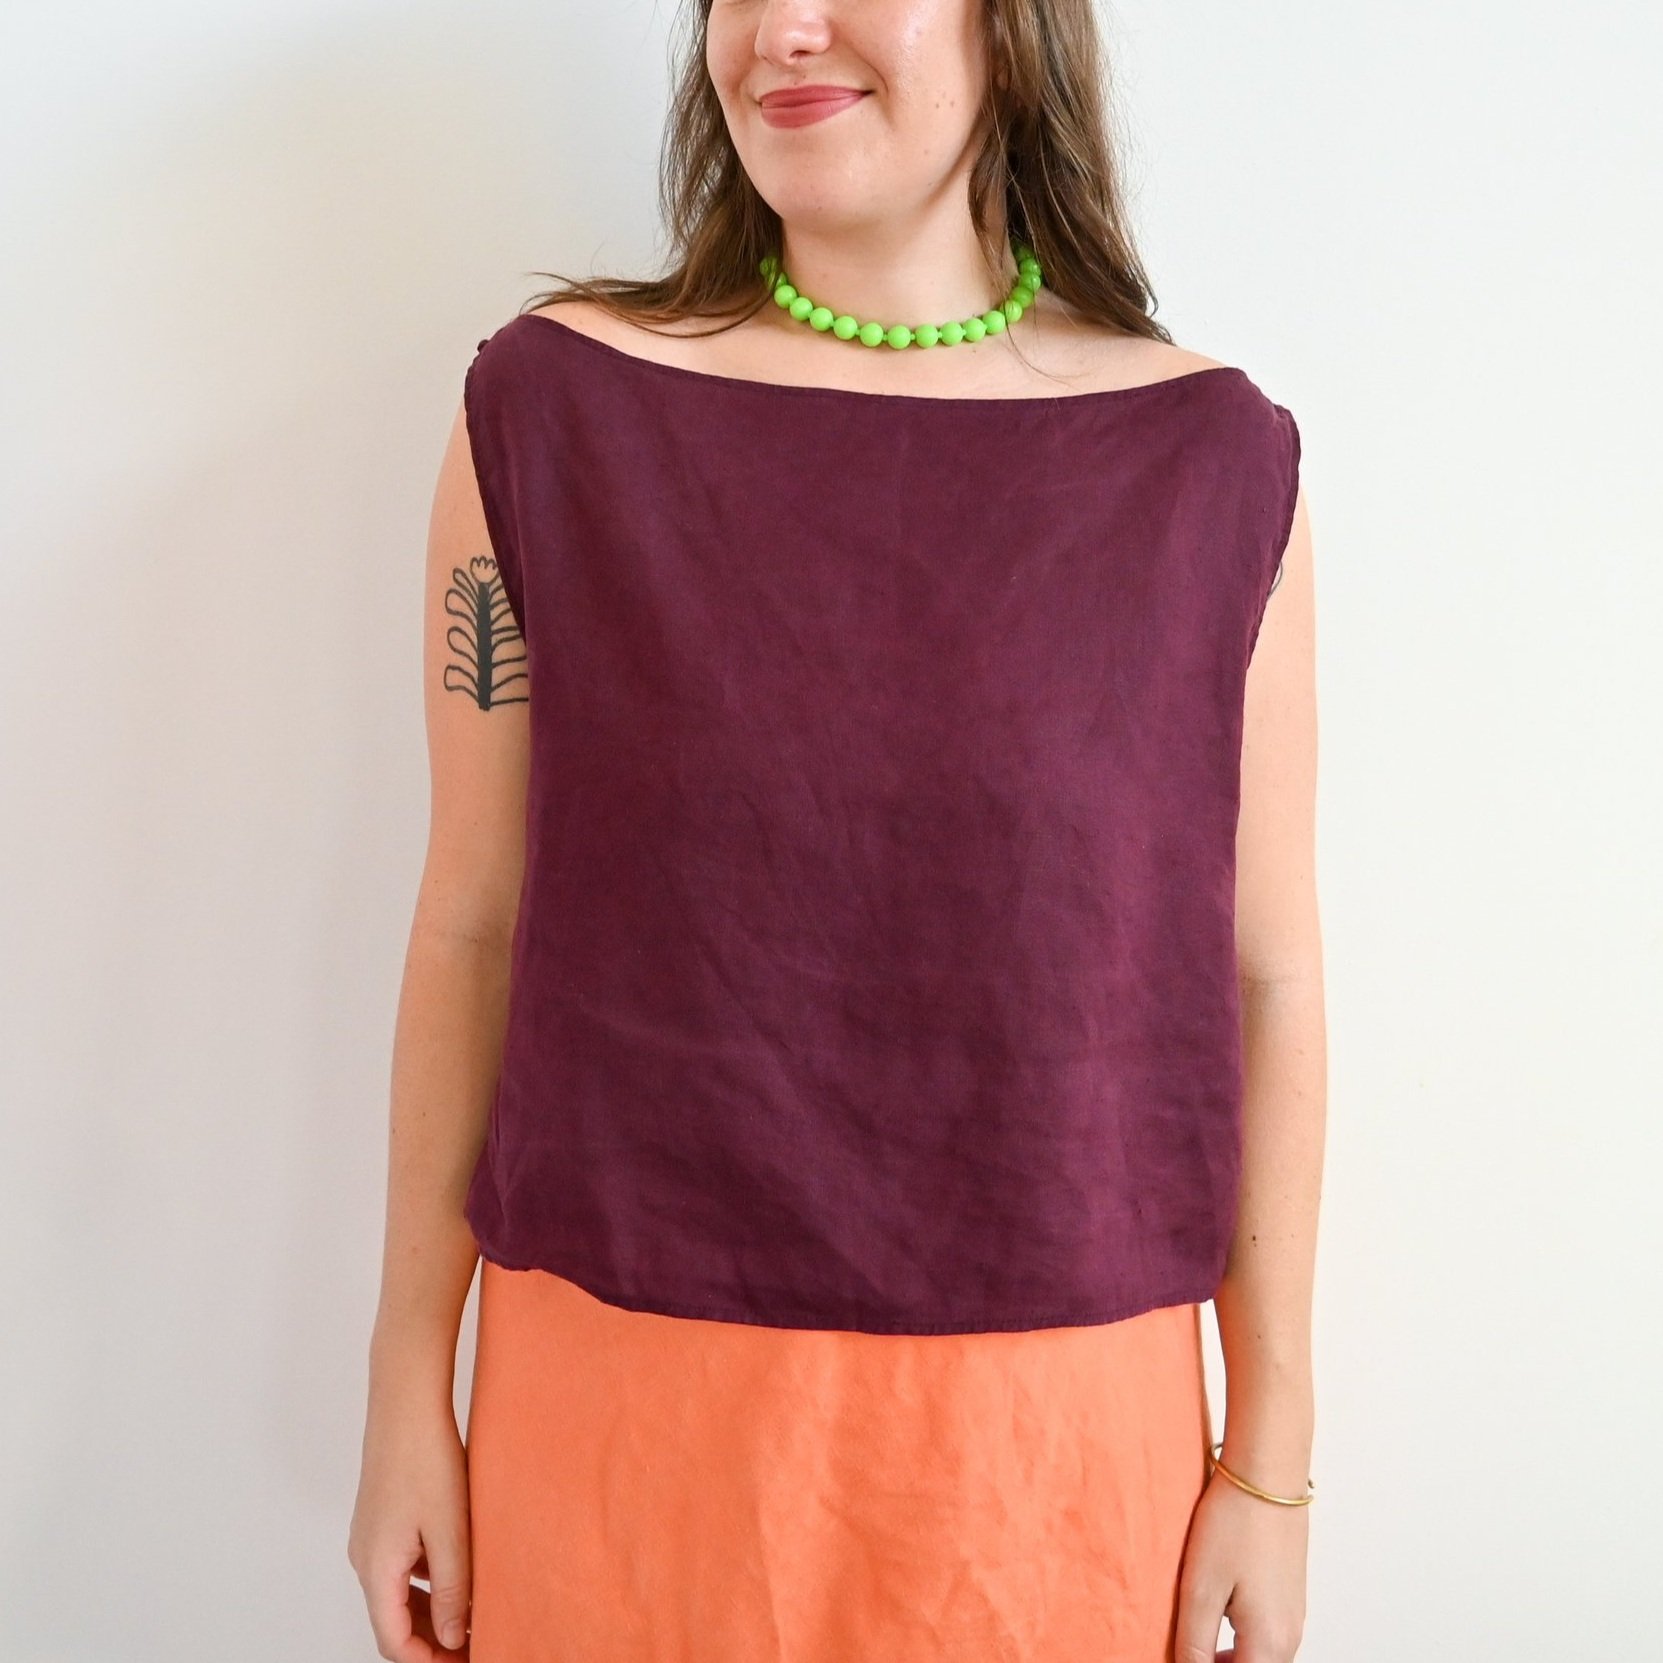
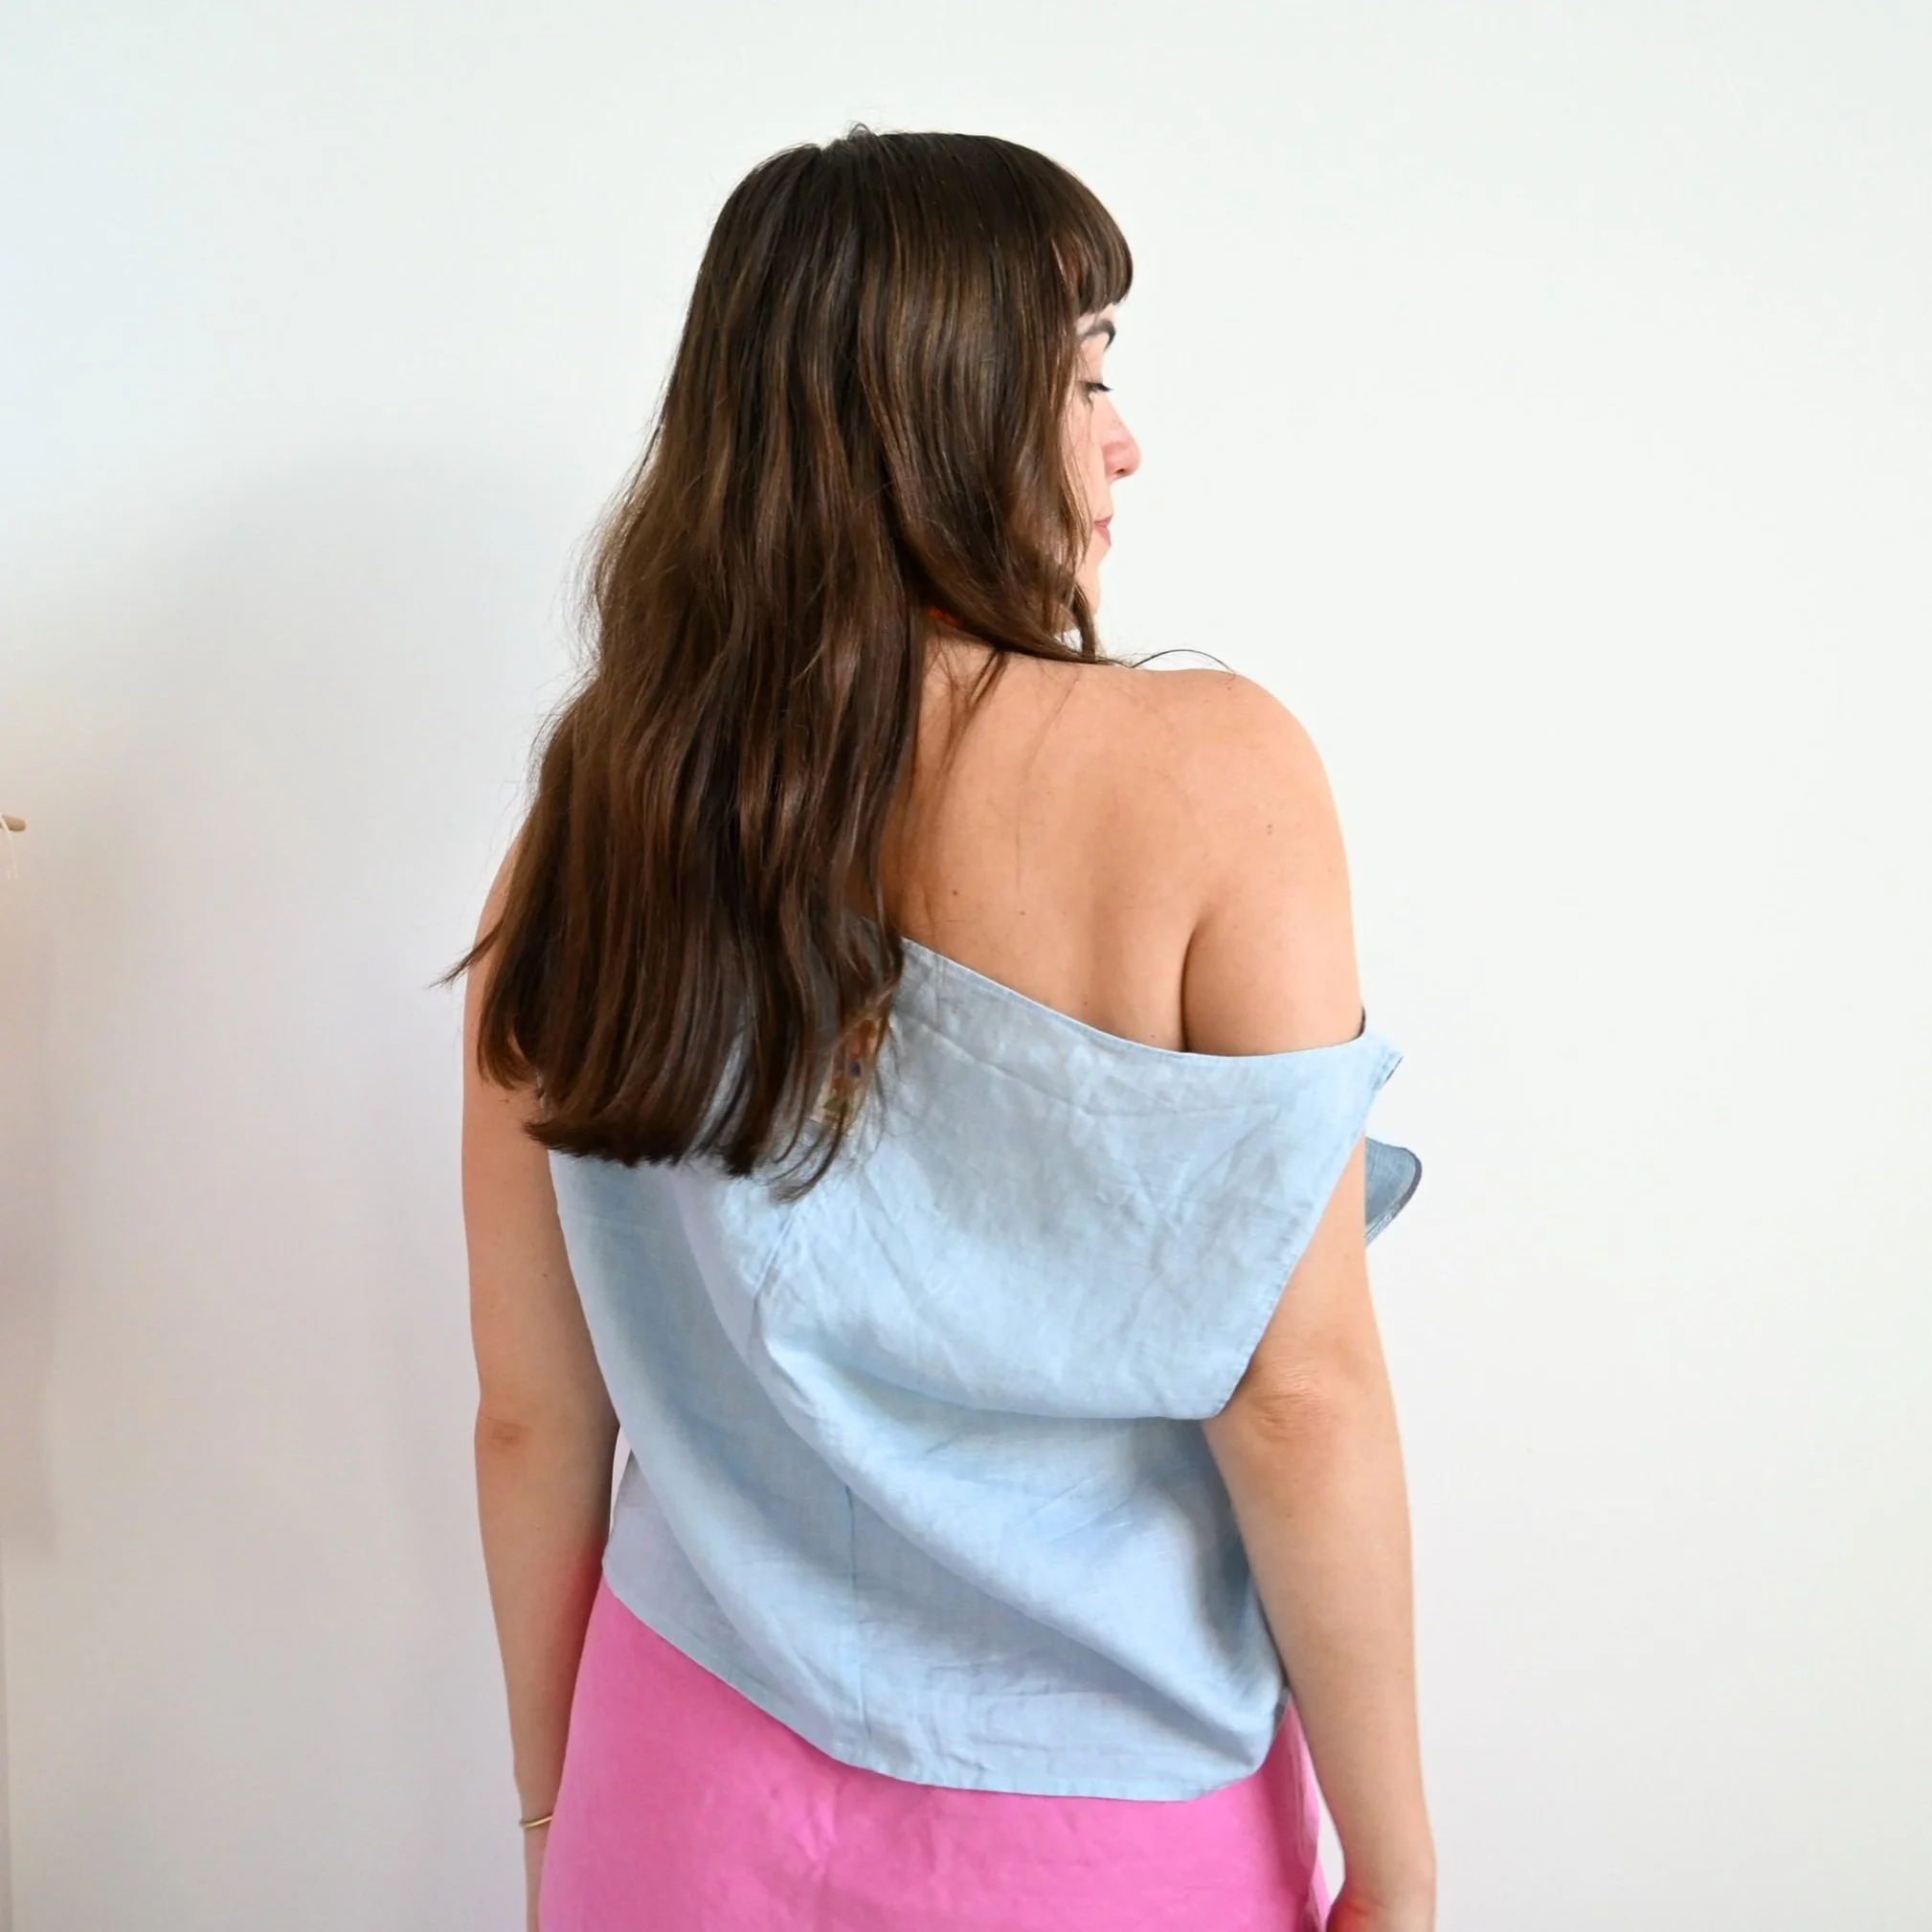
Say hey to the Daisy Top, an off-the-shoulder slouchy singlet designed to fit loosely and pair with all your favourite bottoms. This self-drafted sewing project starts with your body measurements, which you input into the formula below to figure out the size of the rectangles that will be the base of your pattern. Then you'll carve out some arm holes and a neckline before sewing it all up and giving yourself a high five because you MADE IT YOURSELF!
I first drafted one of these up in September 2023 for a hens celebration, and after my twin sister Aurora demanded I make her a matching one, I knew I'd have to figure out the formula so I could share it with you - So you can thank Aurora for this one!
Before making any of my pattern-free sewing projects, always make a practice version to test the formula and fit for yourself. I designed this top based on my body, size, and shape, and all bodies are different, so if it doesn't work for you, adjust the formula and process to suit YOU.
Please Note:
This sewing pattern tutorial is for personal, non-commercial use only, and no part of this post may be reproduced, transmitted, or shared in any form. Please do not produce items with this pattern and tutorial for resale.
You Will Need:
1-2m of woven fabric (non-stretchy)
Scissors
Matching Thread
Sewing Machine
Iron & Ironing Board
Chalk or washable marker
Measuring Tape
Formula:
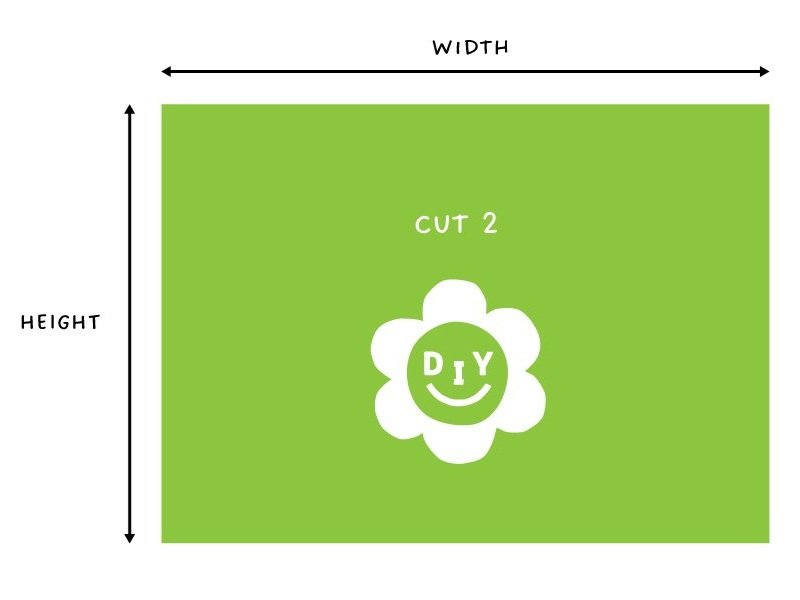
Top Rectangles: Cut 2
Width = Arm Bust (includes ease) ÷ 2 + 2cm
Height = Top of shoulder to belly button + 2cm
Use these in step 1:
Armhole height (A) = Top of shoulder to full bust
Distance between straps (D) = Edge of shoulder to edge of shoulder ÷ 2
Width of straps before hemming = 4cm to 5cm
What is Arm Bust? It’s a body measurement I made up just for my book Sew It Yourself! To find Arm Bust, measure around your body, including your arms, at the fullest point of your bust with arms down by your sides.
Tutorial:
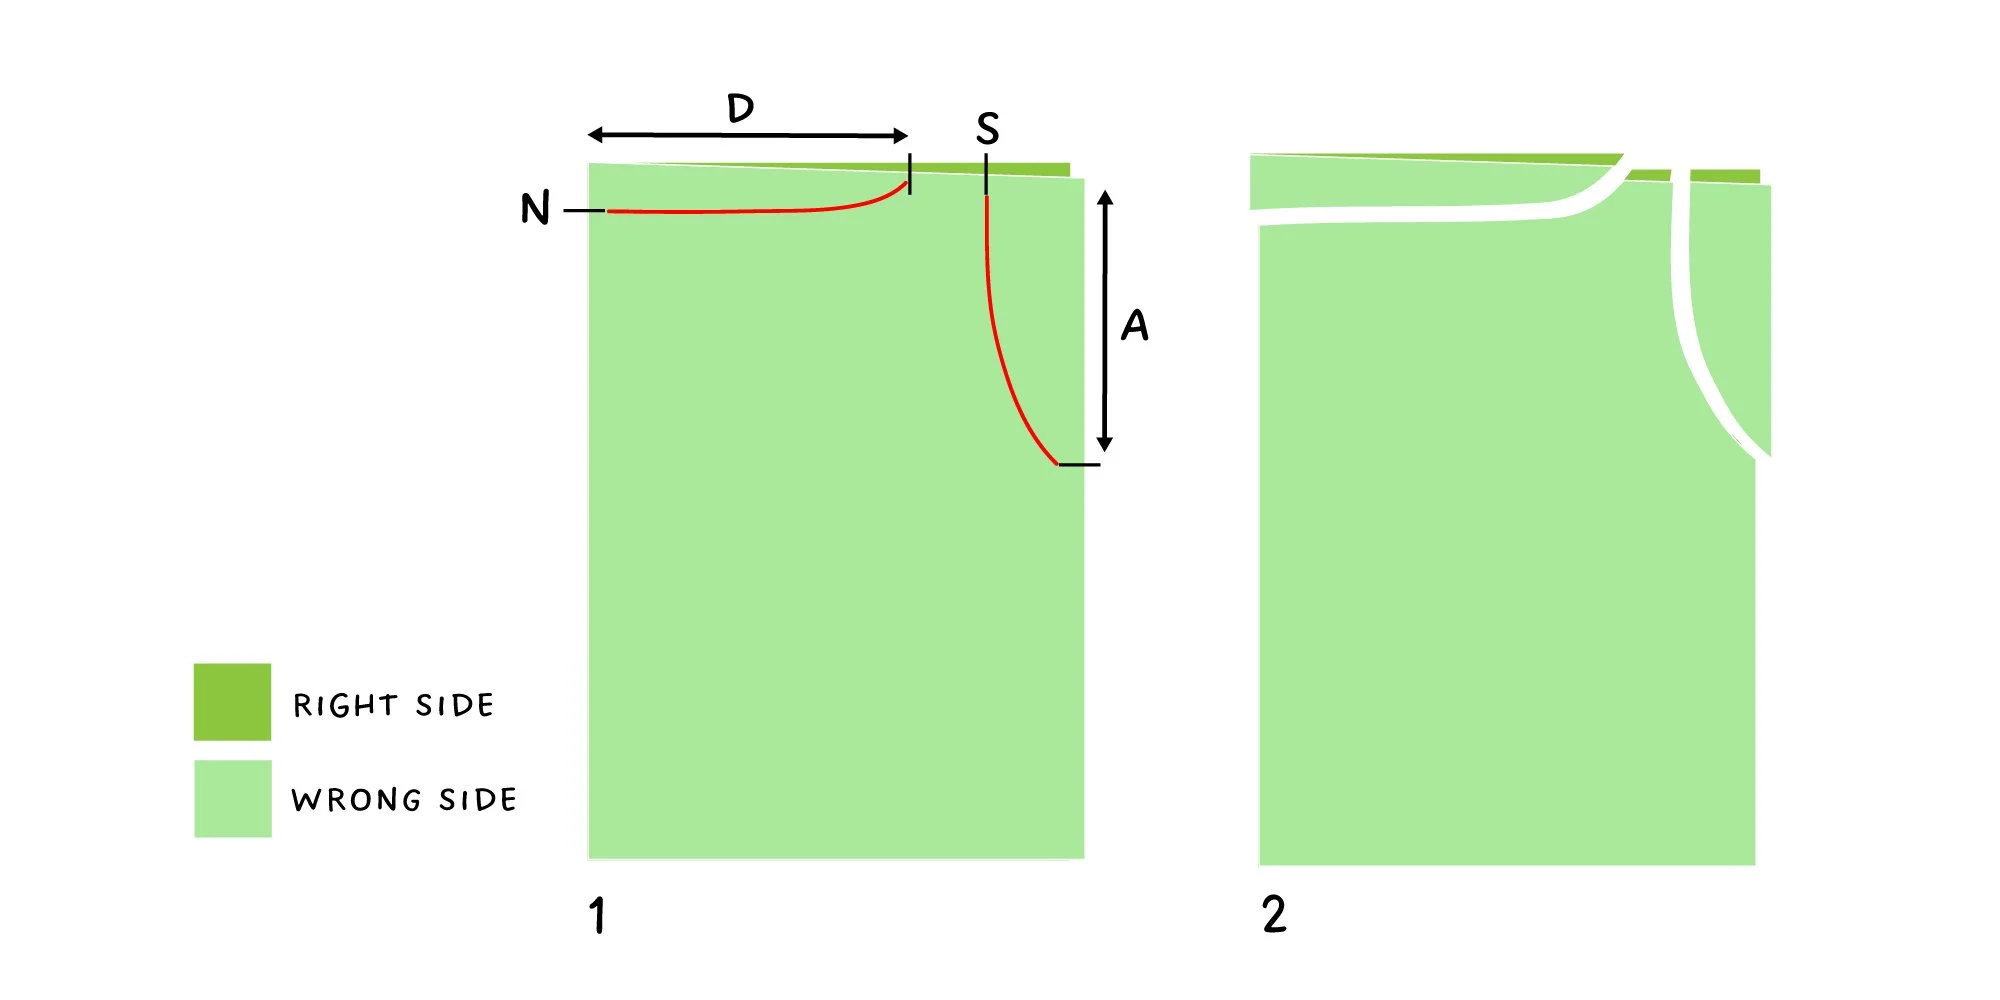
Fold one rectangle in half widthways with right sides facing. First, mark out the armhole. Measuring from the top corner, mark (A) down the side with the raw edges. From the fold, mark (D). From (D), mark 4cm or 5cm away (towards the raw edge), which we will call (S) and will be the outside edge of the strap. From (S), draw a curved line to where you marked (A). I like to do this freehand but you can use a bowl or tailors curve is you prefer. From the fold, mark down 2cm - 3cm and lets call this mark (N) for neckline. From (N) draw a curved line to (D).
Cut along the lines and then open out the fabric to reveal your top shape. Trace this onto the other rectangle so you have one piece for the front and one piece for the back.
With right sides facing, sew one shoulder strap together using a french seam.
Sew a narrow rolled hem along the neckline.
Sew the other shoulder strap together using a french seam.
Sew narrow rolled hems along the arm holes.
Sew up the sides using french seams.
Hem the bottom edge of the top, snip any loose threads and try it on!
If you try this tutorial, I’d love to see what you create! Tag me @_diydaisy and use #diydaisytop :-)

If you found this tutorial helpful, feel free to leave a donation or buy me a coffee on Ko-fi.
Every bit of support means so much and helps keep this blog going. Thank you!
