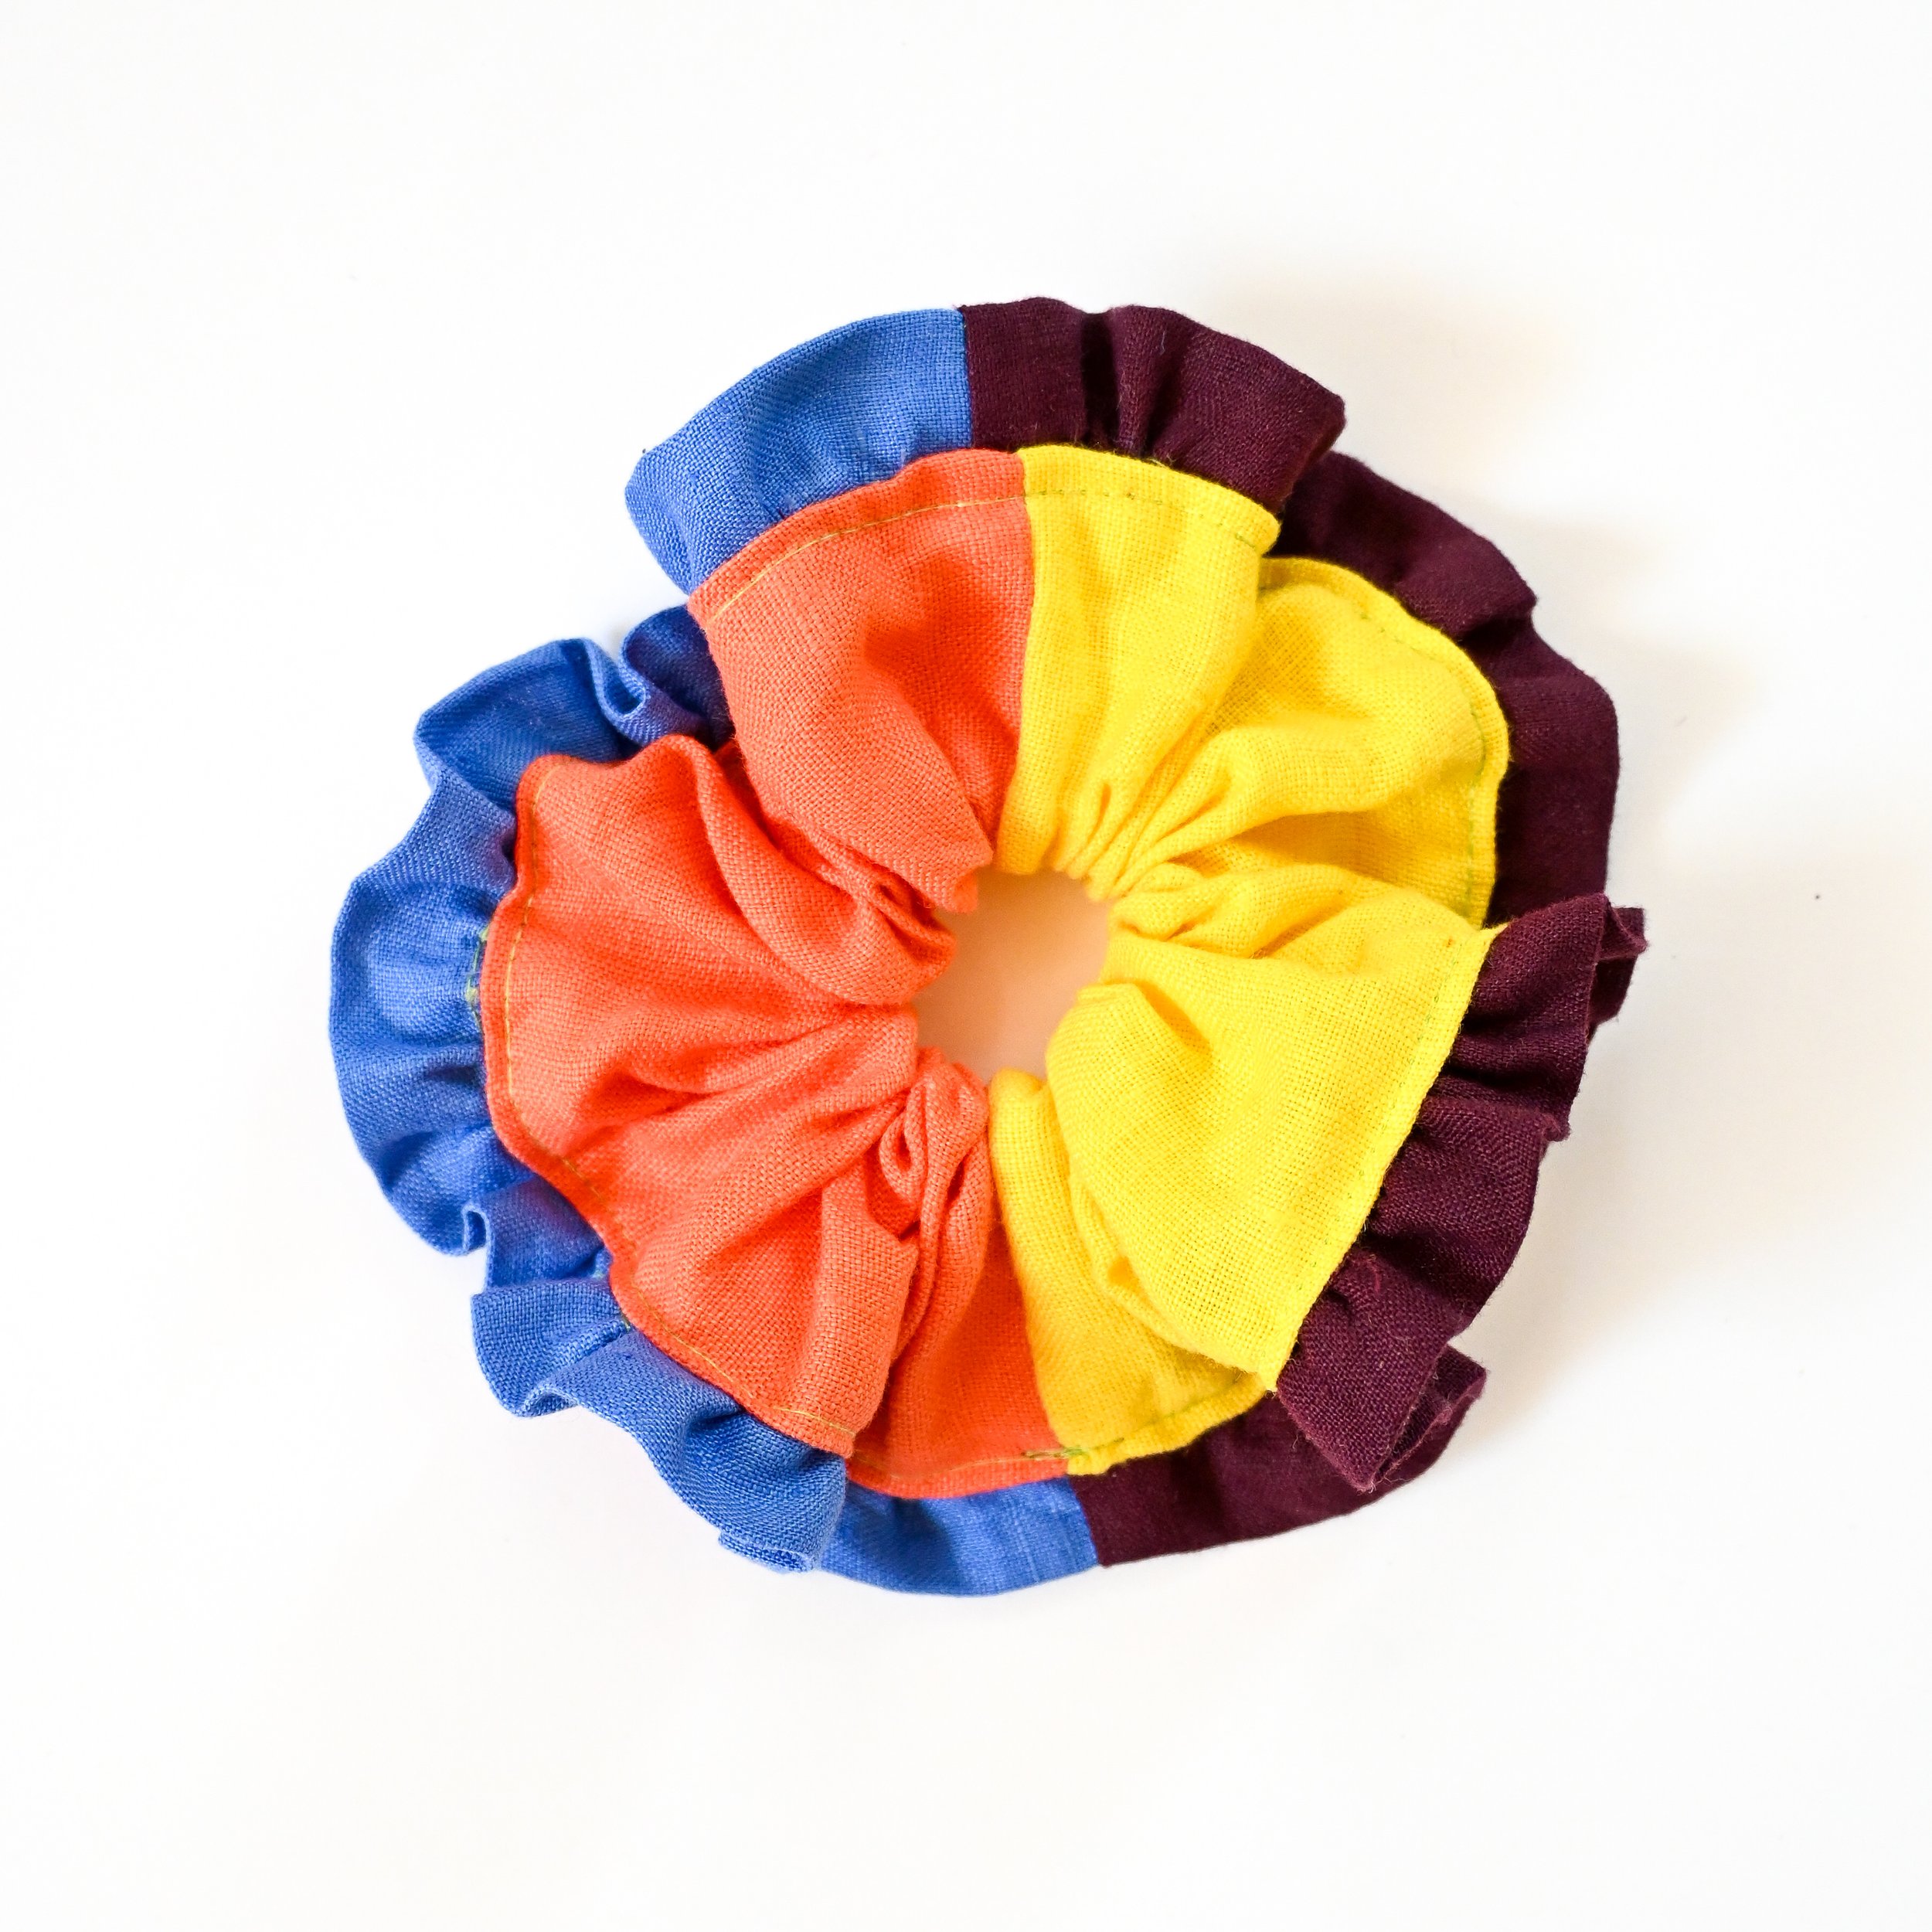
DIY Frilly Scrunchie
Hair accessories are having a MOMENT right now, and I wanted in on the action, so I made a bunch of Frilly Scrunchies. You can easily make one, too, using a combination of trims, rickrack, ribbons and fabric, transforming a regular scrunchie into a frilly masterpiece. I made these using my fabric scraps and lace trims I purchased second-hand at The Nest Haberdashery, a fantastic source for reclaimed sewing supplies in Brisbane.
My inspiration for this project came from my Rachel Burke wall charm and upcycled scrunchies made by sustainable fashion designer Lydia Bolton. After posting about these scrunchies, I also learned that hair accessories like these hold significance in Mexican folklore and cultural clothing.
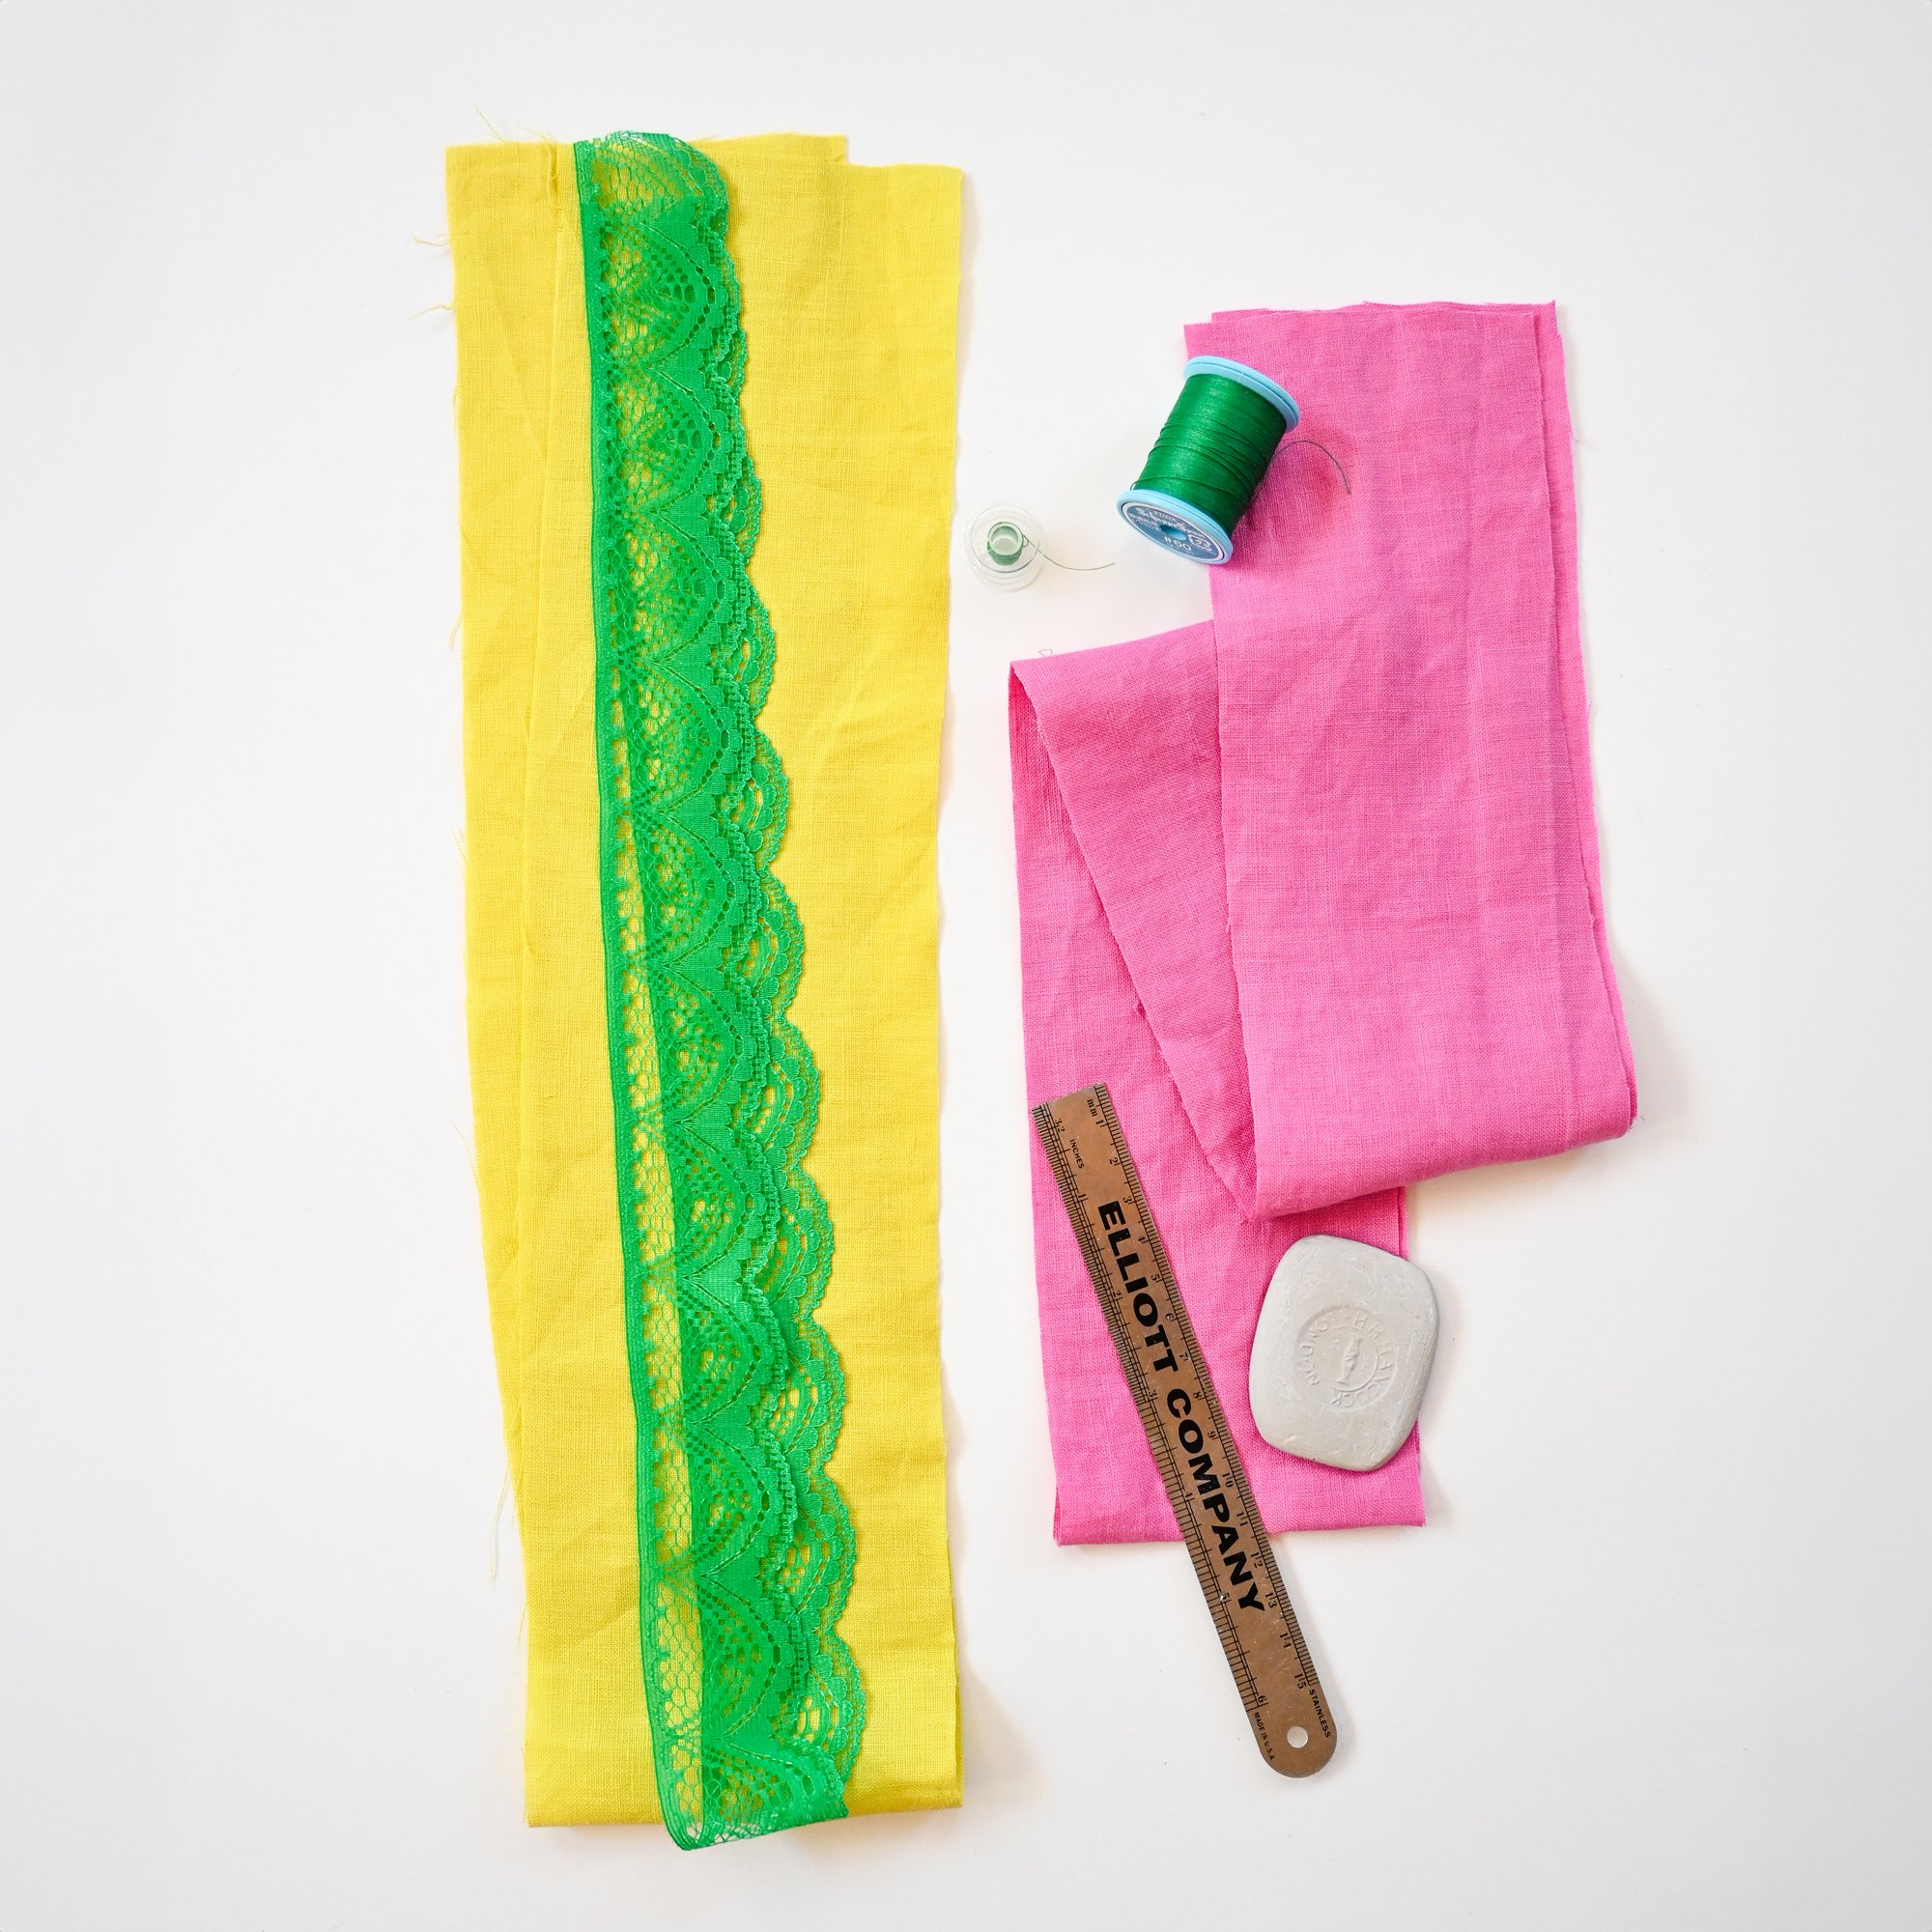
You will need:
Light weight woven fabric
Lace or trims
Matching thread
0.5cm - 1cm wide elastic
Iron & ironing board
Sewing machine
Sewing scissors
Safety pin
Let’s make it:
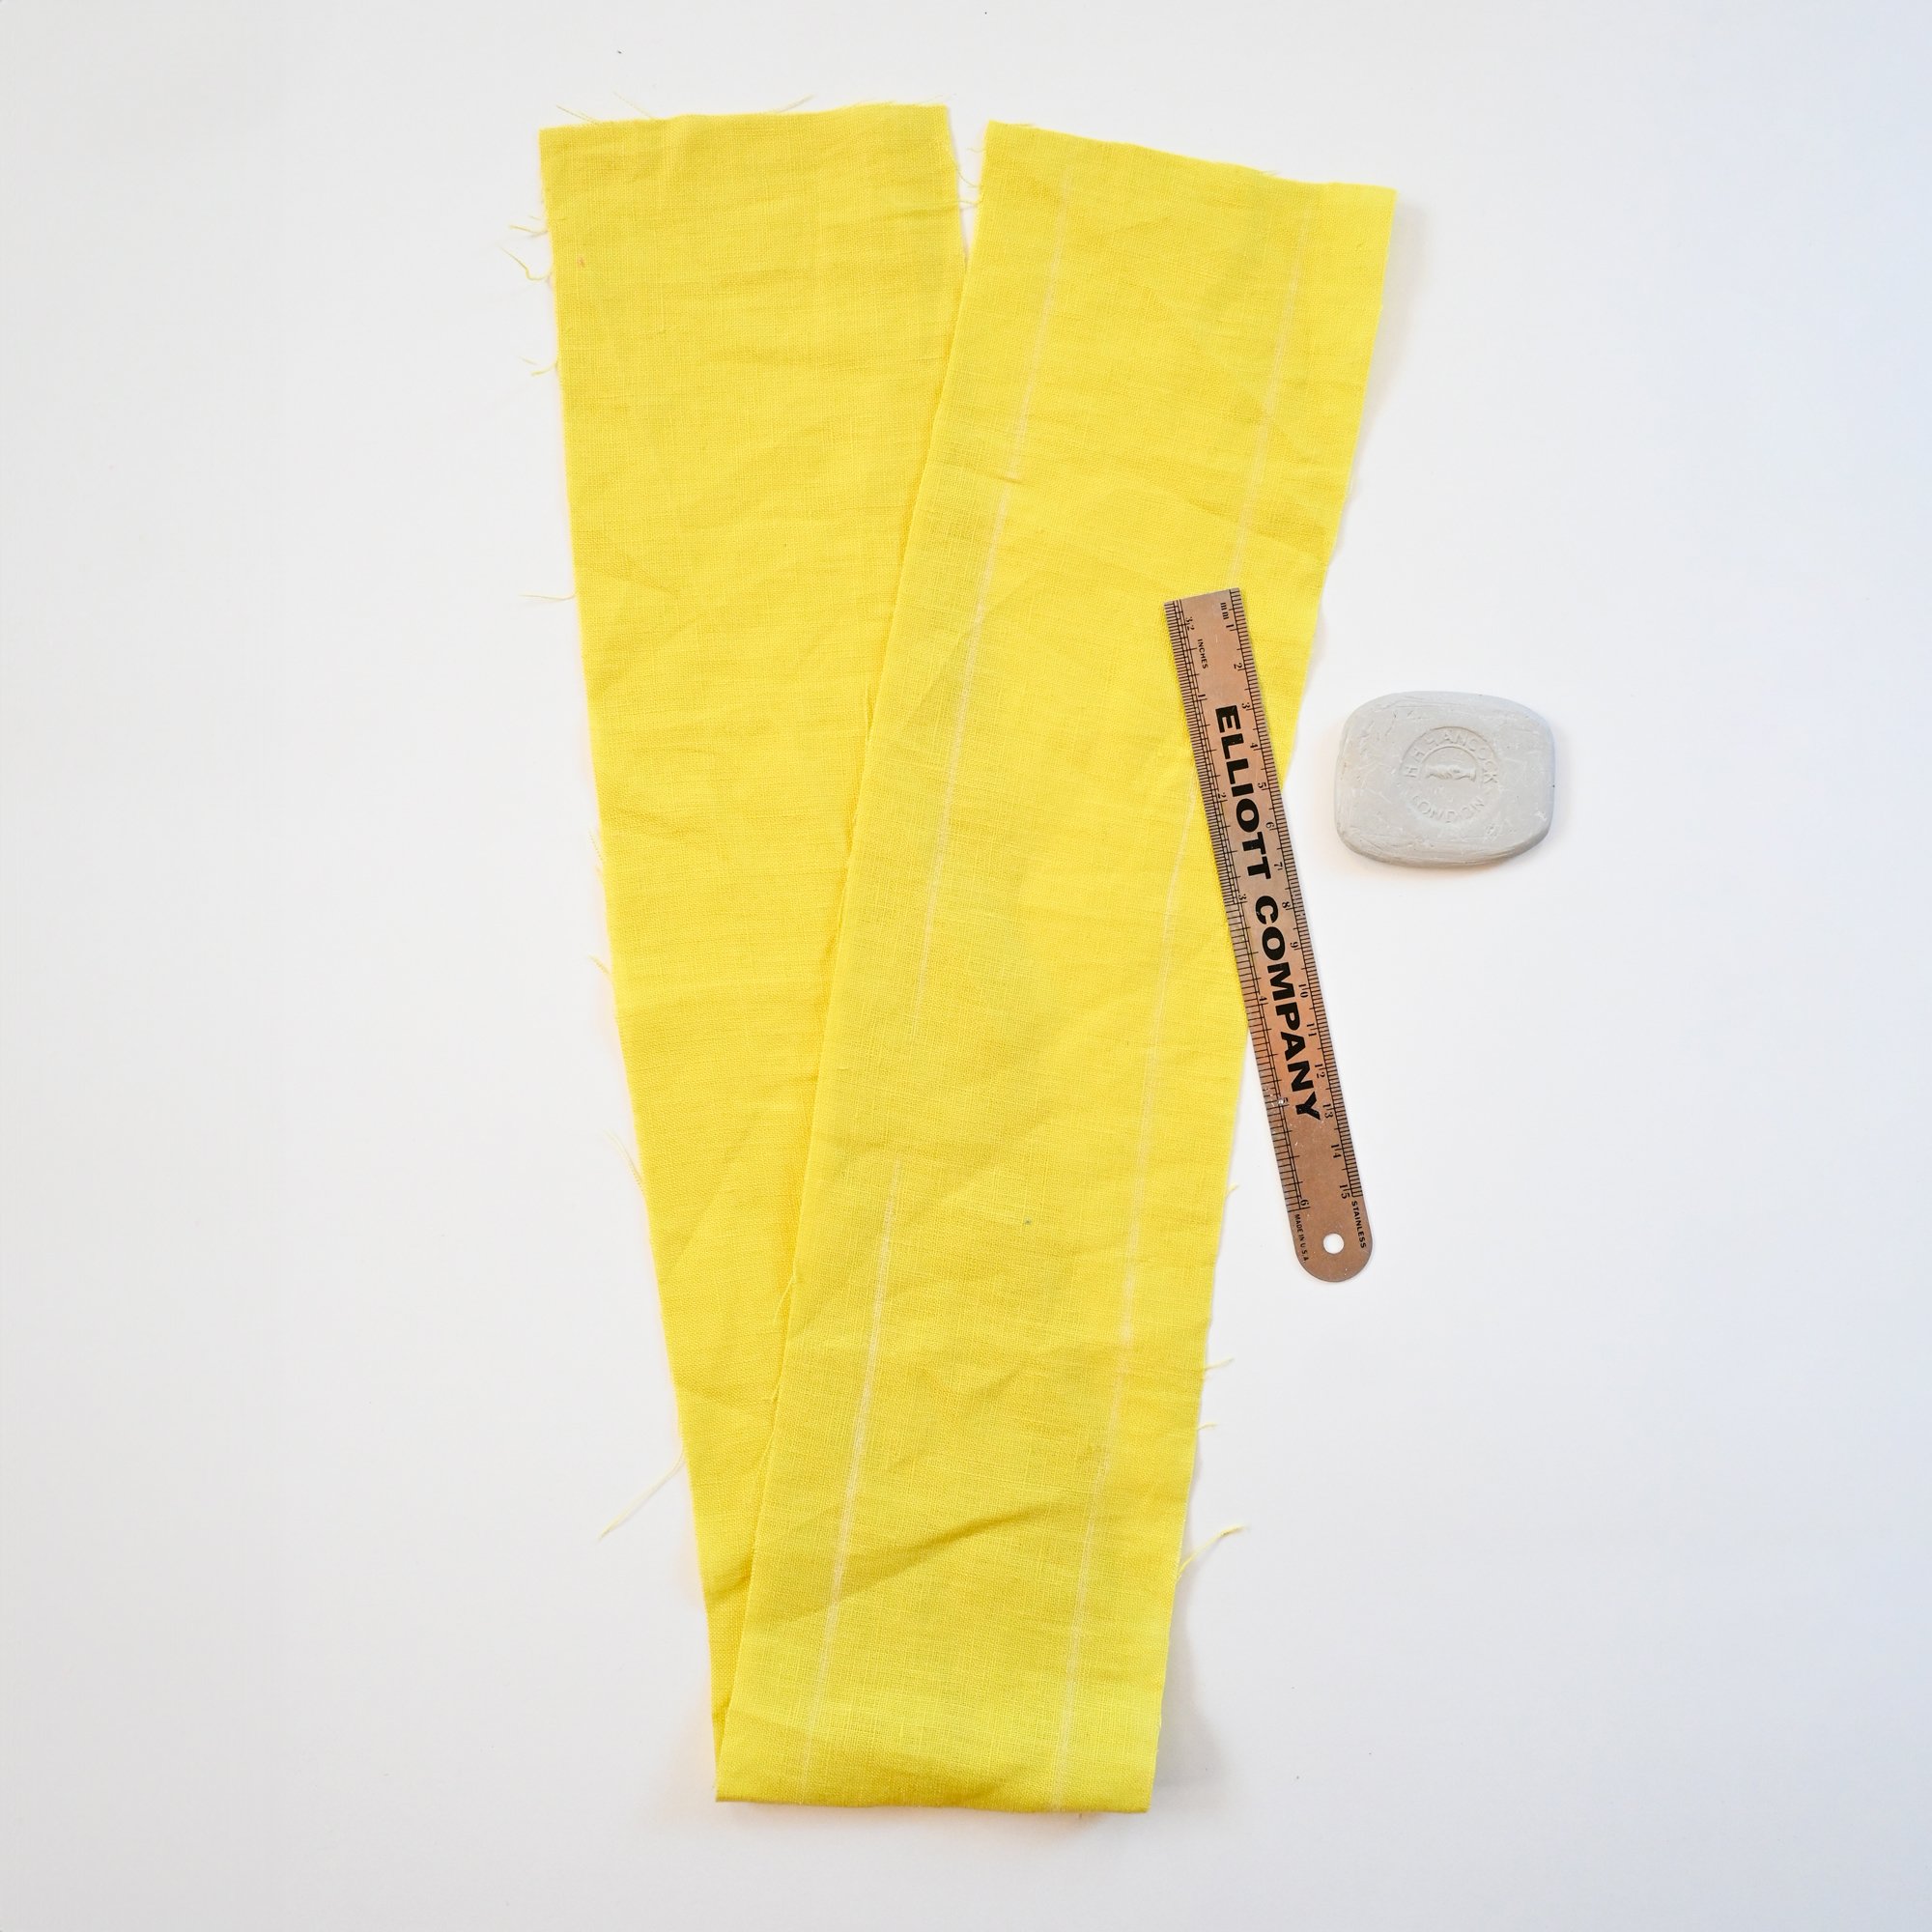
Step 1:
Cut out the scrunchie rectangle, ruffle rectangle and lace or trims.
Scrunchie Rectangle - Cut 1: 10cm x 80cm
Fabric Ruffle - Cut 1: 8cm x 120cm
Trim - Cut 1 or 2 strips at 80cm
Elastic - Cut 1:
Decorative Scrunchie (just worn around your ponytail or bun) 10-12cm long OR Regular Scrunchie (doubled around your ponytail or bun) circumference of your wrist + 2cm
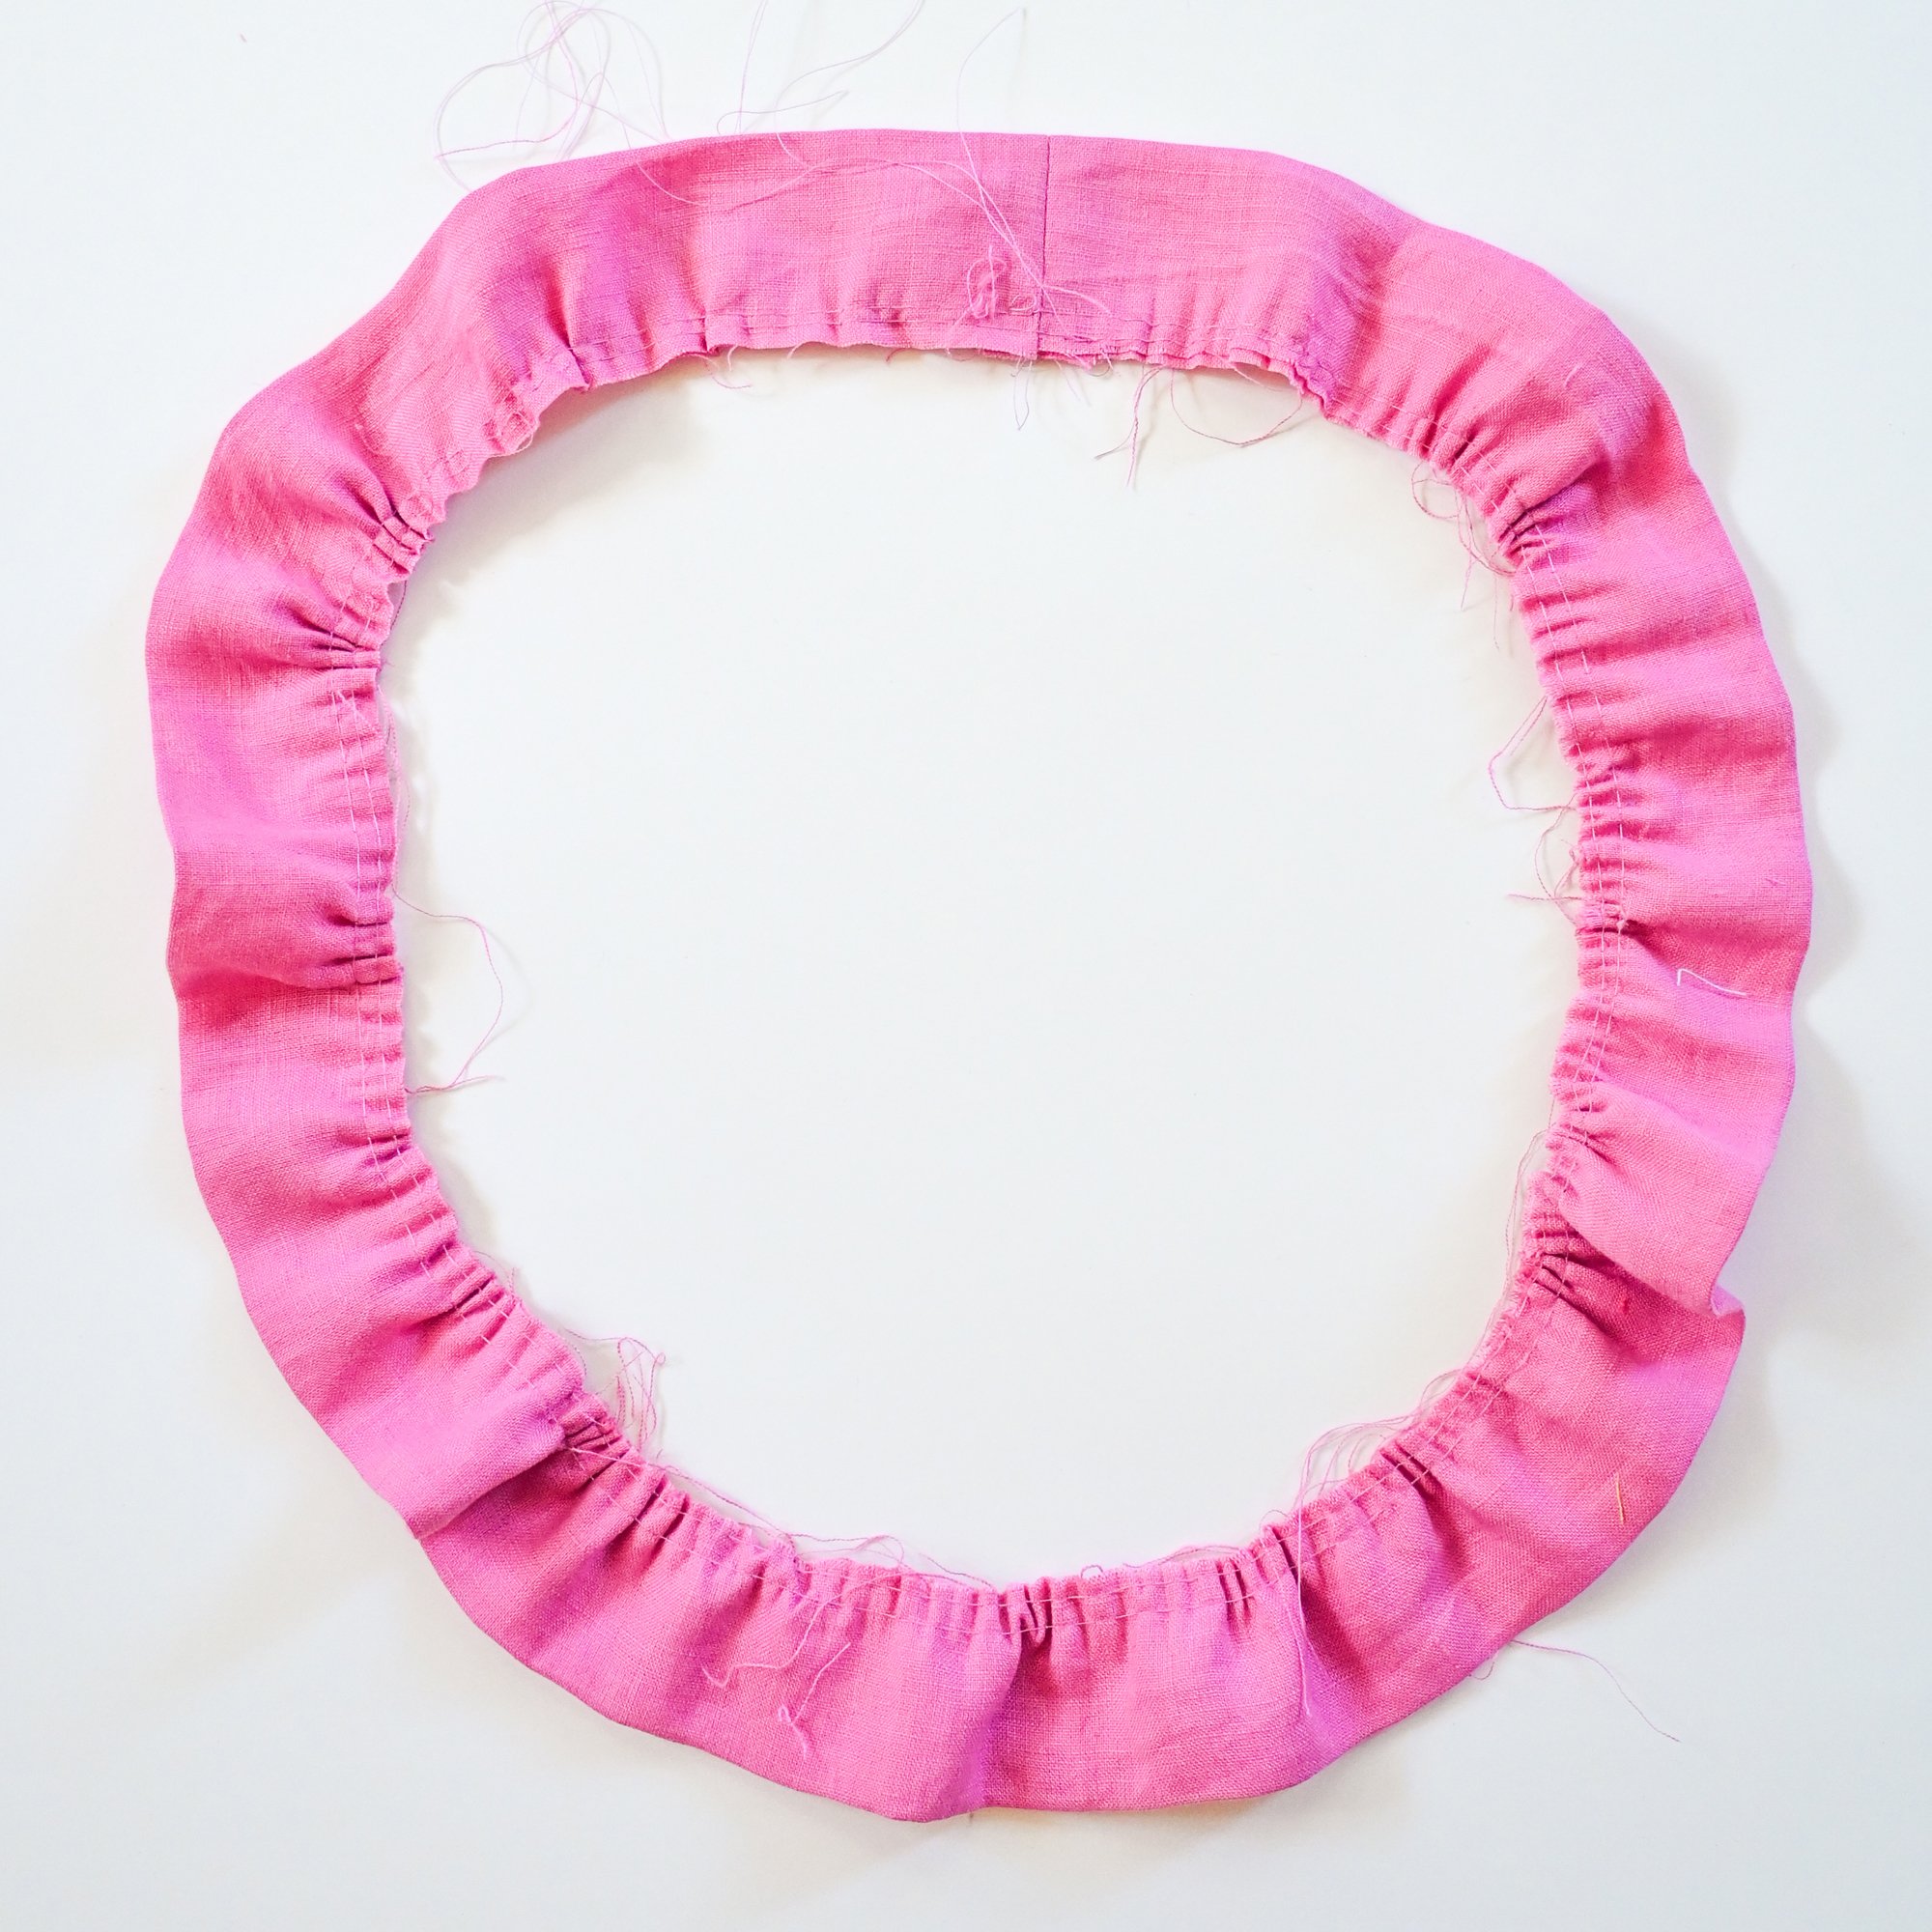
Step 2:
Skip this step if you are only using lace and trims. If you are adding a fabric ruffle, fold it in half with right sides together and sew the short end together with a 1cm seam allowance. Press the seam allowance open. Fold the loop in half with the wrong sides facing and press. Now, it's time to gather the loop. Turn your machine to its longest stitch length and loosest tension, then sew a straight stitch 5mm away from the raw edge. When you reach the end of the loop (and get back to where you started), pick up your presser foot and needle and then pull the loop away, leaving 5cm of thread as a tail. Repeat this step, sewing a straight stitch 1cm from the raw edge and leaving a 5cm tail of thread at the end. Gently pull either the spool threads OR the bobbin threads, and the loop will start to gather up and get smaller.
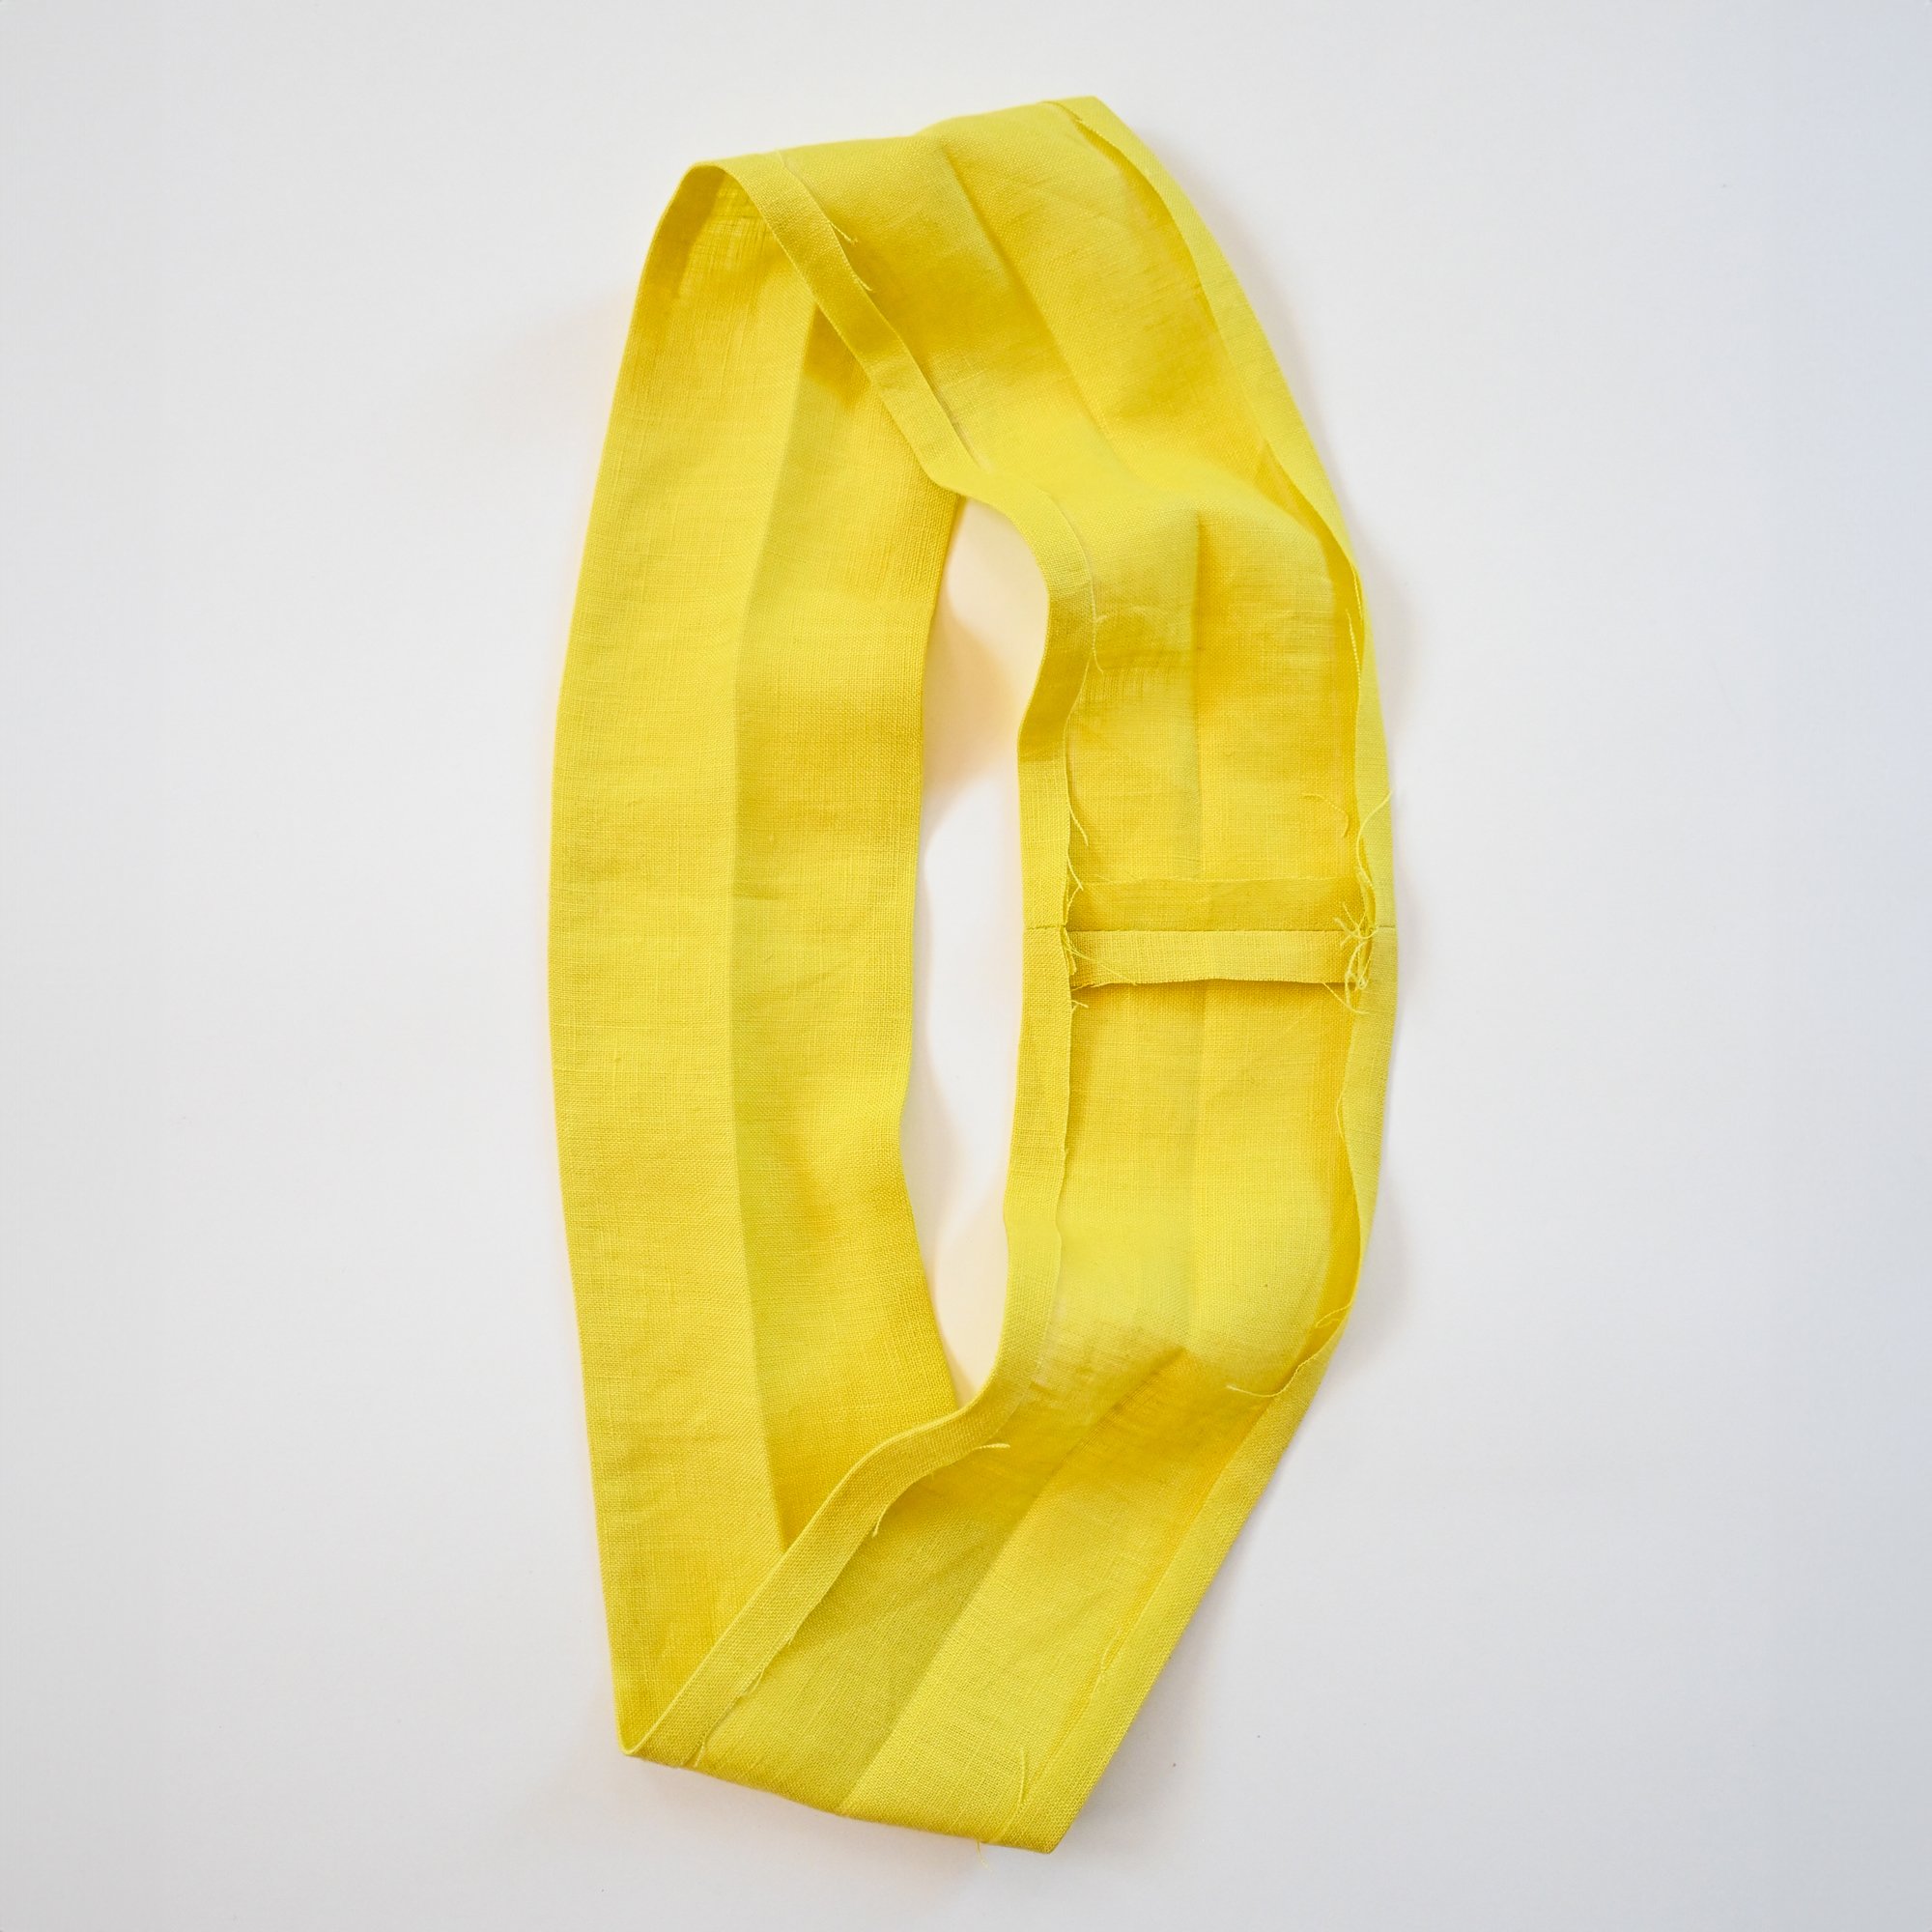
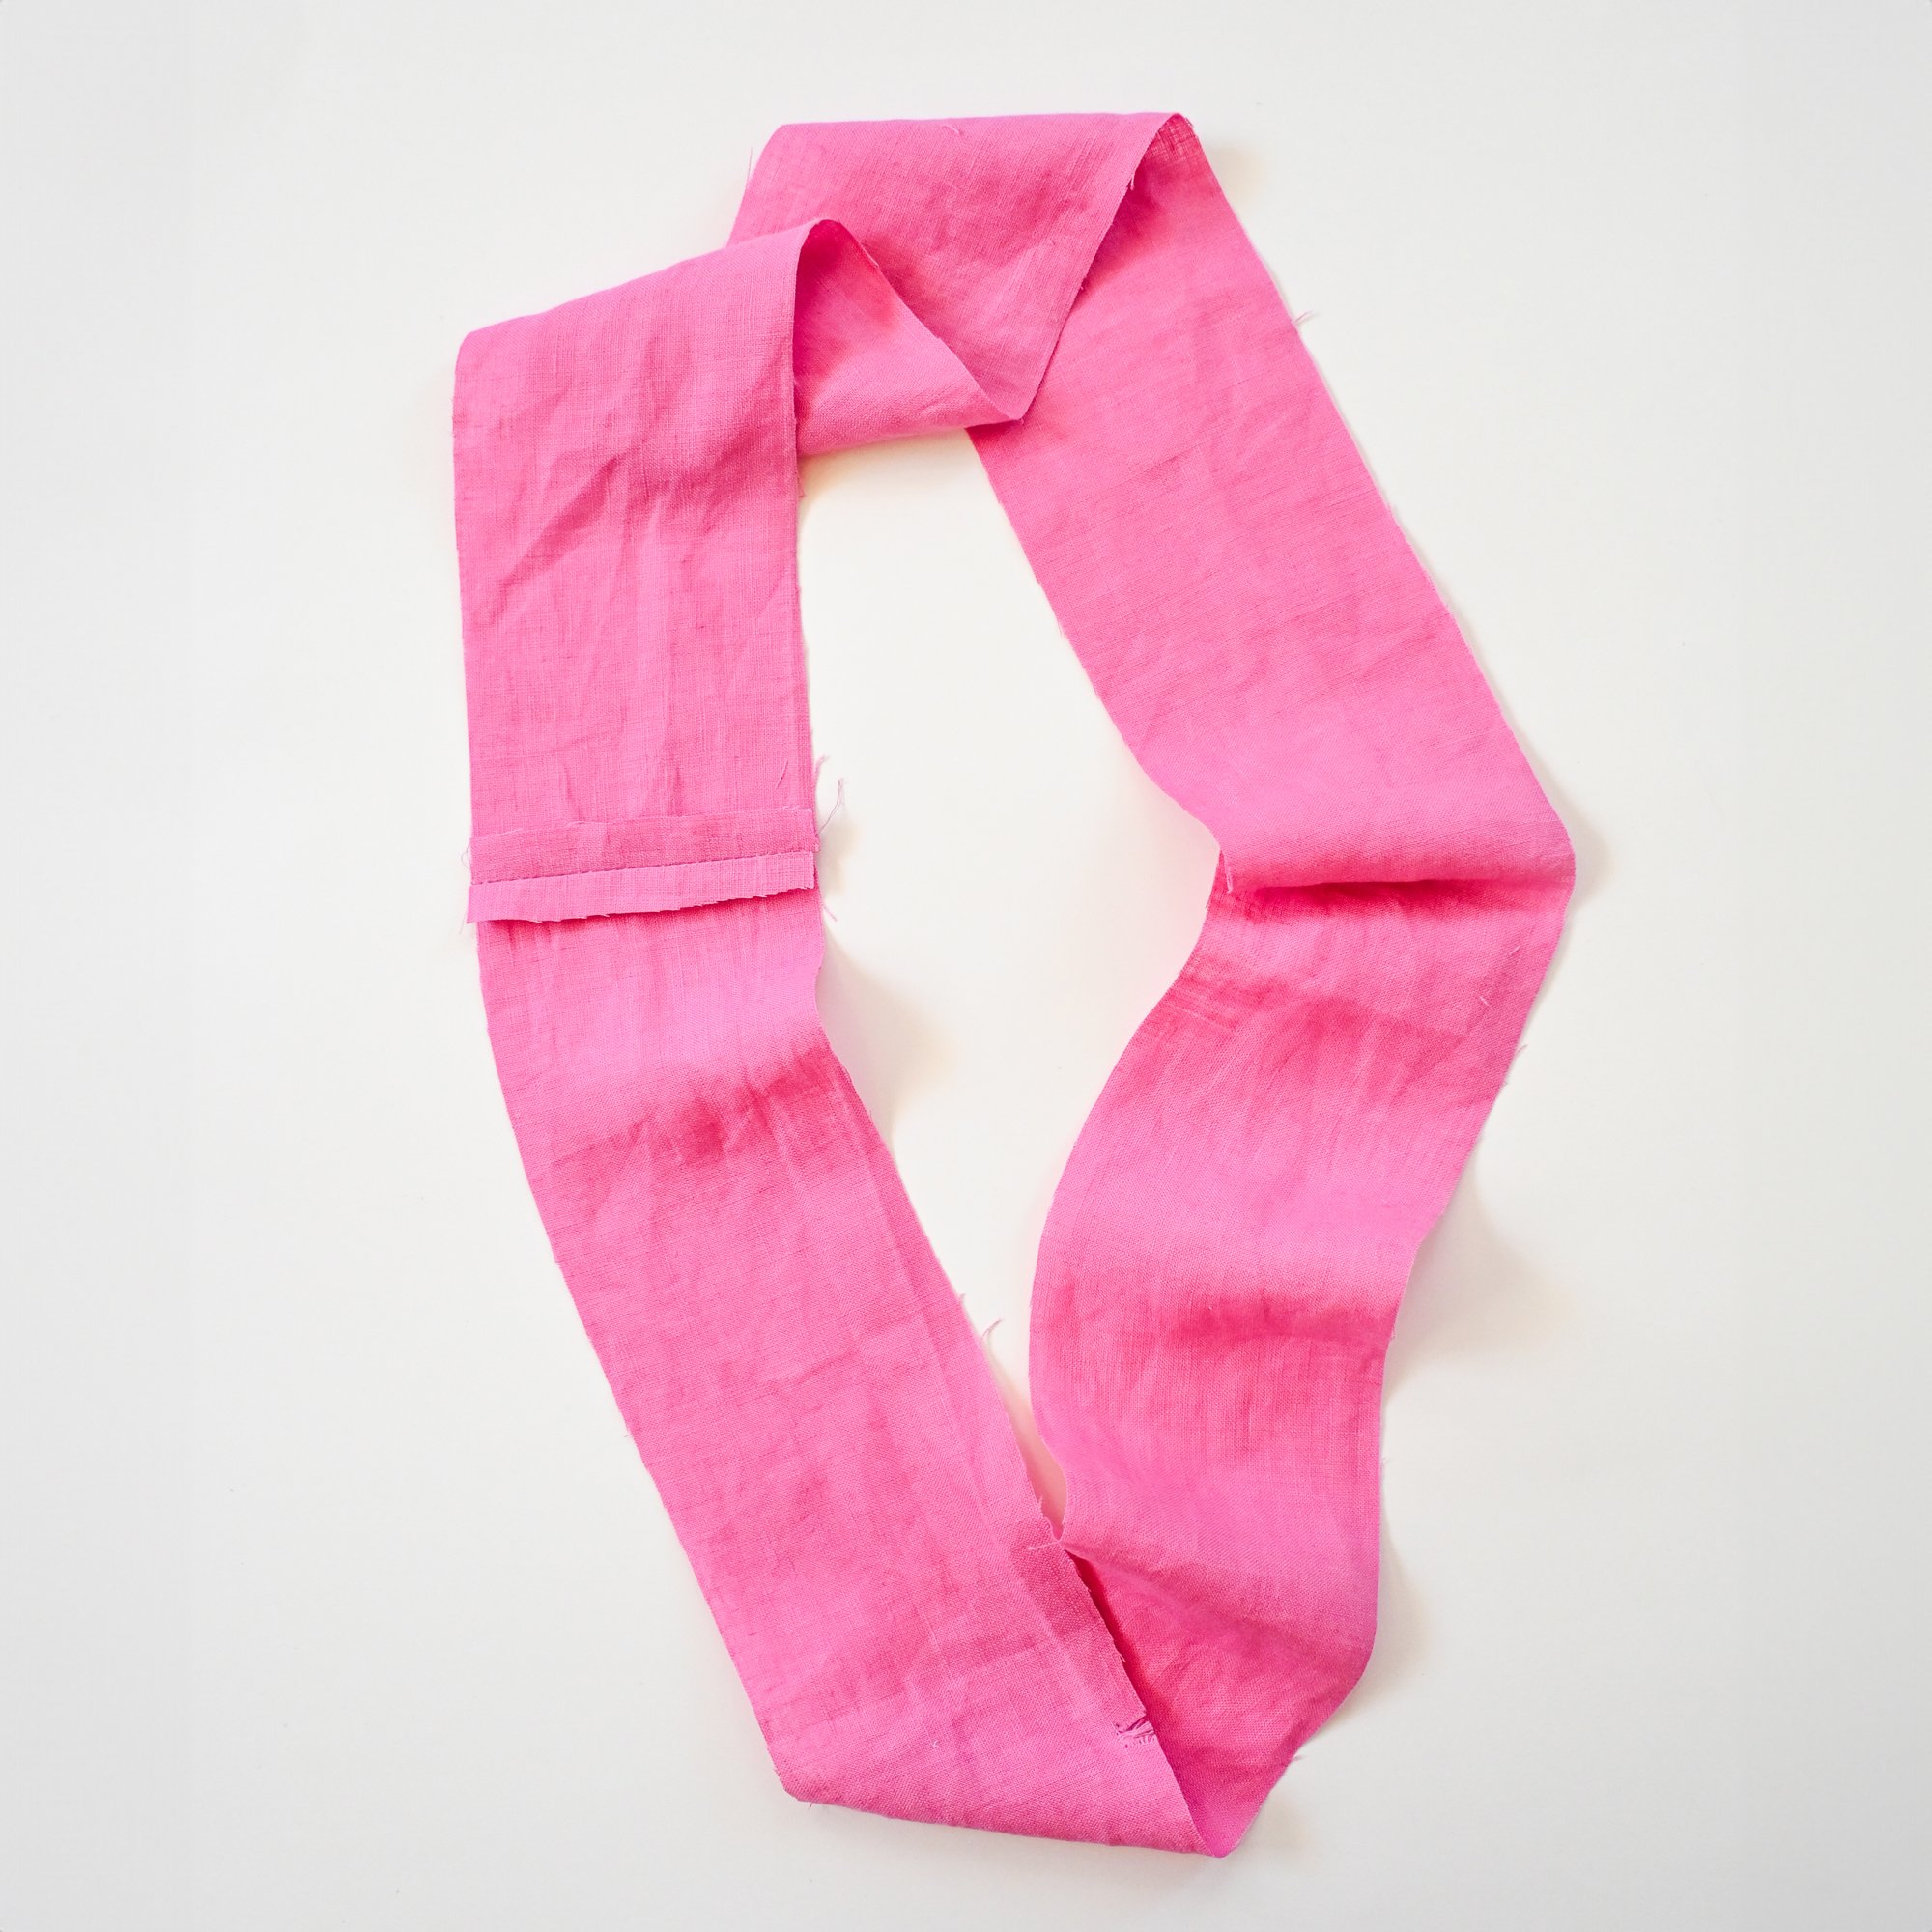
Step 3:
Mark a line 1cm from the raw edges on the wrong side of the scrunchie rectangle. Fold the edge to the line and press. Fold the scrunchie rectangle in half lengthways with wrong sides facing and press, making sure to line up the edges so its all even. These marks will help us in the following steps, so don't skip this step!
Step 4:
Fold the scrunchie rectangle in half with the right sides facing and match up the short edges. Sew along the short edge with a 1cm seam allowance. Press the seam allowance open. Fold the raw edges of the loop back to the line you marked in the previous step and press.

Step 5:
Using French seams, make a loop with the trim. Place the ends together with the wrong sides facing and stitch the ends together with a 5mm seam allowance. Trim 1-2mm from the edge. Now fold the loop with the right sides facing, pressing the seam with your finger. Stitch along the edge using a 5mm seam allowance, enclosing the raw edge inside the seam.

Step 6:
If you are using two trims, or in my case, a ruffle and a trim, pin them along the edge and stitch them together using a long-basting stitch. This will help in the next step.
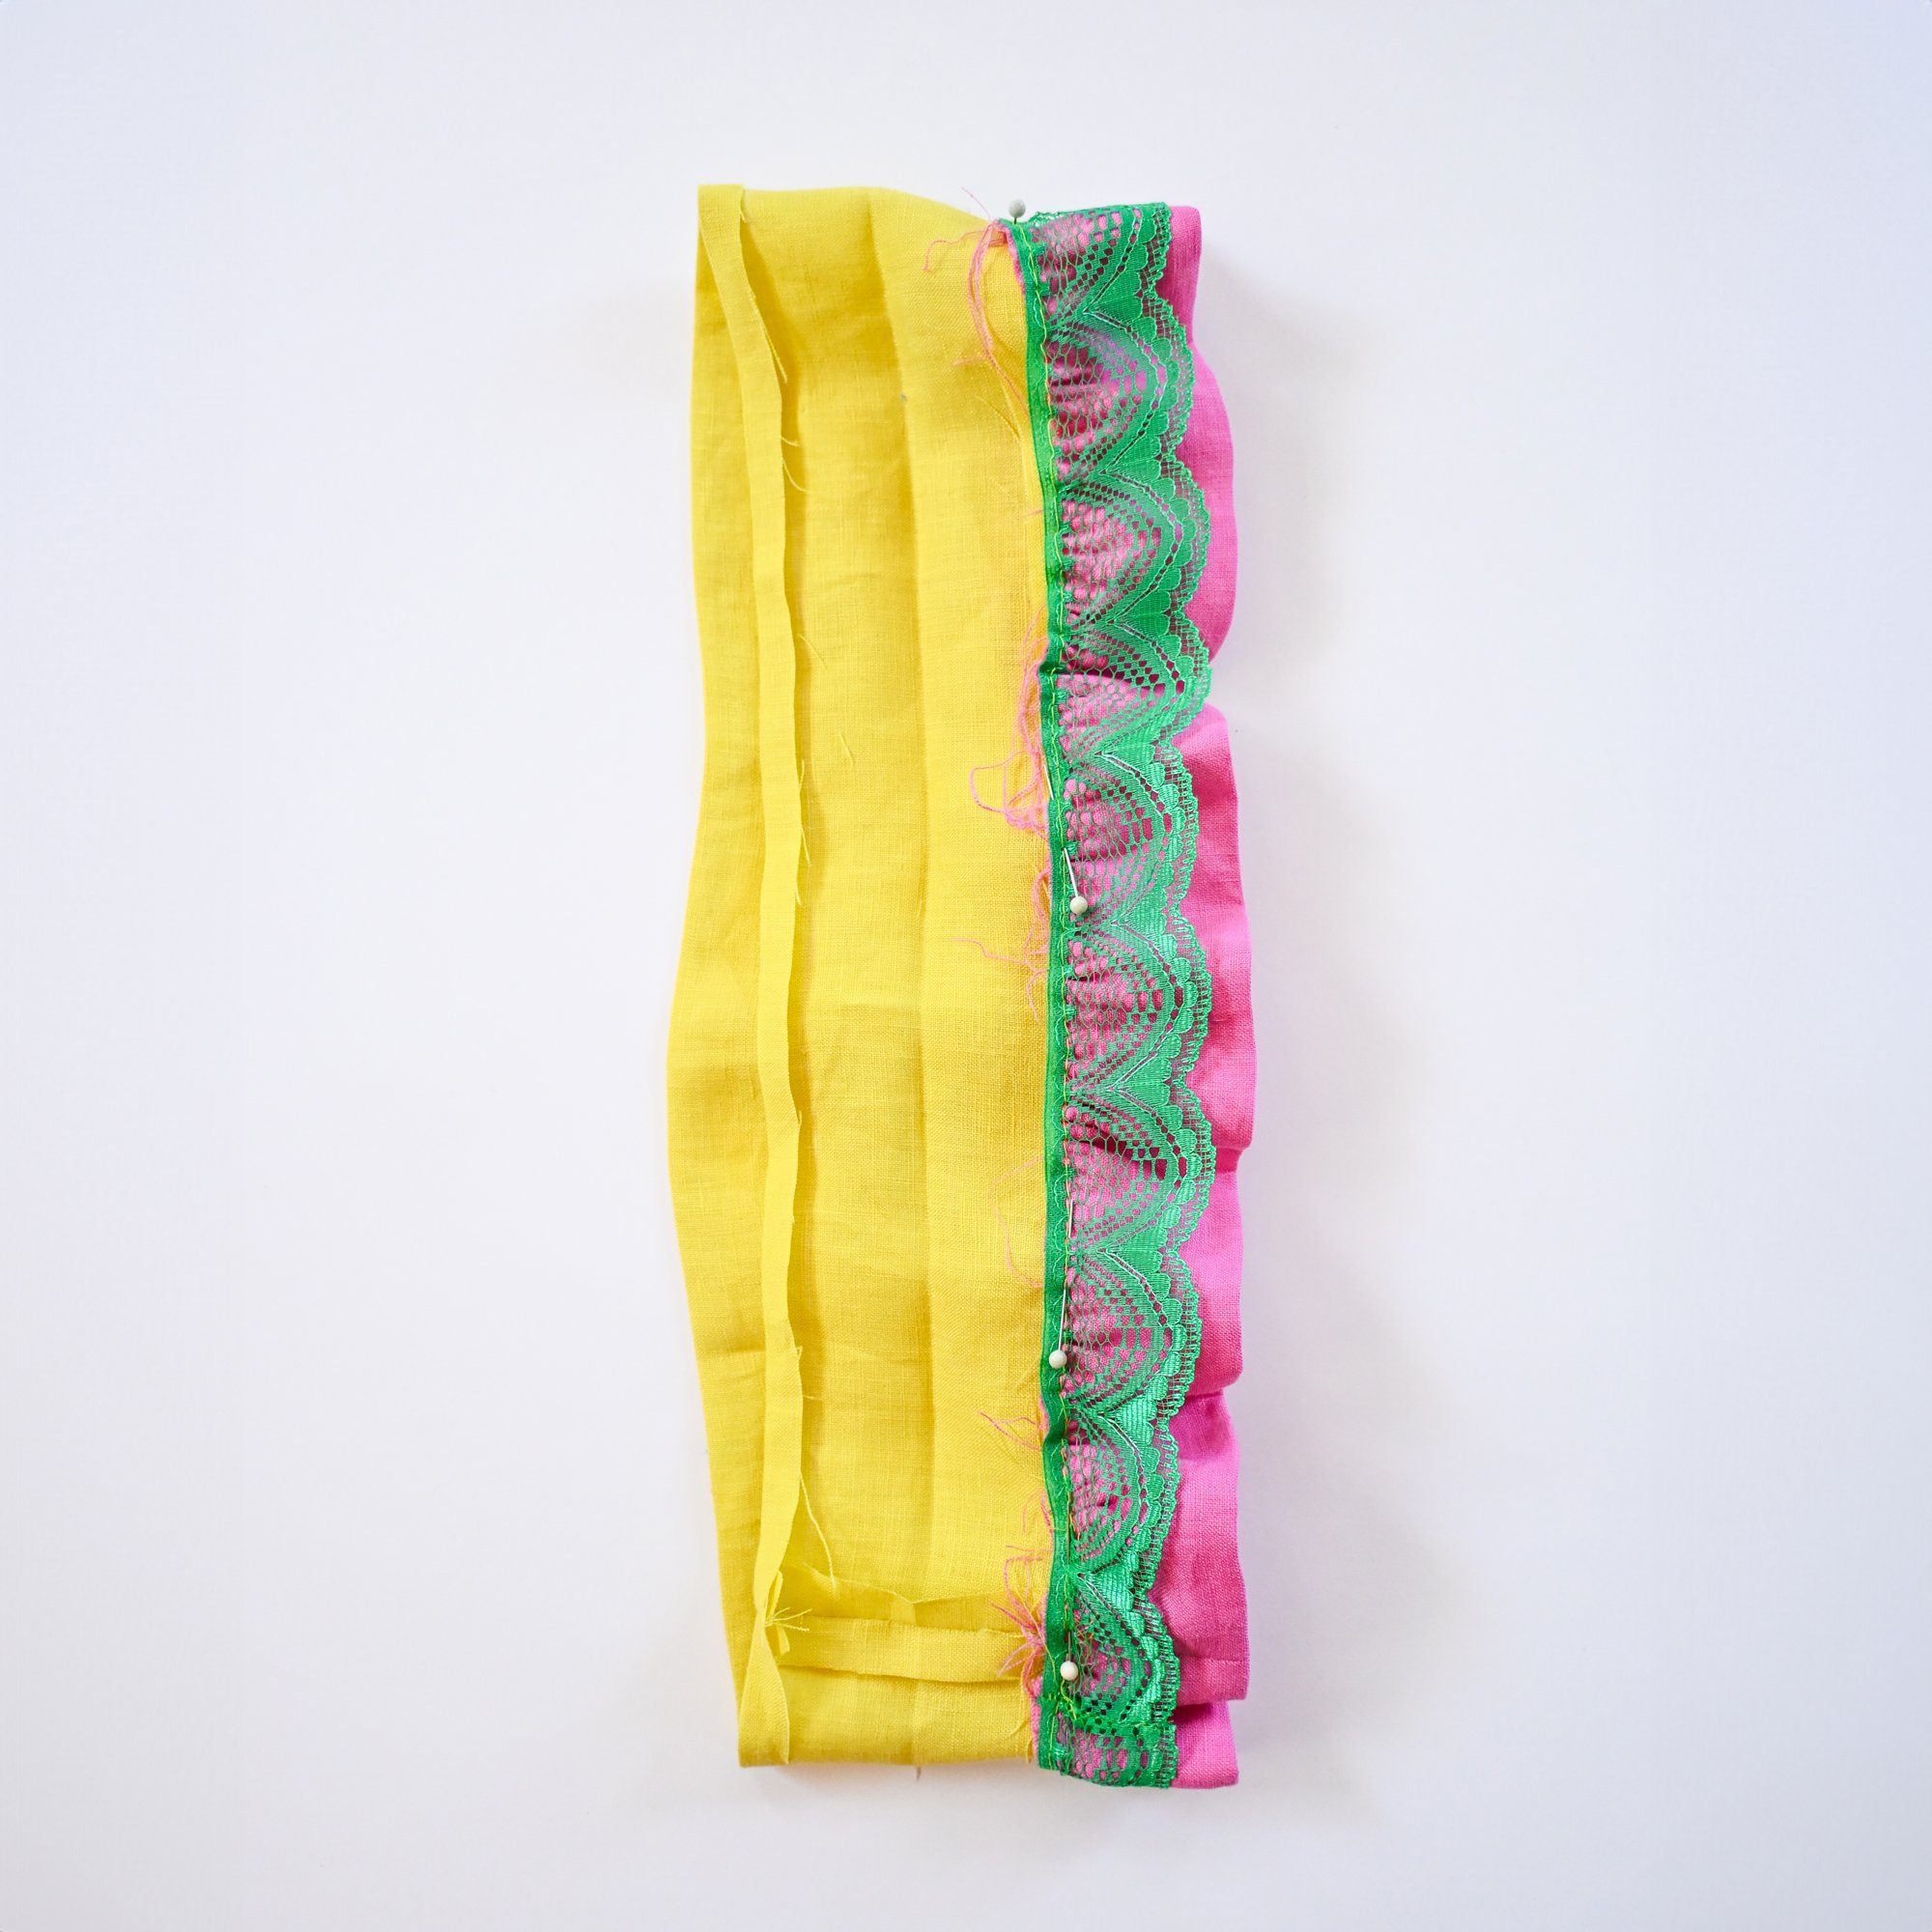
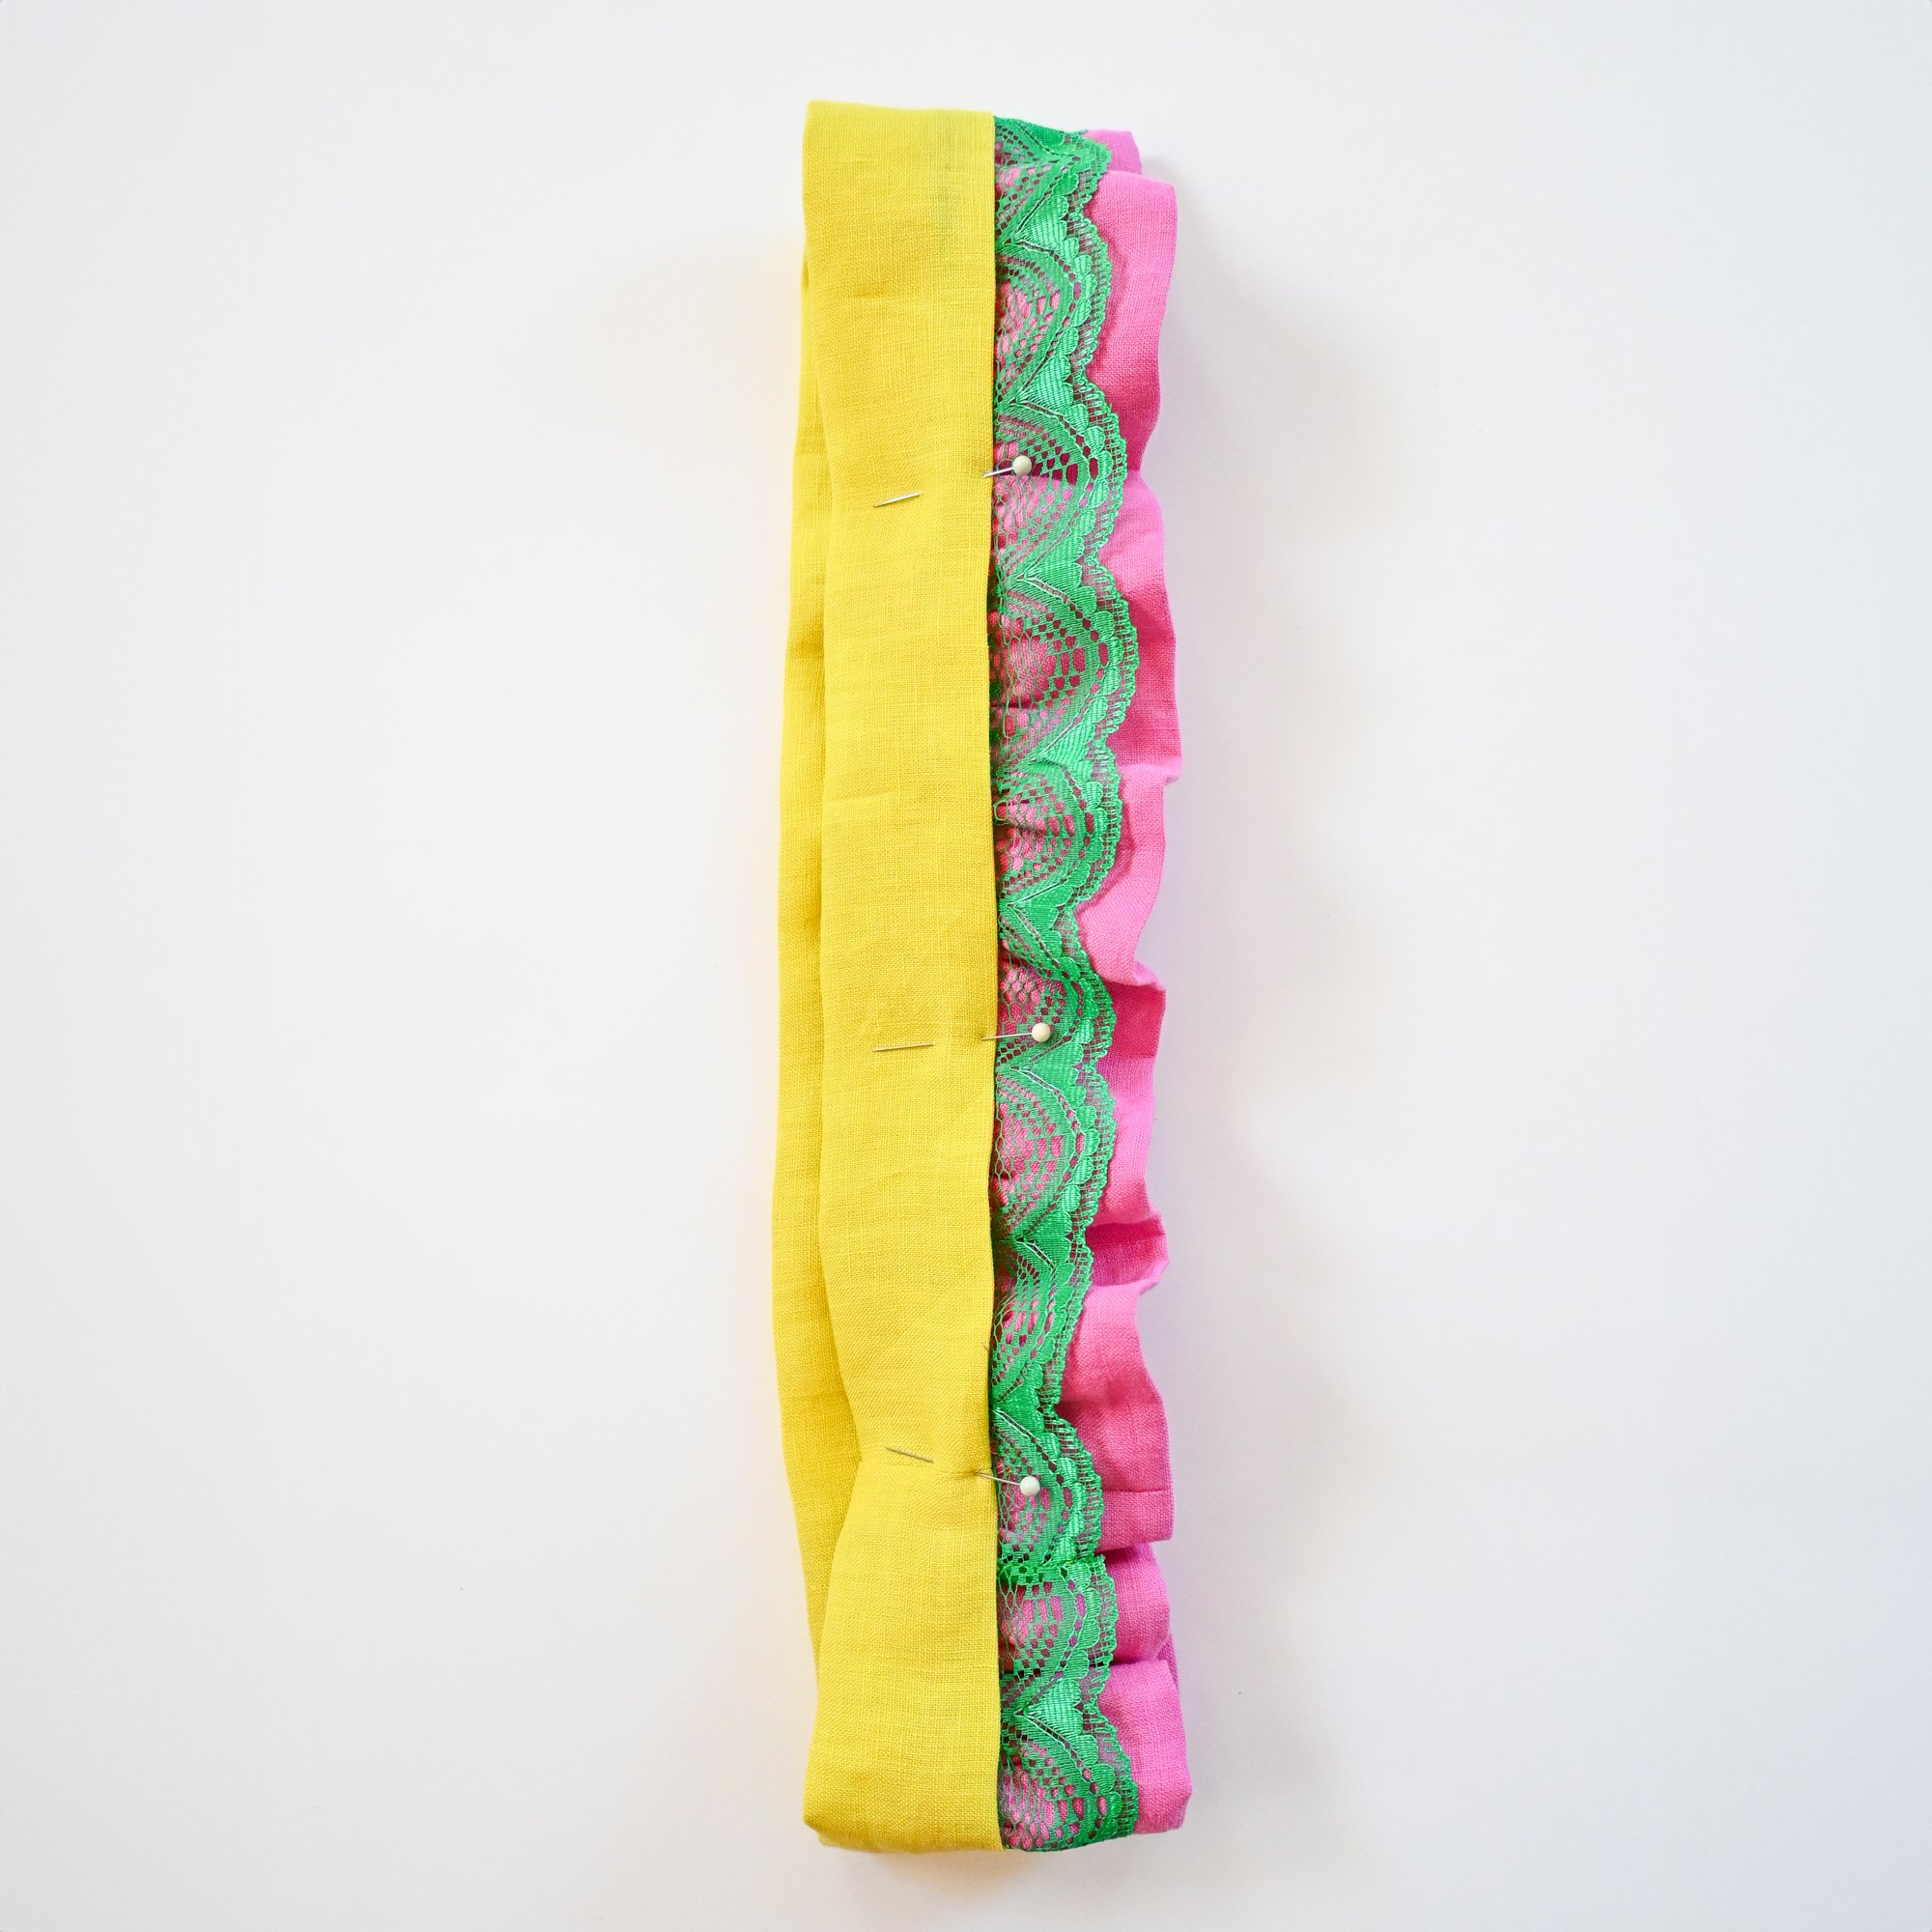
Step 7:
Pin the trim to one side of the scrunchie loop, lining up the edge with the hem you prepared in step 3. Stitch along the edge of the trim using a basting stitch to attach it to the scrunchie loop.
Step 8:
Fold the scrunchie loop over with the wrong sides together and pin it in place. Then, stitch along the edge of the scrunchie loop, sandwiching the trims. Leave a 2cm gap.
Step 9:
Using a safety pin, thread the elastic through the scrunchie, and when you reach the other end, secure it tightly with a double knot or a combination of a knot and song zigzag stitches. Stitch up the hole and trim any loose threads.
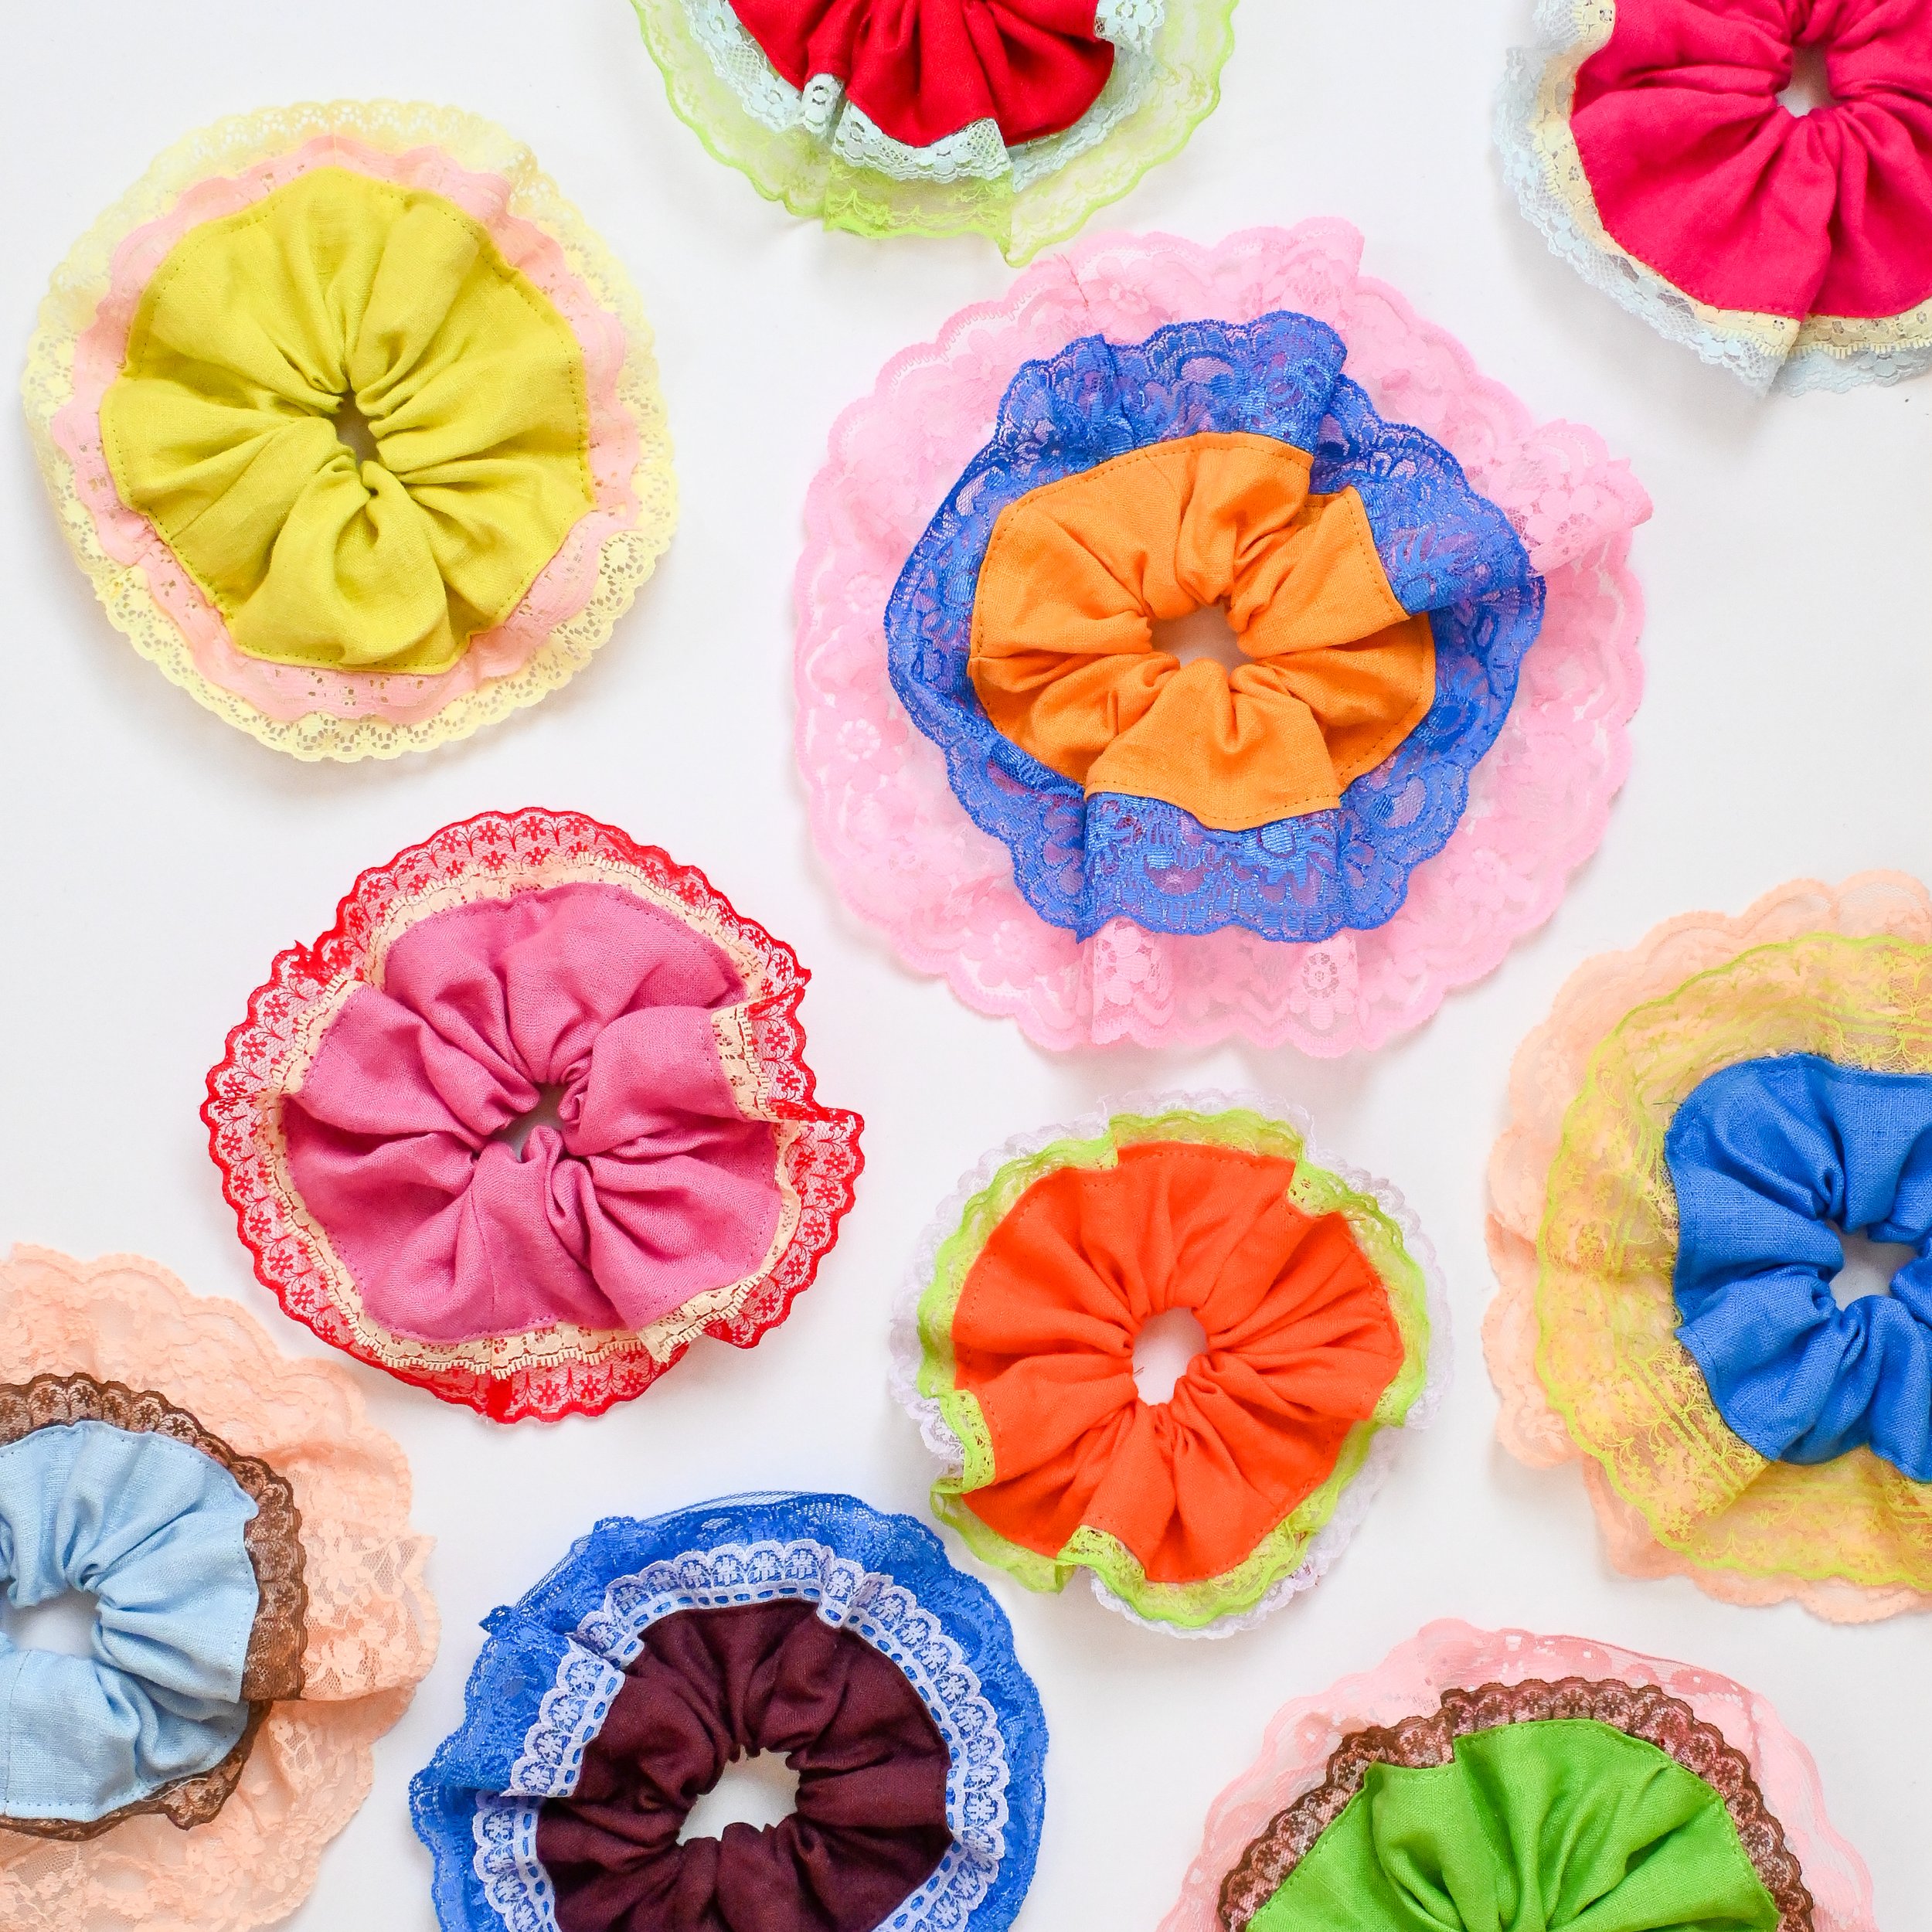
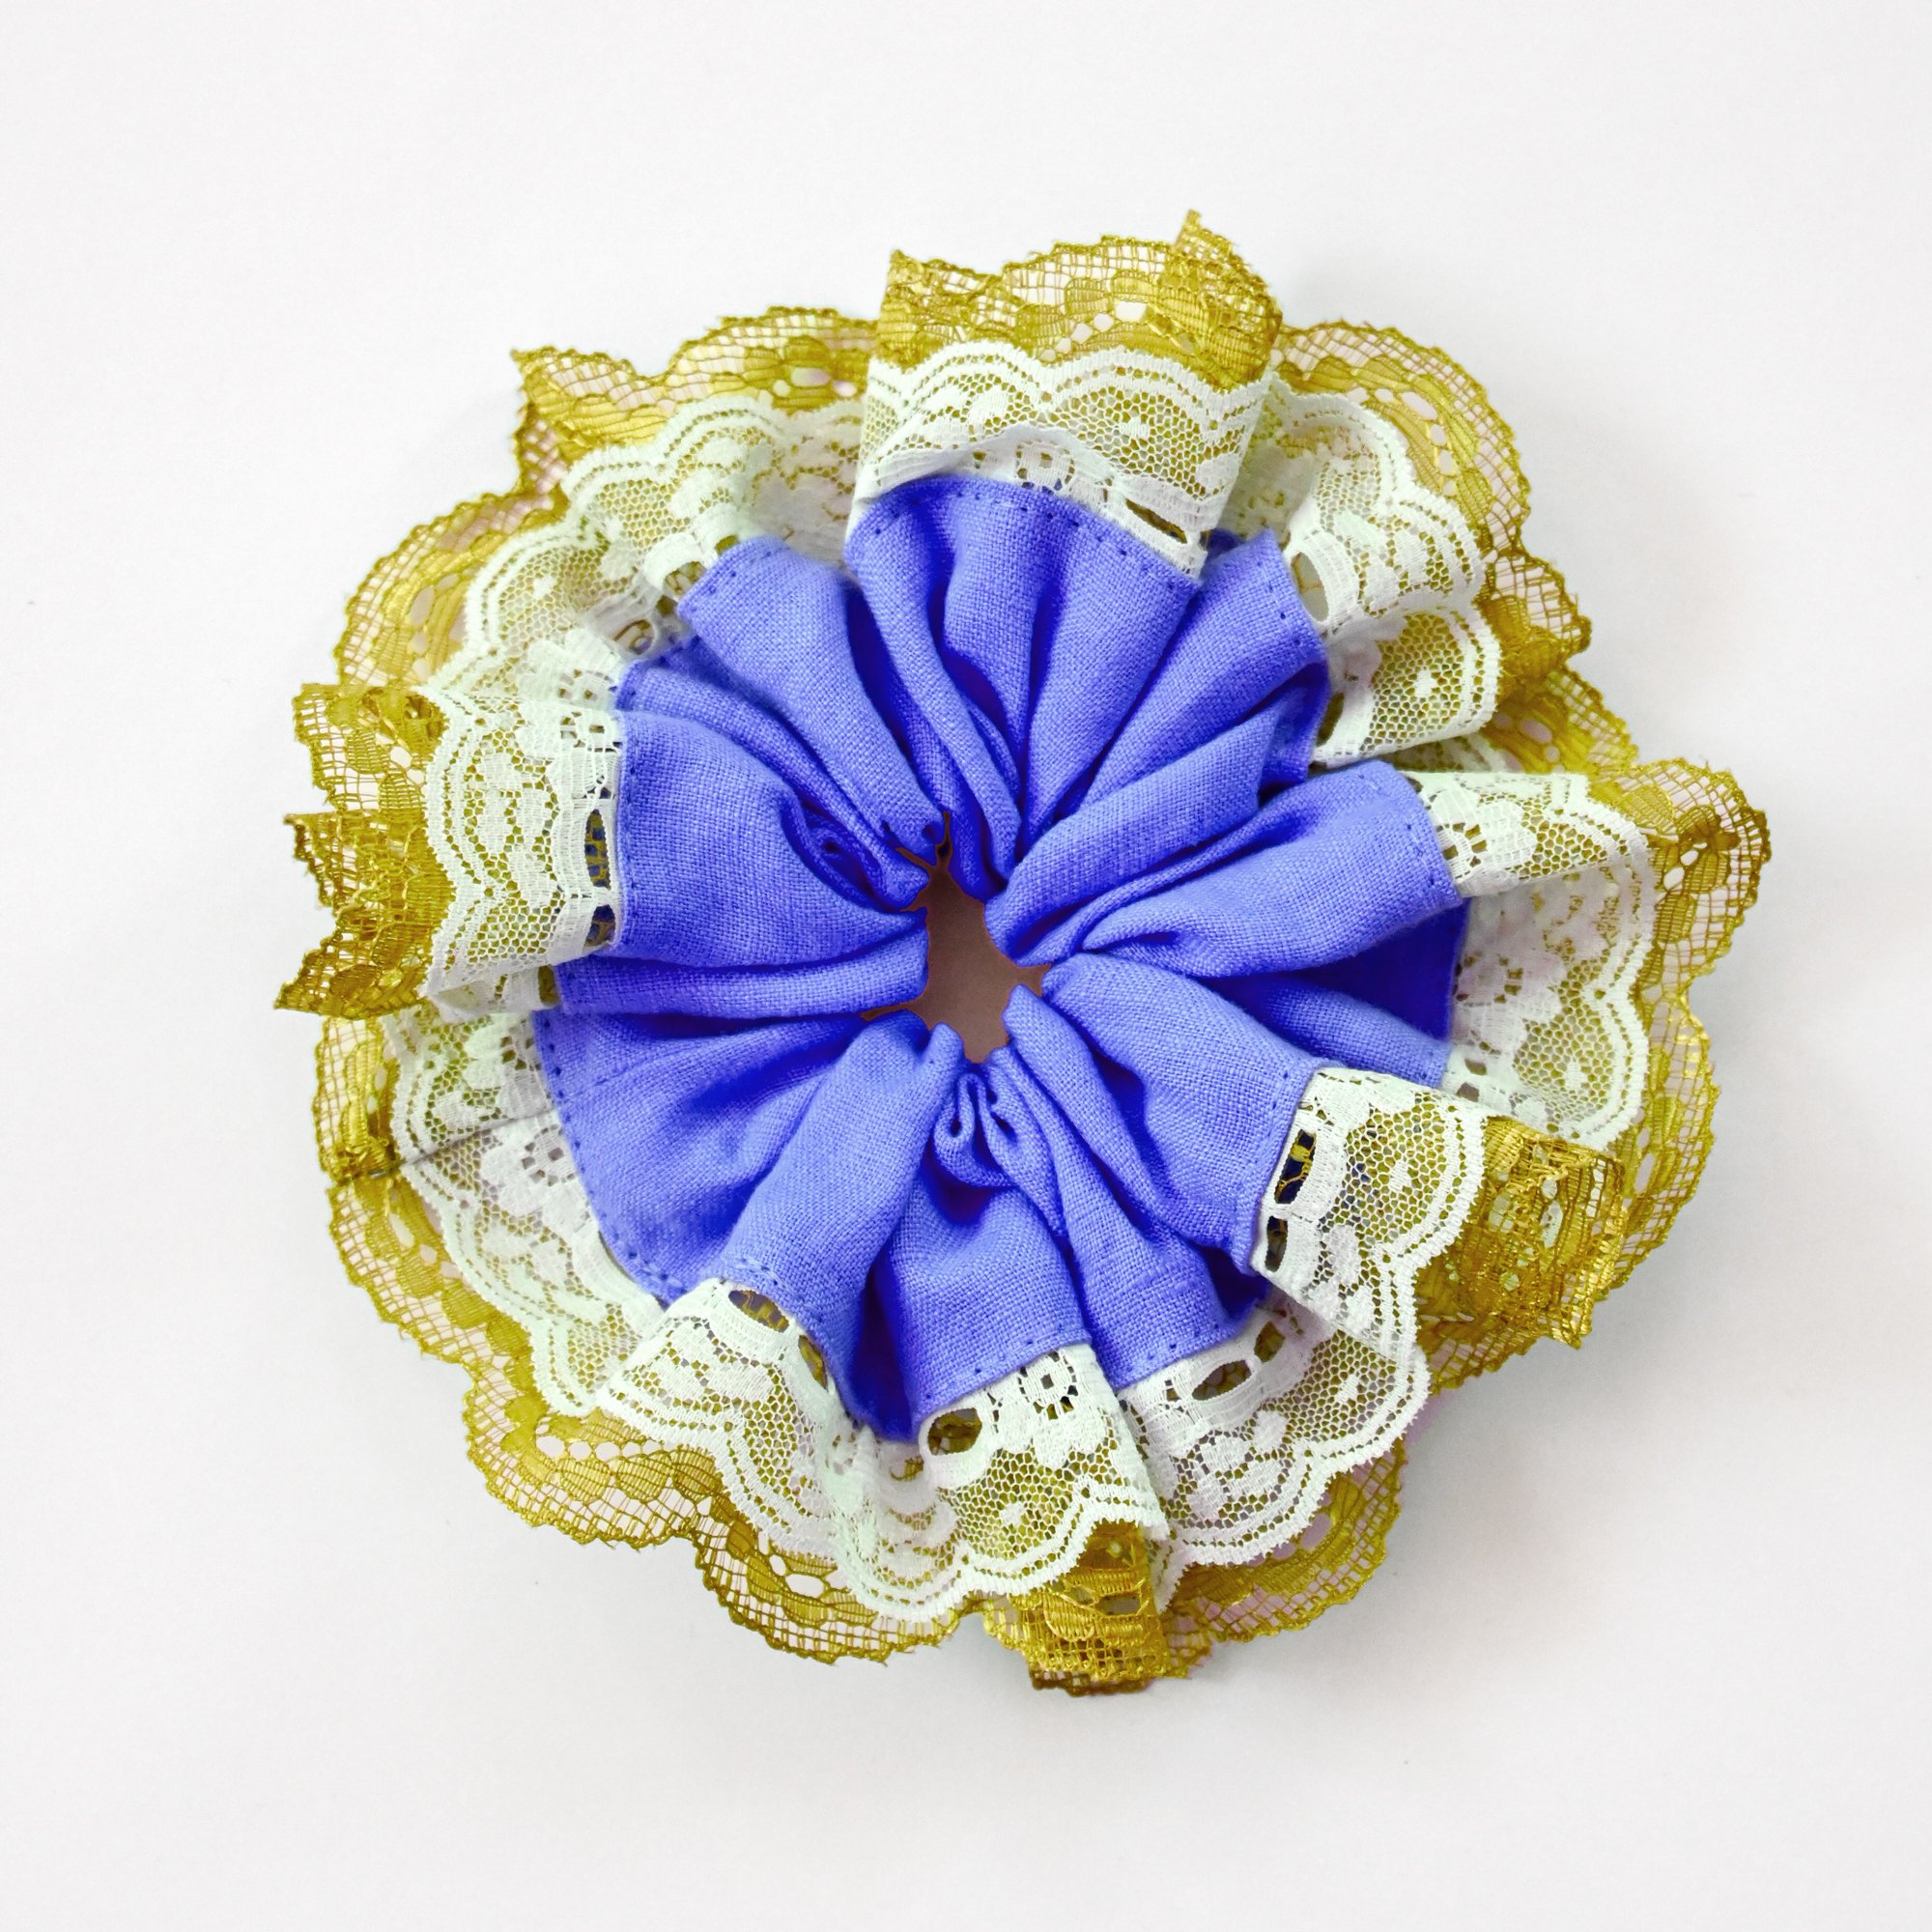
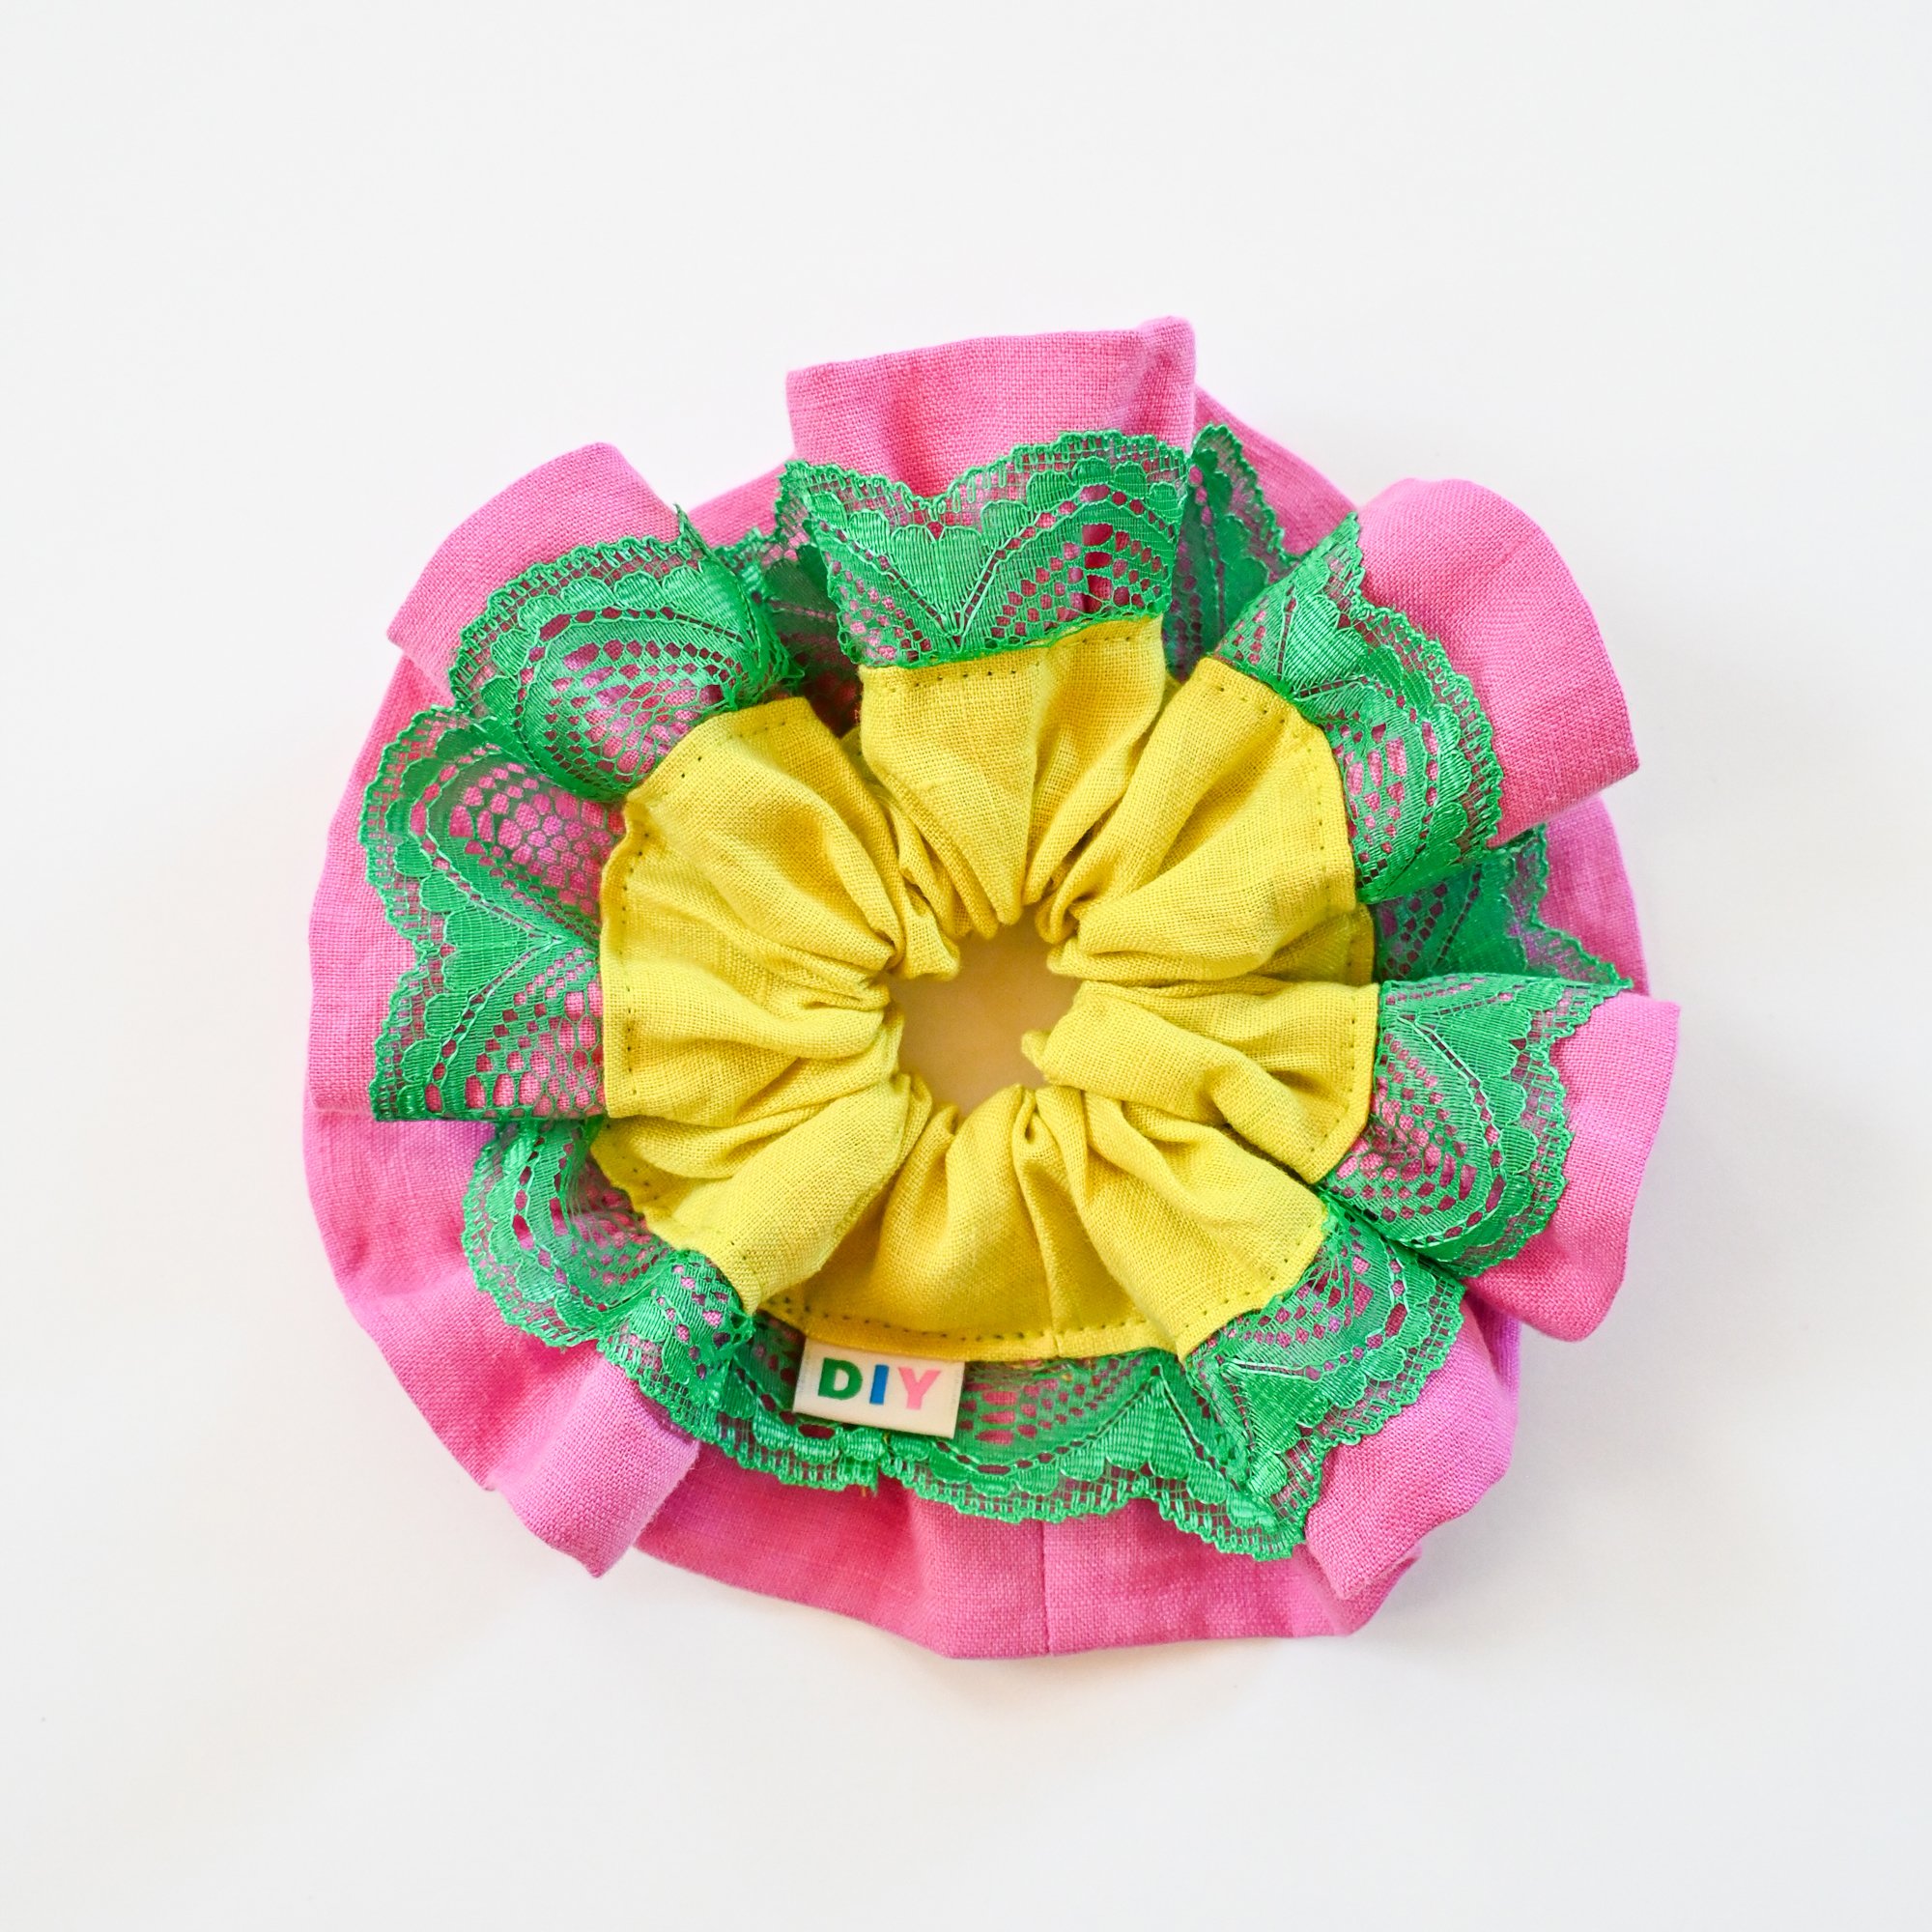
Here are some more frilly scrunchies I made for inspiration: