DIY Hexie Wall Flower
Create a Hexie Wall Flower and watch your fabric scraps blossom into a unique wall hanging.
I’ve been working away on my Liberty Hexie Quilt, hand stitching hundreds of hexies together and pondering new projects when I was inspired with an idea - and here it is! A Hexie Wall Flower made from my colourful fabric scraps! Once you’ve got the basics of creating a hexie flower, you can make one in any size and appliqué it onto a decorative pillow or even a cute top! If you’ve never tried English Paper Piecing before, this is an easy introduction project!
This project is part of my Do It Yourself Decor series, and I will share a new project every month to inspire you to make things for your home. If you’re a brand and want to collaborate on a project, get in touch here.
You will need:
Woven fabric scraps about 13cm x 13cm or 5 x 5 inches.
A4 card paper or 7 x 1½ Hexagon Paper Pieces
Hand sewing needles
White or cream fine thread or use the ends of any coloured thread to use them up
A4 piece of white stiffened felt
A4 piece of felt
Hot glue gun & glue
Glue stick or basting glue pen
Scissors
Let’s make it:

Step 1:
Create a hexagon template with the sides measuring 2” and then use it to trace onto the fabric and cut out seven fabric hexagons. If you have pre-cut paper pieces, skip to step 3.

Step 2:
Cut out seven hexagons from card stock with the sides measuring 1½”. You can also use a magazine's back or front cover. I’m using pre-cut paper pieces from my local sewing store.
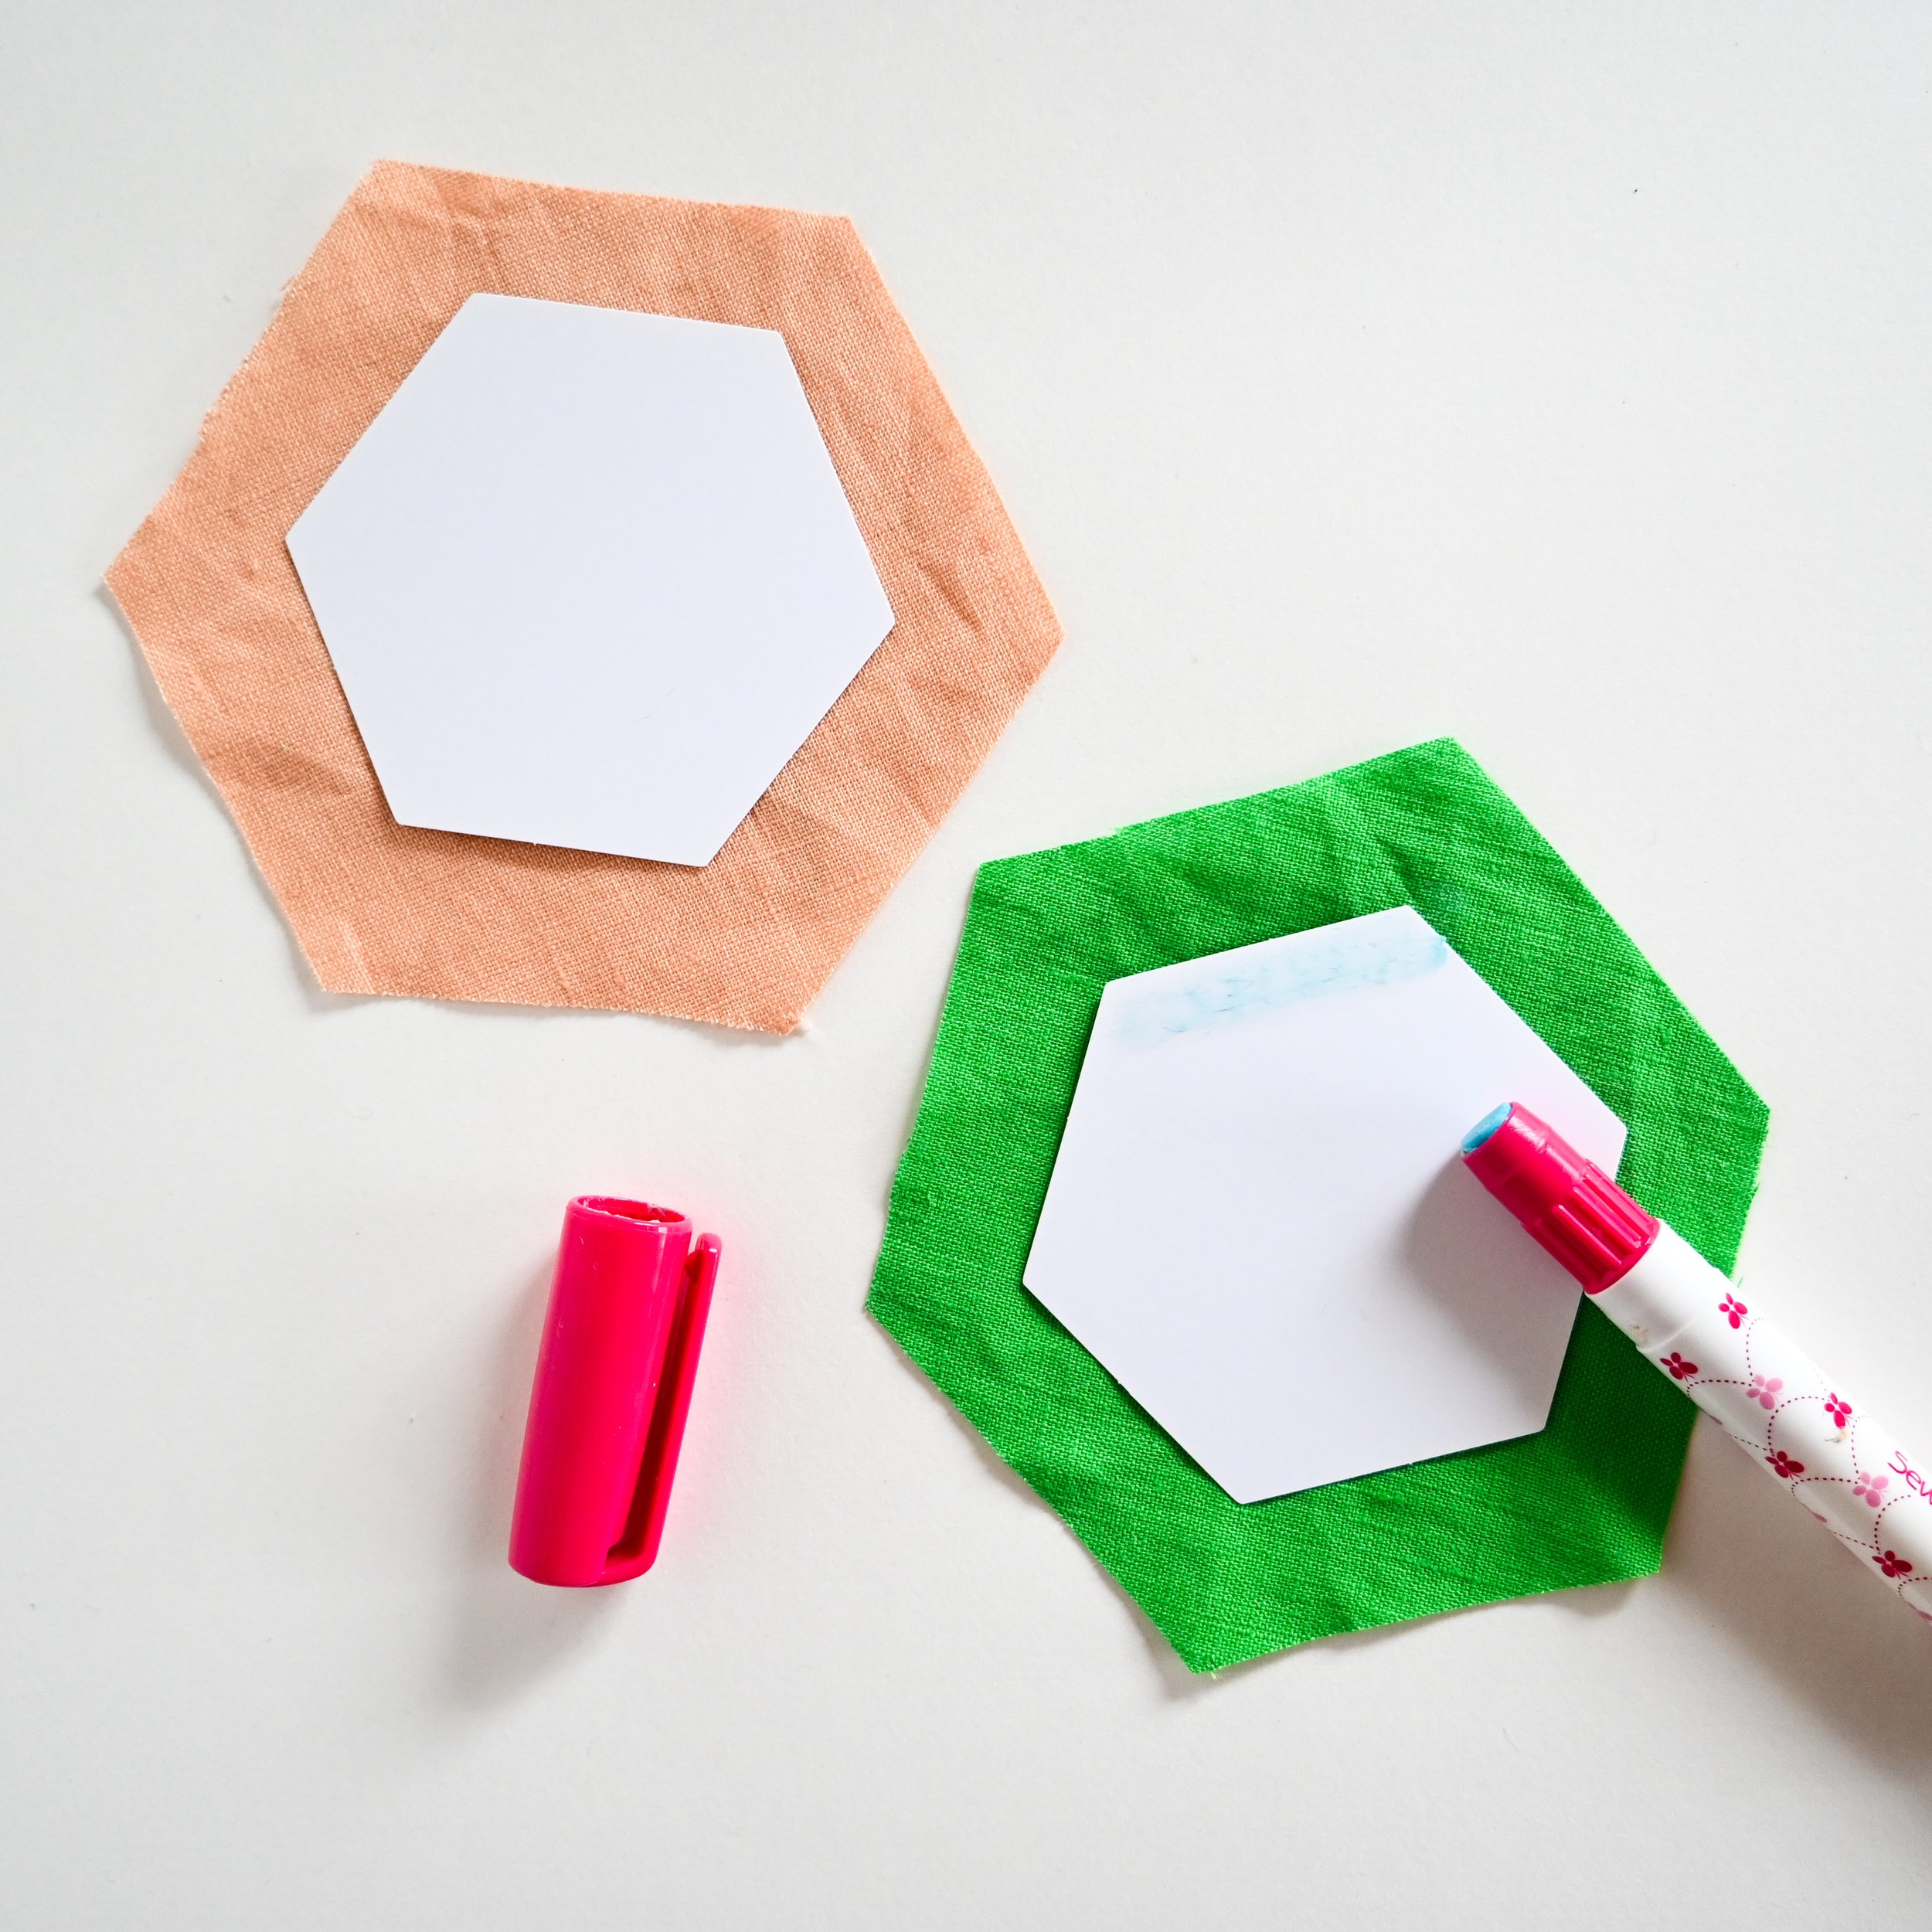
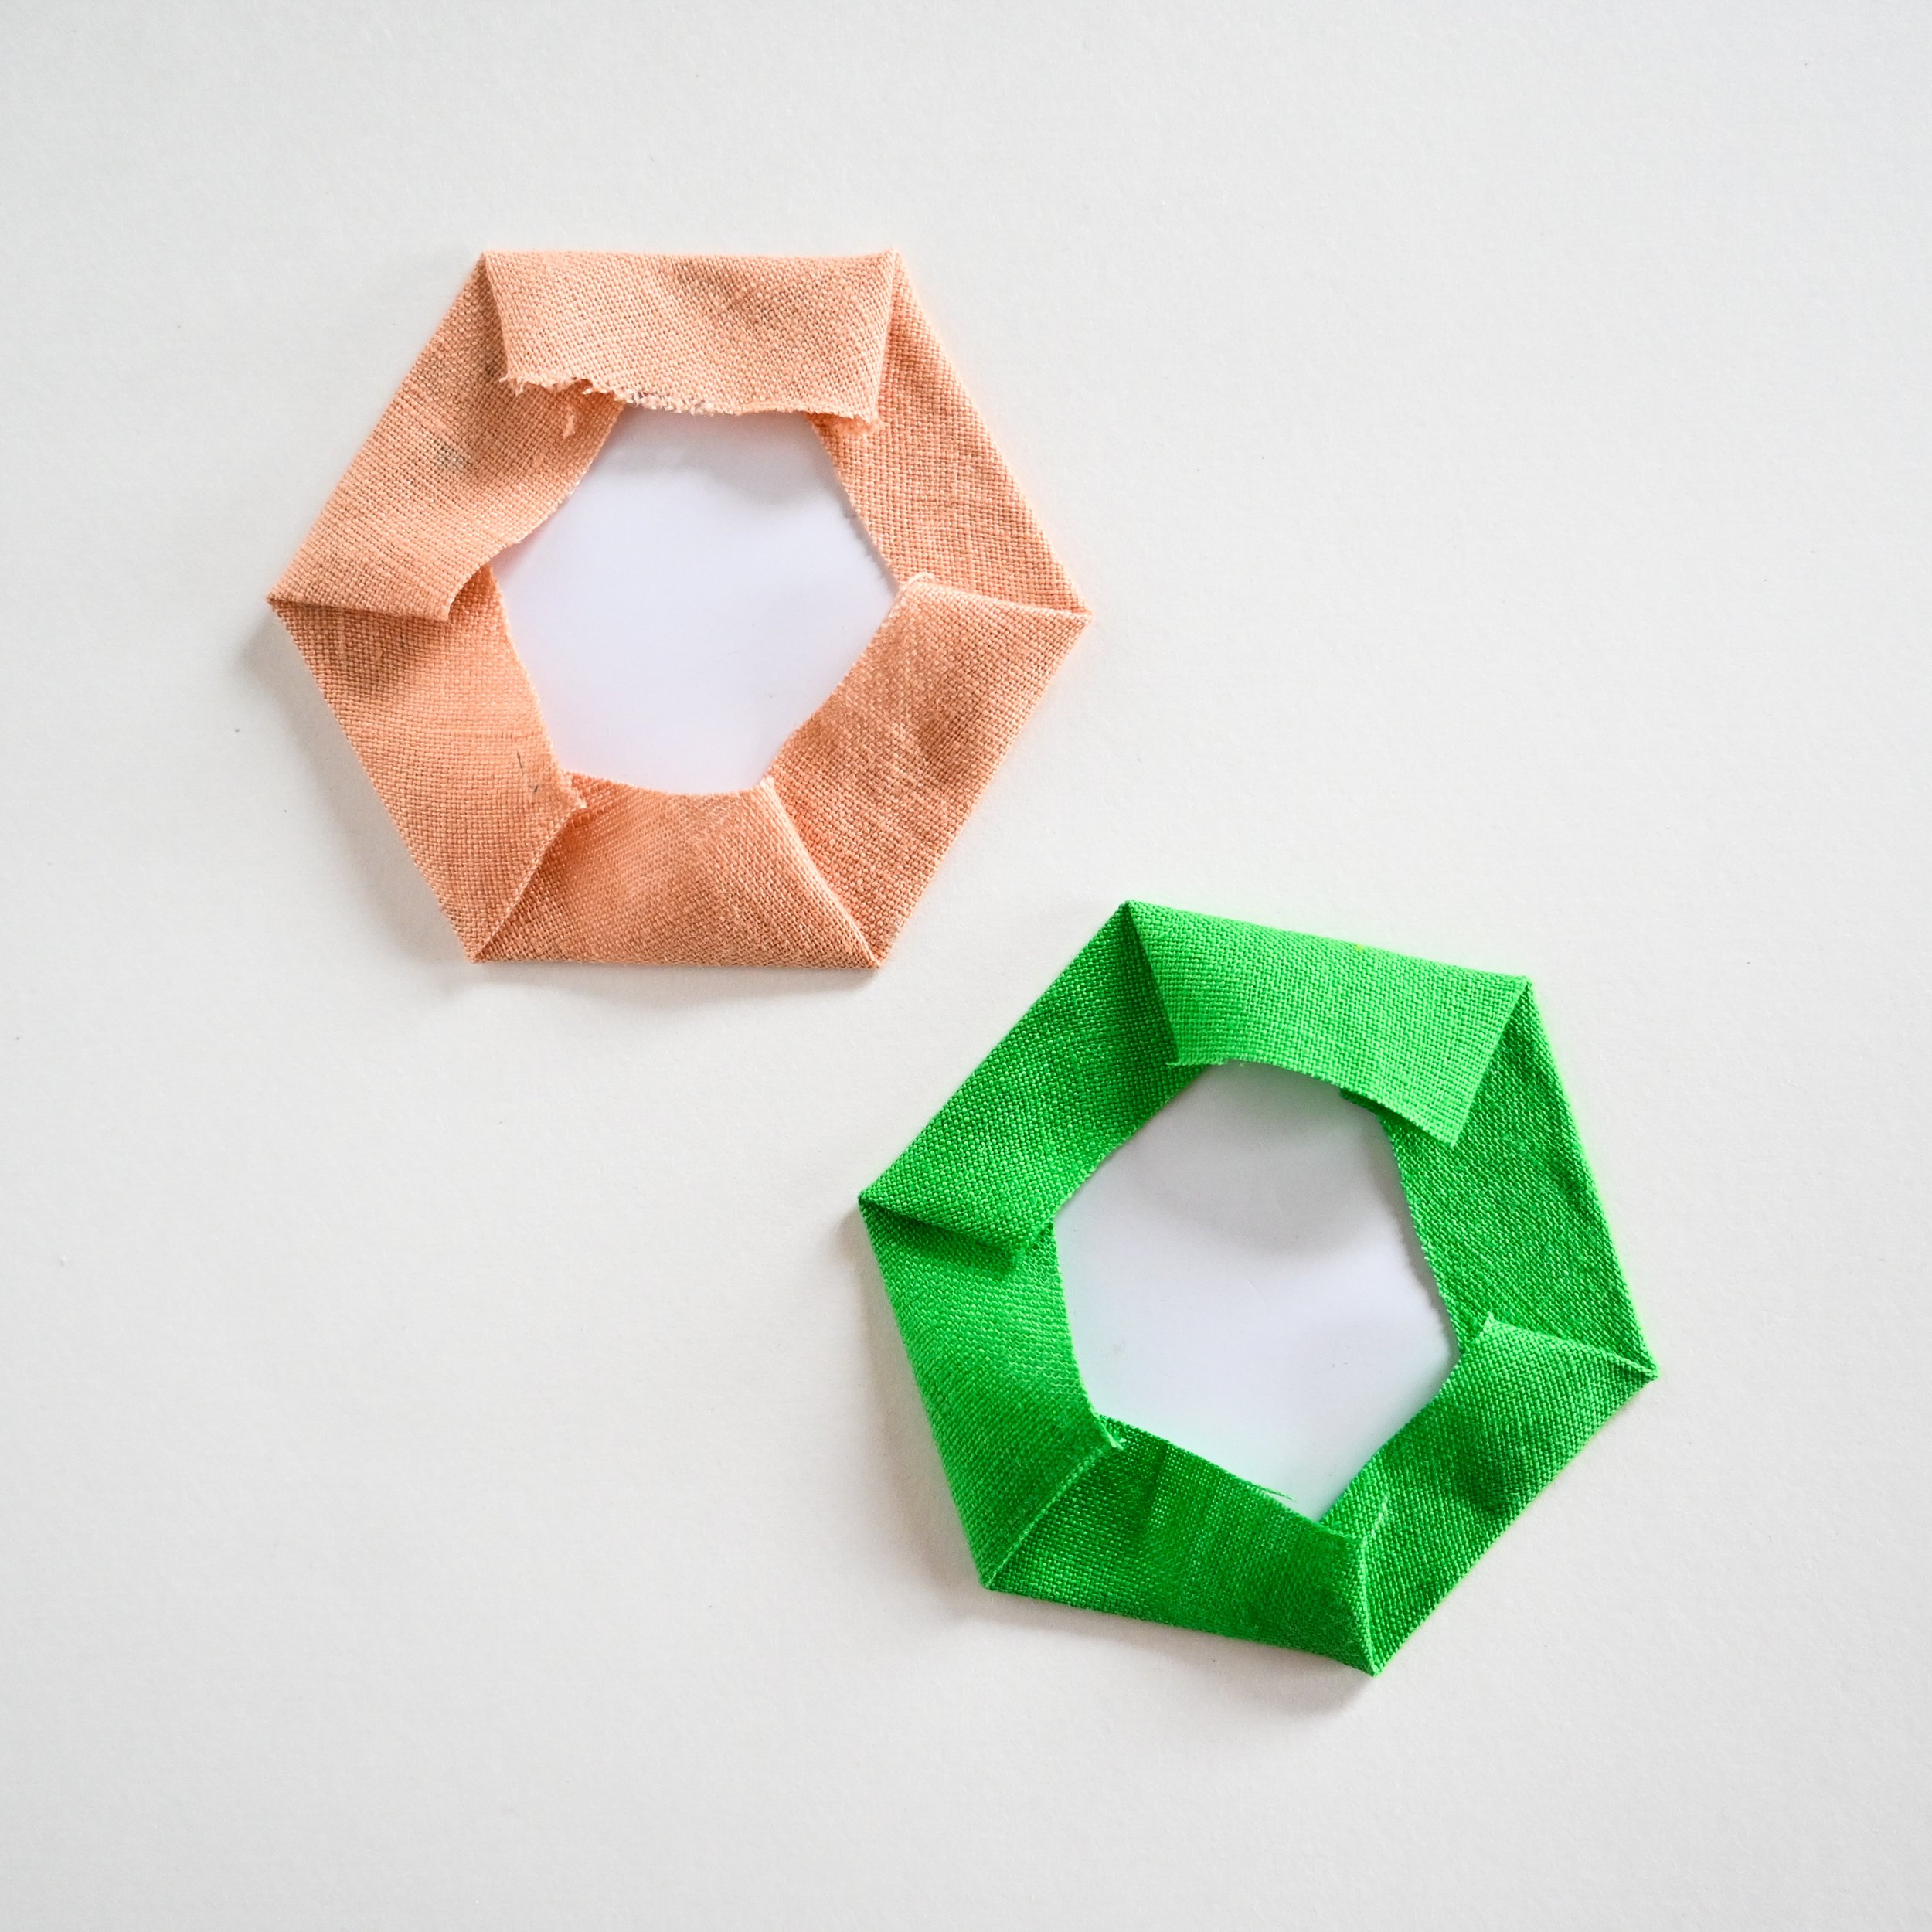
Step 3:
Lay a card hexagon on the wrong side of the fabric. Using the glue stick, run a light layer of glue along one edge of the card and then fold the edge of the fabric over and press down. You don't need much glue here; it's just temporarily holding the edges in place, as you will remove the card later. Repeat along all edges and then do the same to all seven hexagons. Give them a gentle press (without steam) to help set the edges and glue.
Step 4:
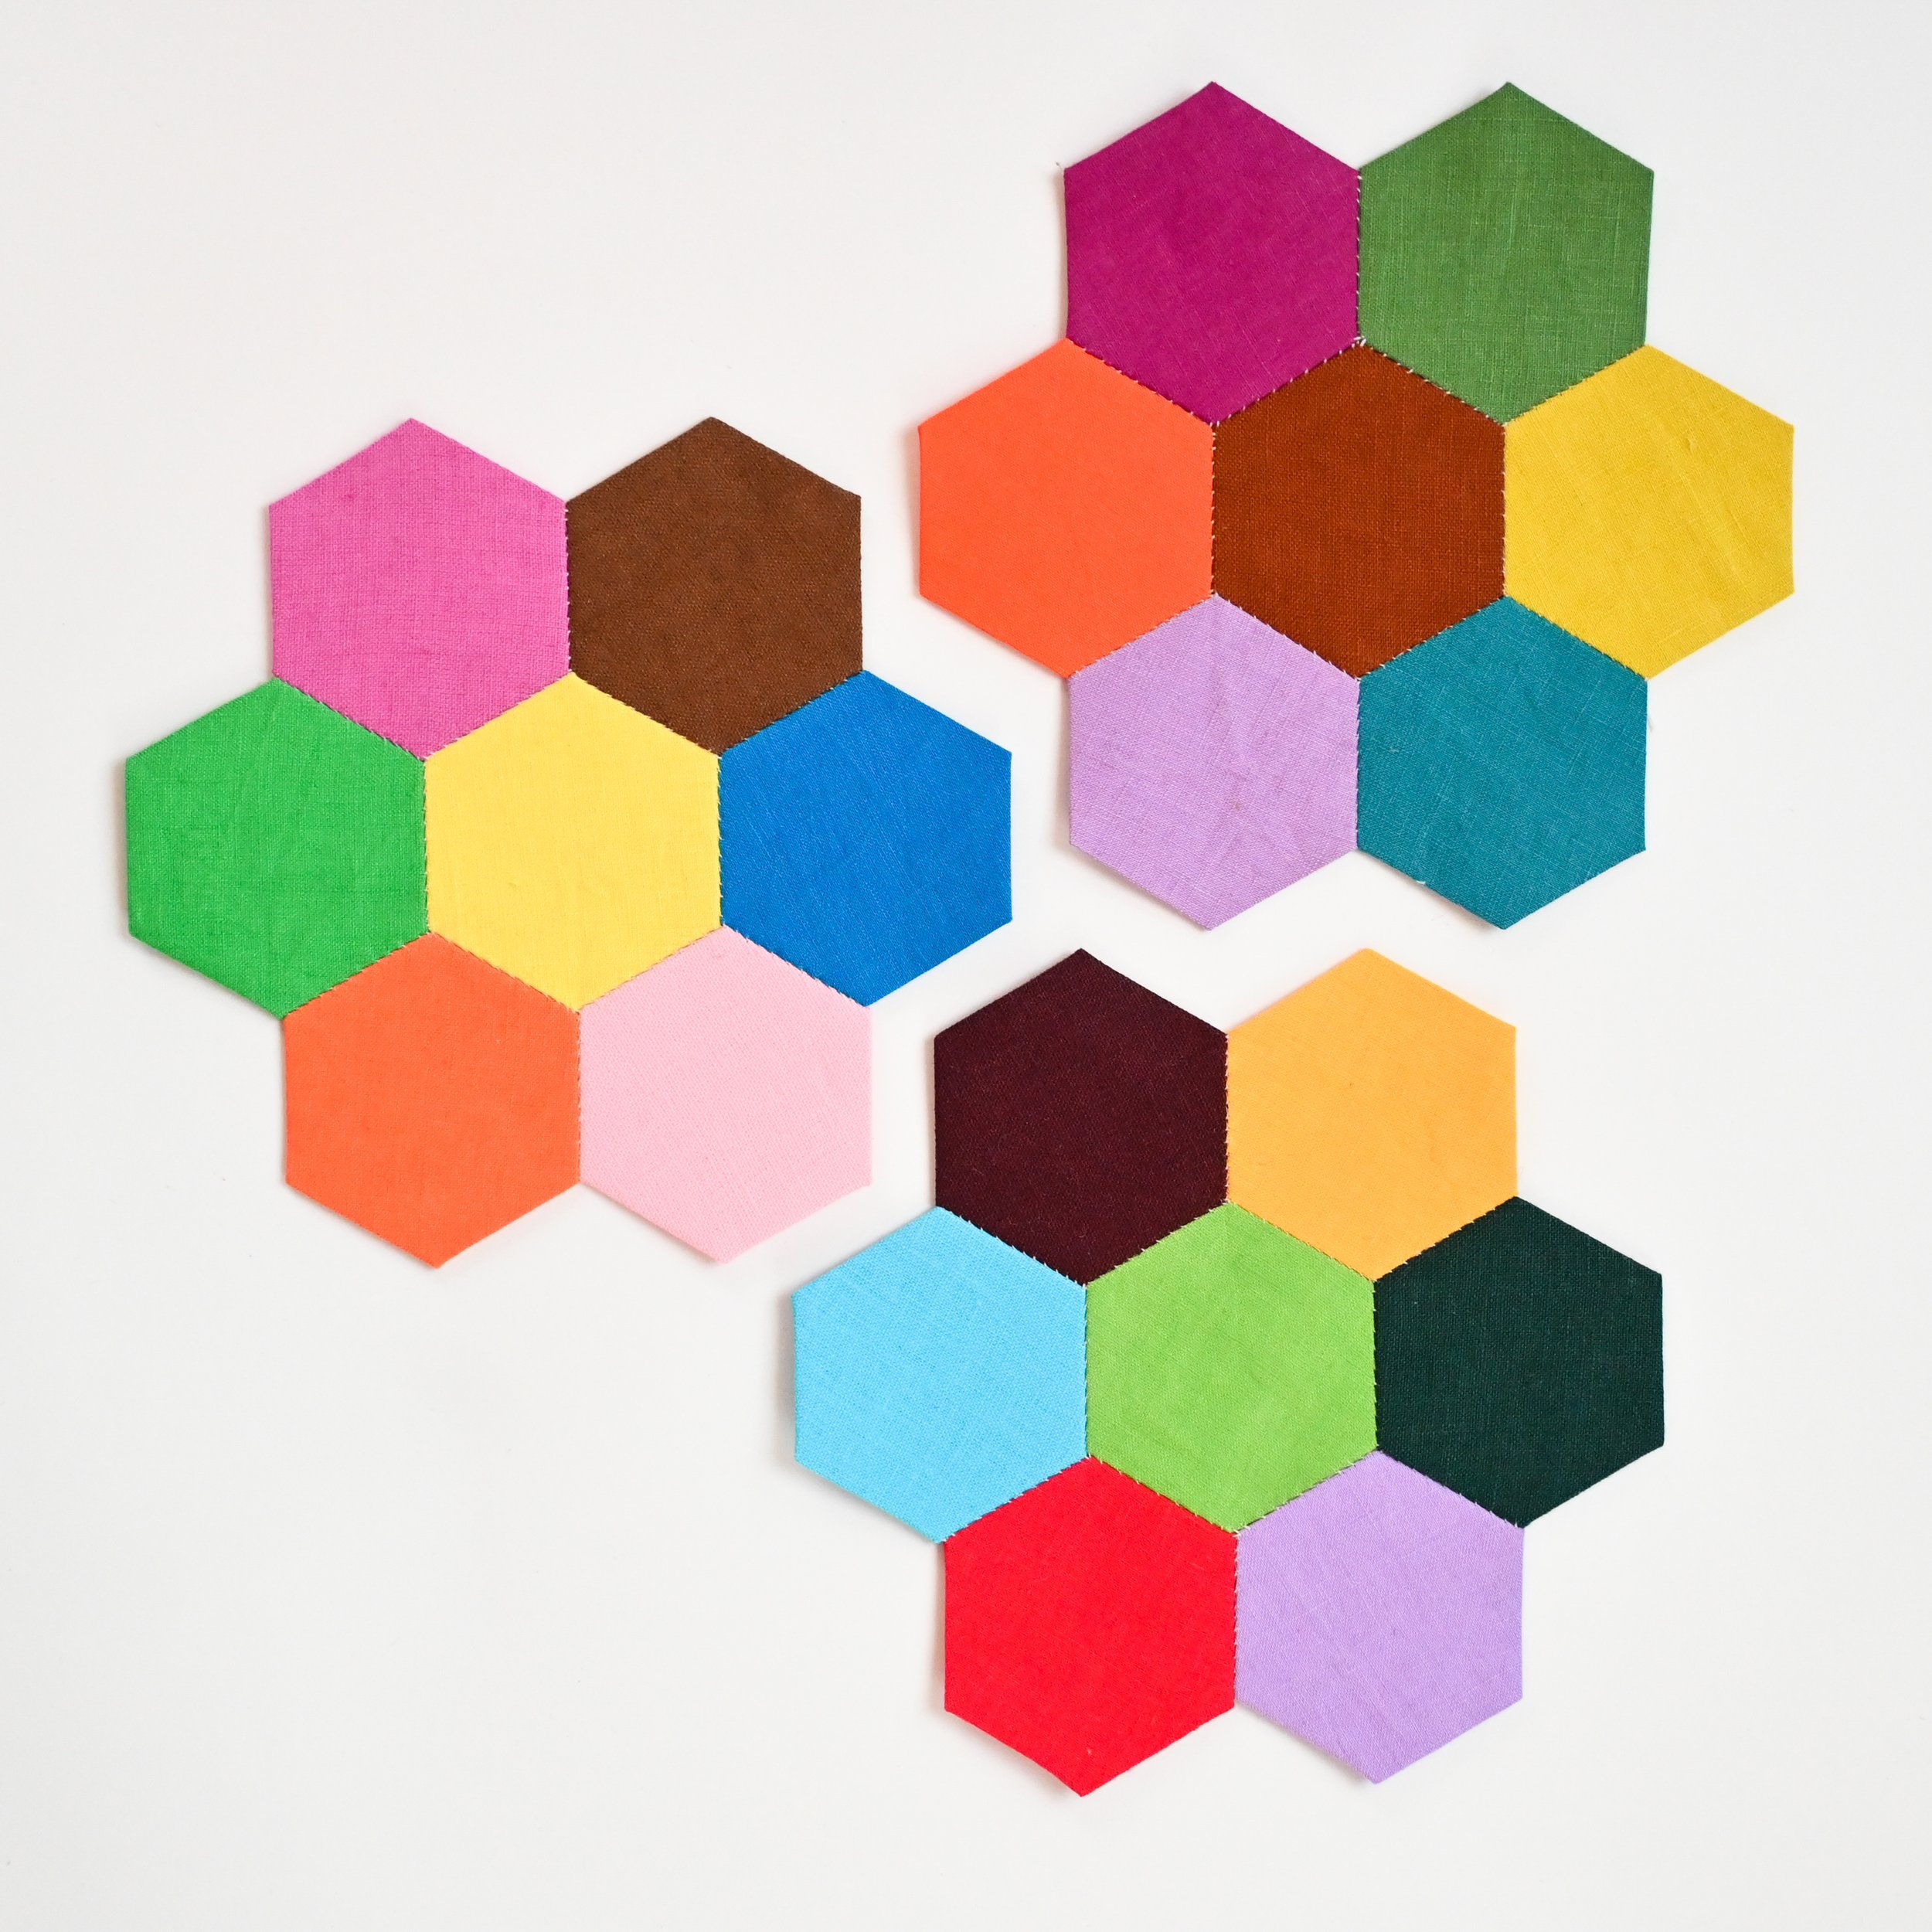
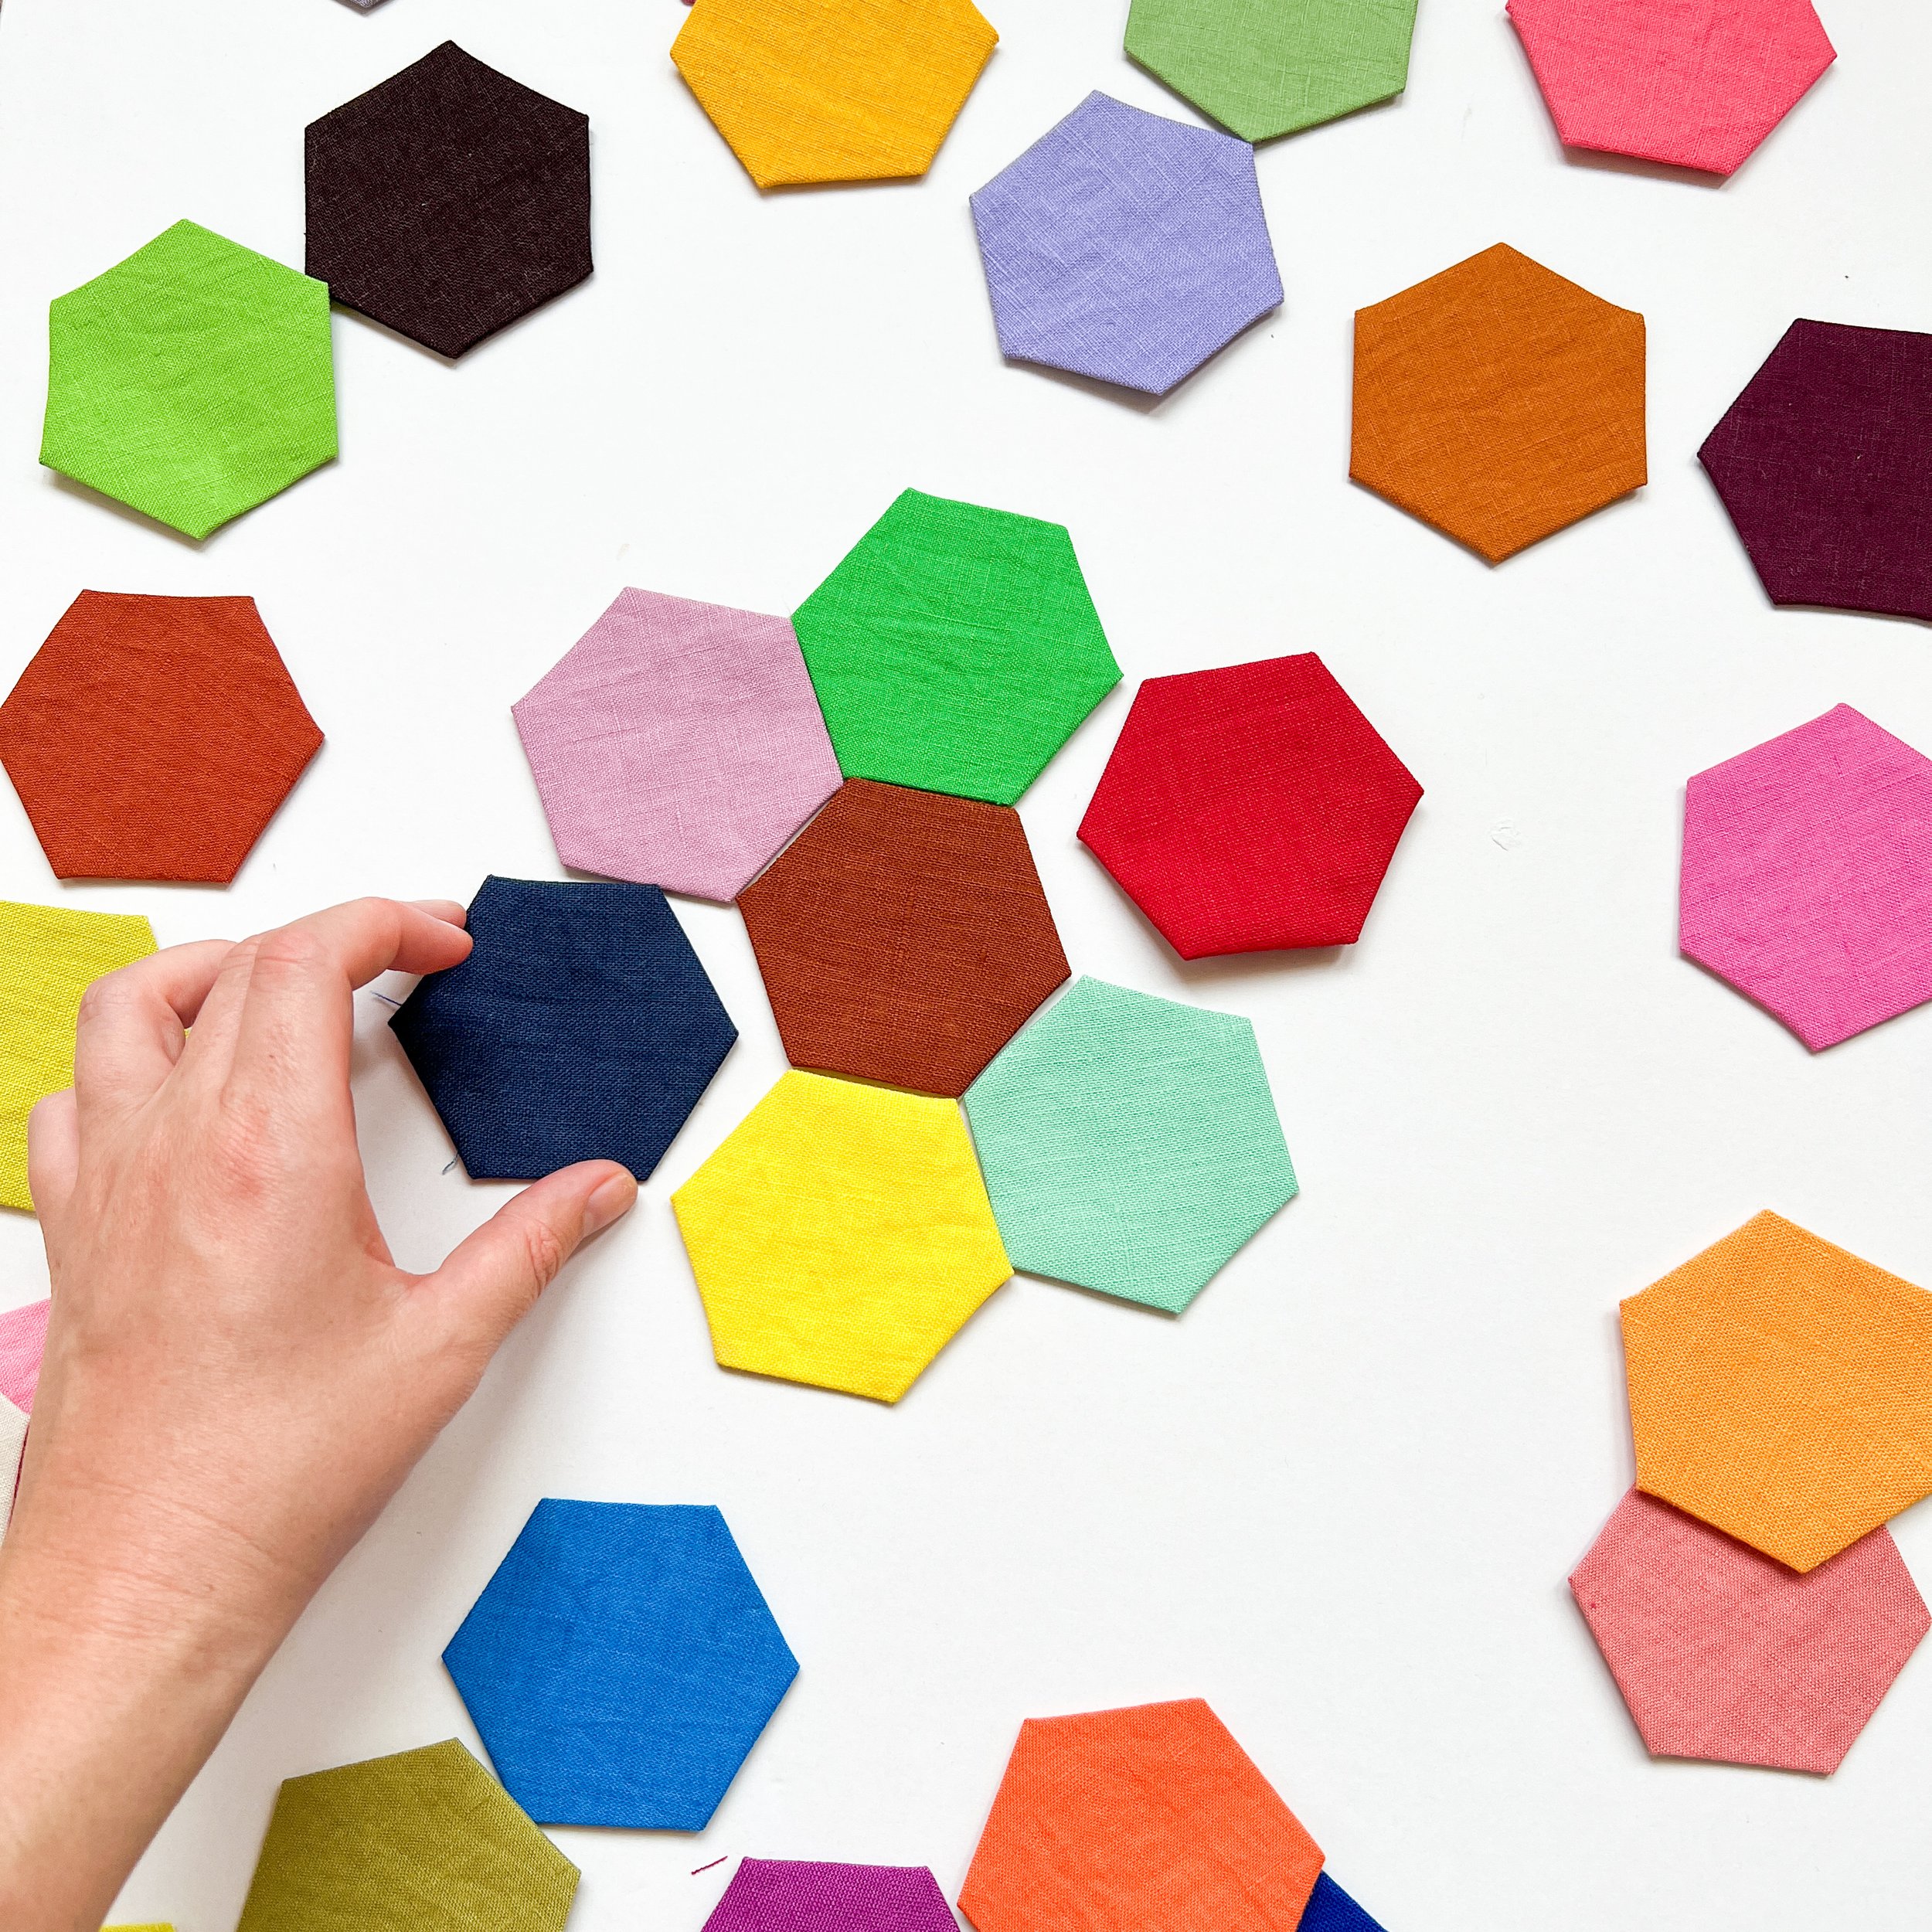
Plan the flower layout and take a reference photo. I like to balance warm and cool colours with light and dark shades.
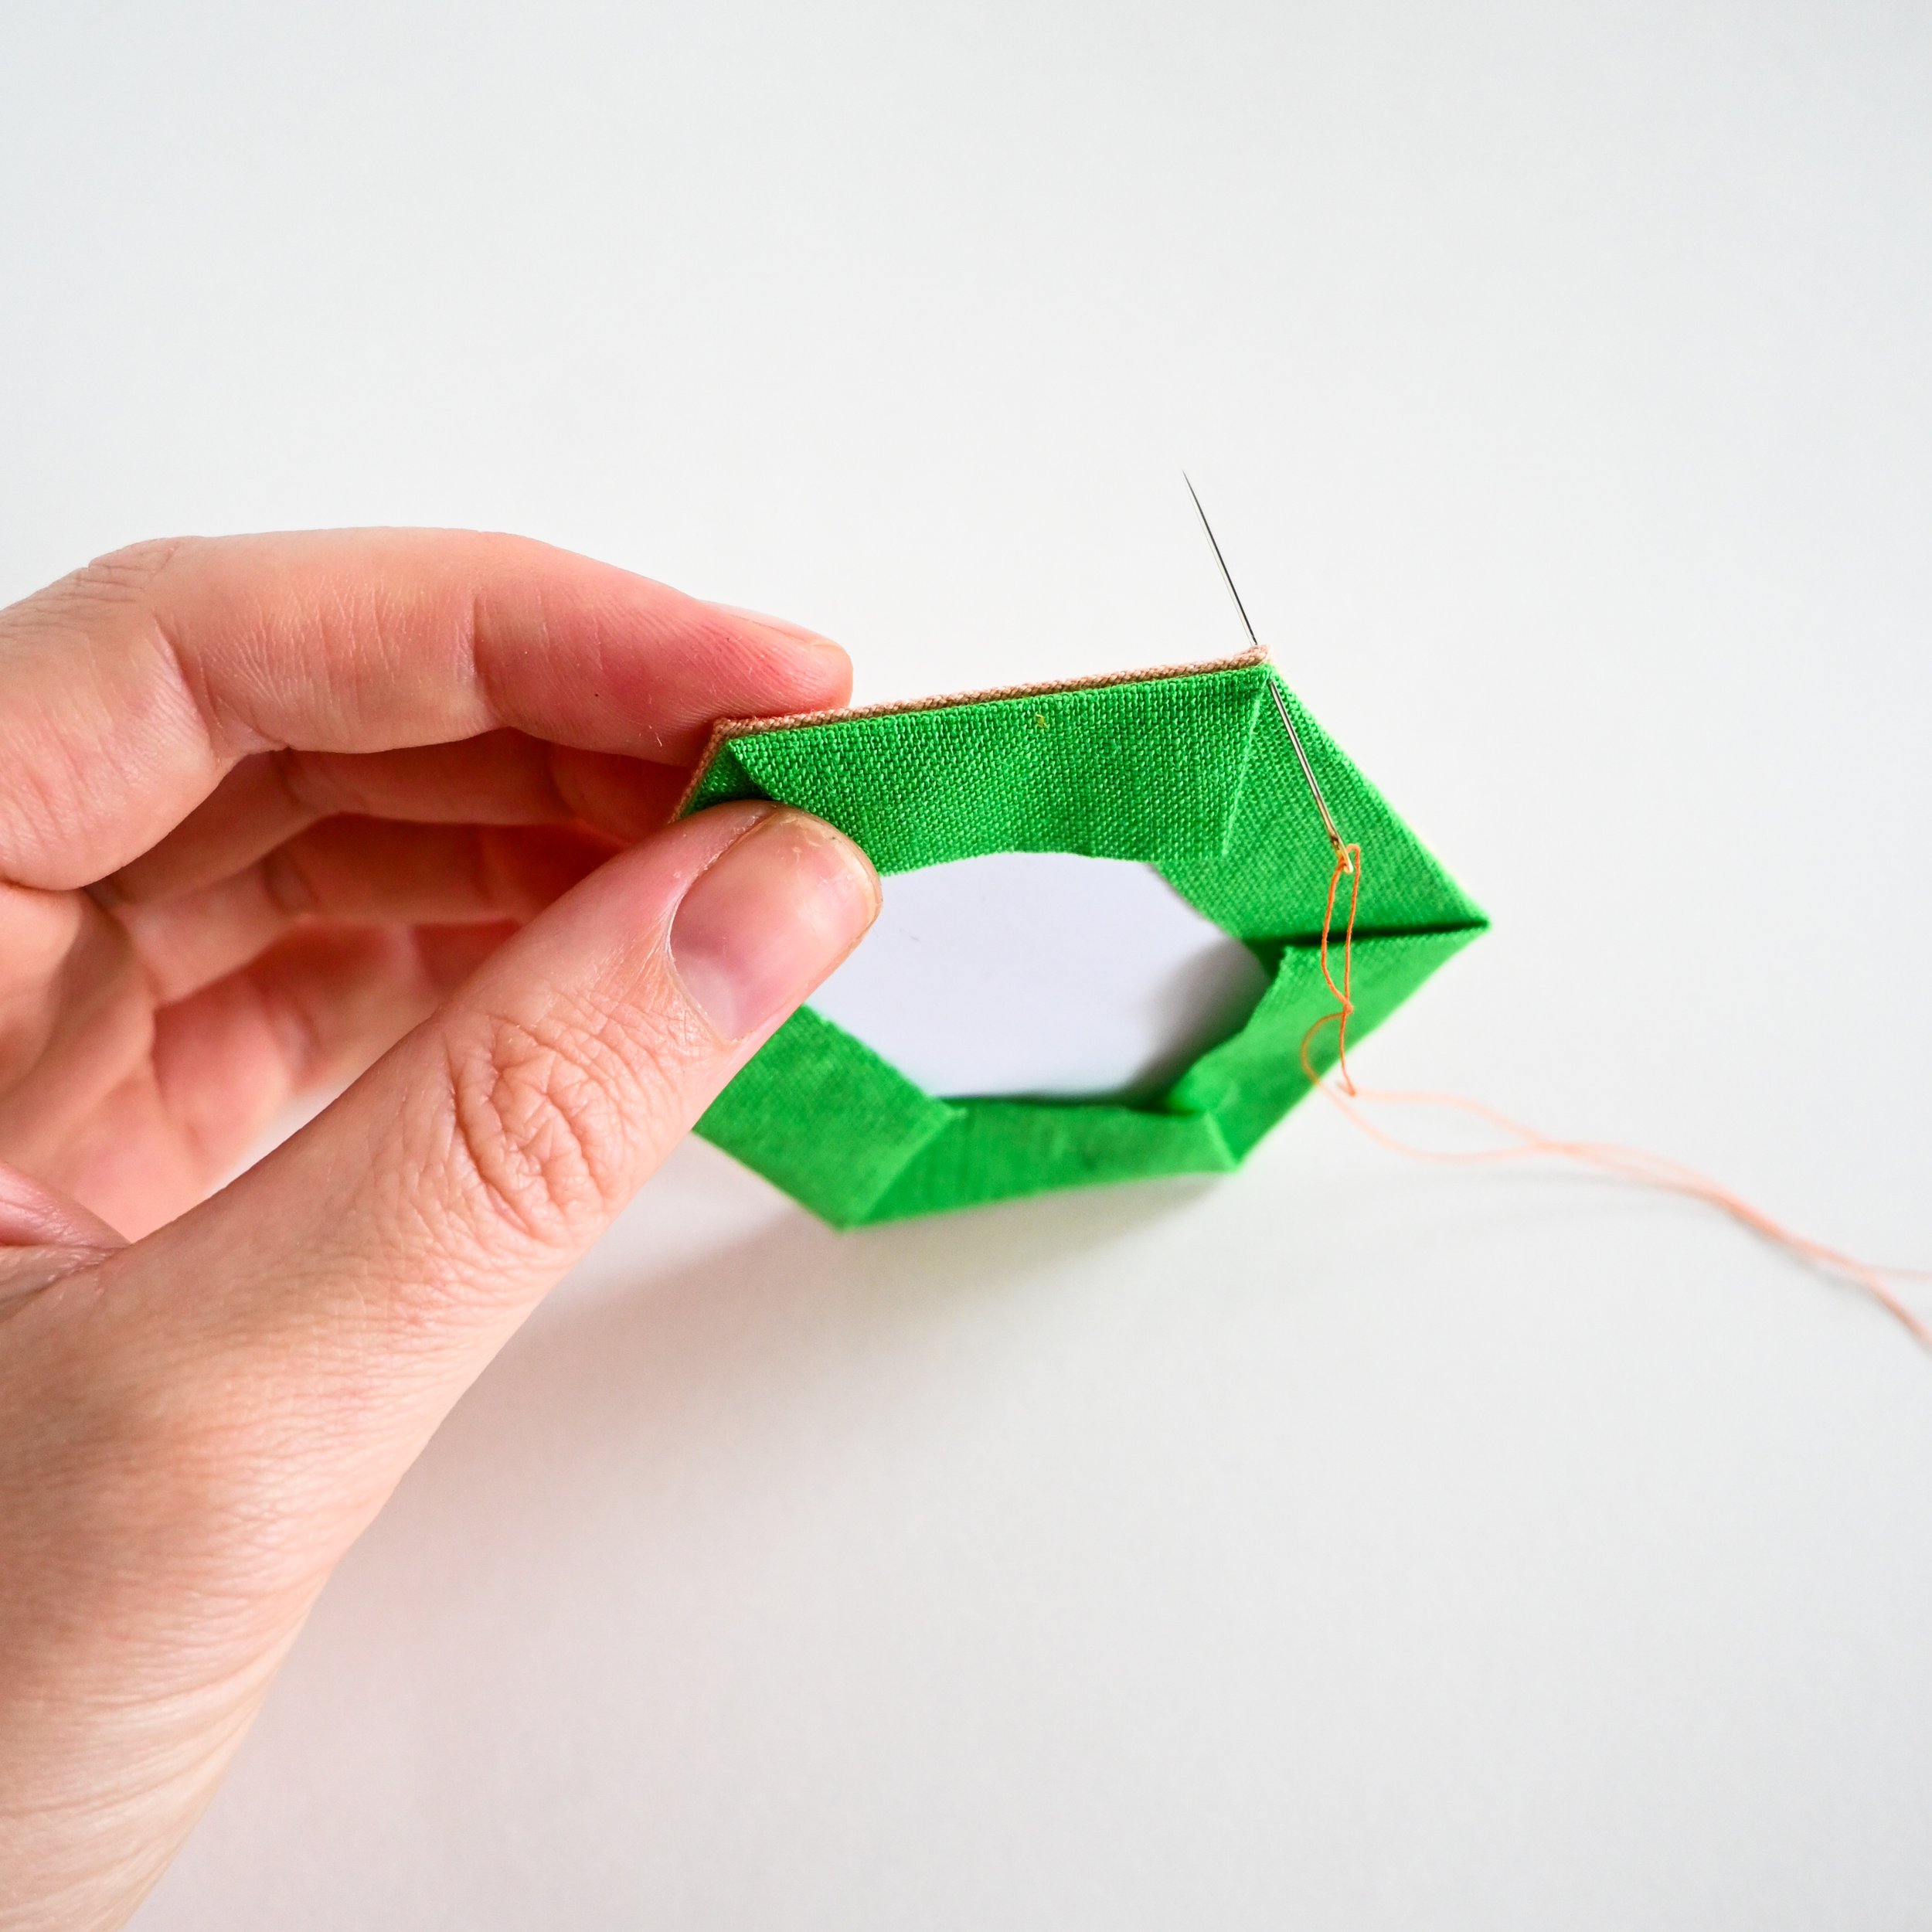
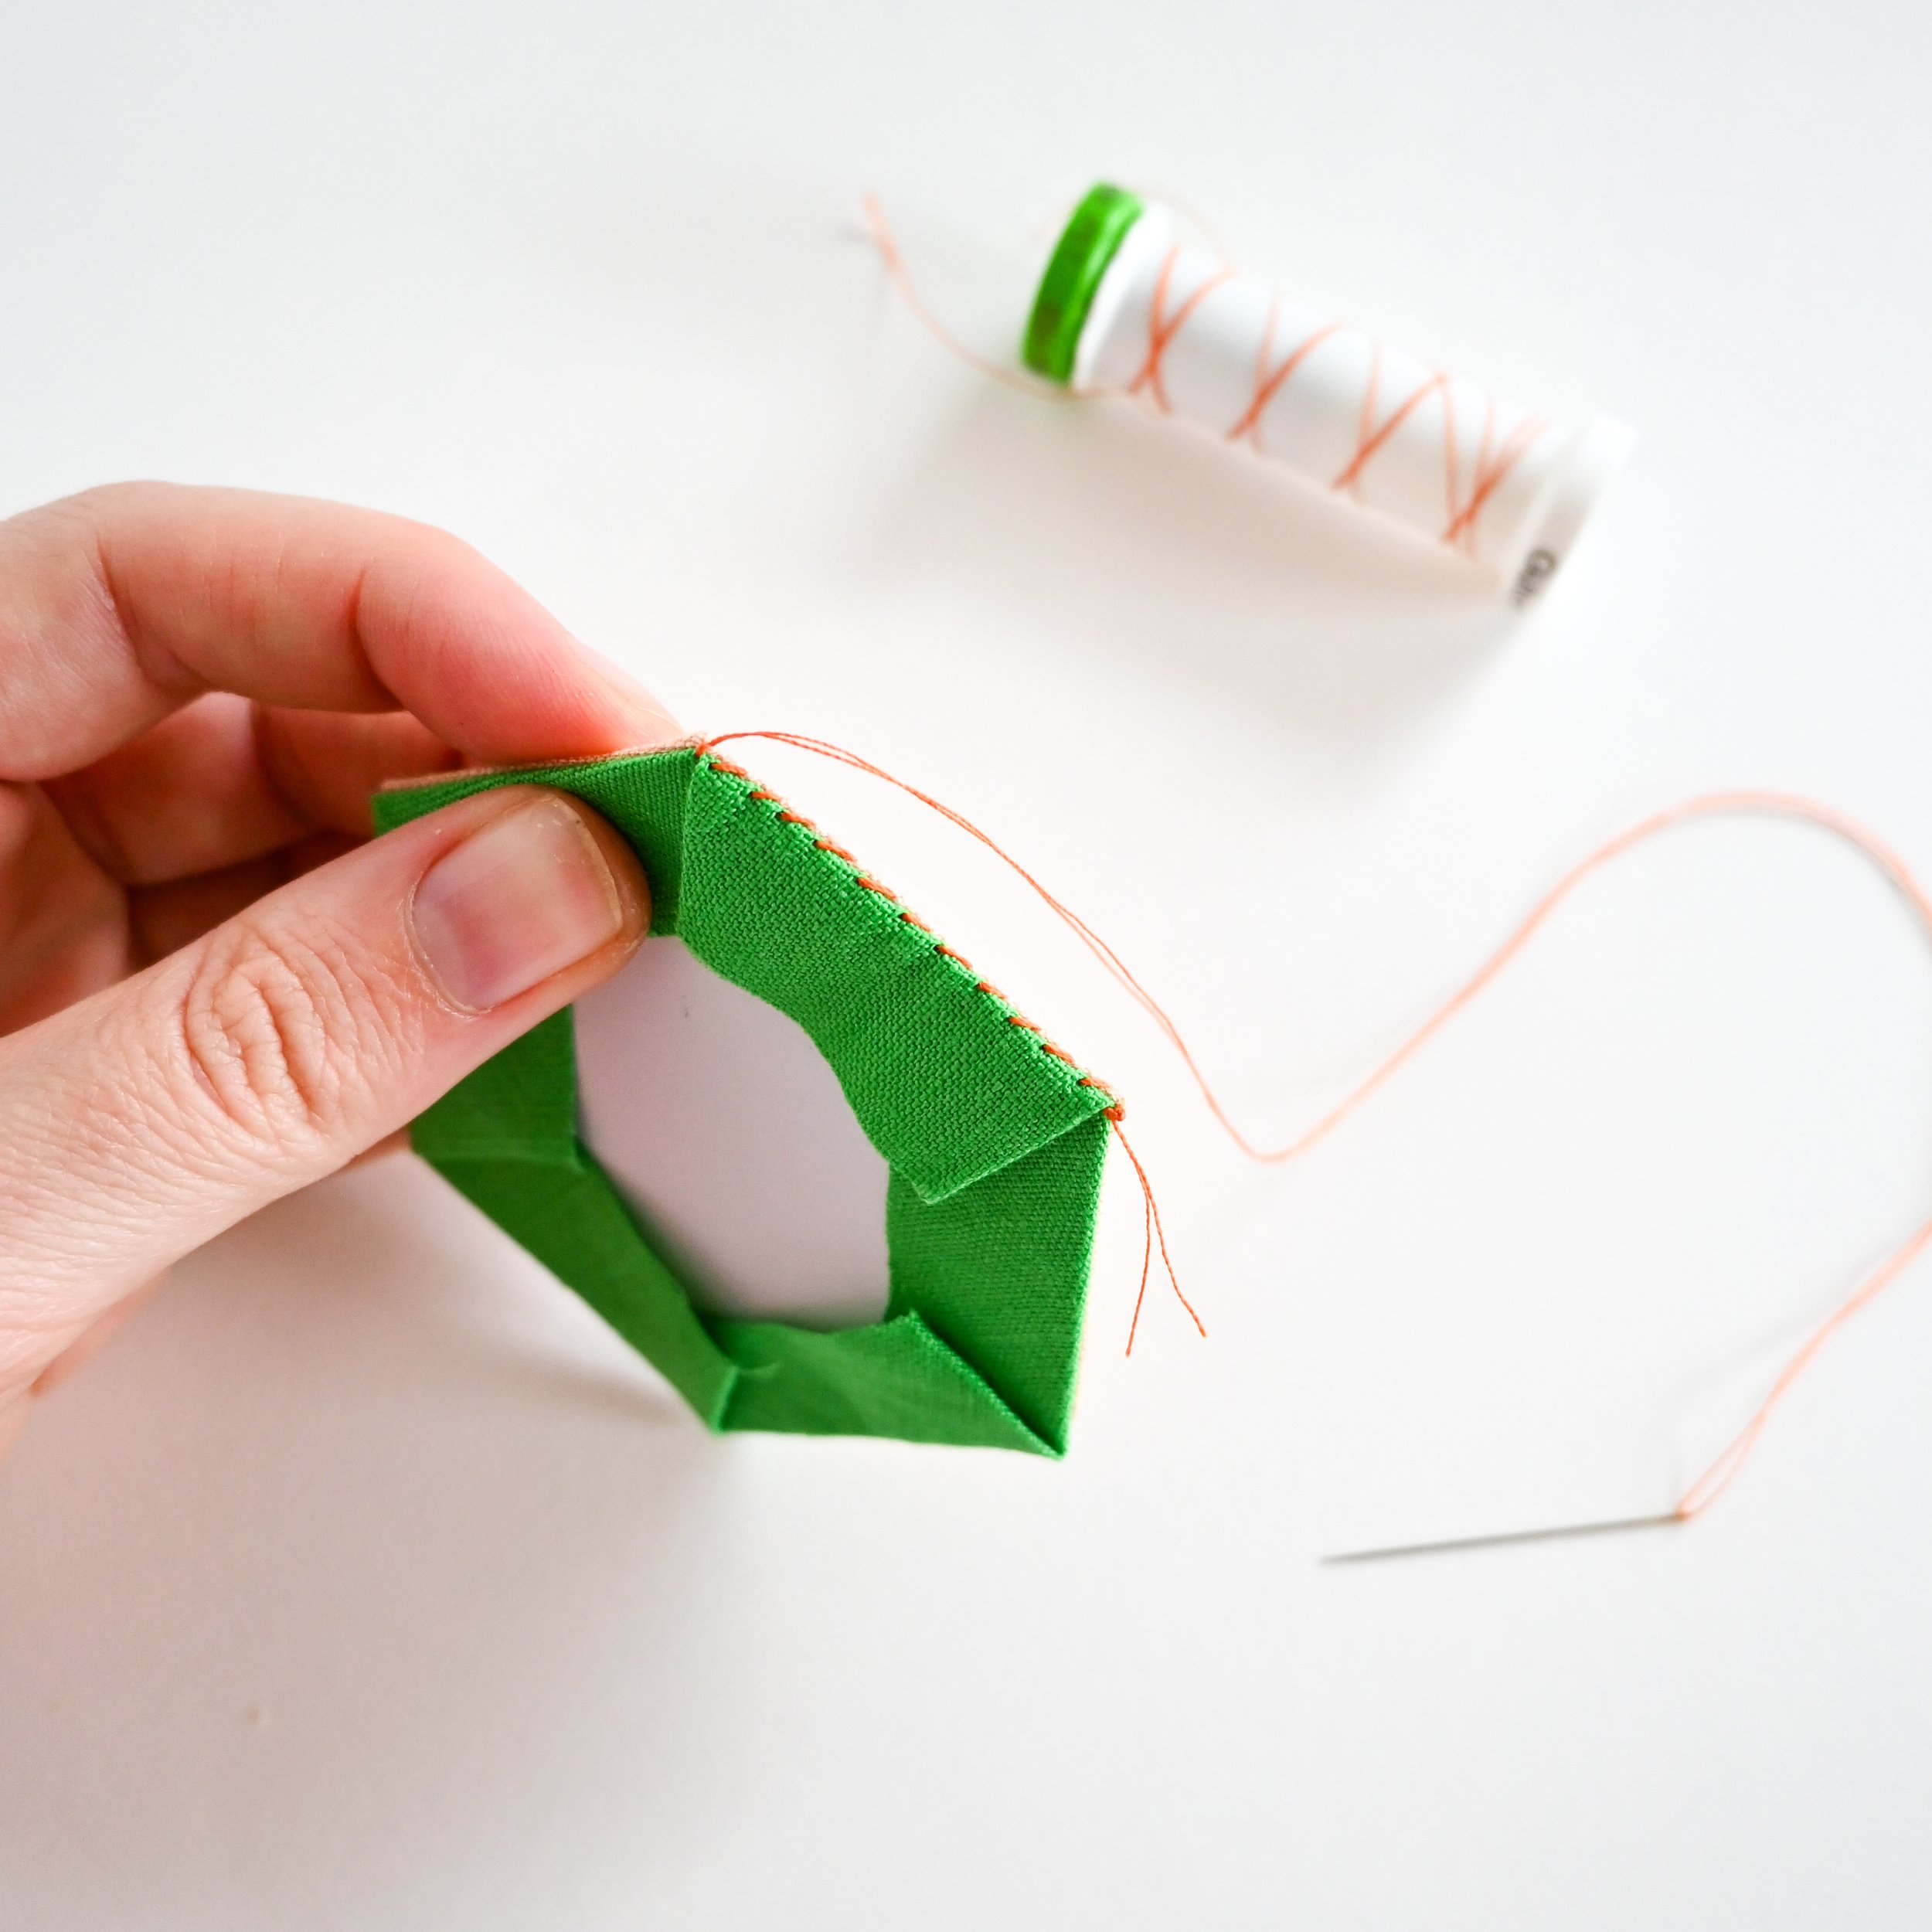
Step 5:
Prepare the hand-sewing needle with a piece of thread about 50cm long and knot the end. Take the centre hexie and one petal hexie from the flower layout. Hold them with right sides together and line up the edges. Starting at one corner, sew a couple of times in the same place and then whip stitch along the edge until you get to the other side. Try only to catch the fabric and not the card. Sew a couple of times in the same place at the other end to secure the corner. I do about 12-14 evenly spaced stitches along each edge. Don't snip the thread when you get to the end; you can now pick up the next petal and join it with the same strand of thread. If you run out of thread, repeat step 5.

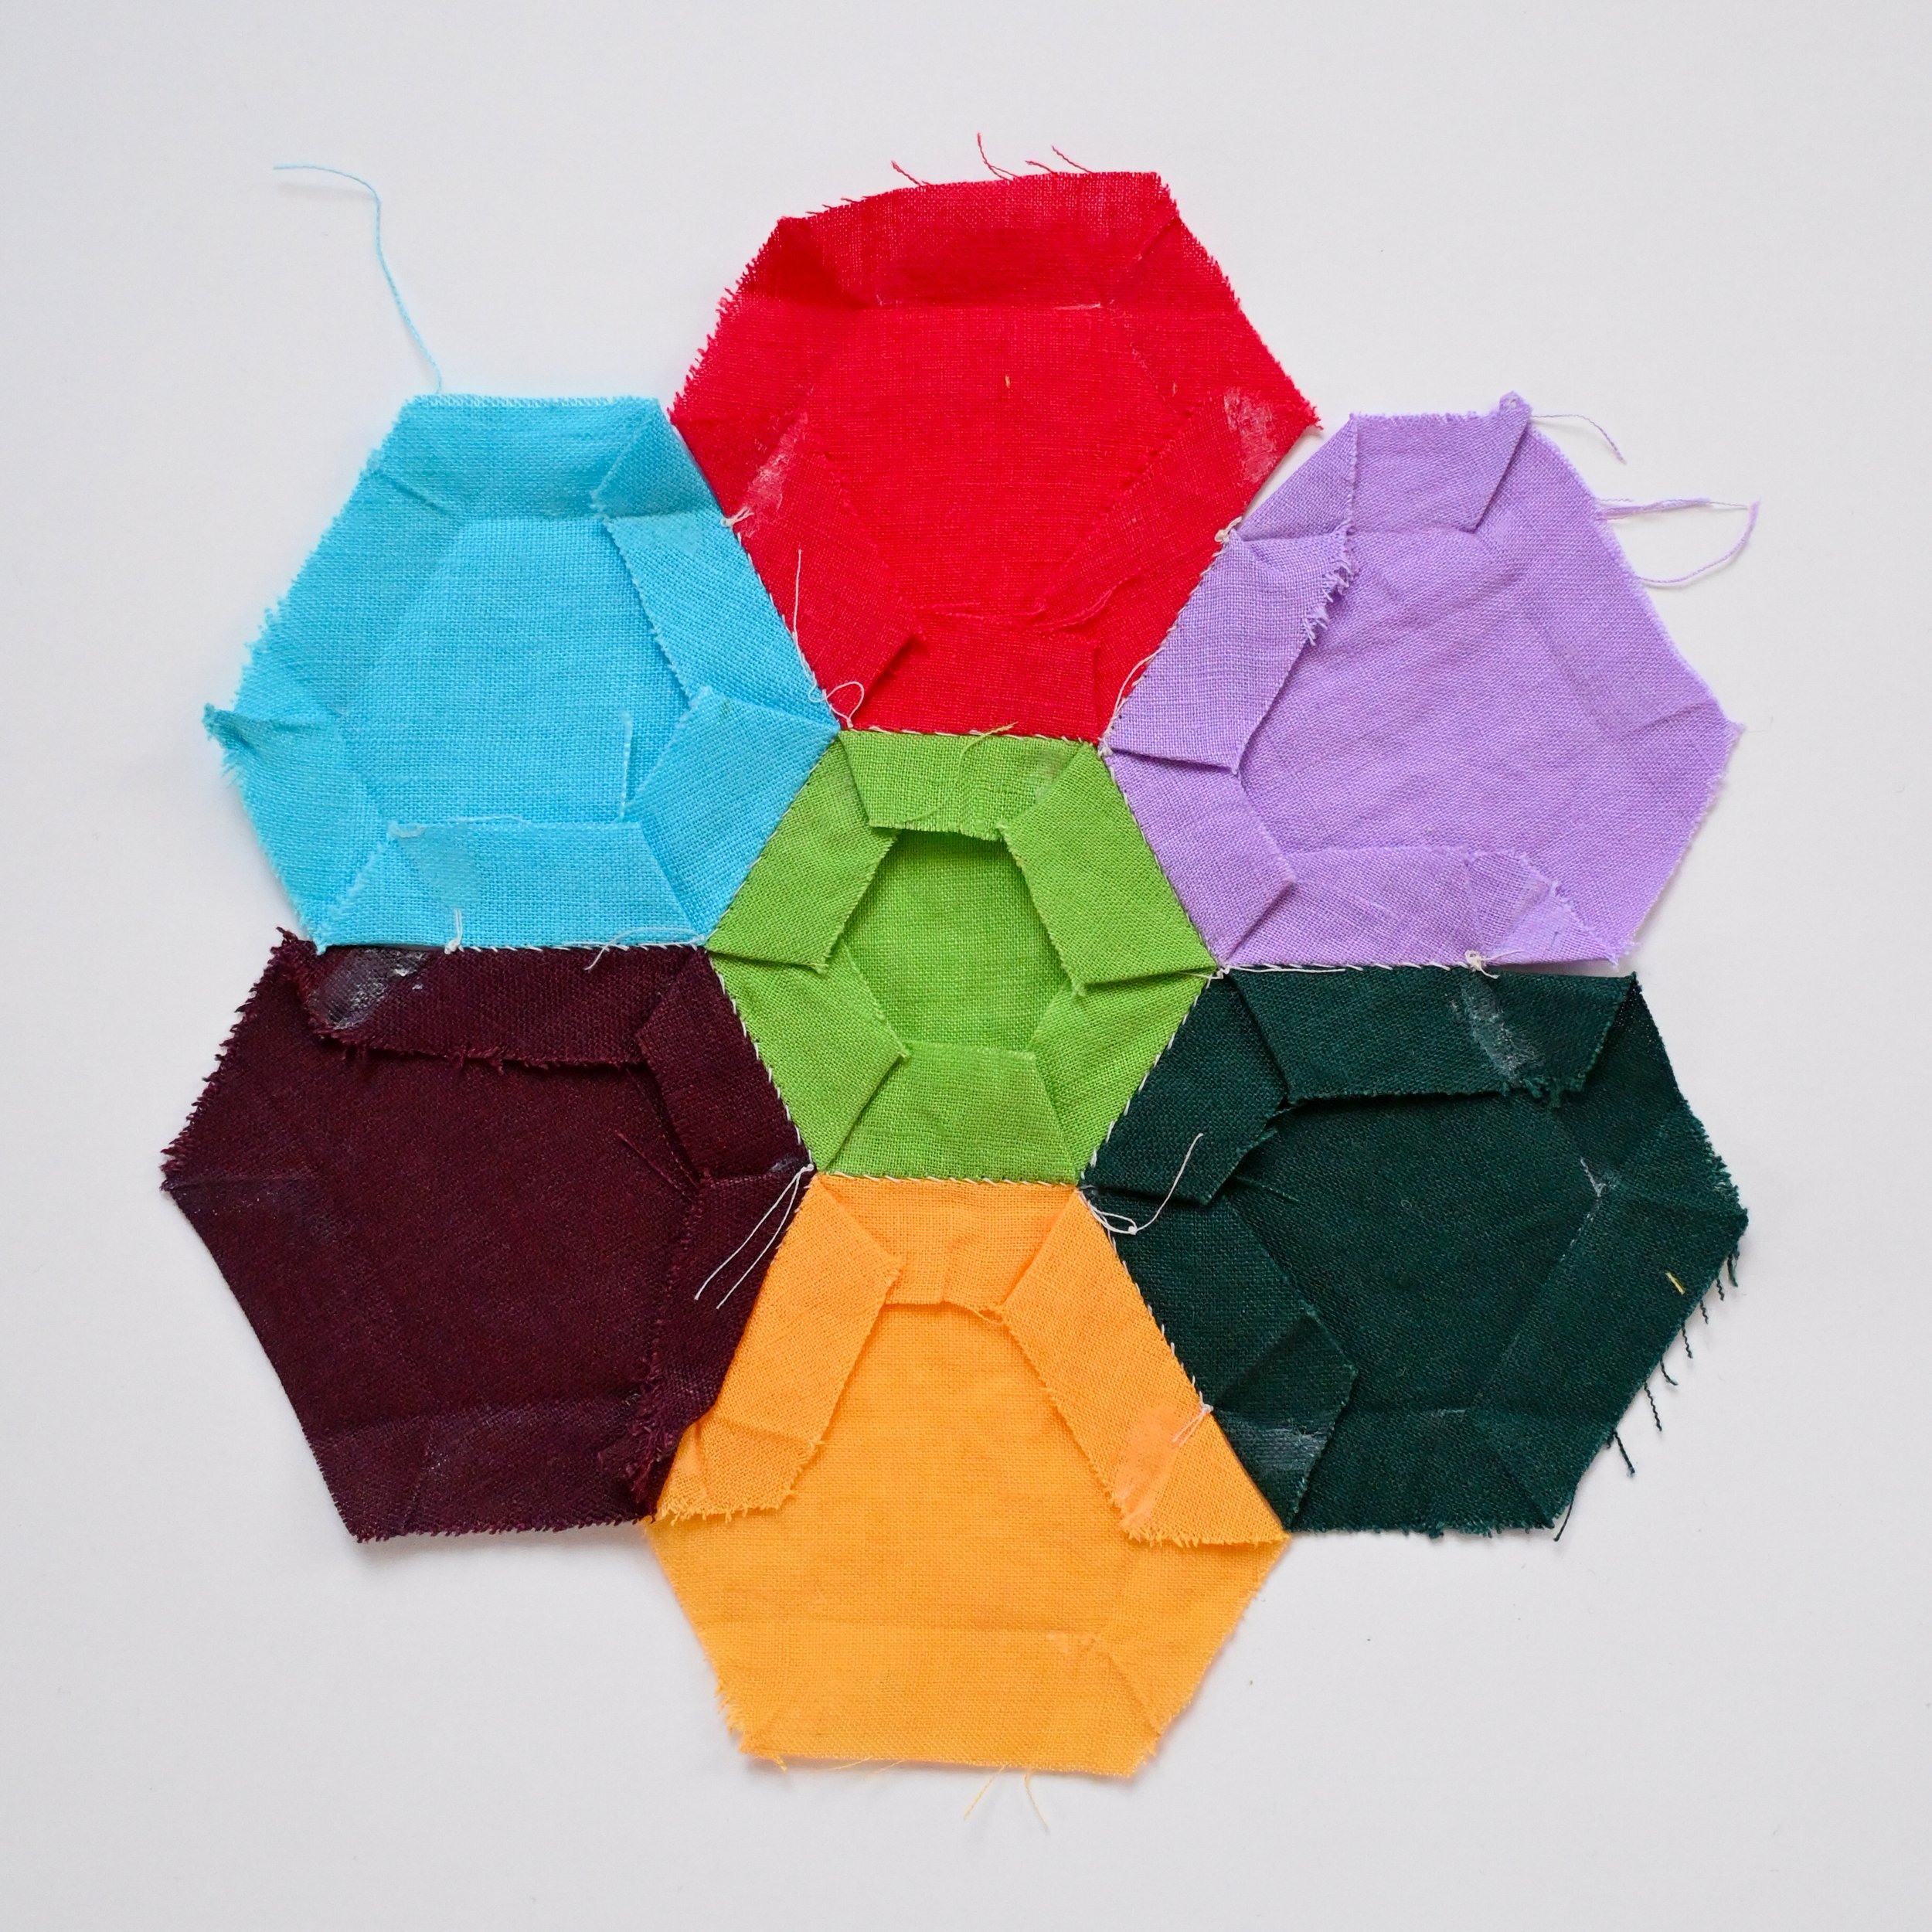
Step 6:
Continue joining all the petals until the hexie flower is finished. You can fold the petals in half while stitching to make it easier to hold onto. Give the flower a gentle press with no steam. Do not remove the paper pieces yet! I did in the photos but I was too early when making this one.
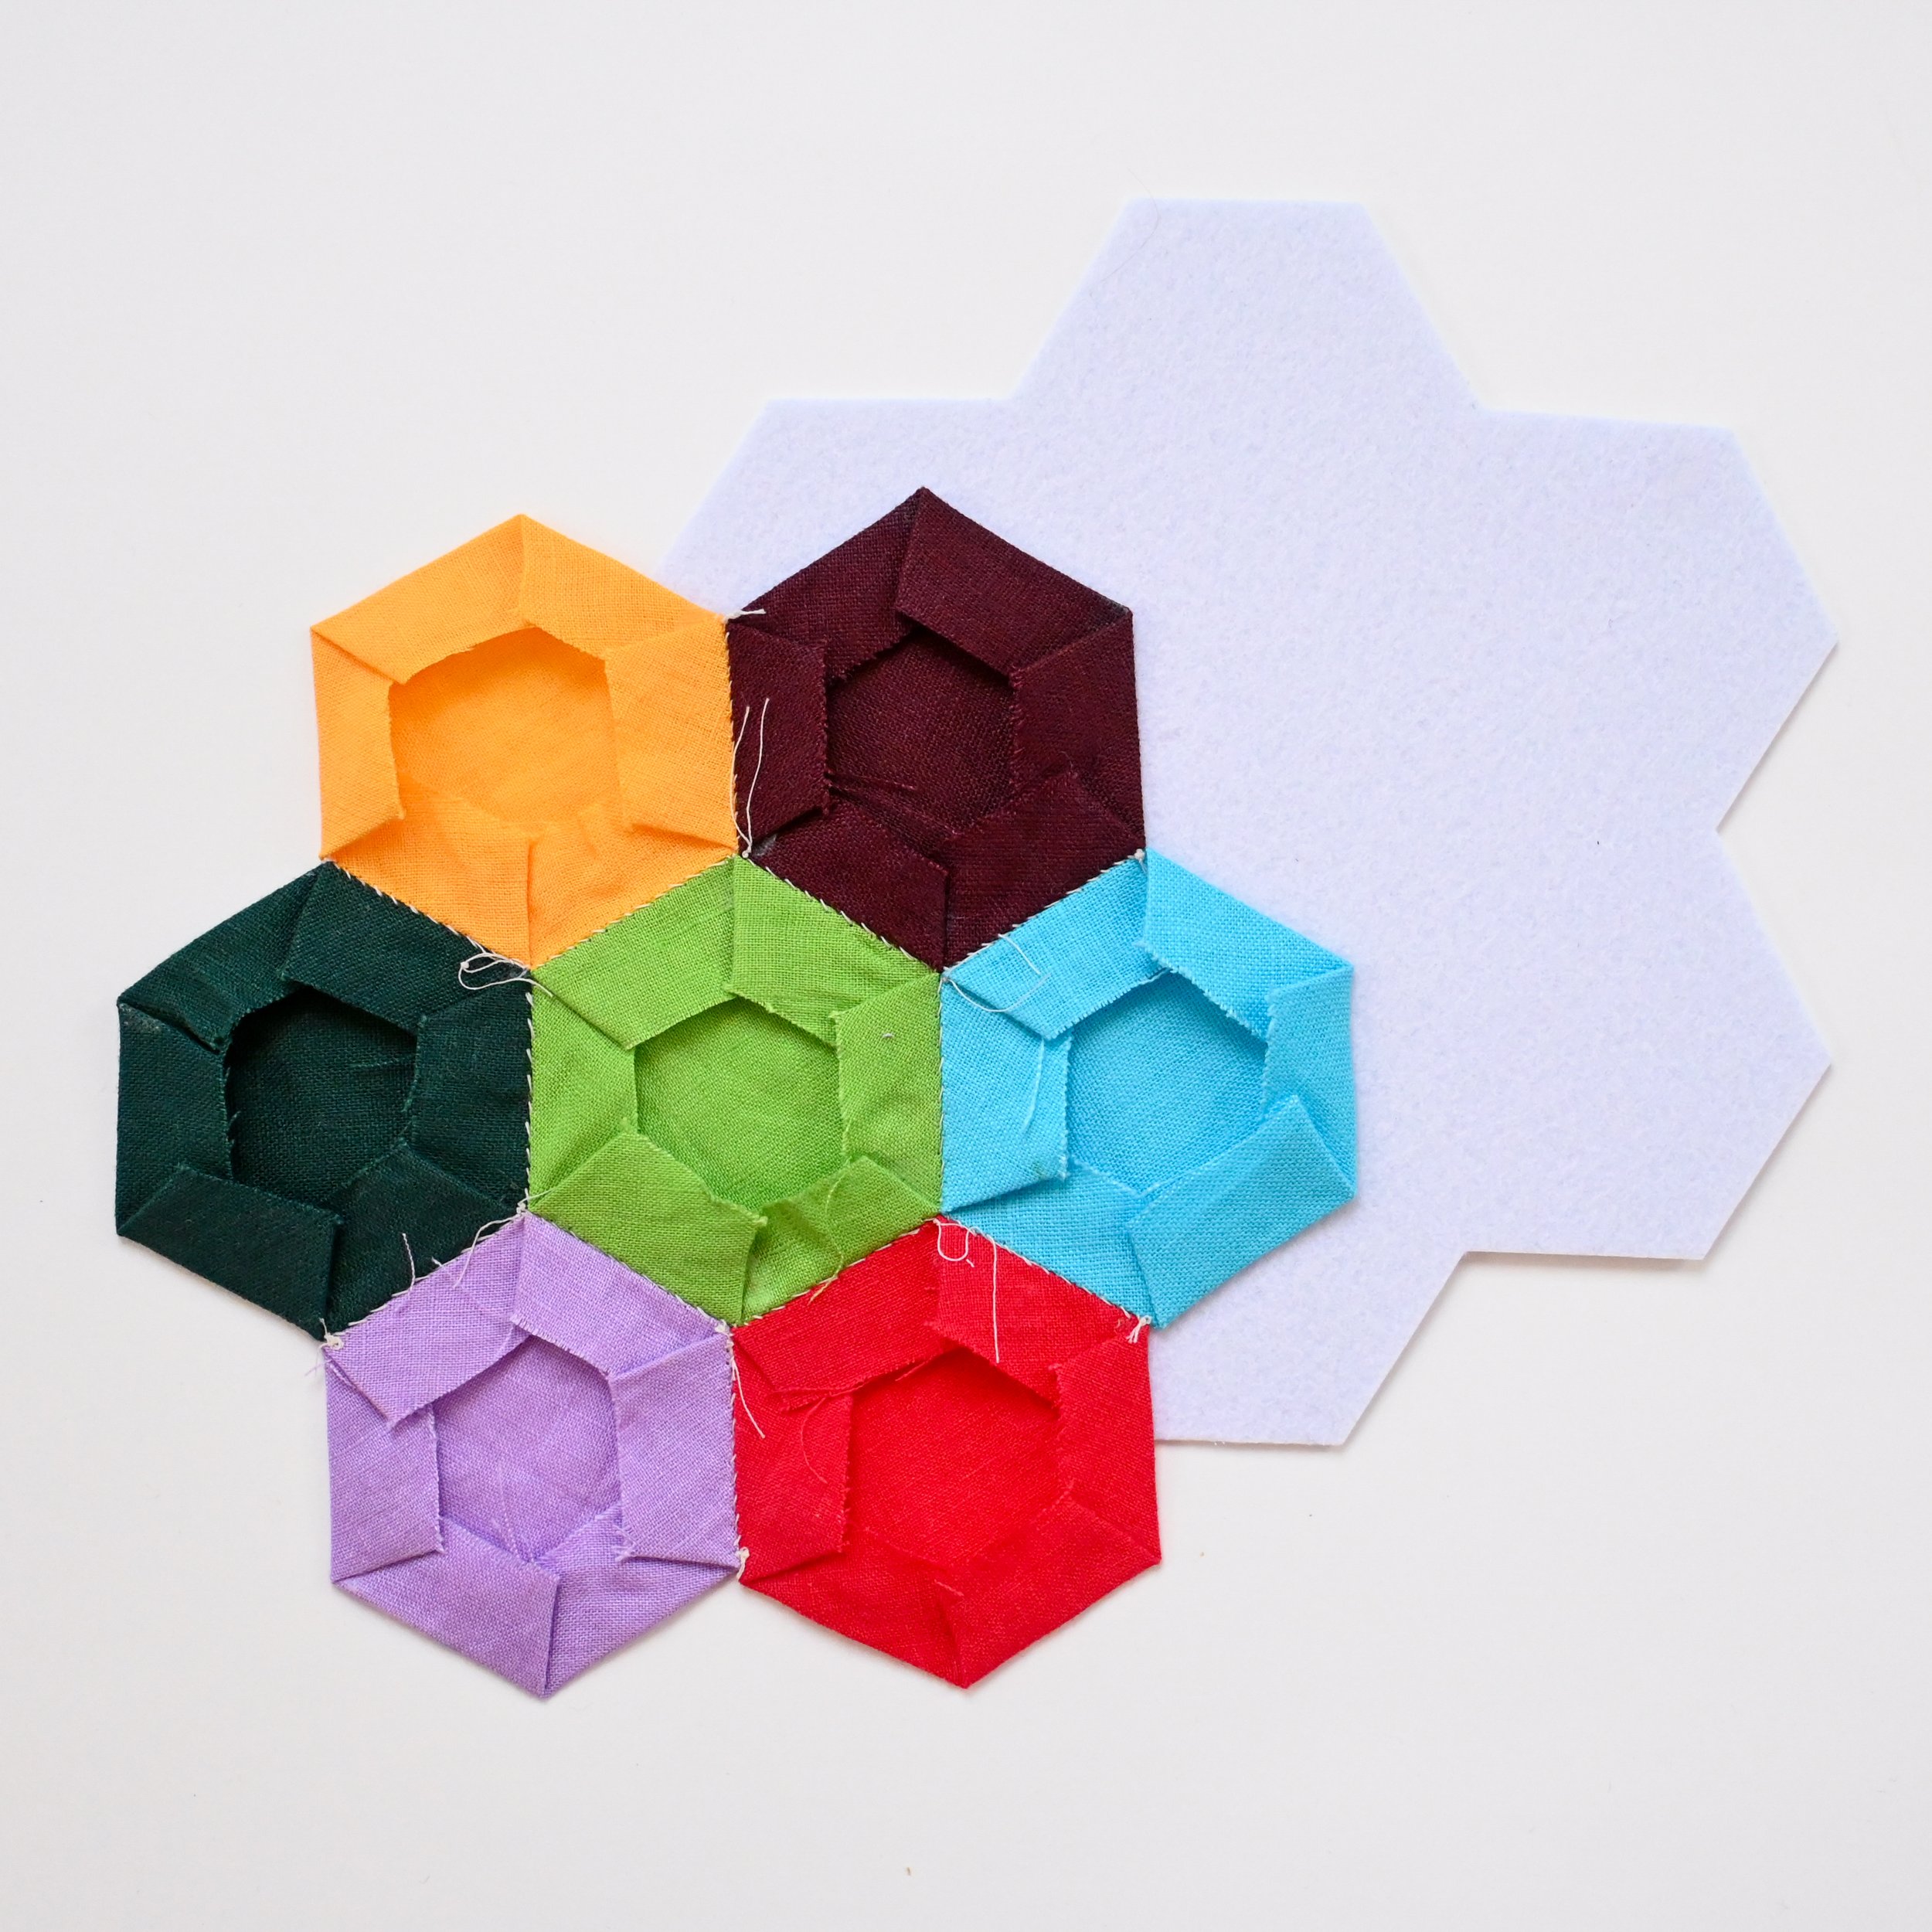
Step 7:
Trace the hexie flower onto the stiffened felt and then mark in 2mm from the lines you just traced. This is because when you trace the flower, its going to be a tiny bit bigger than the actual hexie flower. The hexie flower might not be perfectly symmetrical, so if you need to, mark the felt with a letter so you know which petal corresponds to the petal colours on the felt flower. Cut out the stiffened felt flower. When the glue is dry, gently remove the paper pieces. Press again to make sure all the folds stay in position.
Step 8:
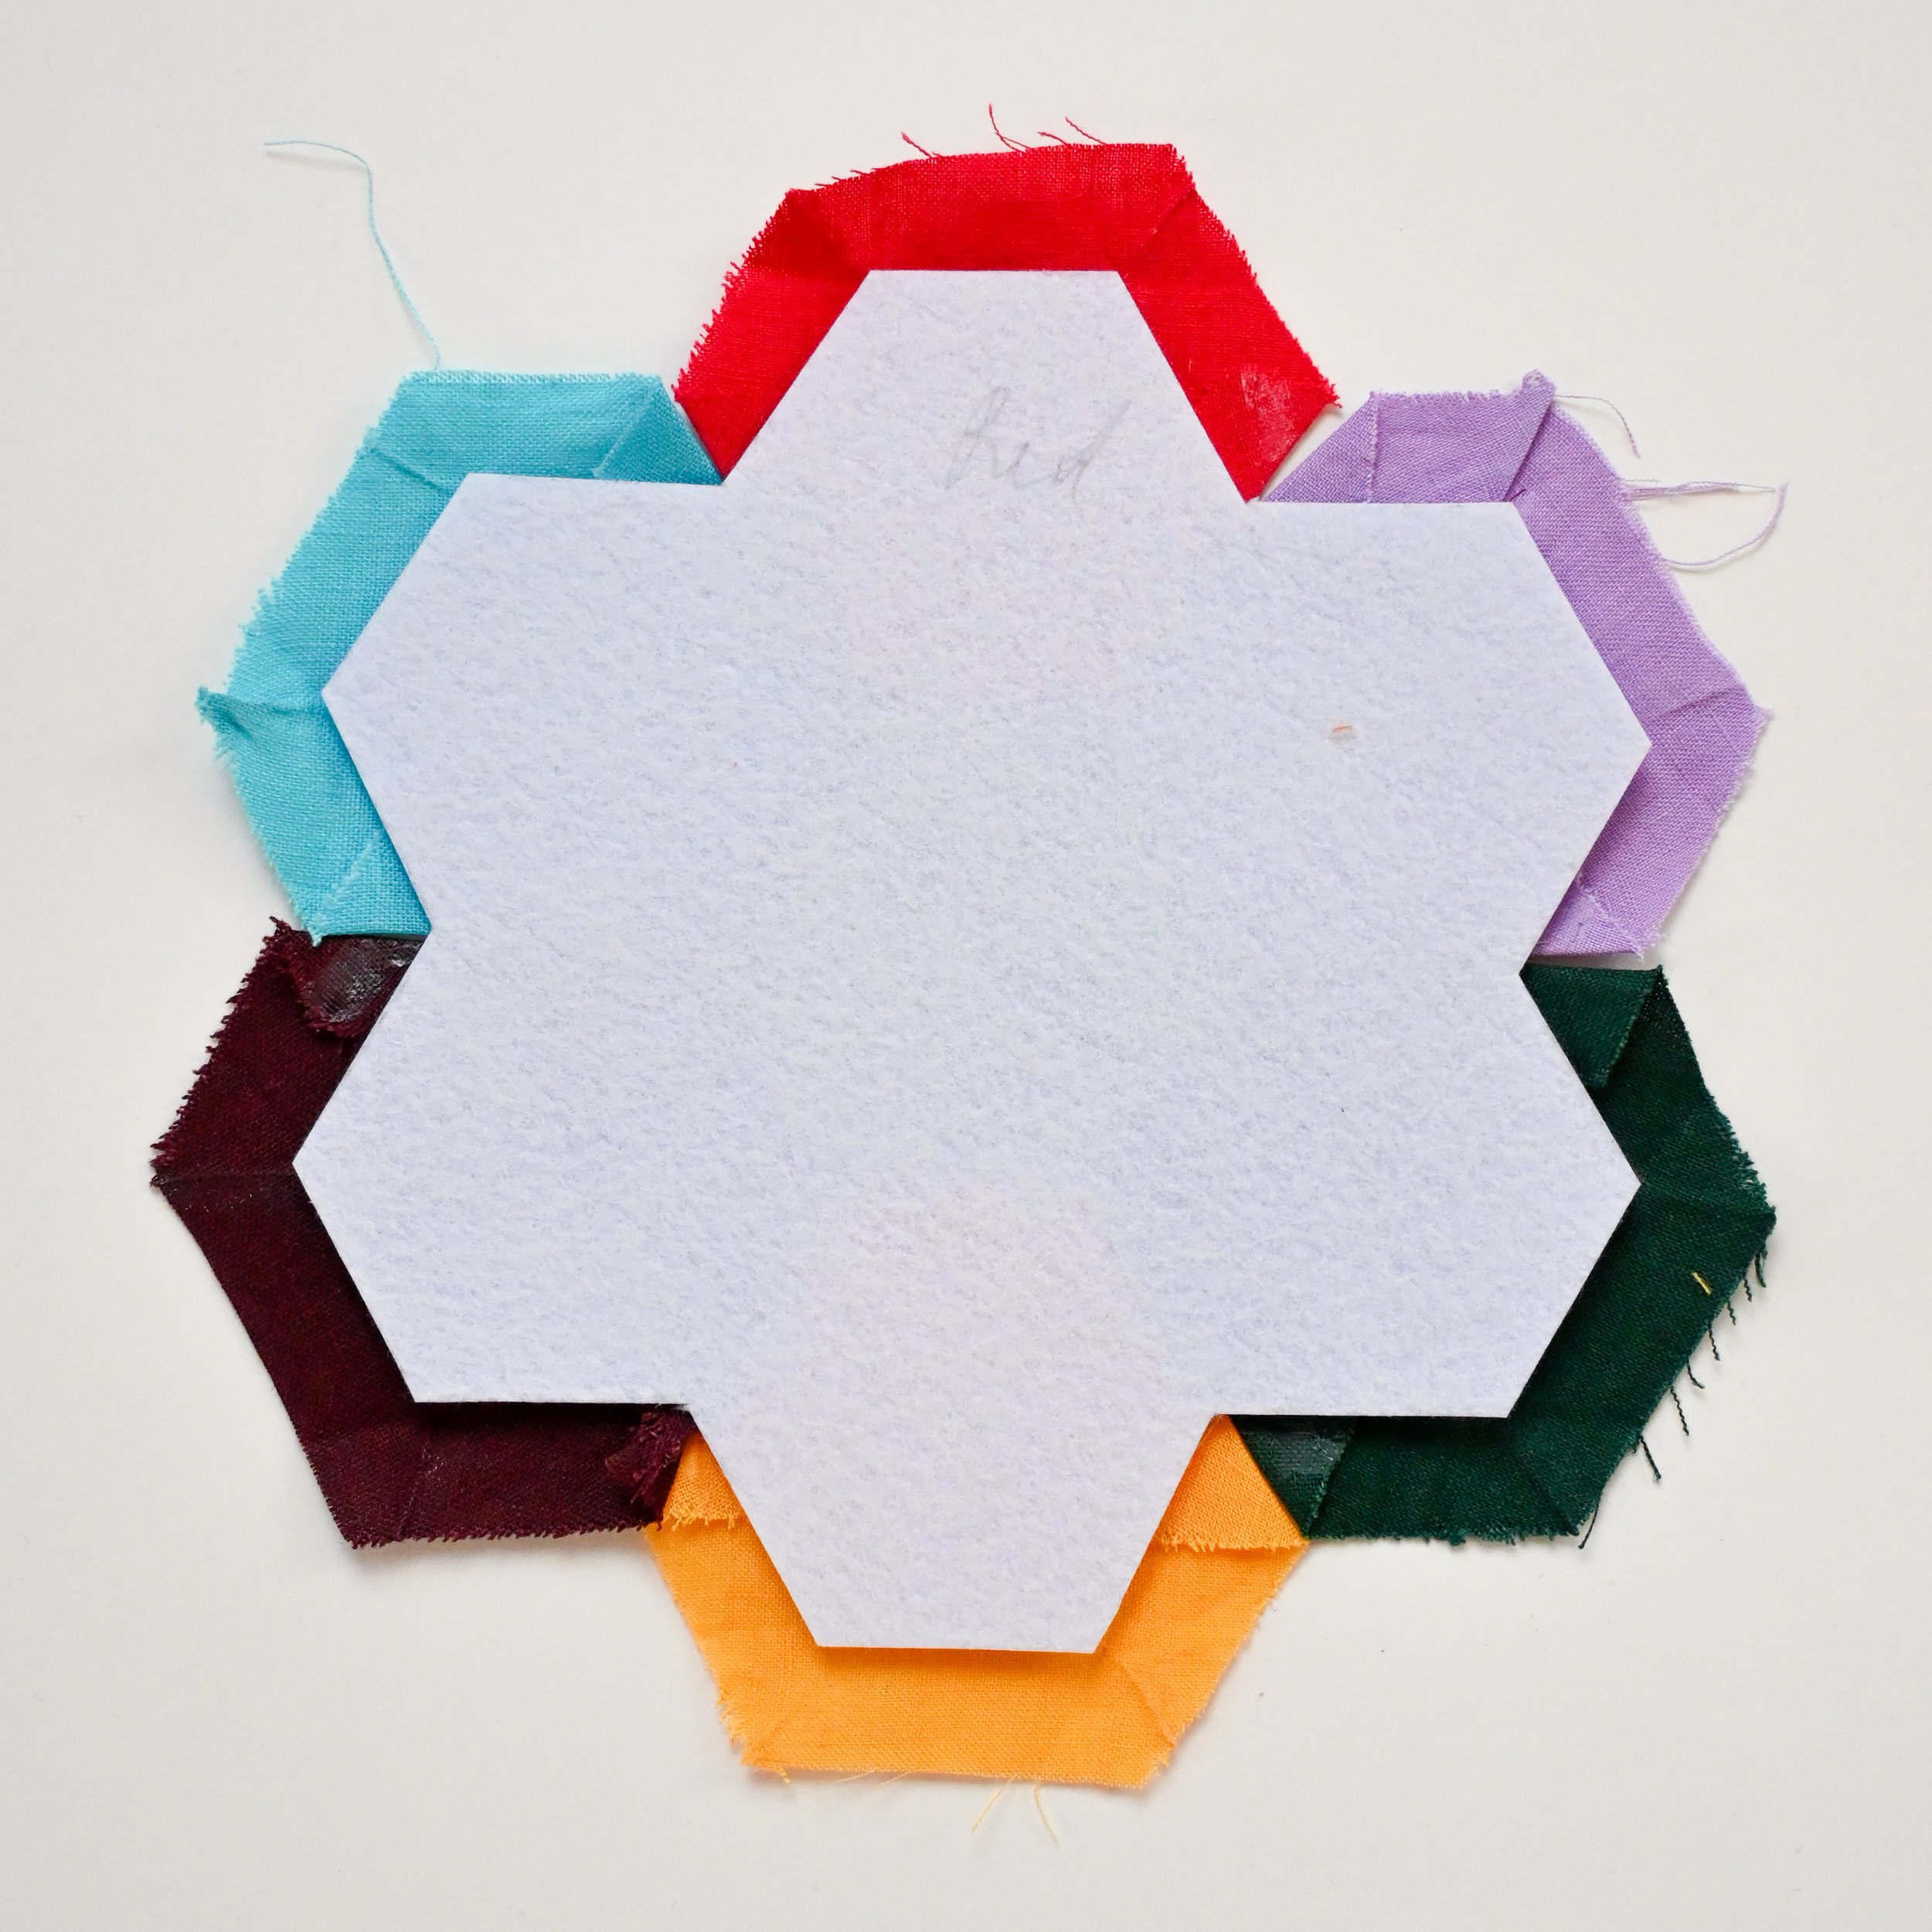
Unfold the unstitched edges of the hexie flower and press flat. Place the stiffened felt flower on the wrong side of the hexie flower and line it up in the centre.
Step 9:
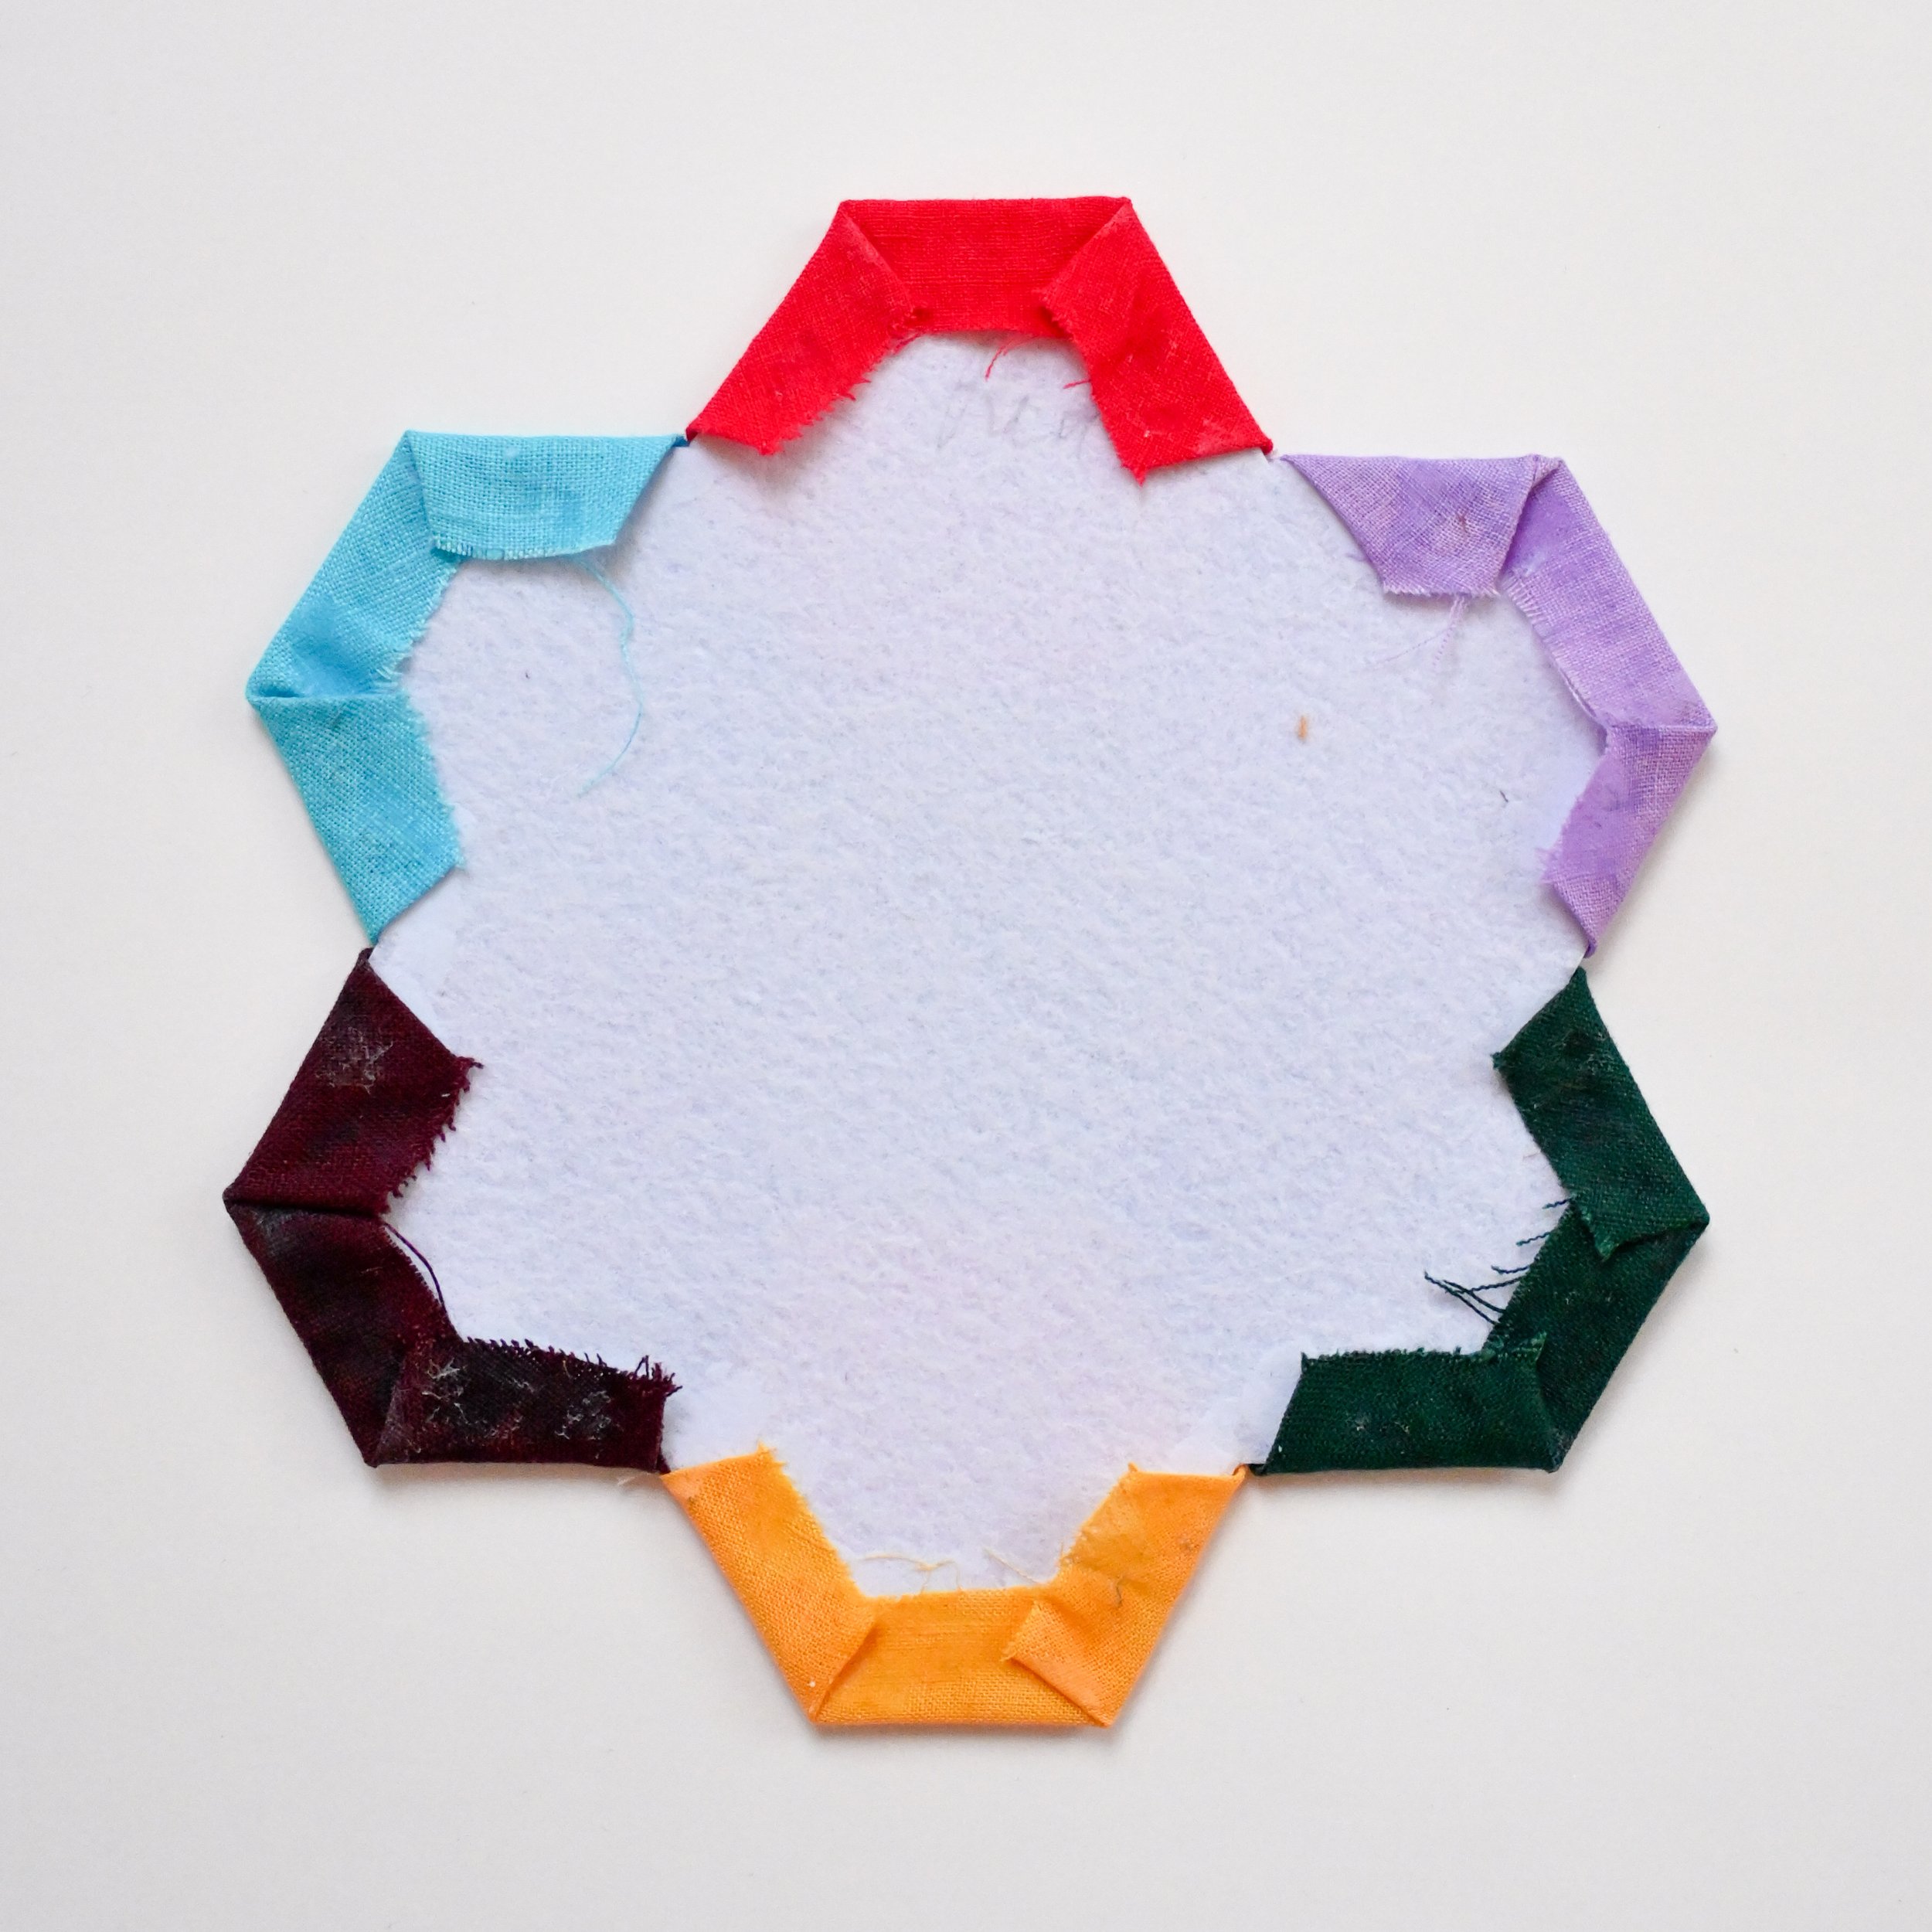
Using the hot glue gun, squirt a line of glue along one edge of the stiffened felt flower. Fold the fabric over the edge and press down to secure it in place. Continue until all the edges are wrapped.
Step 10:
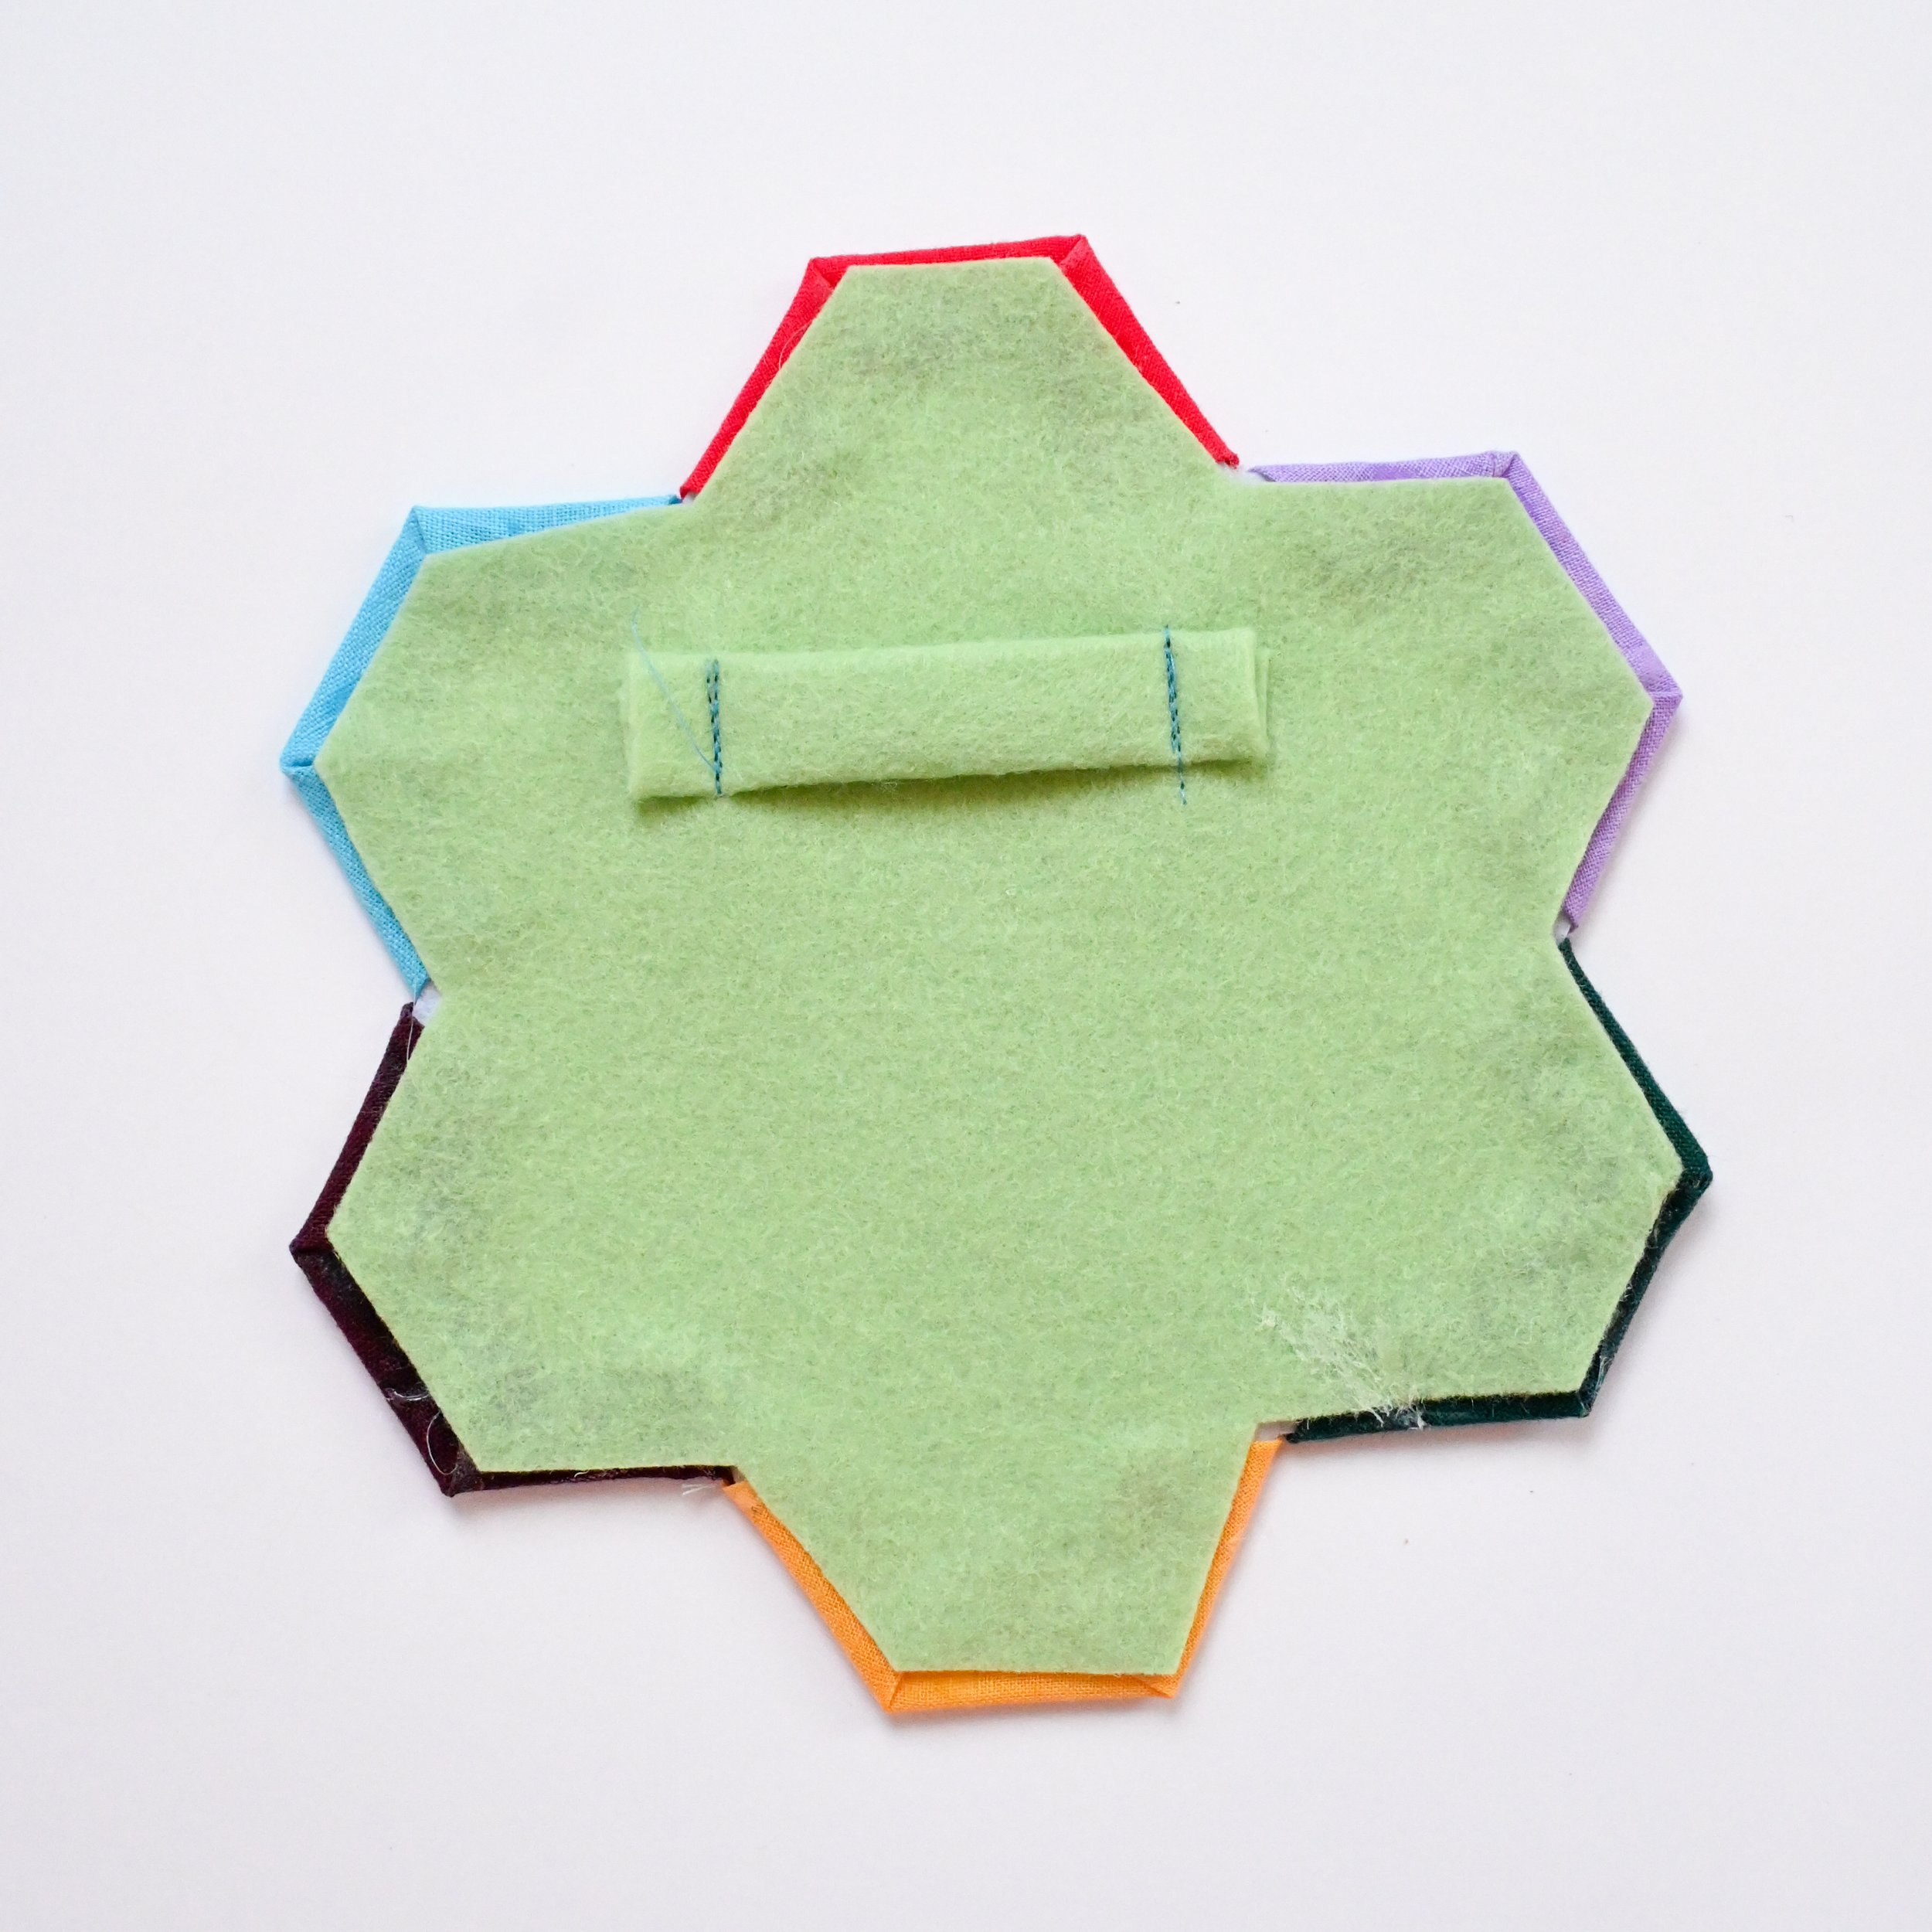
Trace the hexie flower onto the felt and then mark 5mm from the lines you just traced. Cut out the felt flower. Cut out a small felt rectangle to make a hook and either sew or hot glue it to the back of the felt flower. Then hot glue the felt flower to the back of the hexie flower to hide all the raw edges. Now your Hexie Wall Flower is complete!
Share your hand stitched creation and tag me @_diydaisy with #diydaisyhexieflower so I can see it!
If you found this tutorial helpful and would like to say thanks, you can buy me a coffee here.